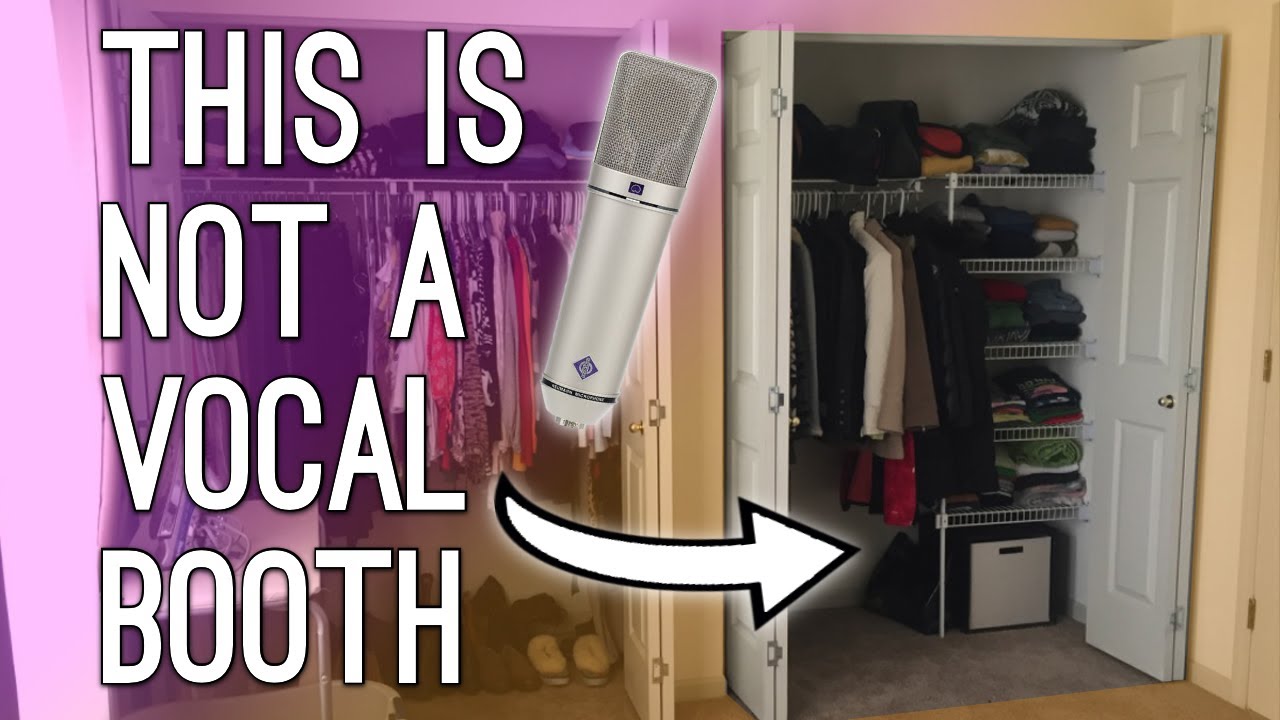
Looking to improve vocal recordings at home? Instead of using your closet, try setting up in a quiet, well-padded room with minimal echo.
A well-treated recording space can greatly enhance sound quality, resulting in crisper and more professional vocals for your projects. By implementing simple soundproofing techniques and using proper microphone placement, you can achieve studio-like results without the need for expensive equipment.
With these adjustments, your recordings will have a cleaner sound and be more enjoyable for your audience to listen to. Let’s explore how you can elevate your vocal recordings by optimizing your recording environment.

Credit: transom.org
Why Record Vocals In A Closet?
Looking for a better alternative to recording vocals in your closet? Opt for a small, sound-treated room with minimal noise and acoustically-treated surfaces. This step can significantly improve the sound quality and reduce unwanted background noise in your recordings.
Optimal Acoustics
When recording vocals, optimal acoustics are crucial for achieving a clear, professional sound. Closets provide natural soundproofing and reduce echoes, enhancing vocal clarity.
Noise Reduction
Recording vocals in a closet helps with noise reduction by minimizing background sounds and external interference. The confined space absorbs unwanted noise, resulting in cleaner recordings.
Recording vocals in a closet offers benefits that can dramatically improve the quality of your recordings and minimize distractions.

Credit: www.amazon.com
Challenges Of Closet Recording
When recording vocals in your closet, certain challenges can impede the quality of your recordings. Limited space and poor sound isolation are two main obstacles you might encounter.
Limited Space
The confined area of a closet can restrict your mobility and limit your positioning for optimal sound capture.
Poor Sound Isolation
Closets lack proper acoustic treatment, leading to echoes and unwanted reverberations in your recordings.
Creating A Soundproof Vocal Booth
Increase the sound quality of your recordings by setting up a soundproof vocal booth instead of using your closet. This simple adjustment can significantly enhance the clarity and professionalism of your vocals, ensuring a more polished final product. Make sure to utilize soundproofing materials and techniques for optimal results.
Creating a soundproof vocal booth can significantly improve the quality of your recordings, especially if you’re working in a home studio. While constructing a professional-grade soundproof vocal booth may seem daunting, it’s entirely possible to achieve excellent sound isolation with smart choices in materials and proper installation techniques. Selecting Materials When it comes to selecting materials for your soundproof vocal booth, prioritize dense, heavy materials that can effectively absorb sound. Consider using mass-loaded vinyl, acoustic foam panels, and fiberboard to create a sound-blocking barrier. Additionally, incorporating sound-dampening curtains and heavy rugs can further enhance the acoustic isolation within your vocal booth. Proper Installation Proper installation is crucial to maximize the soundproofing effectiveness of your vocal booth. Ensure all gaps and seams are sealed with acoustic caulk or weather-stripping to prevent sound leakage. It’s also important to properly anchor and suspend the soundproofing materials to minimize vibrations and ensure their effectiveness. Pay close attention to the seams between materials to create a continuous barrier against sound transmission. In conclusion, creating a soundproof vocal booth is an essential investment for achieving professional-quality vocal recordings. By selecting the right materials and implementing proper installation techniques, you can effectively minimize external noise and create a controlled acoustic environment for your recordings.
Alternative Soundproof Options
Explore alternative soundproof options for recording vocals, bypassing the closet method for better results. Opt for acoustic panels, soundproof curtains or foam padding to enhance recording quality without the need for a dedicated studio space. These solutions offer cost-effective soundproofing for aspiring musicians and content creators.
Introduction: Alternative Soundproof Options
If you’re a budding musician or podcaster, you know how crucial it is to have a quiet, controlled space for recording vocals. While professional soundproofing solutions can be expensive and complex, there are alternative options that can help create a similar effect. In this article, we’ll explore two effective alternatives: portable vocal booths and DIY soundproofing techniques.
Portable Vocal Booths
Portable vocal booths offer a convenient and cost-effective way to create a controlled recording environment wherever you are. These compact booths are designed to minimize external noise and reflections, leading to cleaner and more professional-sounding recordings.
With an easy setup process, portable vocal booths can be assembled in minutes. Most options come with sturdy frames and acoustic panels that effectively dampen sound. Plus, they are lightweight, making them ideal for on-the-go musicians or podcasters who need flexibility in their recording setup.
Whether you’re recording in a closet, bedroom, or basement, a portable vocal booth can significantly improve the quality of your recordings. By reducing unwanted echoes and background noise, you’ll be able to capture clear and professional-sounding vocals.
Diy Soundproofing Techniques
Not everyone has the budget or space for a portable vocal booth. Fortunately, there are several DIY soundproofing techniques that can help you achieve a similar effect without breaking the bank. Here are a few ideas to get you started:
- Create a DIY vocal booth: Transforming a closet into a makeshift vocal booth is a popular DIY option. Line the walls with acoustic foam or heavy blankets to reduce reflections and absorb sound.
- Seal gaps and cracks: By sealing any gaps or cracks in the walls and door of your recording space, you can prevent external noise from seeping in. Use weatherstripping or acoustic sealant to create a tighter, more soundproof environment.
- Build a vocal isolation shield: A vocal isolation shield is a portable and affordable alternative to a full vocal booth. Constructed with materials like plywood and acoustic foam, these shields can be positioned around your microphone to reduce unwanted external noise.
- Use furniture and accessories: Strategically placing furniture, such as bookshelves filled with books, can help break up sound reflections and reduce reverberations. Additionally, using thick curtains or soundproofing curtains can further dampen sound in your recording space.
While these DIY soundproofing techniques may not be as effective as professional solutions, they can significantly improve the acoustics of your recording environment. With a bit of creativity and resourcefulness, you can create a more controlled space for capturing high-quality vocals.
Optimizing Sound Quality
Enhance the sound quality of your vocal recordings by avoiding the confined space of a closet. Instead, opt for a larger, more open space to capture clearer and more natural vocal tones. This simple adjustment can greatly improve the overall quality of your recordings.
Using Acoustic Treatment
Acoustic treatment plays a crucial role in improving the sound quality of your vocals. Here are some effective tips and methods to optimize your closet studio space: 1. Add absorptive materials: Place acoustic foam panels or bass traps on the walls of your closet to minimize echo and reverberation. 2. Cover the floor: Use a carpet or rug on the closet floor to reduce unwanted reflections caused by hard surfaces. 3. Seal the gaps: Seal any gaps or cracks in the closet with weatherstripping or acoustic caulk to prevent sound leakage and external noise interference. 4. Create a vocal booth: Install PVC pipes or acoustic blankets to create a portable vocal booth within your closet. This will help to isolate your voice and prevent sound reflections. 5. Experiment with positioning: Move around within the closet to find the sweet spot that offers the best sound quality. Test different positions to optimize the acoustics for your unique voice.
Choosing The Right Microphone
Selecting the right microphone can greatly impact the sound quality of your vocals. Here are some key factors to consider: 1. Condenser or dynamic: Decide between a condenser or dynamic microphone based on your recording needs. Condenser mics are more sensitive and capture greater detail, while dynamic mics are more durable and better for live performances. 2. Polar pattern: Look for a microphone with a cardioid polar pattern, as it primarily captures sound from the front and rejects noise from the sides and rear. This helps ensure clear and focused vocal recordings. 3. Frequency response: Pay attention to the microphone’s frequency response range. A wider frequency response ensures that the mic can accurately capture a broader range of vocal tones. 4. Budget considerations: Consider your budget when choosing a microphone. Remember that higher-priced microphones often offer better quality sound, but there are also affordable options available for those on a tighter budget. 5. Test and compare: If possible, try out different microphones before making a final decision. Recording a short sample of your vocals with each microphone will help you determine which one best suits your voice and delivers the desired sound quality. Remember, optimizing your sound quality requires both a well-treated recording space and the appropriate microphone choice. These tips will elevate your vocal recordings and help you achieve professional-grade results within the confines of your closet studio.
Credit: m.youtube.com
Frequently Asked Questions For Recording Vocals In Your Closet Try This Instead
Can You Get Professional-sounding Vocals Recording In Your Closet?
Yes, you can achieve professional-sounding vocals by using your closet as a makeshift recording booth. With some proper soundproofing techniques and the right equipment, you can eliminate unwanted echoes and reverberations, resulting in clear and crisp vocals.
What Are The Benefits Of Recording Vocals In A Closet?
Recording vocals in a closet can offer several benefits. The confined space helps to minimize outside noise and interference, creating a more controlled recording environment. Additionally, the clothes and other items in the closet act as natural sound absorbers, reducing echoes and creating a cleaner vocal recording.
What Are Some Soundproofing Tips For Recording Vocals In A Closet?
To optimize your closet as a recording space, consider adding soundproofing materials like acoustic foam or moving blankets to the walls. You can also hang clothes and other fabrics to further absorb sound. Make sure to seal any gaps or cracks to prevent sound leakage, and add a reflection filter to your microphone for better vocal isolation.
Conclusion
Finding the right space for recording vocals is crucial. Your closet may not be the best option. Instead, consider using a dedicated soundproof room or creating a portable vocal booth. By taking the time to set up a proper recording environment, you can elevate the quality of your vocal recordings and produce professional-sounding tracks.