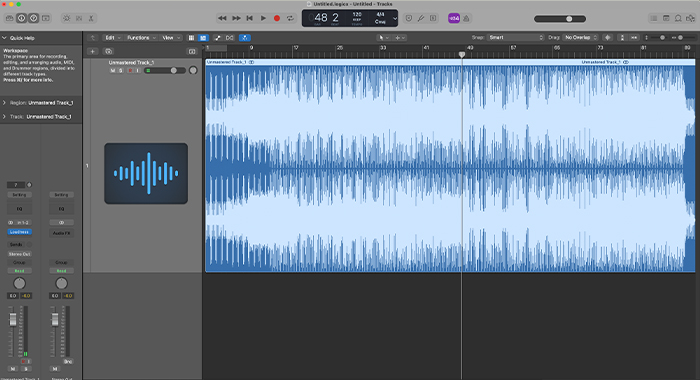
To export individual tracks in Logic Pro X for mixing, simply select the track you want to export, go to File > Export > Region as Audio File. This will create a separate audio file of the selected track.
Logic Pro X offers a user-friendly interface for exporting individual tracks, allowing you to seamlessly prepare your project for mixing. By following a few simple steps, you can efficiently extract specific tracks from your project to work on them individually.
This process is crucial for ensuring each track receives the necessary attention during the mixing stage, enhancing the overall quality of your music production. Understanding how to export individual tracks in Logic Pro X is essential for any producer or engineer looking to achieve professional results in their music projects. Let’s delve deeper into the detailed steps involved in this process.
The Importance Of Exporting Individual Tracks
Simplify Your Mixing Process
In Logic Pro X, exporting individual tracks allows you to simplify your mixing process by providing each track in a separate audio file.
Flexibility In Post-production
Having individual tracks exported gives you flexibility in post-production, enabling you to make precise adjustments to each element of your music.
Preparing Tracks For Export
Ensure each track has clear boundaries for easy identification.
Adjust volume levels and panning to achieve a balanced mix.
To prepare tracks for export in Logic Pro X, organize regions clearly and set track levels and panning for a polished mix.
Exporting Tracks In Logic Pro X
Are you looking to export individual tracks in Logic Pro X for mixing? Exporting tracks in Logic Pro X is a crucial step in the music production process, allowing you to prepare your tracks for mixing, collaboration, or sharing with others. This guide will walk you through the process of exporting individual tracks in Logic Pro X, including choosing file formats and adjusting export settings.
Choosing File Formats
In Logic Pro X, you have the option to export your individual tracks in various file formats, depending on your specific needs. When exporting tracks for mixing, it’s essential to choose a file format that preserves the audio quality and compatibility with other DAWs. Common file formats for exporting tracks in Logic Pro X include WAV, AIFF, and FLAC. These formats maintain high audio quality and are widely supported in professional audio software.
Adjusting Export Settings
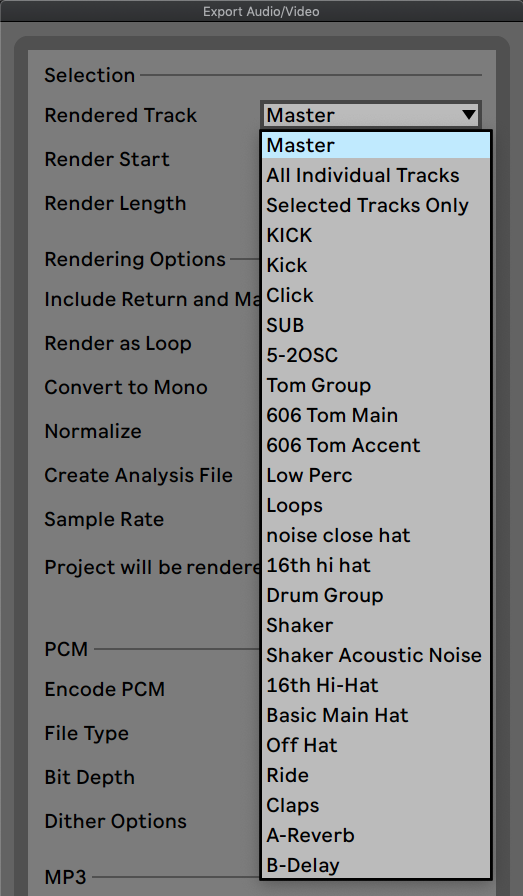
Before exporting your tracks in Logic Pro X, it’s crucial to adjust the export settings to ensure that the exported files meet your specific requirements. Start by selecting the tracks you want to export and ensuring that the regions are properly trimmed to remove any unwanted silence or noise. Next, ensure that the export settings include the desired sample rate, bit depth, and dither options to maintain the highest audio quality during the export process. Lastly, double-check the export location and file naming conventions to keep your exported tracks organized and easily accessible.

Credit: crumplepop.com
Managing Exported Tracks
Learn how to manage exported tracks in Logic Pro X by exporting individual tracks for mixing. Streamline your workflow and efficiently export individual tracks for seamless integration into your mixing process. Master the art of managing exported tracks to enhance your overall mixing experience and achieve professional-quality results.
Managing Exported Tracks Once you have successfully exported individual tracks in Logic Pro X for mixing, you now need to know how to effectively manage these tracks. Managing exported tracks is essential for maintaining an organized workflow and ensuring a seamless mixing process. In this section, we will explore two important aspects of managing exported tracks: importing into a new project and workflow optimization tips.
Importing Into A New Project
To import your exported tracks into a new project in Logic Pro X, follow these simple steps:
- Create a new project by selecting “File” from the menu bar, then “New” and “Project.” Alternatively, you can use the keyboard shortcut “Command” + “N”.
- Give your new project a name and choose the desired location to save it.
- In the new project, navigate to the “File” menu and select “Import.” Alternatively, you can use the keyboard shortcut “Command” + “I”.
- Locate the folder where you exported your tracks and select the ones you want to import. You can select multiple tracks by holding down the “Shift” key while clicking.
- Click “Open” to import the selected tracks into your new project.
Importing exported tracks into a new project allows you to maintain a clean separation between your recording and mixing sessions. It provides you with the flexibility to work on different projects independently and ensures that your workflow remains organized.
Workflow Optimization Tips
Optimizing your workflow is crucial for maximizing productivity and efficiency during the mixing process. Here are some tips to help you streamline your workflow when managing exported tracks in Logic Pro X:
- Label and color-code your tracks: Assign meaningful labels and colors to your tracks to make them easily identifiable. This will save you time and prevent confusion during the mixing process.
- Arrange tracks in a logical order: Once imported, arrange your tracks in a way that makes sense to you. You can group similar instruments together or arrange them in the order they appear in the song structure.
- Use markers to mark important sections: Markers are a great way to highlight important sections of your song, such as verses, choruses, or solos. This will allow you to navigate through your project quickly and make precise adjustments.
- Create submixes for easier control: If you have multiple tracks belonging to the same instrument or group, consider creating submixes. This will make it easier to process and control the overall sound of the group, saving you time and effort.
- Save customized channel strip settings: Logic Pro X allows you to save your customized channel strip settings. Take advantage of this feature to save time by loading preset settings on multiple tracks with similar processing requirements.
By incorporating these workflow optimization tips, you can effectively manage your exported tracks and enhance your mixing experience in Logic Pro X. A well-organized and efficient workflow optimizes your productivity and allows you to focus on the creative aspects of mixing without unnecessary distractions.
Utilizing Exported Tracks In Post-production
Learn how to export individual tracks in Logic Pro X to enhance your post-production process by utilizing exported tracks effectively for seamless mixing. Ensure a streamlined workflow and optimized audio quality with this essential technique. Boost your editing capabilities by incorporating exported tracks into your project effortlessly.
Mixing In Another Daw
Once you have exported your individual tracks from Logic Pro X, you can easily utilize them in any other digital audio workstation (DAW) for further mixing and post-production. Exporting the tracks from Logic Pro X ensures that you have high-quality audio files that can be seamlessly integrated into your chosen DAW.
When it comes to choosing another DAW for mixing, options like Pro Tools, Ableton Live, and Reaper are popular among professionals. By importing your exported tracks into these DAWs, you can take advantage of their unique features and plugins to enhance the overall quality of your mix.
When mixing in another DAW, it is essential to organize your exported tracks properly. Create separate tracks for each exported audio file to maintain a well-structured session, making it easier to apply adjustments and effects. This organization ensures a smoother workflow and helps you keep track of the various elements of your mix.
Adding Effects And Automation
One of the key advantages of utilizing exported tracks in post-production is the ability to apply various effects and automation techniques to enhance the overall sound of your mix.
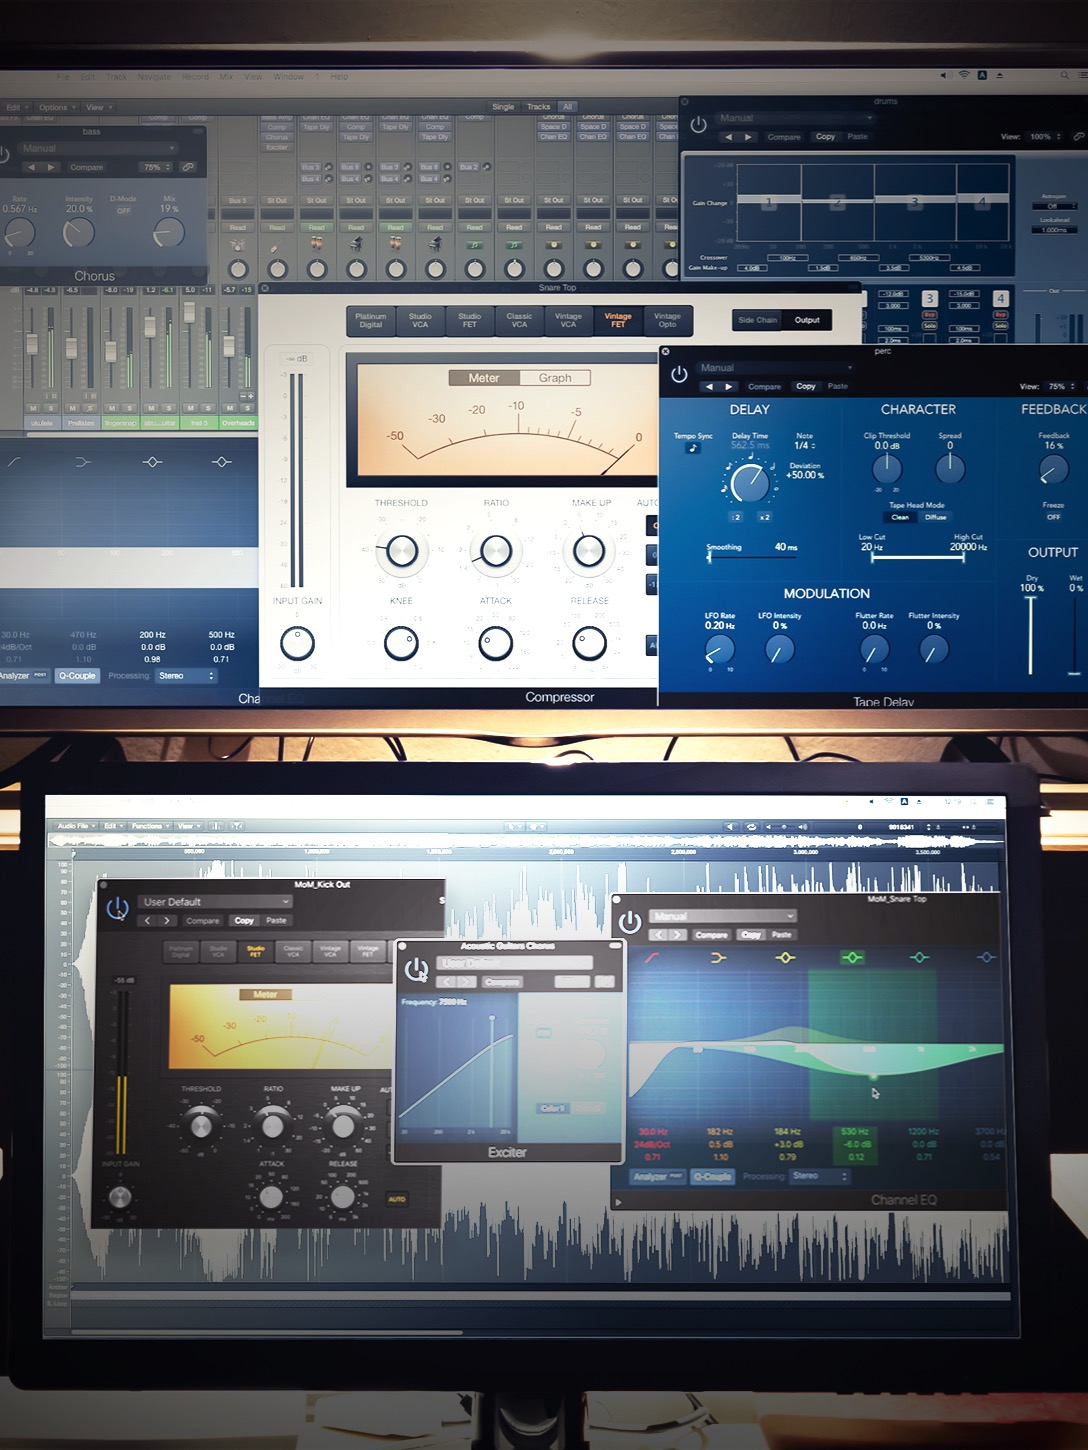
When working with exported tracks in another DAW, you have access to a wide range of plugins, allowing you to experiment with different effects such as EQ, compression, reverb, and delay. By applying these effects, you can ensure each element of your mix sits well within the audio spectrum, creating a balanced and professional sound.
Automation is another powerful tool you can use in post-production to add movement and dynamics to your mix. With exported tracks in another DAW, you can easily automate volume levels, panning, and various parameters of your plugins. This automation allows for precise control over the dynamics and transitions within your mix, adding depth and emotion to your final product.
Remember to experiment and trust your ears when applying effects and automation. Give each track the attention it deserves, making sure the changes you make contribute positively to the overall mix.
In conclusion, utilizing exported tracks in post-production opens up a world of possibilities for your mix. Whether you choose to mix in another DAW or add effects and automation, the flexibility and versatility provided by exported tracks will help you achieve a polished and professional sound.

Credit: www.groove3.com

Credit: www.aulart.com
Frequently Asked Questions For How To Export Individual Tracks In Logic Pro X For Mixing
How Do I Export Individual Tracks In Logic Pro X For Mixing?
To export individual tracks in Logic Pro X for mixing, simply go to the File menu, select Export, and then choose the option “All Tracks as Audio Files. ” This will export each track as a separate audio file, which you can then import into your preferred mixing software for further processing and editing.
Conclusion
Incorporating individual track exports in Logic Pro X is a valuable technique for enhancing the mixing process. By following the simple steps outlined in this guide, you can gain greater control over your mix and achieve professional-quality results. Make the most of this feature to refine your sound and elevate your music production endeavors.