To use VST plugins in Garageband, simply install the plugins on your computer and then open the Garageband software to access and use them in your music projects. By following these steps, you can enhance your music production with a variety of sound effects and virtual instruments.
Garageband provides a user-friendly interface for integrating VST plugins seamlessly into your creative process. With the ability to customize and manipulate your sounds using VST plugins, you can take your music to the next level and create professional-sounding tracks. Explore the vast world of plugins available and experiment with different effects to find the perfect combination for your unique sound.
Mastering the use of VST plugins in Garageband will help you unlock endless possibilities for your music production journey.
Credit: www.groove3.com
Choosing The Right Vst Plugins
Researching Different Vst Options
Before diving into Garageband, research a variety of VST plugins
available. Compare features, pricing, and reviews to find
ones that suit your music production needs.
Considering Compatibility With Garageband
When selecting VST plugins, ensure they are compatible
with Garageband’s system requirements. Check for any
compatibility issues before making your final decision.
Optimizing Vst Plugin Performance
- Check tasks running in the background to lessen CPU load.
- Limit the number of active plugins simultaneously.
- Monitor CPU usage through the Garageband performance meter.
- Automate parameter changes for evolving soundscapes.
- Assign automation to plugin parameters for a seamless mix.
- Experiment with automation curves for unique effects.
Creative Sound Design With Vst Plugins
Enhance your Garageband compositions with VST plugins for unparalleled sound design. Unleash your creativity by incorporating virtual instruments, effects, and synths to elevate your music production to new heights. With a wide array of VST plugins available, you can customize your sound and create unique tracks effortlessly.
Creative Sound Design with VST Plugins With VST plugins, Garageband users can expand their sound design possibilities and elevate their music production. Creative sound design is essential in producing unique and compelling music, and VST plugins offer a wide array of tools to achieve this. This guide will focus on leveraging these plugins in Garageband for creative sound design, particularly exploring layering and stacking techniques and utilizing modulation for unique textures. H3 headings: 1.
Exploring Layering And Stacking Techniques
2.
Utilizing Modulation For Unique Textures
Exploring Layering and Stacking Techniques Layering and stacking different sounds using VST plugins can add depth and richness to your music. By mixing and matching various instrument and effect plugins, you can create complex and dynamic sounds that stand out in your mix. Experiment with layering synthesizers, samplers, and virtual instruments to build up a multi-dimensional sonic landscape. Utilizing Modulation for Unique Textures Modulation is a powerful tool for adding movement and character to your sounds. VST plugins often include a range of modulation effects such as chorus, flanger, and phaser, which can be used to transform static sounds into evolving textures. By adjusting modulation parameters, you can create unique and interesting sonic textures that capture the listener’s attention. Embrace the versatility of VST plugins in Garageband to unlock a world of creative sound design possibilities. By understanding layering and stacking techniques and utilizing modulation for unique textures, you can take your music production to new heights, creating compelling and original sounds that set your music apart.

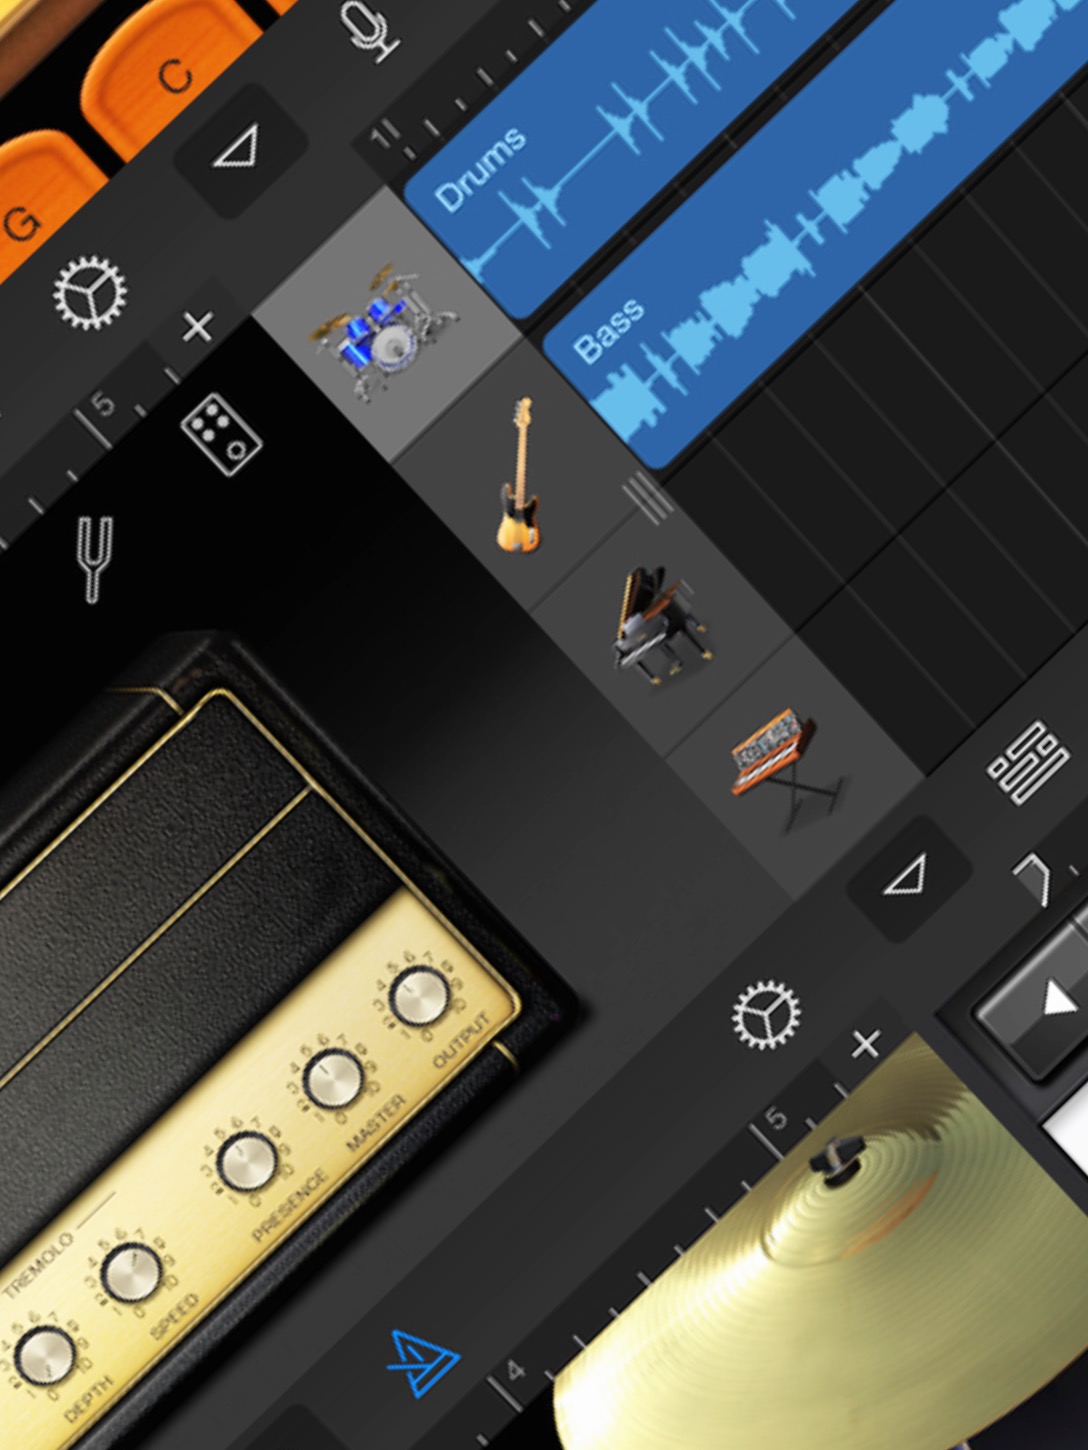
Credit: m.youtube.com
Midi Mapping And Customization
When it comes to using VST plugins in Garageband, understanding midi mapping and customization is crucial. Midi mapping allows you to assign parameters within a plugin to specific controllers on your MIDI device, giving you enhanced control and flexibility. Customization takes things a step further, allowing you to create personalized templates for different plugins and maximize your workflow efficiency.
Creating Custom Midi Mapping Templates
Creating custom midi mapping templates in Garageband is a straightforward process that can greatly enhance your productivity. By customizing your MIDI device to control specific parameters in your VST plugins, you can save time and streamline your workflow. Here’s a step-by-step guide:
- Open Garageband and create a new project.
- Navigate to the “Window” menu and select “Show MIDI Studio.”
- In the MIDI Studio window, click on your MIDI device to select it.
- Click on the “Configure…” button to open the Configure Device window.
- In the Configure Device window, click on the “Assignments” tab.
- Select the parameter you want to assign to a controller on your MIDI device.
- Move the desired controller on your MIDI device to assign it to the selected parameter.
- Repeat steps 6 and 7 for each parameter you want to assign.
- Once you have finished assigning all the desired parameters, click on the “Save As…” button at the bottom of the window.
- Enter a name for your custom midi mapping template and click “Save.”
That’s it! You have now created a custom midi mapping template in Garageband. Whenever you load your VST plugin, you can easily recall your custom template and start making music without spending time on repetitive manual assignments.
Maximizing Workflow Efficiency
To maximize your workflow efficiency with VST plugins in Garageband, here are a few additional tips:
- Create multiple custom midi mapping templates for different plugins or different use cases. This way, you can quickly switch between templates depending on your needs.
- Experiment with different controller assignments to find the most intuitive and efficient setup for your workflow.
- Save your custom templates in a centralized location, like a dedicated folder, to ensure easy access.
- Consider creating a cheat sheet or documentation for your custom midi mapping templates, especially if you use complex setups with multiple plugins.
- Regularly review and refine your midi mappings to adapt to your evolving needs and preferences.
By utilizing these tips, you can take full advantage of midi mapping and customization features in Garageband, allowing you to work faster and more creatively with VST plugins.
Advanced Mixing And Mastering Techniques
Discover advanced mixing and mastering techniques using VST plugins in Garageband to enhance your music production. Learn how to leverage cutting-edge tools for professional-grade audio editing and production efficiency. Elevate your sound quality with expert insights into optimizing plugin usage within the Garageband platform.
Utilizing Vst Plugins For Professional Mixing
For musicians and producers looking to take their sound to the next level, leveraging VST plugins in Garageband can be a game-changer. By incorporating advanced mixing techniques, you can achieve professional-level results that rival those of a high-end studio. With the vast array of VST plugins available, you have the power to sculpt your sound with precision and finesse. One essential aspect of advanced mixing is EQ (equalization). This process involves adjusting the frequency levels of your audio tracks to ensure a well-balanced and cohesive sound. By utilizing EQ plugins, such as FabFilter Pro-Q or Waves SSL E-Channel, you can target specific frequencies, cut unwanted elements, and enhance the overall clarity and definition of your mix. Remember to be mindful of the frequency ranges of your instruments and make specific EQ adjustments accordingly. Another crucial step in the mixing process is compression. Compression plugins like Waves SSL G-Master Buss Compressor or Universal Audio LA-2A offer dynamic control by subtly leveling out the volume of your tracks, enhancing their punch and presence. By applying compression to individual tracks or the master bus, you can achieve a more consistent and polished sound. Experiment with different compression settings to find what works best for your mix. Reverb is an essential tool for creating depth and space within your mix. With reverberation plugins like Valhalla VintageVerb or Soundtoys Little Plate, you can add realistic and immersive reverberation to your tracks. Use different reverb types, such as rooms, halls, or plates, to give each instrument its own unique sonic environment. Adjusting the decay time, pre-delay, and wet/dry mix allows you to sculpt the perfect reverb settings for each track.
Mastering Tips For Polishing Your Tracks
Once you’ve achieved a well-balanced mix, it’s time to dive into the mastering process. Mastering adds the final polish to your tracks, ensuring they sound consistent and professional across different playback systems. Consider these tips to elevate your mastering game. One crucial step in mastering is achieving the right loudness level. Utilize mastering plugins like iZotope Ozone or FabFilter Pro-MB to balance the dynamic range, ensuring your tracks are loud enough without sacrificing clarity. Be careful not to overcompress or limit your tracks excessively, as this can result in a loss of dynamics and a “squashed” sound. Another essential aspect of mastering is stereo imaging. By utilizing plugins like iZotope Imager or Brainworx bx_control V2, you can widen or narrow the stereo field of your tracks, creating a more immersive and detailed sound. Experiment with different stereo imaging techniques to enhance the overall width and depth of your mix while maintaining a balanced center. When applying final equalization during mastering, focus on making subtle enhancements rather than drastic changes. Use EQ plugins like Waves SSL G-Master EQ or FabFilter Pro-Q to shape the overall tonal balance of your tracks. Tweak the low-end frequencies to ensure a solid foundation, enhance the clarity of the midrange, and smoothen any harshness in the high frequencies. Lastly, use a limiter plugin like FabFilter Pro-L or Waves L3 Multimaximizer to maximize the loudness of your tracks while preventing distortion and ensuring a competitive volume level. Adjust the threshold and output gain to achieve the desired loudness without compromising the integrity of your mix. Remember, the key to successful advanced mixing and mastering is experimentation. Each track is unique, and the plugins mentioned here serve as starting points for you to explore and discover your own signature sound. With practice and an understanding of these techniques, you’ll be well on your way to creating professional-quality mixes in Garageband using VST plugins.
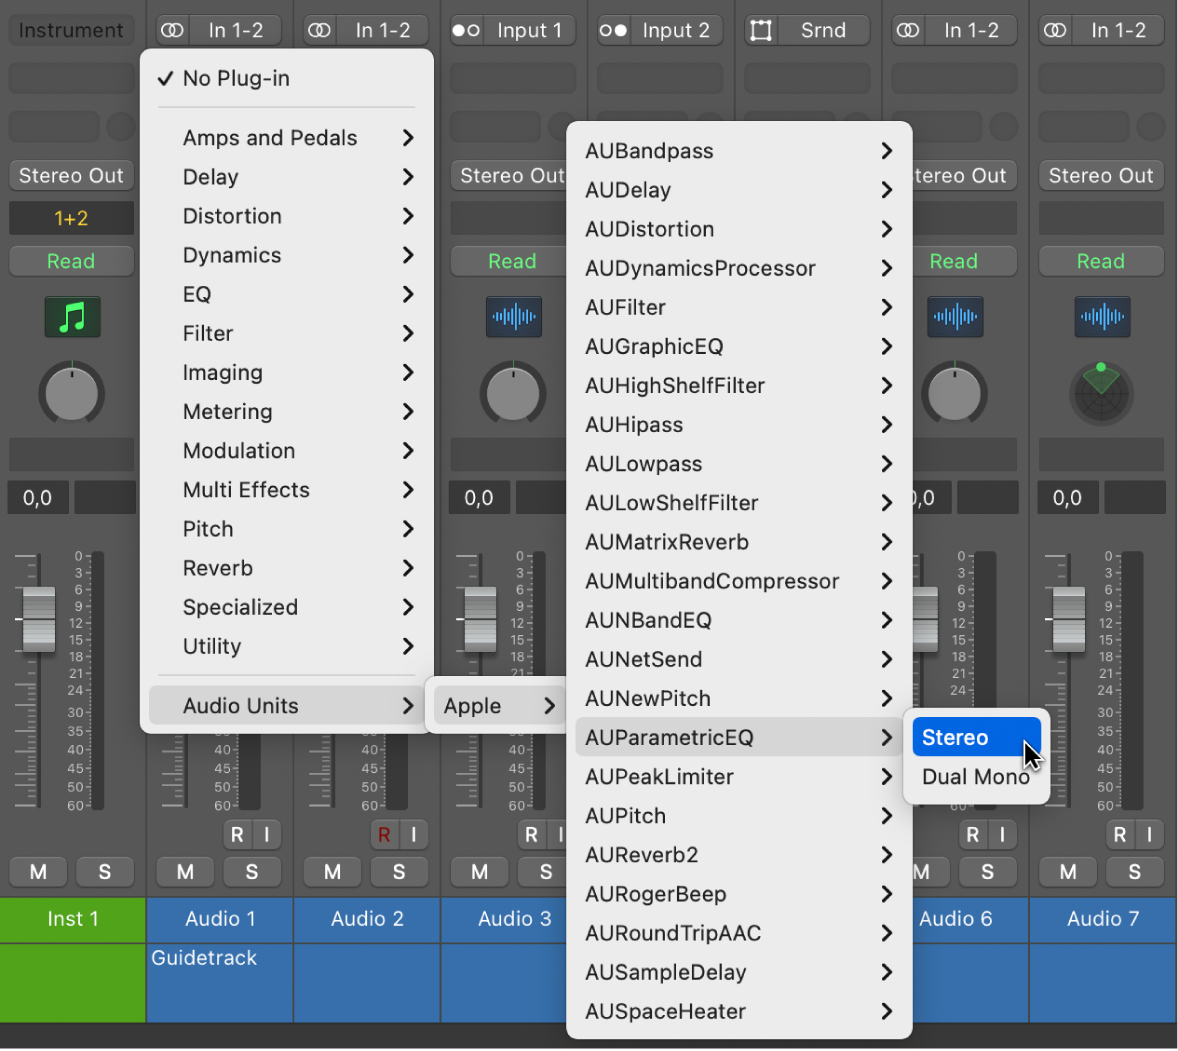
Credit: support.apple.com
Frequently Asked Questions Of How To Use Vst Plugins In Garageband
How Do I Install Vst Plugins In Garageband?
To install VST plugins in Garageband, first, download the plugin files. Then, locate the Garageband plugins folder on your computer and move the downloaded files into this folder. Finally, open Garageband, go to the preferences menu, and enable the newly installed plugins in the audio/MIDI settings.
Can I Use Third-party Vst Plugins In Garageband?
Yes, you can use third-party VST plugins in Garageband. By default, Garageband supports Audio Unit (AU) plugins, but you can also use VST plugins with the help of a plugin host like JBridge or Blue Cat’s PatchWork.
How Do I Add A Vst Plugin To A Track In Garageband?
To add a VST plugin to a track in Garageband, select the track you want to add the plugin to and open the Smart Controls panel. Click on the Plugins button in the Smart Controls panel, select the desired VST plugin from the list, and adjust its settings according to your preferences.
Conclusion
VST plugins can greatly enhance your music production in Garageband. Embracing the powerful functionalities of VST plugins allows you to explore new sounds and effects, elevating the quality of your music. With the right approach and understanding, integrating VST plugins into your workflow can bring out the best in your creativity and musical expression.