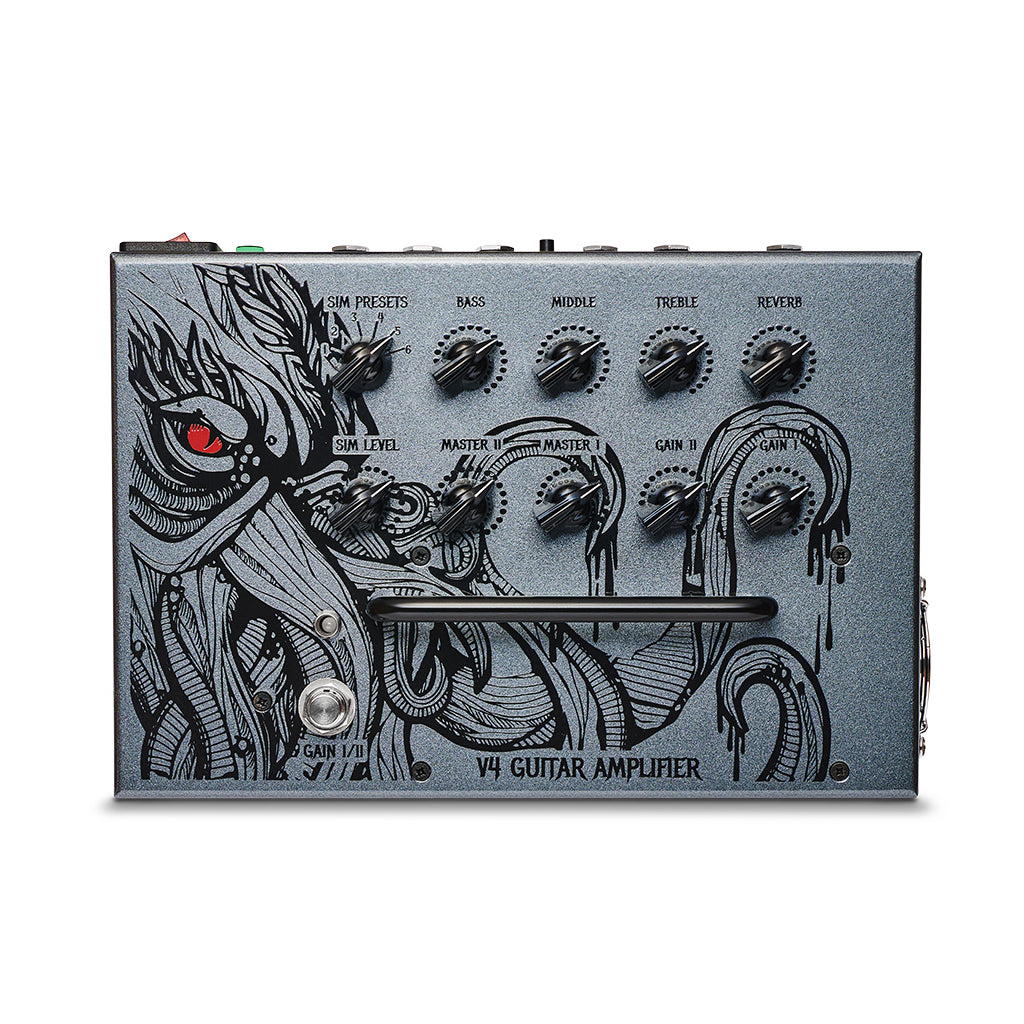
To ensure optimal guitar recording levels, adjust input levels for clear sound without distortion. Monitor levels consistently.
When it comes to recording guitar tracks, getting the levels right is crucial for a professional and polished sound. Whether you’re recording in a studio or at home, proper levels can make a significant difference in the final outcome of your music.
By understanding how to adjust the input levels on your recording equipment and monitoring the levels throughout the recording process, you can ensure that your guitar tracks sound clear, balanced, and free of any unwanted distortion. In this guide, we’ll explore the importance of setting the right levels for guitar recording and provide tips for achieving the best results. Let’s dive in!

Credit: eu.rarevinyl.com
Importance Of Guitar Recording Levels
Proper guitar recording levels are crucial for achieving high-quality audio recordings. It determines the clarity and balance of the guitar sound in a recording.
Achieving The Perfect Balance
Setting the right recording level helps balance the guitar’s sound in the mix, ensuring it harmonizes well with other instruments.
Avoiding Distortion
Incorrect recording levels can lead to distortion, tarnishing the overall sound quality of the recording.
Setting Up Your Equipment
Choosing The Right Microphone
Ensure the microphone matches the tone of your guitar.
Consider dynamic microphones for rock or metal genres.
Opt for condenser microphones for detailed acoustic recordings.
Positioning The Microphone
Place the microphone near the guitar’s soundhole for warmth.
Experiment with moving the microphone to capture different tones.
Aim to position the microphone equidistant from the guitar’s top and bottom.
Understanding Signal Chain
Ensure optimal guitar recording levels by understanding the signal chain. Properly setting input levels on your interface is crucial for achieving a clean and balanced recording. Pay attention to gain staging to prevent distortion and ensure high-quality recordings.
Understanding Signal Chain: In guitar recording, the signal chain refers to the path through which the audio signal travels from the guitar to the recording device. Understanding the signal chain is crucial for achieving the best possible recording levels and tone.
Preamp Settings
It’s essential to set the preamp at an appropriate level to capture the guitar’s sound accurately. Ensuring the preamp is not too high or too low will prevent distortion or a weak signal. It’s recommended to set the preamp level so that the peaks of the signal are near 0 dB without clipping. This will provide a clean signal without introducing unwanted noise.
Effect Of Compression
Compression can have a substantial impact on the guitar’s recording levels. Applying compression can help control the dynamic range of the signal, resulting in a more consistent and polished sound. However, excessive compression can squash the natural dynamics of the guitar, leading to a lifeless and unnatural sound. It’s important to find the right balance when using compression in the signal chain.

Credit: larkguitars.com
Tips For Achieving High-quality Guitar Recordings
To achieve high-quality guitar recordings, there are several tips and techniques that you should consider. Proper utilization of reamping techniques and experimenting with different amps can greatly enhance the sound and overall quality of your recordings. In this section, we will delve into these techniques and provide you with practical insights to help you achieve outstanding guitar recordings.
Utilizing Reamping Techniques
Reamping is a technique that allows you to achieve the desired guitar sound during a post-recording phase. Instead of committing to a specific amp and settings during the initial recording, reamping enables you to experiment with different amplifiers and settings afterwards. This technique offers greater flexibility and allows you to fine-tune the sound until you achieve the perfect tone.
Here are a few key steps to follow when utilizing reamping techniques:
- Record the dry guitar signal using a direct input or DI box.
- Once the recording is done, transfer the dry signal to a separate track or channel in your digital audio workstation (DAW).
- Connect the output of your audio interface to the input of the desired amplifier using a reamp box.
- Experiment with different amplifiers, settings, and microphone placements until you find the perfect sound.
- Re-record the reamped signal and blend it with the original dry signal to achieve the desired tone and texture.
Experimenting With Different Amps
When it comes to guitar recordings, the choice of amplifier can make a huge difference in the overall sound and quality. Each amp has its unique characteristics and tone, which can greatly impact the final recording. By experimenting with different amplifiers, you can discover new tones and textures that can add depth and variety to your recordings.
Here are some tips to help you make the most out of amp experimentation:
- Borrow or rent different amps to explore a wide range of tones. Don’t be afraid to try out different brands, models, and types (tube, solid-state, or digital).
- Pay close attention to the amp’s EQ controls and experiment with different settings to find the best balance for your sound.
- Consider the style and genre of music you are recording. Different amps may work better for specific styles, so don’t be afraid to experiment and find the perfect match for your needs.
- Take note of the amp’s gain structure. Different amps have different gain stages, which can affect the breakup and distortion characteristics.
- Don’t forget to experiment with mic placement when recording amps. The position of the microphone can significantly alter the tone and texture. Move the mic around until you find the sweet spot.
Post-recording Processing
Post-recording processing is an essential step in achieving the perfect guitar recording levels. Once the recording is done, it’s time to fine-tune the sound and add that professional touch. In this section, we will explore two key aspects of post-recording processing: applying EQ and compression, and adding creative effects.
Applying Eq And Compression
EQ and compression are two powerful tools that can enhance the overall quality and balance of your guitar recording. EQ allows you to adjust the frequency response, bringing out or reducing certain elements in the sound. Compression, on the other hand, helps control the dynamic range and adds consistency to the guitar tone.
When applying EQ, it’s important to identify any problematic frequencies that may be causing muddiness or harshness. Using a parametric EQ, you can pinpoint these frequencies and make precise adjustments to achieve a balanced and pleasant tone.
Compression is particularly useful in controlling the dynamics of the guitar performance. It can help even out the volume levels between soft and loud sections, making the recording sound more cohesive. By adjusting the attack, release, ratio, and threshold parameters, you can find the perfect balance between preserving the natural dynamics and adding control to the guitar sound.
Adding Creative Effects
Once you have achieved the desired tone and dynamics using EQ and compression, it’s time to get creative and add unique effects to your guitar recording. Creative effects can add depth, texture, and character to the sound, taking it to a whole new level.
Some popular creative effects include reverb, delay, distortion, and modulation effects like chorus, flanger, and phaser. These effects can be used subtly to add dimension and spaciousness or dialed up for more pronounced and experimental sounds.
Reverb, for example, can create a sense of space, making your guitar sound like it’s being played in a large concert hall or a small intimate room. Delay effects can add depth and create a sense of repetition or echoes. Distortion effects can bring grit and intensity to the guitar sound, while modulation effects can introduce movement and unique flavors.
Experimentation is key when adding creative effects. Try different combinations and settings to find your signature sound. Remember to keep the overall mix and genre in mind, ensuring the effects complement the other instruments and contribute to the overall musicality.

Credit: dusttodigital.bandcamp.com
Frequently Asked Questions On Guitar Recording Levels Get Them Right
What Is The Ideal Recording Level For Guitar?
The ideal recording level for guitar depends on the specific sound you want to achieve. Generally, aim for a recording level that allows the guitar to stand out in the mix without clipping or distorting. It’s recommended to keep the levels peaking around -6dB to -12dB to allow for headroom during mixing and mastering.
How Can I Ensure My Guitar Recordings Have The Right Levels?
To ensure your guitar recordings have the right levels, start by setting your input gain appropriately on your audio interface or recording device. Monitor the levels in your recording software and adjust the gain accordingly. Additionally, consider using a compressor to control any sudden spikes in volume and ensure a consistent recording level.
Why Is It Important To Have Proper Recording Levels For Guitar?
Having proper recording levels for guitar is crucial because it impacts the sound quality and overall mix. If the levels are too low, the guitar may get lost in the mix and lack presence. On the other hand, if the levels are too high, the sound can become distorted and unpleasant.
Finding the right balance ensures a professional and polished guitar sound.
Should I Adjust The Recording Levels Differently For Different Guitar Parts?
Yes, it’s often necessary to adjust the recording levels differently for different guitar parts. For example, rhythm guitar parts may require a lower level to provide a solid foundation in the mix, while lead guitar parts may benefit from a slightly higher level to make them stand out.
It’s important to experiment and find the perfect level for each specific part.
Conclusion
Finding the right recording levels for your guitar is crucial for achieving high-quality sound. Whether you’re a beginner or a seasoned musician, understanding the importance of levels can elevate your recordings to the next level. By following the tips and techniques discussed in this blog post, you can create exceptional guitar recordings that stand out and captivate your audience.
Mastering this skill will undoubtedly enhance your music production journey.