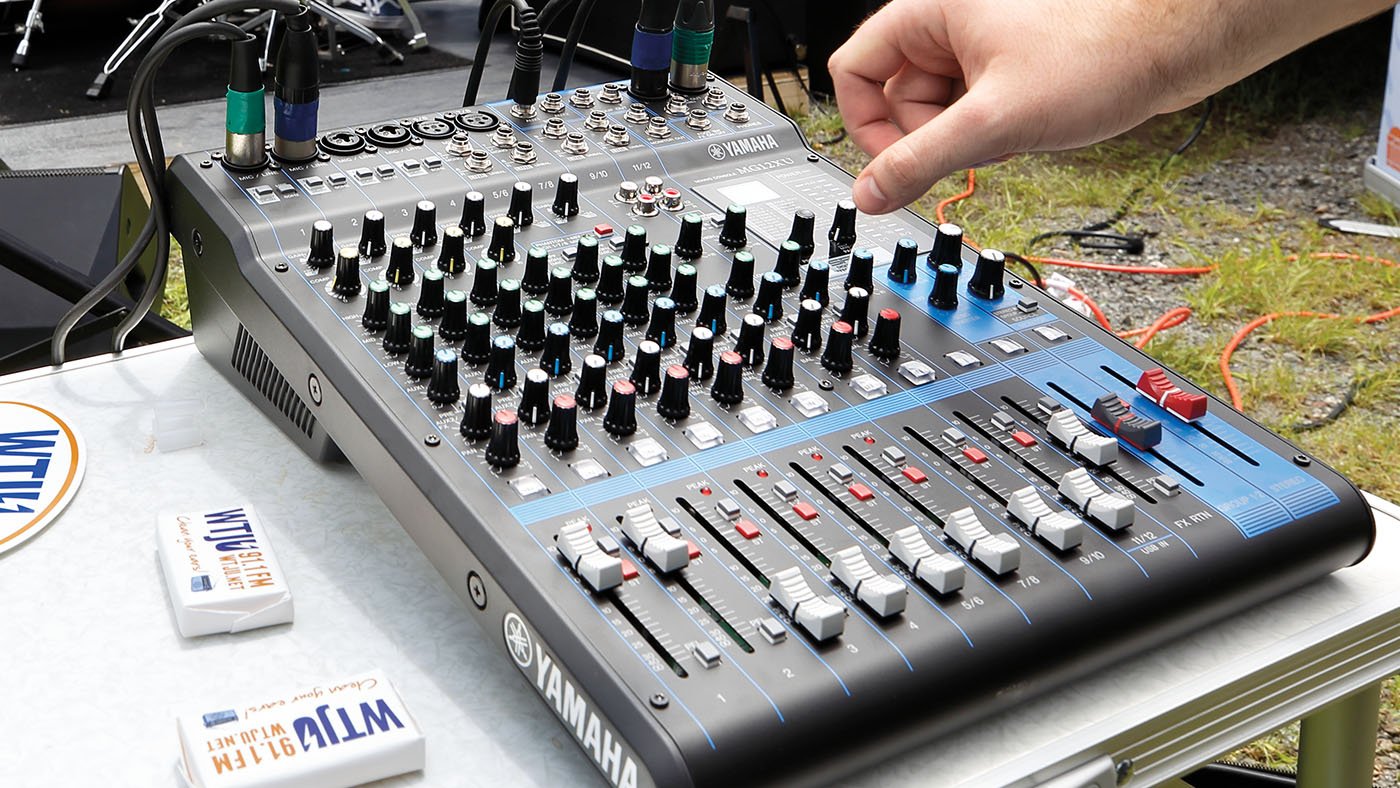
For effective FL Studio mixing, focus on EQ, compression, and balance of each track. When it comes to mixing in FL Studio, understanding the basics like using EQ to adjust frequencies, applying compression to control dynamics, and ensuring a good balance between tracks is essential.
These tips can help you achieve a professional sound quality in your mixes. With the right techniques and practice, you can elevate your music production to the next level. In this guide, we will explore some valuable tips and tricks to enhance your mixing process in FL Studio.
Let’s dive in and discover how you can create polished and professional-sounding mixes using FL Studio’s powerful tools and features.
Choosing The Right Sounds
When it comes to creating a stellar mix in FL Studio, choosing the right sounds is crucial.
Understanding The Role Of Each Sound
- Drums provide the rhythm and drive of the track.
- Melodic instruments add color and emotion.
- Bass lays down the foundation and groove.
Utilizing High-quality Samples
- Invest in premium sample packs for clarity and depth.
- Ensure each sound is well-recorded and free of noise.
- Experiment with different samples to find the perfect fit.
Setting Up Your Workspace
Creating an efficient workspace in FL Studio is crucial for smooth mixing. Let’s begin with optimizing your mixer settings.
Optimizing Your Mixer Settings
- Adjust volume levels to prevent clipping.
- Utilize panning to position tracks in the stereo field.
- Apply EQ to sculpt the sound of individual tracks.
Organizing Your Tracks
- Name your tracks clearly for easy identification.
- Color-code tracks to visually group elements.
- Arrange tracks logically to streamline your workflow.
Understanding Signal Flow
Gain insights into signal flow to enhance your Fl Studio mixing skills. Understanding how audio signals travel through your respective components ensures optimal control and manipulation during the mixing process. Mastering signal flow empowers you to achieve a polished and professional sound in your music productions.
Understanding Signal Flow Understanding signal flow in FL Studio is crucial to achieve a well-balanced mix. By comprehending how audio moves through the different elements of your project, you can effectively control and manipulate the sound to create a professional-sounding mix. Let’s delve into the key concepts of signal flow to elevate your mixing game.
Exploring Audio Routing
Audio routing is the foundational framework that directs the flow of audio signals within FL Studio. Understanding this process is essential for managing your mix effectively. When you import audio, it travels through a series of channels, each with its own designated tasks and processing. By grasping the concept of audio routing, you can harness the full potential of FL Studio’s capabilities, allowing you to craft a polished and cohesive sound.
Utilizing Sends And Returns
In FL Studio, sends and returns are powerful tools that enable you to apply effects to multiple tracks uniformly and efficiently. By establishing send channels, you can route a fraction of the signal from one track to another, where you can apply shared effects. This technique not only conserves CPU resources but also facilitates cohesive processing across various elements of your mix. Harnessing sends and returns grants you the ability to instill a sense of cohesion and depth in your mix, enhancing its overall impact.

Credit: videoandfilmmaker.com
Applying Effective Mixing Techniques
Discover essential Fl Studio mixing tips for applying effective mixing techniques. Learn how to create a balanced and professional sound using these key strategies. Elevate your music production skills with these actionable mixing tips.
Balancing Levels And Panning
When it comes to applying effective mixing techniques in FL Studio, balancing levels and panning are essential aspects to focus on. Balancing levels refers to adjusting the volume levels of different tracks in a mix to achieve a harmonious blend. Panning, on the other hand, involves placing the audio elements across the stereo spectrum to create a sense of depth and width. Both of these techniques play a crucial role in creating a well-balanced and immersive audio experience for the listener.
Here are some key tips for balancing levels:
- Start by setting the faders of each track to their default level (usually around -6 dB) to create a neutral starting point.
- Listen to the mix as a whole and identify any tracks that stand out or sound too prominent. Gradually adjust their volume levels until they blend well with the rest of the elements.
- Use your ears and trust your instincts. Pay attention to the relationship between different instruments and adjust their levels accordingly to maintain a balanced mix.
In addition to balancing levels, panning can greatly enhance the spatial dimension of your mix. Here are some tips for effective panning:
- Consider the stereo field as a virtual stage. By panning different instruments to specific positions, you can create a sense of space and create separation between elements.
- Experiment with panning both mono and stereo tracks. While mono tracks are typically placed at the center, stereo tracks can be panned wider or narrower to achieve the desired width.
- Avoid excessive panning, as it can make the mix sound unnatural and disorienting. Aim for a balanced distribution of elements across the stereo spectrum.
Using Eq And Compression
Another important aspect of applying effective mixing techniques in FL Studio is the use of EQ and compression. These tools allow you to shape the tonal balance and dynamics of individual tracks, helping them fit together seamlessly in the mix.
Here are some tips for using EQ effectively:
- Identify the frequency range of each instrument and use EQ to enhance or reduce specific frequencies to improve clarity and eliminate muddiness.
- Avoid excessive EQ boosts, as they can introduce unwanted artifacts and make the mix sound harsh. Instead, focus on subtle adjustments to achieve a natural and balanced sound.
- Consider using high-pass filters to remove unnecessary low-frequency content from non-bass instruments, creating more space in the mix and preventing muddiness.
Compression is another powerful tool for controlling the dynamics of individual tracks and adding cohesion to the mix. Here are some tips for using compression effectively:
- Start with a low compression ratio and gradually increase it until you achieve the desired level of control. Be careful not to over-compress, as it can squash the dynamics and make the mix sound dull.
- Use compression to even out the volume variations of a track, making softer passages more audible without overpowering the louder parts.
- Experiment with attack and release settings to shape the transient response of the instruments and create a more balanced and polished sound.
Utilizing Effects Creatively
Enhance your FL Studio mixes by exploring innovative effects techniques to elevate your sound productions and create unique auditory experiences. Experiment with modulation, reverb, and delay to add depth and character to your tracks, pushing creative boundaries in your music production journey.
Implementing Reverb And Delay
Reverb and delay are two effects that can take your FL Studio mixes to the next level. Reverb adds space and depth to your sound, replicating the natural reverberations heard in different environments. On the other hand, delay creates echoes, giving your tracks a sense of movement and dimension. When used creatively, these effects can transform a dull and flat mix into something rich and immersive.
Using Reverb
To make the most out of reverb, consider the following tips: 1. Start with a subtle amount of reverb and gradually increase it until you achieve the desired effect. Too much reverb can make your mix sound muddy and indistinct. 2. Experiment with different types of reverb to find the one that best suits your track. Whether it’s a hall, plate, or room reverb, each type has its unique characteristics and can elicit a different emotional response. 3. Apply reverb to specific elements in your mix rather than adding it to the entire track. This way, you can create a sense of space and depth without overwhelming the entire mix.
Experimenting with Delay
When it comes to using delay creatively, here are a few techniques to try: 1. Automate the delay parameters to add movement and variation to your tracks. By changing the delay time, feedback, or panning throughout the song, you can create interesting and dynamic textures. 2. Use ping-pong delay to create a stereo image that bounces the sound between the left and right speakers. This technique can add width and depth to your mix while keeping it balanced. 3. Emphasize specific phrases or notes by applying a short delay to certain elements. This can help highlight important parts of your composition and make them stand out. Remember, the key to utilizing effects creatively is to experiment and trust your ears. Don’t be afraid to push the boundaries and try new things. By incorporating reverb and delay in innovative ways, you can elevate your FL Studio mixes and bring them to life.

Credit: www.amazon.com

Credit: www.crutchfield.com
Frequently Asked Questions For Fl Studio Mixing Tips
Faq 1: What Are Some Essential Mixing Tips For Fl Studio?
FL Studio is a powerful software for music production. To improve your mixing skills, always start with proper gain staging, use EQ and compression wisely, employ automation for dynamic control, utilize effects in moderation, and ensure the final mix is balanced and cohesive.
Faq 2: How Can I Achieve A Professional Sound When Mixing In Fl Studio?
To achieve a professional sound in FL Studio, focus on good source material, pay attention to arrangement and sound selection, use reference tracks for guidance, apply proper panning and stereo imaging techniques, utilize bus processing for group control, and master your final mix through a dedicated mastering chain.
Faq 3: What Are Some Common Mistakes To Avoid When Mixing In Fl Studio?
When mixing in FL Studio, avoid excessive use of effects, over-compression, neglecting proper leveling, disregarding room acoustics, relying solely on presets, using too many plugins simultaneously, and not regularly taking breaks to freshen your ears.
Faq 4: How Can I Improve The Low-end Balance In My Mixes Using Fl Studio?
To achieve a balanced low-end in your mixes using FL Studio, use high-pass filters to remove unnecessary low frequencies, utilize low-frequency monitoring and referencing, employ sidechain compression to clear up space, pay attention to the interaction between kick and bass elements, and use EQ to sculpt and enhance the low-end frequencies.
Conclusion
In closing, these FL Studio mixing tips will help you take your music to the next level. By focusing on levels, panning, and EQ, you can achieve a clear and balanced mix. Experiment with effects, compression, and automation to add depth and nuance to your tracks.
With practice and perseverance, you can master the art of mixing in FL Studio.