To uninstall plugins on a Mac, open the Finder, click on “Go” in the menu, and then select “Go to Folder.” Type “/Library/Internet Plug-Ins” and hit Enter.
Delete the plugins that you want to uninstall. When it comes to optimizing your Mac’s performance, managing plugins is essential. Uninstalling unnecessary plugins can help improve system performance, free up storage space, and enhance security. Read on to discover the simple steps for uninstalling plugins on a Mac and ensure smooth functioning of your device.
Keep your Mac running efficiently by removing unwanted plugins and streamlining its performance.
Credit: support.apple.com
Why Uninstall Plugins
When it comes to managing your Mac’s performance and storage space, uninstalling unnecessary plugins can make a significant difference. By removing unwanted plugins, you can improve performance and free up storage space, ultimately enhancing the overall efficiency of your Mac.
Improve Performance
Uninstalling unnecessary plugins can help enhance your Mac’s performance. When your system is overloaded with plugins, it can slow down the overall speed and responsiveness of your device. By removing unused plugins, you can reduce the burden on your system and ensure that the remaining plugins operate efficiently.
Free Up Storage Space
Unused plugins can take up valuable storage space on your Mac. This can lead to a cluttered system and limited available storage for other essential files and applications. By uninstalling plugins that are no longer needed, you can effectively free up storage space and ensure that your Mac has ample room for important data and applications.
Before You Begin
When uninstalling plugins on your Mac, there are some important steps to take before getting started. By following these necessary precautions, you can ensure a smooth and uninterrupted process of uninstallation. Let’s take a look at what you should consider before uninstalling plugins from your Mac.
Check Compatibility
Prior to uninstalling any plugins from your Mac, it is essential to check for compatibility with your operating system. Some plugins may not be compatible with the latest updates of macOS and could cause issues if not uninstalled correctly. Verify the compatibility of the plugin with your current operating system version to avoid any potential conflicts during the uninstallation process.
Create Backup
Creating a backup of your system is vital before removing any plugins. This is an important precautionary step to safeguard your data in case of any unexpected issues arising during the uninstallation process. You can create a backup using Time Machine or any other reliable backup system available for Mac. By having a backup, you can easily restore your system to its previous state if anything goes wrong during the uninstallation.
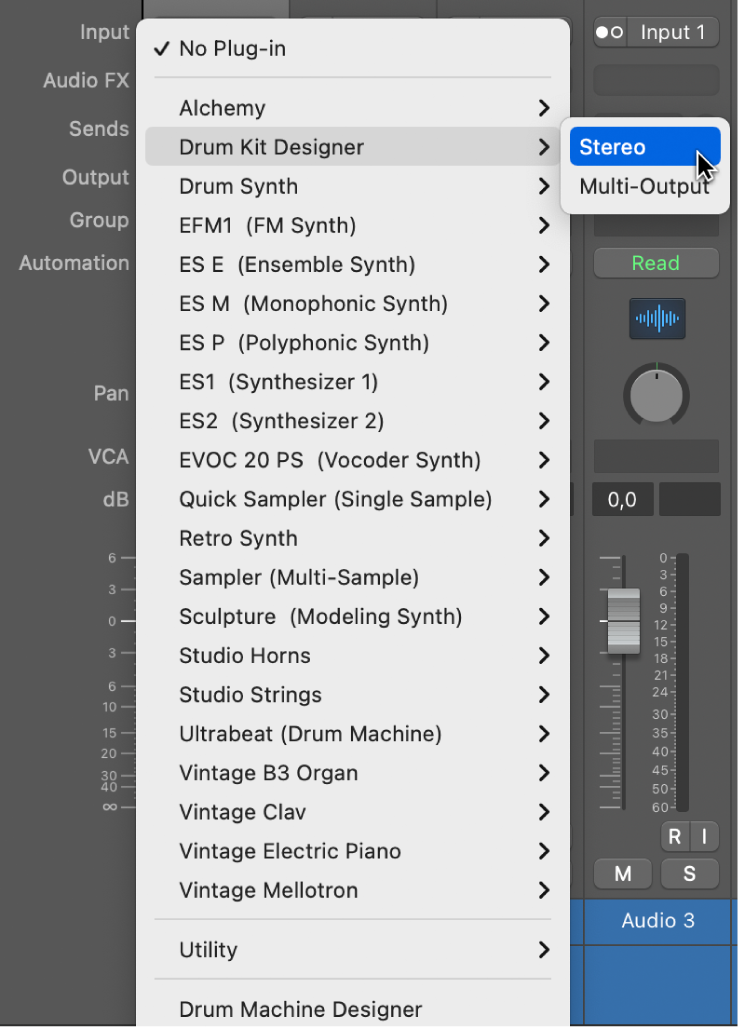
Uninstalling Plugins
When it comes to maintaining your Mac’s performance and optimizing its functionality, it’s essential to keep your plugins in check. Unnecessary or outdated plugins can slow down your system and even compromise its security. In this section, we will guide you through the process of uninstalling plugins on your Mac, step by step.
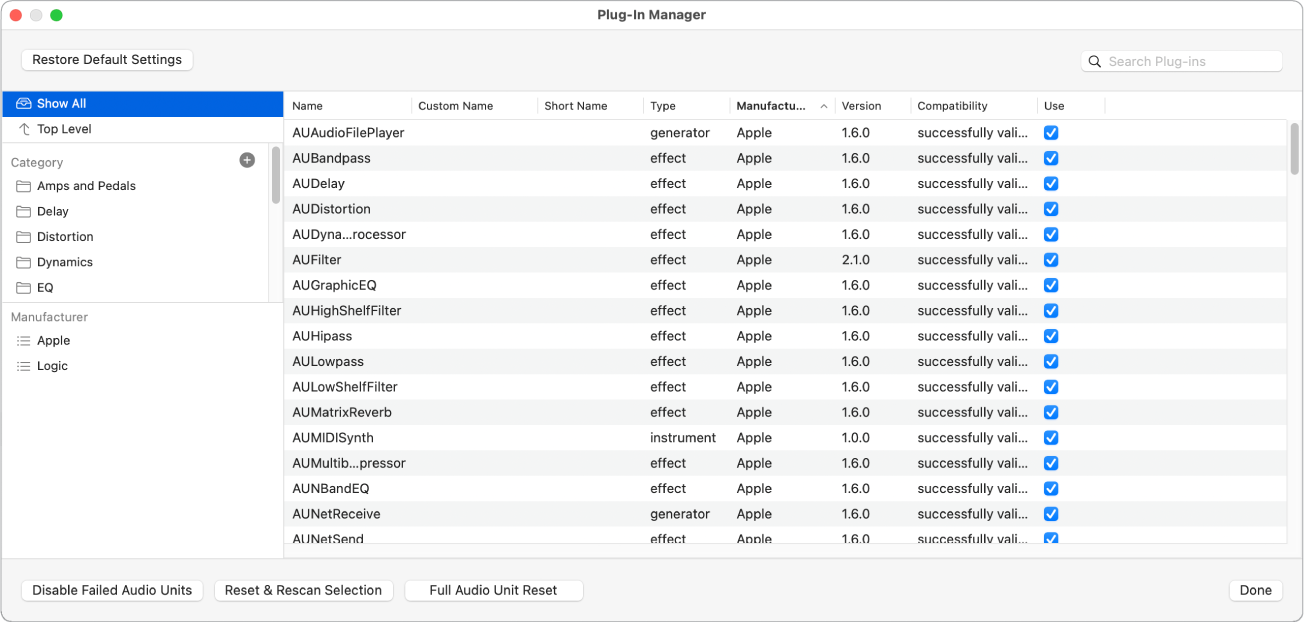
Access Plug-in Manager
To begin the process of uninstalling plugins, you’ll need to access the Plug-in Manager on your Mac. The Plug-in Manager is a central hub where you can easily manage and remove all the plugins installed on your system.
- First, click on the Apple menu in the top-left corner of your screen.
- From the drop-down menu, select “System Preferences.”
- In the System Preferences window, locate and click on the “Extensions” icon.
- Now, in the left sidebar, you’ll find “Plug-in Manager.”
- Click on “Plug-in Manager” to open it.
Find Desired Plugin
Once you’ve accessed the Plug-in Manager, the next step is to locate the plugin you want to uninstall.
- In the Plug-in Manager, you’ll find a list of all the plugins installed on your Mac.
- Scroll down or use the search function to find the desired plugin.
- Note: If you’re unsure about the plugin’s name or location, you can also check the corresponding application’s website or support documentation for more information.
Remove Plugin
Once you’ve found the plugin you want to uninstall, you can now proceed with removing it from your Mac.
- In the Plug-in Manager, select the plugin you want to remove by clicking on it.
- After selecting the plugin, you’ll see an option to disable or remove it.
- Click on the “Disable” or “Remove” button, depending on your preference.
- Confirmation prompt: In some cases, you may be prompted to confirm the removal. If so, click “OK” or “Confirm” to proceed.
- The chosen plugin will now be uninstalled from your Mac.
By following these simple steps, you can easily uninstall plugins from your Mac and streamline its performance. Remember to regularly review and remove any unnecessary plugins to ensure your system runs smoothly and efficiently.
Credit: support.apple.com
Additional Steps
When uninstalling plugins on a Mac, there are some additional steps you can take to ensure a clean removal process. These extra measures will help in deleting any leftover files and clearing cache associated with the plugin.
Delete Associated Files
It’s crucial to delete any files related to the plugin to avoid any remnants causing issues later on. Locate the plugin’s folder in the Library directory and delete it manually.
Clear Plugin Cache
Clearing the plugin cache is essential to eliminate any cached data that may interfere with future installations. Navigate to the Cache folder in the Library directory and delete the plugin’s cache files.
Final Thoughts
Uninstalling plugins on a Mac can be a simple process. Follow these steps to easily remove unwanted plugins from your device.
Regular Plugin Maintenance
Regularly audit and remove unnecessary plugins to improve system performance.
Review plugin usage and relevance to avoid cluttering your Mac internally.
- Identify plugins causing issues by checking for compatibility and updates.
- Delete inactive plugins to prevent system slowdowns and conflicts.
Consider Alternative Solutions
Explore other options before resorting to plugin removal for specific functionalities.
- Search for built-in Mac features that can replace the plugin’s function
- Consider standalone applications that perform plugin tasks more efficiently.
To optimize your Mac’s performance, regular maintenance and exploring alternative solutions are key.
Credit: www.geeksforgeeks.org
Frequently Asked Questions Of How To Uninstall Plugins Mac
How Do I Uninstall Plugins On A Mac?
To uninstall plugins on a Mac, open the Applications folder, locate the plugin you want to remove, and drag it to the Trash. Empty the Trash to complete the uninstallation process.
Can I Disable Plugins Instead Of Uninstalling Them?
Yes, you can disable plugins on a Mac without uninstalling them. Go to the browser’s settings or application preferences to disable the plugin temporarily. This can help troubleshoot issues without removing the plugin completely.
Are There Any Third-party Uninstaller Tools For Mac Plugins?
Yes, there are third-party uninstaller tools available for Mac that can help you remove plugins more thoroughly. Some popular options include AppCleaner, CleanMyMac, and Hazel. These tools can ensure complete removal of plugins and associated files.
Conclusion
To summarize, removing plugins from your Mac is a straightforward process that can optimize your device’s performance. By following the steps outlined in this guide, you can easily uninstall unwanted plugins and free up valuable resources on your Mac. Remember, regularly reviewing and removing plugins deemed unnecessary is a proactive approach to maintaining a smooth and efficient system.
So, don’t hesitate to take control of your Mac’s plugins and enjoy a clutter-free experience.