Ableton Live is a powerful digital audio workstation (DAW) that offers a wide range of tools and effects for music production. One essential tool in every producer’s toolkit is the Limiter. The Limiter is an audio effect used to control the dynamic range of a track by preventing the audio signal from exceeding a certain level, known as the “ceiling”. In this article, we will explore how to use the Limiter in Ableton Live to optimize the quality and loudness of your tracks.
Credit: musictech.com
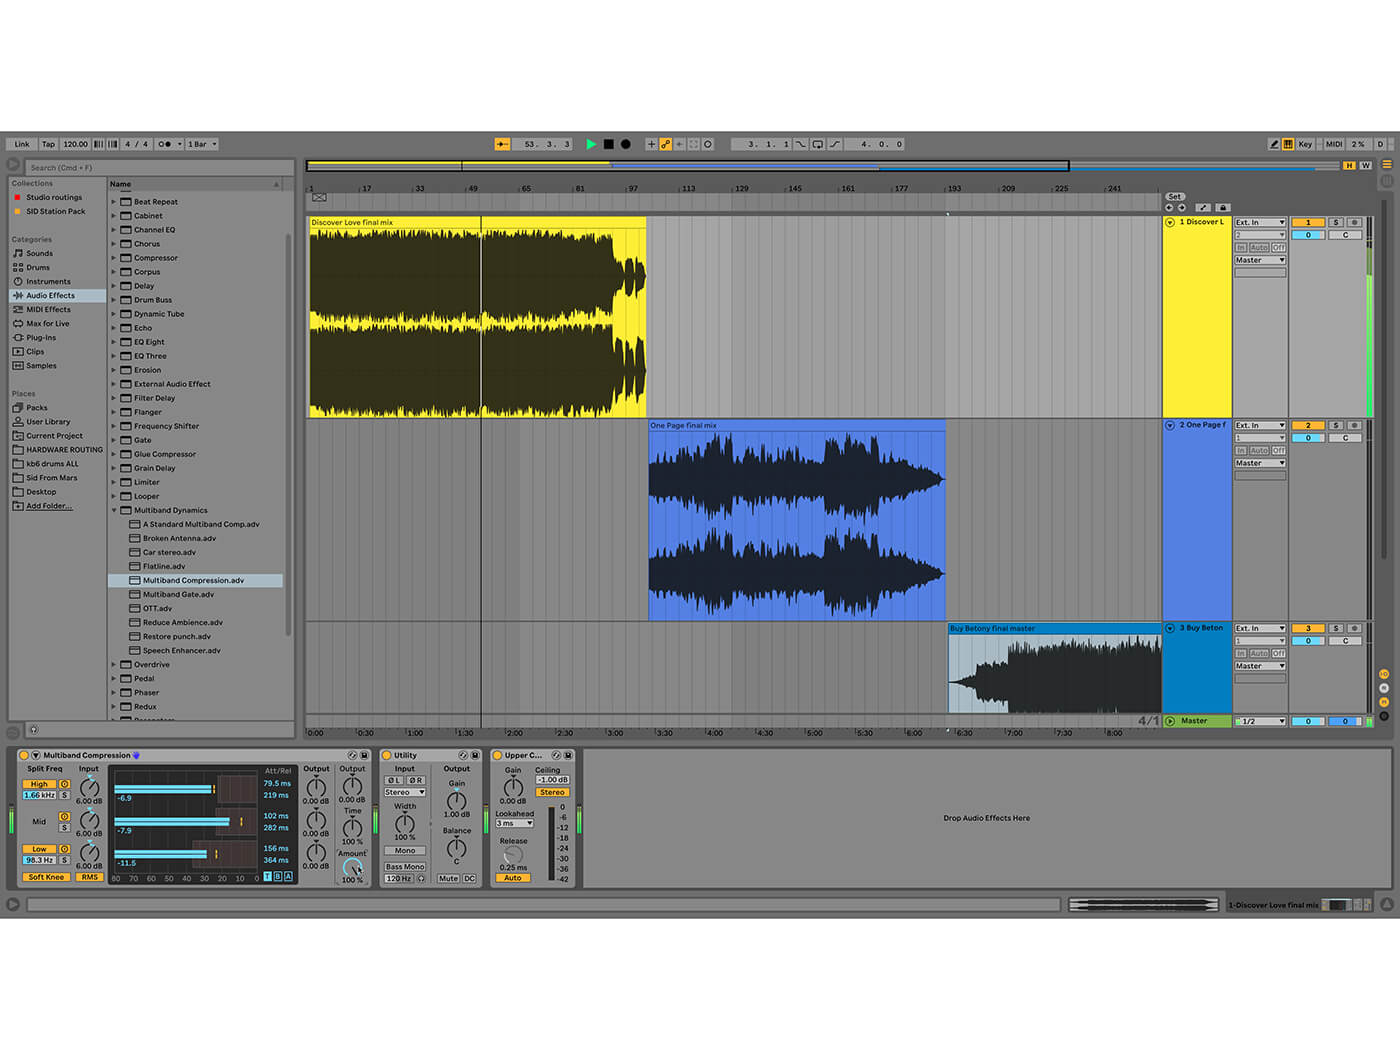
Step 1: Adding the Limiter to a Track
To begin, open Ableton Live and create a new project. Select a track that you want to apply the Limiter to and navigate to the “Audio Effects” section of the sidebar. Locate the “Limiter” effect and drag it onto the track.

Credit: www.masteringthemix.com
Step 2: Adjusting the Parameters
Once the Limiter is added to the track, you can start adjusting the parameters to achieve the desired effect. The main parameters you need to focus on are:
| Parameter | Description |
|---|---|
| Threshold | This determines the volume level at which the Limiter kicks in. Adjust the threshold according to the dynamics of your track. Lower values result in more limiting. |
| Gain | This controls the amount of gain applied to the limited signal. Increase the gain to add more loudness to your track, but be careful not to introduce distortion. |
| Release | The release time determines how quickly the Limiter stops applying gain reduction after the input level drops below the threshold. Longer release times can result in a more natural sound. |
Step 3: Monitoring the Gain Reduction
It’s important to monitor the gain reduction meter while adjusting the parameters. The gain reduction meter displays the amount of gain being reduced by the Limiter. Aim for a moderate amount of gain reduction to achieve a balanced sound without sacrificing too much dynamics.
Step 4: Comparing Before and After
When working with the Limiter, it’s always a good idea to compare the sound before and after applying the effect. Toggle the Limiter on and off to hear the difference it makes to the overall loudness and dynamics of the track. Fine-tune the parameters until you achieve the desired result.
Step 5: Using the Limiter as a Mastering Tool
The Limiter is also commonly used as a mastering tool to ensure the final mix reaches an optimal loudness level. In this case, instead of adding the Limiter to individual tracks, you apply it to the master track. Adjust the parameters to achieve a balanced and loud final mix.
Remember, moderation is key when using the Limiter. It’s easy to over-compress your tracks and end up with a result that lacks dynamics and sounds unnatural. Use your ears and make small adjustments to preserve the integrity of your mix while achieving a professional sound.
By following these steps, you can effectively use the Limiter in Ableton Live to enhance the quality and loudness of your tracks. Experiment with different settings and find the sweet spot that works best for your music. With practice and a keen ear, you’ll be able to achieve polished and professional-sounding tracks.
Frequently Asked Questions Of Using The Limiter In Ableton Live : Mastering Your Sound.
What Is The Limiter In Ableton Live?
The Limiter in Ableton Live is a powerful audio effect used to prevent audio signals from exceeding a specified level.
How Does The Limiter Work In Ableton Live?
The Limiter works by setting a threshold level, preventing the audio signal from exceeding that point, and applying gain to boost the overall volume.
Is The Limiter Essential For Audio Production?
Yes, the Limiter is essential for controlling and maximizing the loudness of audio tracks in Ableton Live, ensuring a balanced and professional sound.
Can The Limiter Be Used For Mastering In Ableton Live?
Absolutely, the Limiter is commonly used in mastering to increase the loudness of a mix while preventing clipping and distortion.