Do you want to take your music production skills to the next level? Look no further than Ableton Live, one of the most popular digital audio workstations (DAWs) among musicians, producers, and DJs. In this article, we will delve into the world of audio recording in Ableton Live and explore the essential concepts you need to understand to master this powerful software.
1. Setting Up Your Audio Interface
Before you can start recording audio in Ableton Live, it’s crucial to set up your audio interface properly. Connect your audio interface to your computer and launch Ableton Live. Navigate to the preferences menu and select your audio interface as the input and output device. Remember to adjust the sample rate and buffer size for optimal performance.
2. Understanding Tracks
In Ableton Live, tracks are the building blocks of your projects. They can be either audio tracks or MIDI tracks. Audio tracks are used for recording audio, while MIDI tracks are used for programming virtual instruments. To create an audio track, simply right-click on the empty space in the track area and select “Insert Audio Track.”
3. Choosing the Right Inputs and Outputs
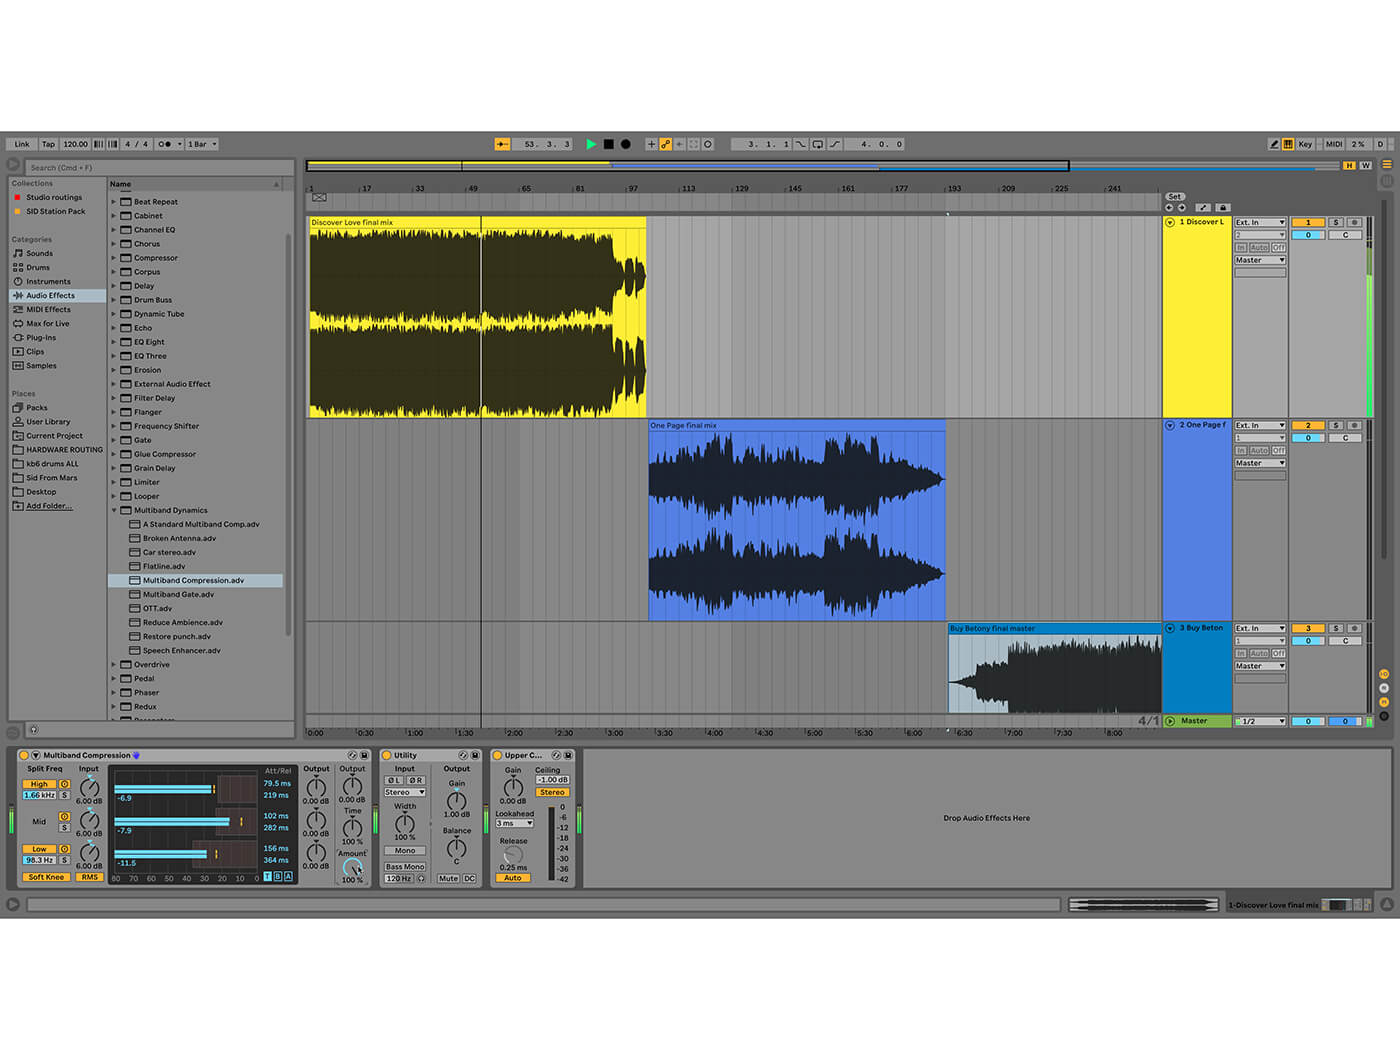
Once you have created an audio track, it’s time to select the appropriate input and output sources. Click on the “In” and “Out” menus on the track header to choose the desired audio inputs and outputs. It’s essential to choose the correct input source to ensure that Ableton Live receives the audio signal correctly.
Credit: www.facebook.com
4. Enabling Monitoring
Monitoring allows you to hear the audio input in real-time as you record. By default, monitoring is disabled in Ableton Live. To enable it, click on the “Monitor” button on the track header. You can choose between “Auto,” “In,” or “Off.” The “Auto” option enables monitoring when the track is armed for recording.
5. Arm the Track for Recording
Before you can start recording, you need to arm the audio track. Click on the “Arm” button on the track header to enable recording. The button will turn red when the track is armed. You can also arm multiple tracks at once by holding down the “Shift” key and clicking on the “Arm” buttons of the desired tracks.
6. Setting the Correct Input Levels
Properly setting the input levels is crucial to achieve high-quality recordings. To avoid clipping and distortion, make sure the input signal is strong enough but not too loud. Use the “Input Gain” knob on your audio interface or the “Input Gain” controls in Ableton Live to adjust the input levels. Aim for a healthy signal level that never reaches the “Red” zone.
Credit: musictech.com
7. Recording in Session View
Ableton Live offers two primary recording modes: Session View and Arrangement View. In Session View, you can record and experiment with ideas spontaneously. To record audio in Session View, make sure the track is armed for recording and press the record button located above the track. Hit the play button to start recording, and press stop when you are done.
8. Recording in Arrangement View
In Arrangement View, you can arrange your recorded clips into a song structure. To record in Arrangement View, click on the “Arrangement Record” button located at the top of the screen. This mode allows for more precise editing and fine-tuning of your recordings. You can overdub multiple takes and rearrange them easily.
9. Editing and Post-Processing
After recording your audio, it’s time to edit and refine your recordings. Ableton Live offers a wide range of editing tools and techniques to help you polish your recordings. You can trim, crop, duplicate, and reverse audio clips. You can also apply various audio effects, adjust the volume and panning, and even time-stretch your recordings.
10. Exporting Your Final Recording
Once you are satisfied with your recordings and editing, it’s time to export your final masterpiece. Ableton Live provides various export options, allowing you to choose the file format, sample rate, and bit depth. Click on the “Export” button and follow the on-screen prompts to export your audio file.
Frequently Asked Questions On Understanding Audio Recording In Ableton Live : Master Your Mixes
How Can I Improve Audio Recording Quality In Ableton Live?
To improve audio recording quality in Ableton Live, consider using a high-quality microphone and ensuring optimal soundproofing in your recording space.
What Are Some Essential Tips For Recording Vocals In Ableton Live?
For recording vocals in Ableton Live, make sure to use a pop filter and adjust microphone placement to achieve the best sound quality. Additionally, experiment with different room acoustics.
Why Is Monitoring Important During Audio Recording In Ableton Live?
Monitoring is crucial during audio recording in Ableton Live as it allows you to hear the real-time sound, ensuring optimal levels and avoiding unwanted distortions in the recording.
How Can I Reduce Background Noise In My Audio Recordings In Ableton Live?
To minimize background noise in audio recordings in Ableton Live, try using noise reduction plugins or positioning the microphone closer to the sound source while maintaining proper gain levels.
Conclusion
Understanding audio recording in Ableton Live is crucial for unleashing your creative potential in music production. With the knowledge gained from this article, you are now equipped to navigate the world of audio recording in Ableton Live confidently. Remember to experiment, have fun, and keep refining your recordings to create professional-quality music.