To achieve the perfect monitoring levels for your home studio, it is necessary to strategically place the monitor speakers at ear level and create a symmetrical triangle with your head forming the apex. This will ensure an accurate and balanced sound.
When setting up a home studio, it’s essential to consider the monitoring levels to ensure that the recorded sound is top-notch. Experienced sound engineers and producers appreciate the importance of having reliable monitoring levels as it enables them to hear the sound as it truly is.
The right monitoring level is crucial to preventing having a mix that’s too bass-heavy or treble-heavy, creating negative effects on the final output. We’ll go over some significant guidelines to follow so that you can achieve the most accurate monitoring levels possible. We will examine topics such as monitor placement, eq settings, and acoustic treatment.
Importance Of Monitoring Levels
Proper monitoring levels are crucial for a home studio setup as it allows you to accurately hear and assess the sound quality of your recordings. It helps you to adjust your settings so that you can produce the best possible audio output and create professional-quality sound.
With the right monitoring levels, you can achieve excellent clarity and balance in your music productions.
Why It’s Important
Monitoring levels are the most important factor to consider when it comes to mixing music in a home studio environment. The reason behind this is quite straightforward: without efficient monitoring, your mix sounds will not translate well to other listening environments such as home theatres, car stereos, or even smartphones. Monitoring levels in the studio environment are crucial in creating a mix that sounds cleared and balanced in any listening environment. Therefore, it is crucial to optimize the monitoring levels in your home studio for an uncompromised hearing experience.
How It Affects Your Mix
The monitoring levels in your home studio can have a drastic impact on the quality of your mix. Whether you’re working on a beat, recording a vocal, or performing a mixdown, the quality of the sound you work on will always depend on your monitoring levels. If you’re listening too loudly, you’re damaging your hearing, which limits your ability to make nuanced mixing decisions. On the other hand, if you’re listening too quietly, you’re going to miss critical elements in your mix and make inaccurate mixing decisions. Therefore, optimal monitoring levels that you maintain in your home studio provide accurate feedback to make informed mixing decisions.
Optimizing Your Monitoring Levels
To optimize your monitoring levels, you want to aim for a balanced sound that is neither too quiet nor too loud. This level is usually between 75dB to 85dB, while peak levels should never exceed 100dB. Ideally, your monitors should be placed at an equal distance and at an equal angle from your listening position. Additionally, using high-quality monitors and acoustic treatment can improve your monitoring experience even more. Lastly, it’s best to have an all-rounded knowledge of the monitoring levels as well as using your ears to make informed mixing decisions.
Understanding Decibel (db) And Frequency (hz)
Understanding the relationship between decibel (dB) and frequency (Hz) is crucial in determining optimal monitoring levels for your home studio. By finding the perfect balance between these two factors, you can achieve a clear and accurate sound without damaging your hearing or equipment.
Understanding Decibel (dB) and frequency (Hz) When it comes to setting up the perfect monitoring levels for your home studio, it’s essential to understand decibel and frequency. Decibel (dB) is a measure of sound intensity, while frequency (Hz) refers to the number of sound cycles per second. To ensure the best listening experience in your home studio, it is crucial to understand decibels and frequency. ## Decibel explained A decibel is a unit that measures the intensity of sound. The human ear can hear a range of sounds from 0 dB (threshold of hearing) to 120 dB (threshold of pain). The sweet spot for monitoring levels in a home studio is usually between 85 dB and 90 dB. It’s important to remember that as the decibel level increases, the time limit on safe exposure decreases. So, it’s crucial to keep your ears safe and never exceed the recommended exposure time. ## Frequency explained Frequency refers to how high or low a sound is, measured in hertz (Hz). Every sound has a frequency, and the range of human hearing ranges from 20 Hz to 20,000 Hz. The most important frequencies for monitoring in a home studio are usually between 80 Hz and 10 kHz. This range ensures that you can hear all the critical details in your music, including bass, mid-range, and treble. To ensure the perfect monitoring levels for your home studio, it’s essential to understand decibel and frequency. By testing different levels, one can discover the optimum range for various tasks in the studio. Use a decibel meter to measure the volume level and a frequency analyzer to identify the range during the monitoring process.
Sound Pressure Level (spl) And Your Ears
Achieving the perfect monitoring levels in your home studio is crucial to avoid damaging your ears. Understanding sound pressure levels (SPL) and how they impact our hearing can help you achieve a well-balanced mix without causing harm.
Spl Effects On Ears
When it comes to operating a home studio, monitoring your sound pressure levels (SPL) is essential – not only to protect your ears but also to understand how noise impacts your audio quality. Sound can potentially damage your ears if you listen to it too loudly or for an extended period. Even sounds below the pain threshold can harm your hearing if you’re exposed to them frequently. It’s important to note that, if you expose your ears to sounds over 85 decibels (dB), it can damage your hearing. For reference, normal conversation is around 60 dB, traffic noise can be from 80 to 90 dB, and a rock concert can exceed 100 dB. Therefore, it’s crucial that you monitor your SPL levels to avoid hearing damage.
Protecting Your Ears
Protecting your ears when operating a home studio is essential. One way to keep track of sound levels is to use a sound level meter. This device can measure noise in decibels and provide readings that indicate when it’s time to take a break. It’s also a good idea to invest in a pair of quality over-ear headphones that block external noise and provide accurate audio reproduction without straining your ears. Remember that everyone’s hearing is unique, so what may be tolerable for one person may not be for another. It’s essential to trust your instincts and to ensure you’re comfortable with the volume levels you’re working with. In conclusion, monitoring your SPL levels and protecting your ears is vital for any home studio operator. By investing in the right tools and being attentive to how your ears respond to sound, you’ll be able to create excellent audio while avoiding some of the risks that can come with prolonged exposure to loud noises.
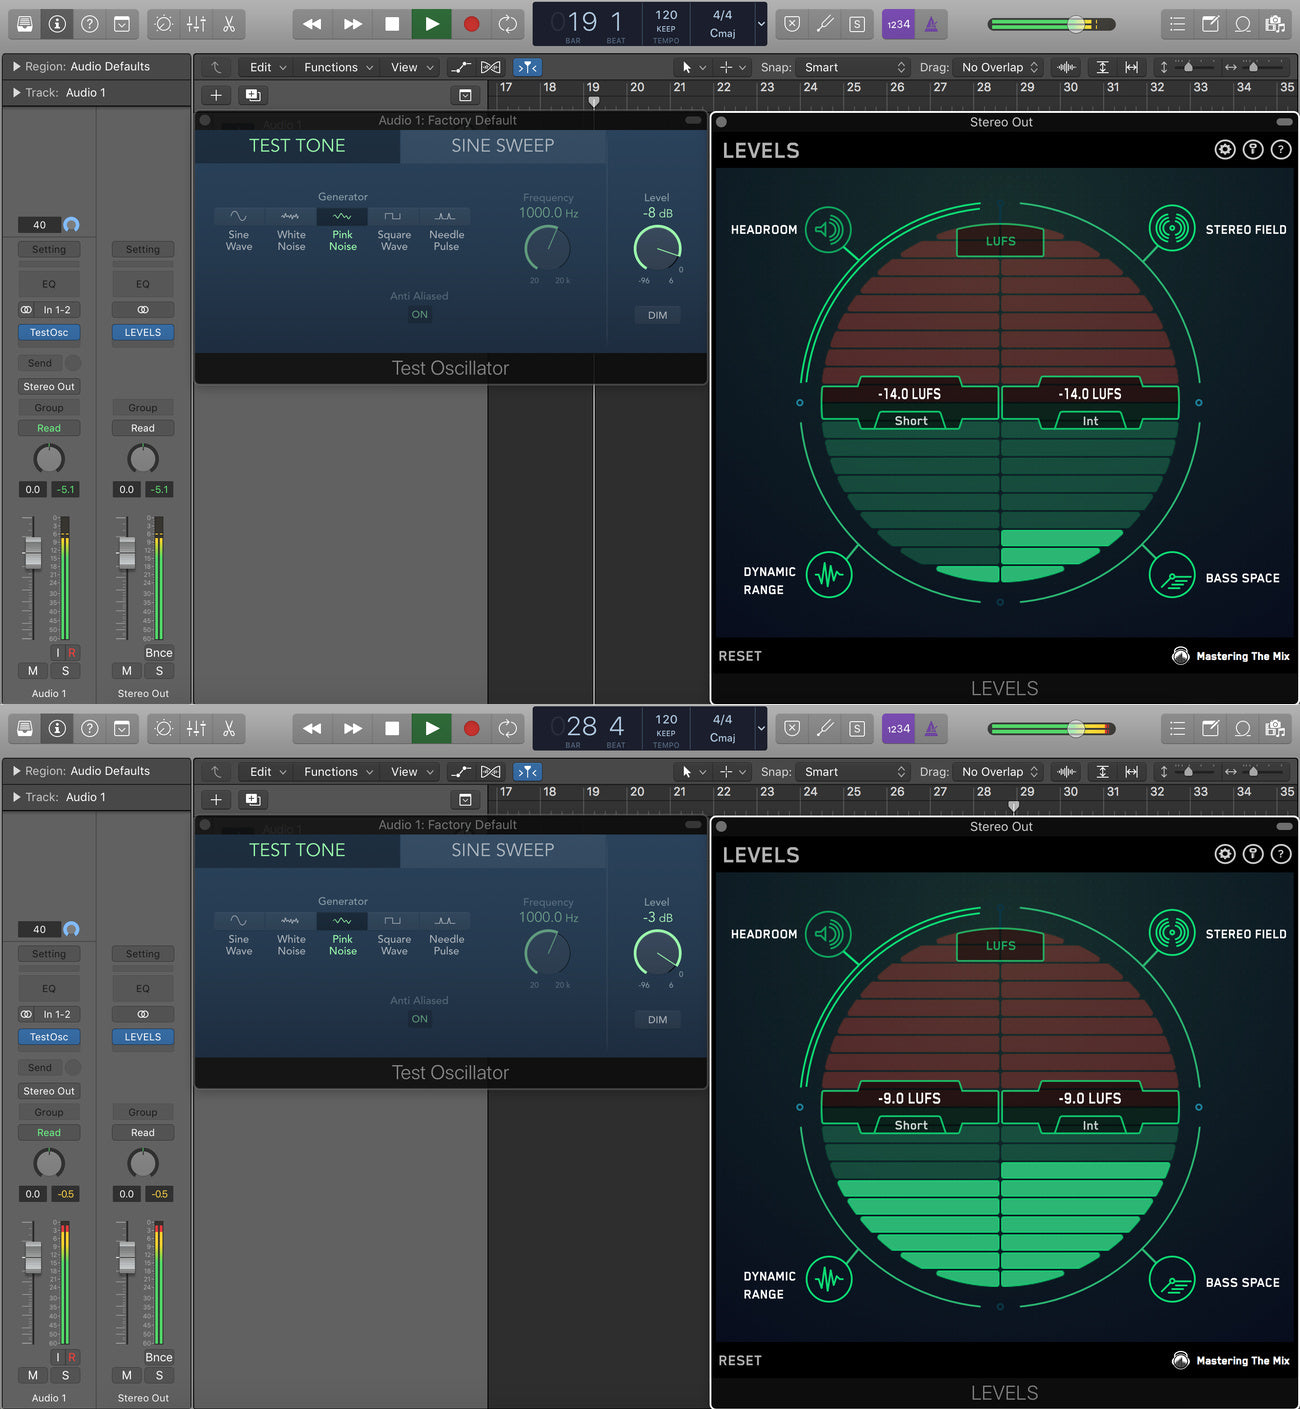
Credit: www.masteringthemix.com
Setting Up Your Home Studio For Monitoring
Achieving the perfect monitoring levels in your home studio is crucial for producing high-quality recordings. Setting up your home studio for monitoring involves ensuring that your equipment and environment are optimized to accurately represent the sound of your recordings. With proper attention to detail, you can create a monitoring setup that helps you achieve the best possible results.
Speaker Placement
Proper speaker placement in your home studio is critical in achieving accurate and balanced sound monitoring. The first step is to ensure that the speakers are placed at an equal distance from where you will be sitting. It is also essential to position them facing the mixing position with a slight angle towards the listening spot. Avoid placing speakers near walls and corners as this can cause the speakers to create frequencies that can cause phase cancellation and compromise the accuracy of your monitoring.
Acoustics
Acoustics are vital in ensuring that your monitoring environment is optimized for accurate sound reproduction. When it comes to acoustics, it is important to take into account the size and shape of your studio. For smaller studio spaces, you can consider adding bass traps and diffusers to absorb sound waves that can cause standing waves and other acoustic issues. Additionally, if your room has hard surfaces such as concrete or hardwood, consider adding sound-absorbing materials such as acoustic foam or carpet to prevent sound reflections.
Calibration
Once the speakers are appropriately placed and acoustic treatment is done, it is critical to calibrate your speakers to ensure that they are functioning optimally. Calibration ensures that the speakers are producing accurate and balanced sound performance. Many home studio monitoring systems come with room correction software that can help you calibrate your speakers to achieve the best results.
Conclusion
Setting up your home studio for monitoring is crucial to achieve accurate and balanced sound reproduction. Proper speaker placement, acoustics, and calibration of your monitoring system can make all the difference in producing a professional mix.
Calibrating Your Monitors
Achieving the perfect monitoring levels for your home studio requires proper calibration of your monitors. By using software and a calibrated measurement microphone, you can ensure accurate and balanced sound reproduction at all times.
Calibrating Your Monitors: Calibrating your monitors is one of the most crucial steps in setting up your home studio. The process ensures that your studio monitors produce the most accurate sound possible, which helps to make better decisions when mixing and mastering your tracks. In this section, we will discuss the tools you need to calibrate your studio monitors and the steps you should follow to ensure each H3 heading adheres to HTML syntax. Tools required: Before calibrating your monitors, you will need the following tools: – A quality sound meter – A ruler or tape measure – An EQ plugin The sound meter is essential for measuring the sound pressure level (SPL) of your monitors. A ruler or tape measure is required to measure the distance between your monitors correctly, while an EQ plugin helps to adjust the frequency response of your monitors. How to calibrate: Now that you have the necessary tools let’s dive into the calibration process. 1. Turn off any sound sources in your studio and ensure that there are no external noises that may interfere with the calibration process. 2. Place your sound meter at the position where your head will be while mixing. The position aligns with the listener’s perspective, which helps you to have an accurate reference point. 3. Set your meter to C-weighted and slow response settings, then play pink noise at a level of 75dB SPL. 4. Measure the SPL of each monitor and adjust the volume of each monitor to ensure that they match within ±0.5dB. 5. Once the volume levels have been correctly set, use your EQ plugin to adjust the frequency response of your monitors. Always use a reference track to ensure that you have calibrated your monitors correctly. 6. Lastly, measure the distance between your monitors and make adjustments if necessary. The ideal distance should be around 38% of the distance between your monitors and your head. Using these steps to calibrate your monitors will help you achieve the most accurate sound possible, making it easier to create high-quality mixes and masters.
Ideal Monitoring Levels For Your Home Studio
Achieving the perfect monitoring levels in your home studio can be a vital component for producing high-quality audio mixes. It’s important to consider factors such as room size, speaker placement, and listening volume to ensure accurate sound representation.
Achieving perfect monitoring levels in a home studio can be tricky. Monitoring levels are the sound levels that you listen to your mix at, and it’s important to get them right to avoid damaging your hearing, and producing a mix that translates well to other systems. In this post, we will cover the ideal monitoring levels for your home studio, recommended levels for different genres of music and how to achieve these levels.
Recommended Levels For Different Genres Of Music
Different genres of music have different monitoring levels. Below are the recommended monitoring levels for various types of music.
| Music Genre | Monitoring Levels (dB SPL) |
|---|---|
| Classical music | 60 – 70 |
| Pop, rock, and electronic music | 80 – 90 |
| Dance music and Hip-hop | 100 |
How To Achieve These Levels
Now that you know the recommended monitoring levels, the next step is to achieve them. Here’s how:
- Invest in quality studio monitors that are designed for your studio size and shape.
- Place your studio monitors at the correct height and angle to reduce interference and enhance sound quality.
- Ensure that your audio interface is set up correctly and that you are using balanced output cables.
- Calibrate your studio monitors to get a flat frequency response
- Use a reliable sound meter to measure your monitoring levels
- Keep the volume at a comfortable level and avoid turning the volume higher than recommended levels to avoid hearing damage
In conclusion, achieving perfect monitoring levels can be a daunting task, but with the right equipment setup and proper knowledge of recommended levels for different genres of music, it’s achievable. Remember to always prioritize your hearing and avoid turning the volume to harmful levels.
Common Mistakes To Avoid
Achieving the perfect monitoring levels for your home studio can be a difficult task, but these common mistakes can be easily avoided. Ensuring that you properly calibrate your equipment, use high-quality speakers, and maintain consistent levels will help you achieve optimal sound quality in your recordings.
Common Mistakes to Avoid: When it comes to monitoring levels for your home studio, achieving the perfect balance is essential for producing high-quality sound. However, many people make common mistakes that can negatively impact the final outcome of their music. Here are some crucial errors to avoid when adjusting your monitoring levels. Over reliance on headphones: While headphones may seem like a convenient option for monitoring audio levels, relying on them entirely can have detrimental effects on your sound quality. Headphones emphasize certain frequencies and may not accurately reflect how your music sounds to the human ear. Instead, it’s best to use speakers alongside headphones to ensure your sound is well-balanced and mixed accurately. This way, you can listen to your music both in an isolated environment (through headphones) and in a room where you can hear natural acoustic sounds (through speakers). Ignoring room acoustics: One of the most common mistakes people make is ignoring room acoustics. Studio monitors function differently depending on your room’s dimensions, materials, and shapes. Without proper acoustic treatment, you may end up with muddy or distorted sound. To ensure optimal monitoring levels, invest in acoustic panels, bass traps, and diffusers to create an accurate listening environment. These treatments help reduce unwanted reflections and standing waves that can negatively impact your sound quality. In conclusion, it’s crucial to avoid these mistakes for achieving optimal balance and monitoring levels in your home studio. By keeping these tips in mind, you can produce high-quality music that accurately reflects your artistic vision.
Frequently Asked Questions Of The Perfect Monitoring Levels For Your Home Studio
What Level Should My Studio Monitors Be At?
Your studio monitors should be at a comfortable level, around 85dB SPL. This level is sufficient for a clear and accurate playback without causing ear fatigue. Make sure to calibrate your monitors to achieve a balanced frequency response and adjust the volume level accordingly to avoid distortion.
What Db Should By Studio Monitors Be?
The dB level of studio monitors depends on the size of the room and the volume needed. As a general rule, a range of 85 to 100 dB is recommended. However, it’s best to consult a professional to ensure optimal listening conditions.
Should My Studio Monitors Be At Full Volume?
No, your studio monitors should not be at full volume. Monitoring at high volumes can cause ear fatigue and compromise accurate sound reproduction. It’s recommended to monitor at a moderate volume to ensure balanced mixing and to prevent damage to both your ears and equipment.
What Angle Should My Studio Monitors Be?
For the best listening experience, your studio monitors should be angled towards your ears while sitting at your mixing desk. Aim them so the tweeters are at ear level and form an equilateral triangle with your ears and the monitors.
This helps to create an accurate and balanced sound for your mixes.
Conclusion
After considering the various monitoring levels and their impact on your home studio productions, it is clear that finding the right balance is crucial. It is important to invest in quality monitors to ensure accurate and reliable sound. Additionally, taking the time to calibrate your monitoring levels and learning to trust your ears will ultimately lead to better recordings and mixes.
By following these guidelines, you can create a home studio setup that provides the optimal monitoring environment for your music production.