To set up virtual instruments in Pro Tools, simply create a new instrument track and select the desired plug-in from the menu options. Pro Tools supports a variety of virtual instruments, such as synthesizers, samplers, and drum machines.
With virtual instruments, you can expand your creative possibilities and add more depth to your music productions. As a music producer or sound engineer, you’re always on the lookout for ways to enhance your music tracks and make them stand out.
One way to do this is by incorporating virtual instruments into your Pro Tools projects. Virtual instruments are software-based instruments that can mimic the sound of real instruments or create entirely unique sounds. They are incredibly versatile, easy to use, and offer countless sonic possibilities. We’ll show you how to set up virtual instruments in Pro Tools, so you can start experimenting with different sounds and take your music to the next level.
Choosing The Right Virtual Instruments For Your Project
When setting up virtual instruments in Pro Tools, choosing the right tool for your project is vital for achieving the desired results. With countless options to choose from, selecting the proper virtual instrument can be overwhelming, but it is crucial to pick the right one to ensure your music sounds perfect.
Considering The Genre Of Your Music
Consider the genre of music you’re attempting to create, as some virtual instruments are more suitable for particular genres. Different genres require different sounds, and virtual instruments will have different sounds and styles. For instance, if you’re creating electronic dance music, choosing a virtual instrument that provides a vast library of synthesized sounds would be beneficial. Alternatively, if you’re creating a track that has more of a jazz or classical feel, you may want to choose a virtual instrument that provides more realistic instrument sounds.
Comparing The Features Of Different Virtual Instruments
Compare the features of different virtual instruments to make an informed decision. Several virtual instruments available provide different features that can help make your job more comfortable and, ultimately, your music more professional. Check what type of sounds each instrument offers, and also the number of presets they have.
| Virtual Instrument | Type of Sounds | Number of Presets | Price |
|---|---|---|---|
| SampleTank 4 | Various instruments and sound effects | Over 100,000 individual samples and 250 separate sound libraries | $299 |
| Native Instruments Komplete 13 Ultimate | Various instruments and sound effects | Over 115,000 individual samples and 65 separate libraries | $1,199 |
| Arturia Analog Lab V | Various analog synthesizers and keyboards sounds | Over 6,000 presets and individual sounds | $199 |
Remember, the virtual instrument you choose must fit your budget. Virtual instruments range in price from a few dollars to several thousand dollars, so research thoroughly to ensure you don’t overspend on unnecessary features or underspend on essential ones.
By keeping in mind the genre of your music, as well as comparing the features of different virtual instruments, you’ll be able to make the right decision when choosing virtual instruments for your Pro Tools project. Ensure your music is the best it can be and make the most out of the vast array of virtual instruments available.
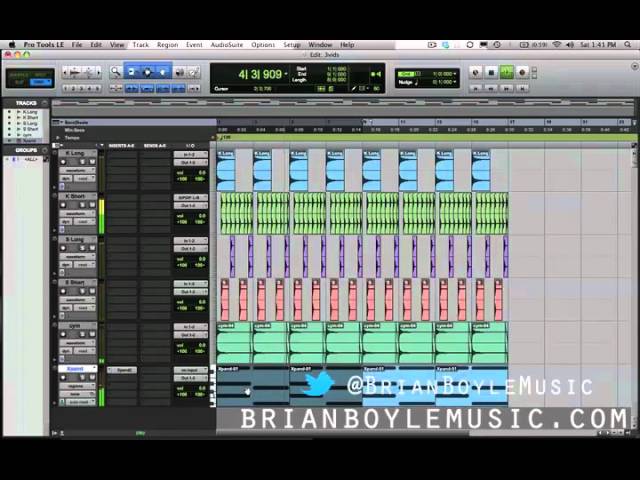
Credit: m.youtube.com
Installation And Setup Process
Virtual instruments have revolutionized the music industry, making recording and producing music easier and more affordable than ever before. Pro Tools is a popular digital audio workstation for musicians, audio engineers, and producers, and it allows users to access and use a wide range of virtual instruments to create and produce music. Installing and setting up virtual instruments in Pro Tools is easy, and in this guide, we’ll take you through the process, step-by-step.
Downloading The Virtual Instrument Files
The first step to setting up virtual instruments in Pro Tools is downloading the virtual instrument files that you want to use. The files should be compatible with Pro Tools and come in formats such as VST, RTAS, AAX, or AU. You can download virtual instrument files from various online sources or purchase them from music software stores.
Once you have downloaded the virtual instrument files, you need to save them in a folder where Pro Tools can easily access them. You can create a folder in a location that is easy to remember to save the files and make it easy to access them when installing the plugins in Pro Tools.
Installing The Plugin In Pro Tools
After saving the virtual instrument files in a folder that Pro Tools can easily access, you can then proceed to install the plugins in Pro Tools. The installation process varies depending on the operating system and version of Pro Tools that you are using, but the general steps are as follows:
- Open Pro Tools and go to the ‘preferences’ menu
- Under the ‘plug-ins’ tab, select the ‘add’ button to add a new plugin
- Locate the folder where you saved the virtual instrument files and select the files
- Follow the prompts to install the plugin
Once you have successfully installed the virtual instrument plugin, you can then use it to create and produce music in Pro Tools.
Authorizing The Plugin
After installing and using the virtual instrument plugin for Pro Tools, you may need to authorize it to access additional features, updates, and support. The authorization process varies depending on the vendor and type of virtual instrument plugin, but it may involve entering a serial number, activating a license, or connecting to an online server.
Make sure you follow the instructions from the vendor carefully to authorize your virtual instrument plugin successfully and avoid any issues or errors when using it in Pro Tools.
Creating A Midi Track
To create a MIDI track in Pro Tools, you need to set up the virtual instruments first. Go to the Inserts menu, select an instrument, and click on the Track button. Then, you can start recording MIDI notes and play them back with the virtual instrument.
If you want to add a virtual instrument to your Pro Tools session, the first step is to create a MIDI track. A MIDI track is essentially a blank canvas where you can draw in your virtual instrument. In this section, we’ll walk you through the steps of creating a MIDI track and assigning a virtual instrument to it.
Adding A New Midi Track
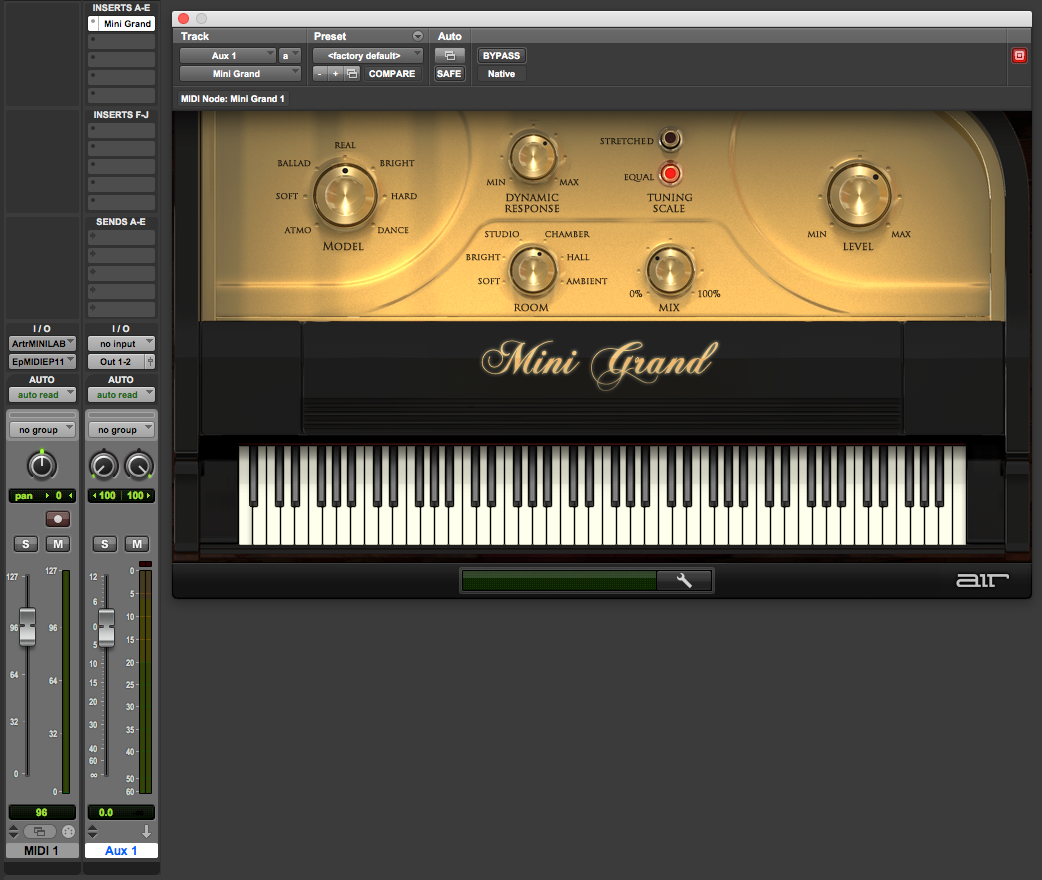
To add a new MIDI track, you can either go to Track > New or use the shortcut Shift + Command + N. Once you are in the New Tracks dialog box, select MIDI Track and click Create. You will now see a new MIDI track in your session with a default instrument assigned to it, typically the Air Mini Grand piano.
Selecting The Virtual Instrument As The Output
Now that you have created your MIDI track, it’s time to choose the virtual instrument you want to use. To do this, you need to set the output of the MIDI track to the virtual instrument. First, make sure your virtual instrument is installed and authorized. Next, click on the output drop-down menu on the MIDI track and select your virtual instrument in the list. If you don’t see your virtual instrument listed, you need to make sure it’s loaded into your Pro Tools session. You can do this by going to Window > Workspace and selecting your virtual instrument from the list. Once it’s loaded, you should be able to select it as the output for your MIDI track. In conclusion, creating a MIDI track and assigning a virtual instrument as its output is a straightforward process in Pro Tools. By following the above steps, you can easily add virtual instruments to your session and start creating music!
Credit: www.sweetwater.com
Using The Virtual Instrument
One of the primary advantages of using virtual instruments in Pro Tools is the flexibility they offer in terms of sound selection and personalization. However, to leverage these benefits, you need to understand how to use the virtual instrument interface and adjust its settings to suit your needs. Additionally, you have to be able to trigger notes with a MIDI controller, record and edit MIDI data, and use multiple instances of the same virtual instrument. This article will cover all these aspects to help you set up and use virtual instruments effectively in Pro Tools.
Understanding The Interface
Before you start using a virtual instrument in Pro Tools, take the time to familiarize yourself with its interface. The interface may vary between different virtual instruments, but most have some basic elements:
- Keyboard: used for triggering notes
- Knobs and sliders: used for adjusting parameters like volume, pitch, and modulations
- Browser: used for selecting sounds and presets
- Grid: used for rhythm programming and step sequencing
- Display: used for viewing waveform, MIDI settings, and other details
Once you understand the virtual instrument interface, you can start making adjustments and customizations to suit your needs.
Adjusting Settings
If you want to personalize your virtual instrument sound, you need to know how to adjust its settings. Some of the most common settings you can adjust include:
- Volume: to make the sound louder or quieter
- Pan: to move the sound left or right in the stereo field
- Attack: to change the attack time of the sound
- Release: to change the release time of the sound
- Modulations: to add effects like vibrato, wah-wah, or tremolo to the sound
The settings you adjust may depend on the type of virtual instrument and the sound you want to achieve. Experiment and see what works best for you.
Triggering Notes With A Midi Controller
If you have a MIDI controller, you can use it to trigger notes in your virtual instrument. Simply connect the MIDI controller to your computer, select the virtual instrument as your MIDI input device in Pro Tools, and start playing. You can then record the MIDI data and edit it later to fine-tune your performance.
Recording And Editing Midi Data
After triggering notes with your MIDI controller, you can record the MIDI data onto a MIDI track in Pro Tools. Once recorded, you can edit the MIDI data to correct mistakes, add dynamics, or adjust the timing. Some of the editing tools you can use include:
- Pencil tool: for drawing in new notes or adjusting their length
- Velocity tool: for adjusting the volume of each note
- Quantize tool: for aligning notes to a set rhythmic grid
- Transposition tool: for shifting the pitch of the notes
Experiment with these tools to see how they affect your MIDI data and how you can use them to improve your performance.
Using Multiple Instances Of The Same Virtual Instrument
If you want to create a layered or complex sound, you can use multiple instances of the same virtual instrument. This allows you to play different sounds simultaneously or use different settings for each instance. However, it also increases the demands on your computer’s resources, so be mindful of that. To use multiple instances of the same virtual instrument, simply add a new track, select the same virtual instrument, and adjust its settings as desired.
Tips For Getting The Best Sound
Learn how to set up virtual instruments for better sound quality when working with Pro Tools. Follow these tips to ensure you get the best possible sound from your digital instruments.
When it comes to recording and producing music, Pro Tools is often the industry-standard software used by professionals. One of the benefits of using Pro Tools is the ability to incorporate virtual instruments into your music productions. Virtual instruments can mimic the sound of traditional instruments and bring new textures and tones to your music. But how do you get the best sound out of your virtual instruments in Pro Tools? Here are some tips to help you achieve the best results:
Experimenting With Different Presets
One way to get the best sound out of your virtual instruments is to experiment with different presets. Virtually all virtual instruments come with presets that offer different sound options. Take some time to play around with the presets and see which sound best suits your music. Don’t feel limited by the name of the preset. Often the preset name won’t give you a true indication of how the sound will actually sound in your music production. Play around, experiment, and find the perfect sound that works for your production.
Layering Virtual Instruments
Another tip for getting the best sound out of your virtual instruments is to layer them. Layering virtual instruments involves using multiple virtual instruments to create a new and unique sound that’s different from any individual virtual instrument. This technique works particularly well for creating complex and dynamic music productions. By layering multiple virtual instruments, you can add more depth, texture, and richness to your music.
Processing The Virtual Instrument With Effects
Processing virtual instruments with effects is another way to get the best sound out of them. Once you have found the perfect virtual instrument and preset for your music production, consider processing the virtual instrument with effects like reverb or delay. Processing can take your virtual instrument from sounding good to sounding great. Be sure to experiment with different effects and parameters to find the perfect processing effect for your virtual instrument. In conclusion, by experimenting with different presets, layering virtual instruments, and processing them with different effects, you can get the best sound out of your virtual instruments in Pro Tools. Remember, there’s no one right way to use virtual instruments. Be creative, experiment, and find the sound that works best for your music production.
Credit: pcaudiolabs.com
Frequently Asked Questions On Setting Up Virtual Instruments In Pro Tools
How Do I Add A Virtual Instrument In Pro Tools?
To add a virtual instrument in Pro Tools, open the plugin browser and select the category of plugin you want. Then, choose the virtual instrument you want to add and drag it to the track where you want it to play.
You can also use the “Insert” menu and select “Instrument” to add a virtual instrument.
Does Pro Tools Have Virtual Instruments?
Yes, Pro Tools has a range of virtual instruments, including synthesizers, samplers, and drum machines, that can be used for creating and composing music. These instruments can be accessed within the Pro Tools software and used to enhance the sound of recordings.
How Do Virtual Instruments Work?
Virtual instruments work by using software to replicate the sounds of actual instruments, allowing musicians to create and produce music digitally. Samples are programmed into the software to create realistic sounds, which can then be played and manipulated using a MIDI controller or computer keyboard.
How Do I Create An Instrument Track In Pro Tools?
To create an instrument track in Pro Tools, go to the “Track” menu, select “New” and then “Instrument Track”. Choose your desired instrument, name your track and select the appropriate inputs and outputs. Click “Create” and you’re ready to start recording.
Conclusion
Setting up virtual instruments in Pro Tools is crucial for any music producer or sound engineer. The process may seem daunting at first, but with the right tools and patience, it can be a breeze. By following the steps outlined in this blog post, you can ensure that your virtual instruments are set up correctly and ready to use in your next project.
Remember, practice makes perfect, so don’t be afraid to experiment and try different techniques until you find what works best for you. Happy producing!