Setting up drum, guitar, and vocal buses helps to achieve a more cohesive and polished sound in a mix. These buses group together similar tracks and allow for easier processing and balance adjustments.
Drum, guitar, and vocal buses are crucial components when it comes to mixing audio tracks. With the help of these buses, a sound engineer can group together individual tracks that belong to a specific instrument or vocal section. This grouping can help to balance and control the levels of each section more easily.
It also allows for more efficient processing of effects. For example, applying reverb or delay to an entire drum mix instead of each individual track, maintaining the original tone and character of the drums. We will break down how to set up drum, guitar, and vocal buses in your DAW (Digital Audio Workstation) for a more cohesive and polished sound in your mix.
Credit: splice.com
Different Types Of Buses
Setting up drum, guitar and vocal buses is essential in a live sound reinforcement scenario. These separate buses allow for individual adjustments and level control, providing flexibility to the sound engineer.
Different Types of Buses: When it comes to mixing music, there are various types of buses that you can use to make adjustments to different parts of your track. These buses are used to group similar sounds and effects together so that you can manipulate them as a whole. The three most common types of buses are drum bus, guitar bus, and vocal bus. Let’s take a closer look at each of these different types of buses. Drum Bus: The drum bus is where you can find all your drum sounds and effects. This includes kick, snare, toms, cymbals and other percussion. You can use the drum bus to add depth, dimension and interest to your drum parts. You can also use it to add compression, reverb or other effects just to the drums. This will give you total control over the drum sounds and help them to sit better in the mix. Guitar Bus: The guitar bus is where you can find all the guitar parts in your track. This includes both rhythm and lead guitars. You can use the guitar bus to add chorus, delay, or other effects just to the guitars. This will help separate them from other instruments in the mix. By tweaking the guitar bus, you can make your guitar parts sound more cohesive, polished, and professional. Vocal Bus: The vocal bus is where you can find all your vocal parts. As the lead vocal is the most important part of any track, it is important to give it special treatment. You can use the vocal bus to apply compression, reverb, or other effects to the vocal track and adjust the volume in relation to the rest of the instruments. This will make the vocal part sound lush and unique. Using the vocal bus will make sure your vocal tracks sound natural and sit well within the mix. In Conclusion, using buses is an essential part of mixing your tracks, and understanding different types of buses and their specific purposes can improve the quality of your music. By enhancing drum, guitar, and vocal tracks you can make your songs sound cohesive and professional.
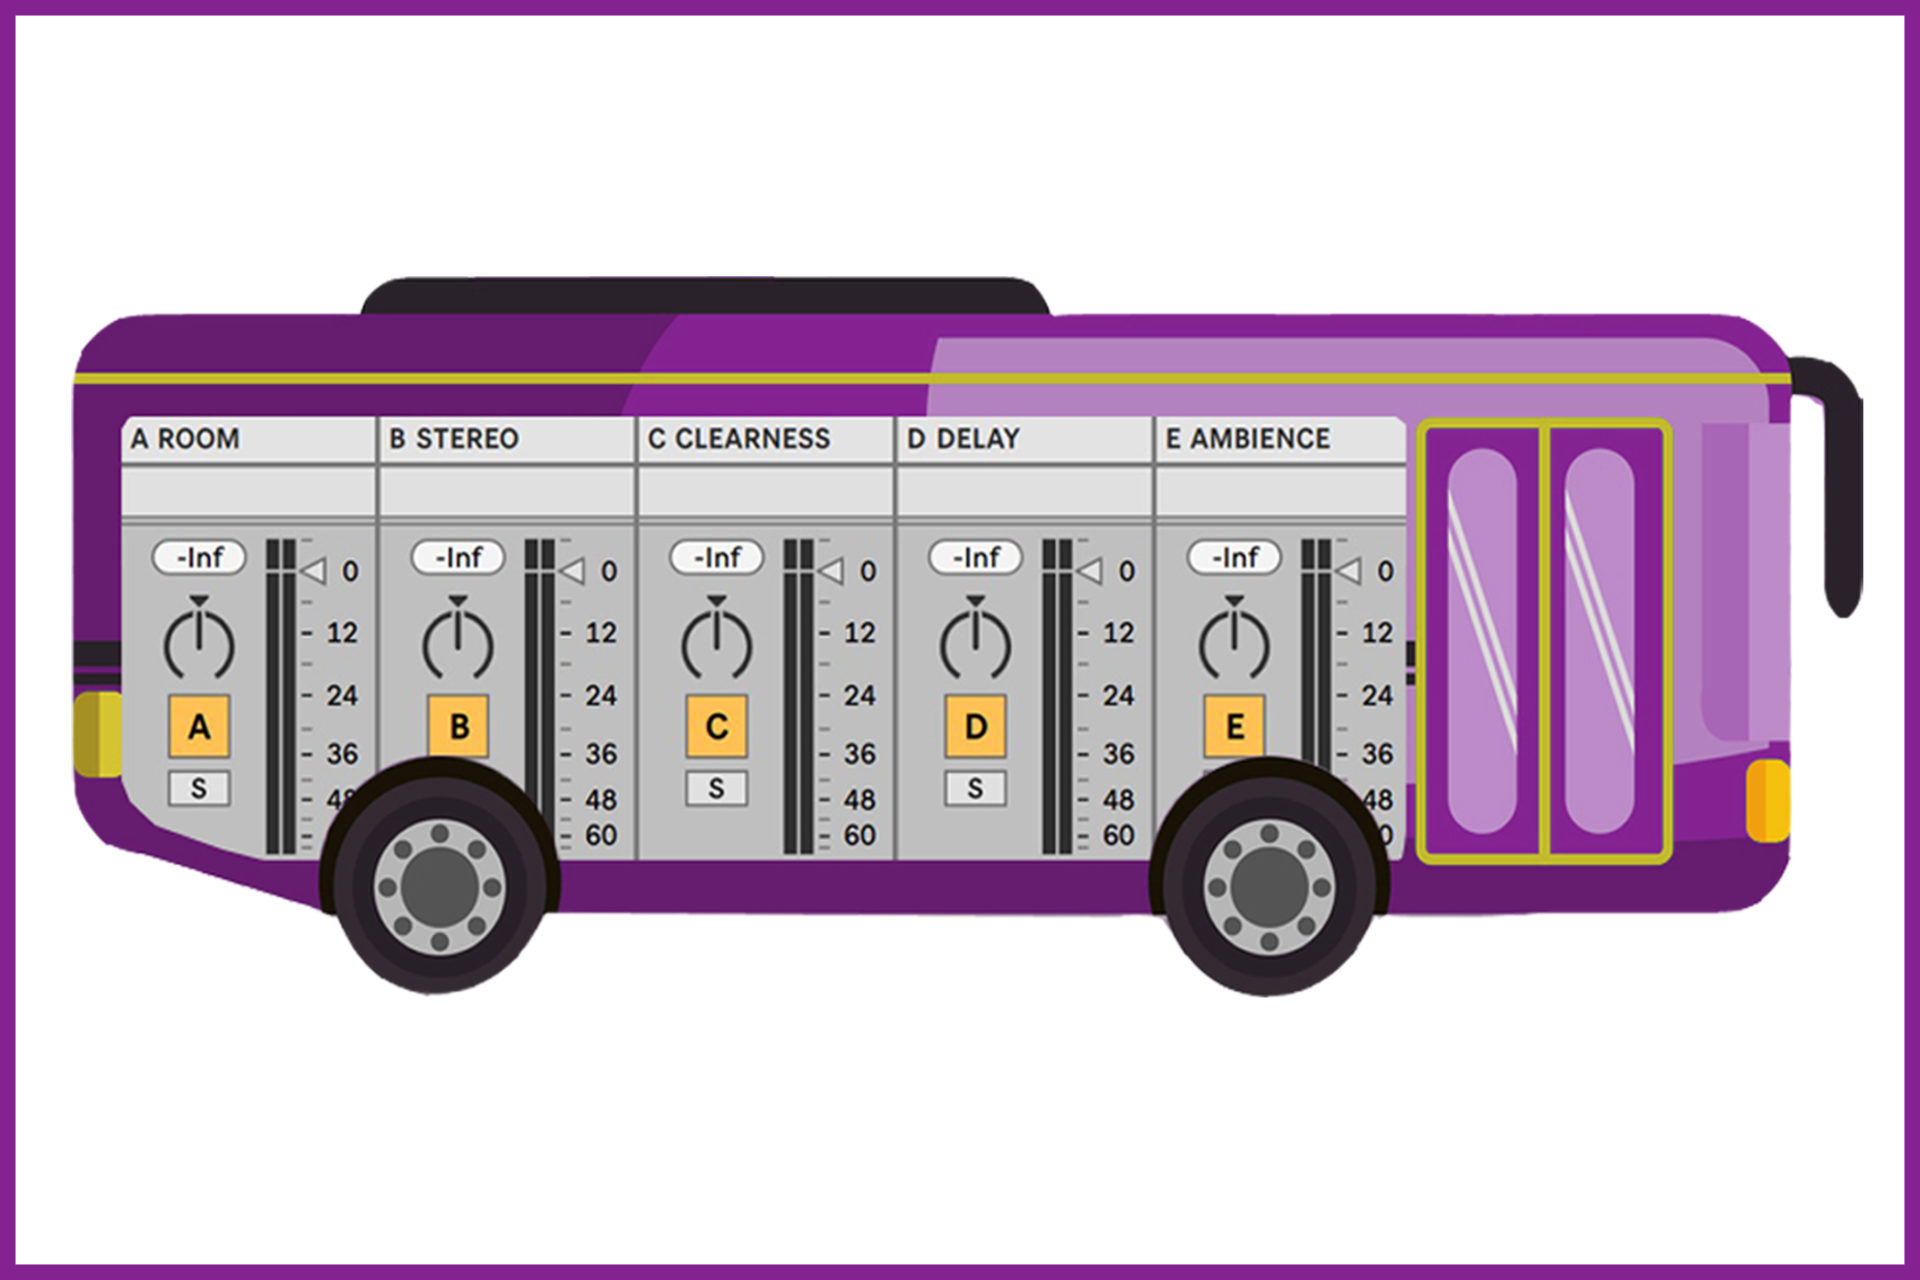
Credit: flypaper.soundfly.com
Setting Up Drum Bus
To get professional-sounding drum, guitar, and vocal recordings, you need to set up separate buses for each instrument. By setting up these buses, you can add effects to individual tracks, adjust their levels, and control their stereo panning to create a cohesive final mix.
Creating a drum bus in your DAW is an essential step to getting a polished mix. A drum bus is a channel where all of your individual drum tracks are routed, allowing you to process them as a single entity. This can help to glue your drums together and make them sound more cohesive. In this post, we’ll cover how to set up a drum bus in your DAW. We’ll go through the process step-by-step, so you can follow along even if you’re new to mixing.
Create An Audio Track
The first step to setting up a drum bus is to create an audio track in your DAW. This track will serve as the channel for your drum bus. In most DAWs, you can create a new audio track by going to the “Track” or “File” menu and selecting “New Audio Track”. Make sure to set the input of the track to “None”, as you won’t be recording any audio on this track.
Create A Bus Channel
Next, you’ll need to create a bus channel. A bus channel is a routing channel that allows you to send the audio from one or more tracks to a common destination. To create a bus channel in your DAW, go to the “Track” or “File” menu and select “New Bus Channel”. You’ll be prompted to name your bus channel, so give it a name that reflects what audio it will be used for.
Route Drum Tracks To The Bus
With your drum bus channel created, it’s time to route your individual drum tracks to it. The specific process for doing this will vary depending on your DAW, but the general principle is the same. Select each of your drum tracks and route them to the drum bus channel. This is usually done by using the “Output” or “Send” settings for each track and selecting the drum bus as the destination. Once all of your drum tracks are routed to the drum bus, you should hear them all playing through the drum bus channel. Finally, it’s time to add some processing to your drum bus. There are many ways to process a drum bus, but some common techniques include equalization, compression, and saturation. With your drum tracks routed to the drum bus, any processing you do on the drum bus will affect all of your drum tracks together. This can be a powerful tool for creating a cohesive drum sound. In conclusion, setting up a drum bus in your DAW is a key step to getting a polished drum sound in your mix. By following these simple steps, you’ll be able to create a drum bus channel and route your individual drum tracks to it. With your drum tracks playing through the drum bus, you can then add processing to create a cohesive and powerful drum sound.
Setting Up Guitar Bus
Setting up a guitar bus is an essential aspect of any music production with multiple instruments. To create a professional mix, setting up distinct drum and vocal buses can elevate your sound quality further. Properly routing and molding your audio signals can give you complete control, allowing you to fine tune your music to your liking.
If you’re a music producer or audio engineer, you understand the importance of creating a guitar bus. A guitar bus is a channel on your audio mixing board that allows you to group all your guitar tracks together, add effects, and adjust volumes. Here is a step-by-step guide on how to create your guitar bus.
Create An Audio Track
To create a guitar bus, you first need to create an audio track. Open up your digital audio workstation (DAW) and create a new audio track by clicking “File” and then “New Audio Track.” Ensure that the input and output of the audio track match the guitar track you want to add to it.
Create A Bus Channel
Next, create a bus channel to route your guitar tracks to. To create a bus channel, go to your mixing board and click “Add Channel” or the “+” sign. Select “Bus” as the channel type. Give your bus channel a name, such as “Guitar Bus,” for quick identification.
Route Guitar Tracks To The Bus
Once you’ve created your audio track and bus channel, it’s time to route your guitar tracks to the bus. To do this, click on each guitar track and select the output as the guitar bus channel. Ensure that all guitar tracks are routed to the bus by checking the routing on each track.
Pro Tip:
Once you have your guitar bus set up, you can add effects such as reverb, delay, or distortion. When you adjust the volume of the guitar bus, it will affect the volume of all the tracks routed to it. This makes it easier to mix the guitar tracks as a group. That’s it! You now have a guitar bus set up and ready to go. By creating a guitar bus, you’ll be able to mix your guitar tracks with ease as you continue to produce your music.

Credit: www.mixinglessons.com
Setting Up Vocal Bus
Setting up a vocal bus is an important step in achieving a professional-sounding mix for your music. A vocal bus allows you to control and manipulate the levels and effects of all your vocal tracks as a single entity. This means you can apply effects like reverb or compression to the entire vocal mix instead of individual tracks, resulting in a cohesive and polished sound.
Create An Audio Track
The first step in setting up your vocal bus is to create a new audio track in your Digital Audio Workstation (DAW). This track will act as your vocal bus, so be sure to label it appropriately. You can use a stereo or mono track depending on your preference.
Create A Bus Channel
After creating the audio track, the next step is to create a bus channel to route your vocal tracks. In your DAW, select the option to create a new bus or group channel. Label the bus channel as ‘Vocal Bus’ or any other name that makes sense to you.
Ensure that the bus channel is set to receive audio from the audio track you created in the previous step. Also, make sure the bus channel has no effects or plugins applied to it at this stage.
Route Vocal Tracks To The Bus
Once you have created the audio track and bus channel, the final step is to route your vocal tracks to the bus channel.
To do this, select all the vocal tracks that you want to be routed to the vocal bus. Then, in your DAW, choose the option to route the selected tracks to the bus channel you created in the previous step.
Ensure that the routing is set to ‘post-fader’, so that any level changes made to the individual vocal tracks will also affect the vocal bus channel.
Once you have routed all your vocal tracks to the bus channel, you can start applying effects and plugins to the vocal bus. This allows you to have greater control over the overall vocal mix, making it easier to achieve the desired sound for your music.
Frequently Asked Questions On Setting Up Drum Bus Guitar Bus Vocal Bus
Should You Eq The Drum Bus?
Yes, you should EQ the drum bus as it can help to refine the overall sound of the drums and create a more cohesive mix. EQing the drum bus gives you more control over the entire drum mix, allowing you to bring out specific frequencies and adjust the overall tone to your liking.
How Do You Process A Drum Bus?
To process a drum bus, start by ensuring the individual drum tracks are properly mixed. Afterwards, add compression to the drum bus to glue everything together and bring out the nuances. Next, use EQ to boost or cut certain frequencies and add reverb or delay for ambience.
Finally, adjust the volume levels and check to ensure the overall mix sounds balanced.
How Do I Create A Bus Track In Pro Tools?
To create a bus track in Pro Tools, navigate to the Track menu, select “New. . . ,” then choose “Stereo Auxiliary Input” and name it accordingly. Assign the desired input and output, then select “Bus” as the input source.
Finally, route the desired tracks to the newly created bus track to send them to the same effects processor.
What Effects Go On Drum Bus?
The drum bus typically includes effects such as compression, EQ, and reverb to enhance the overall sound of the drums and glue the individual drum tracks together. These effects help to control the dynamics, enhance the tone, and add depth and dimension to the drums in a mix.
Conclusion
Setting up Drum Bus, Guitar Bus, and Vocal Bus is a fundamental skill for any audio engineer. Properly routing and processing these buses can elevate the overall sound of any mix. By using the tips and techniques you can achieve a well-balanced and cohesive mix that sounds professional.
Remember to experiment and find what works best for your specific project. With these tools in hand, you are ready to create a sonic masterpiece.