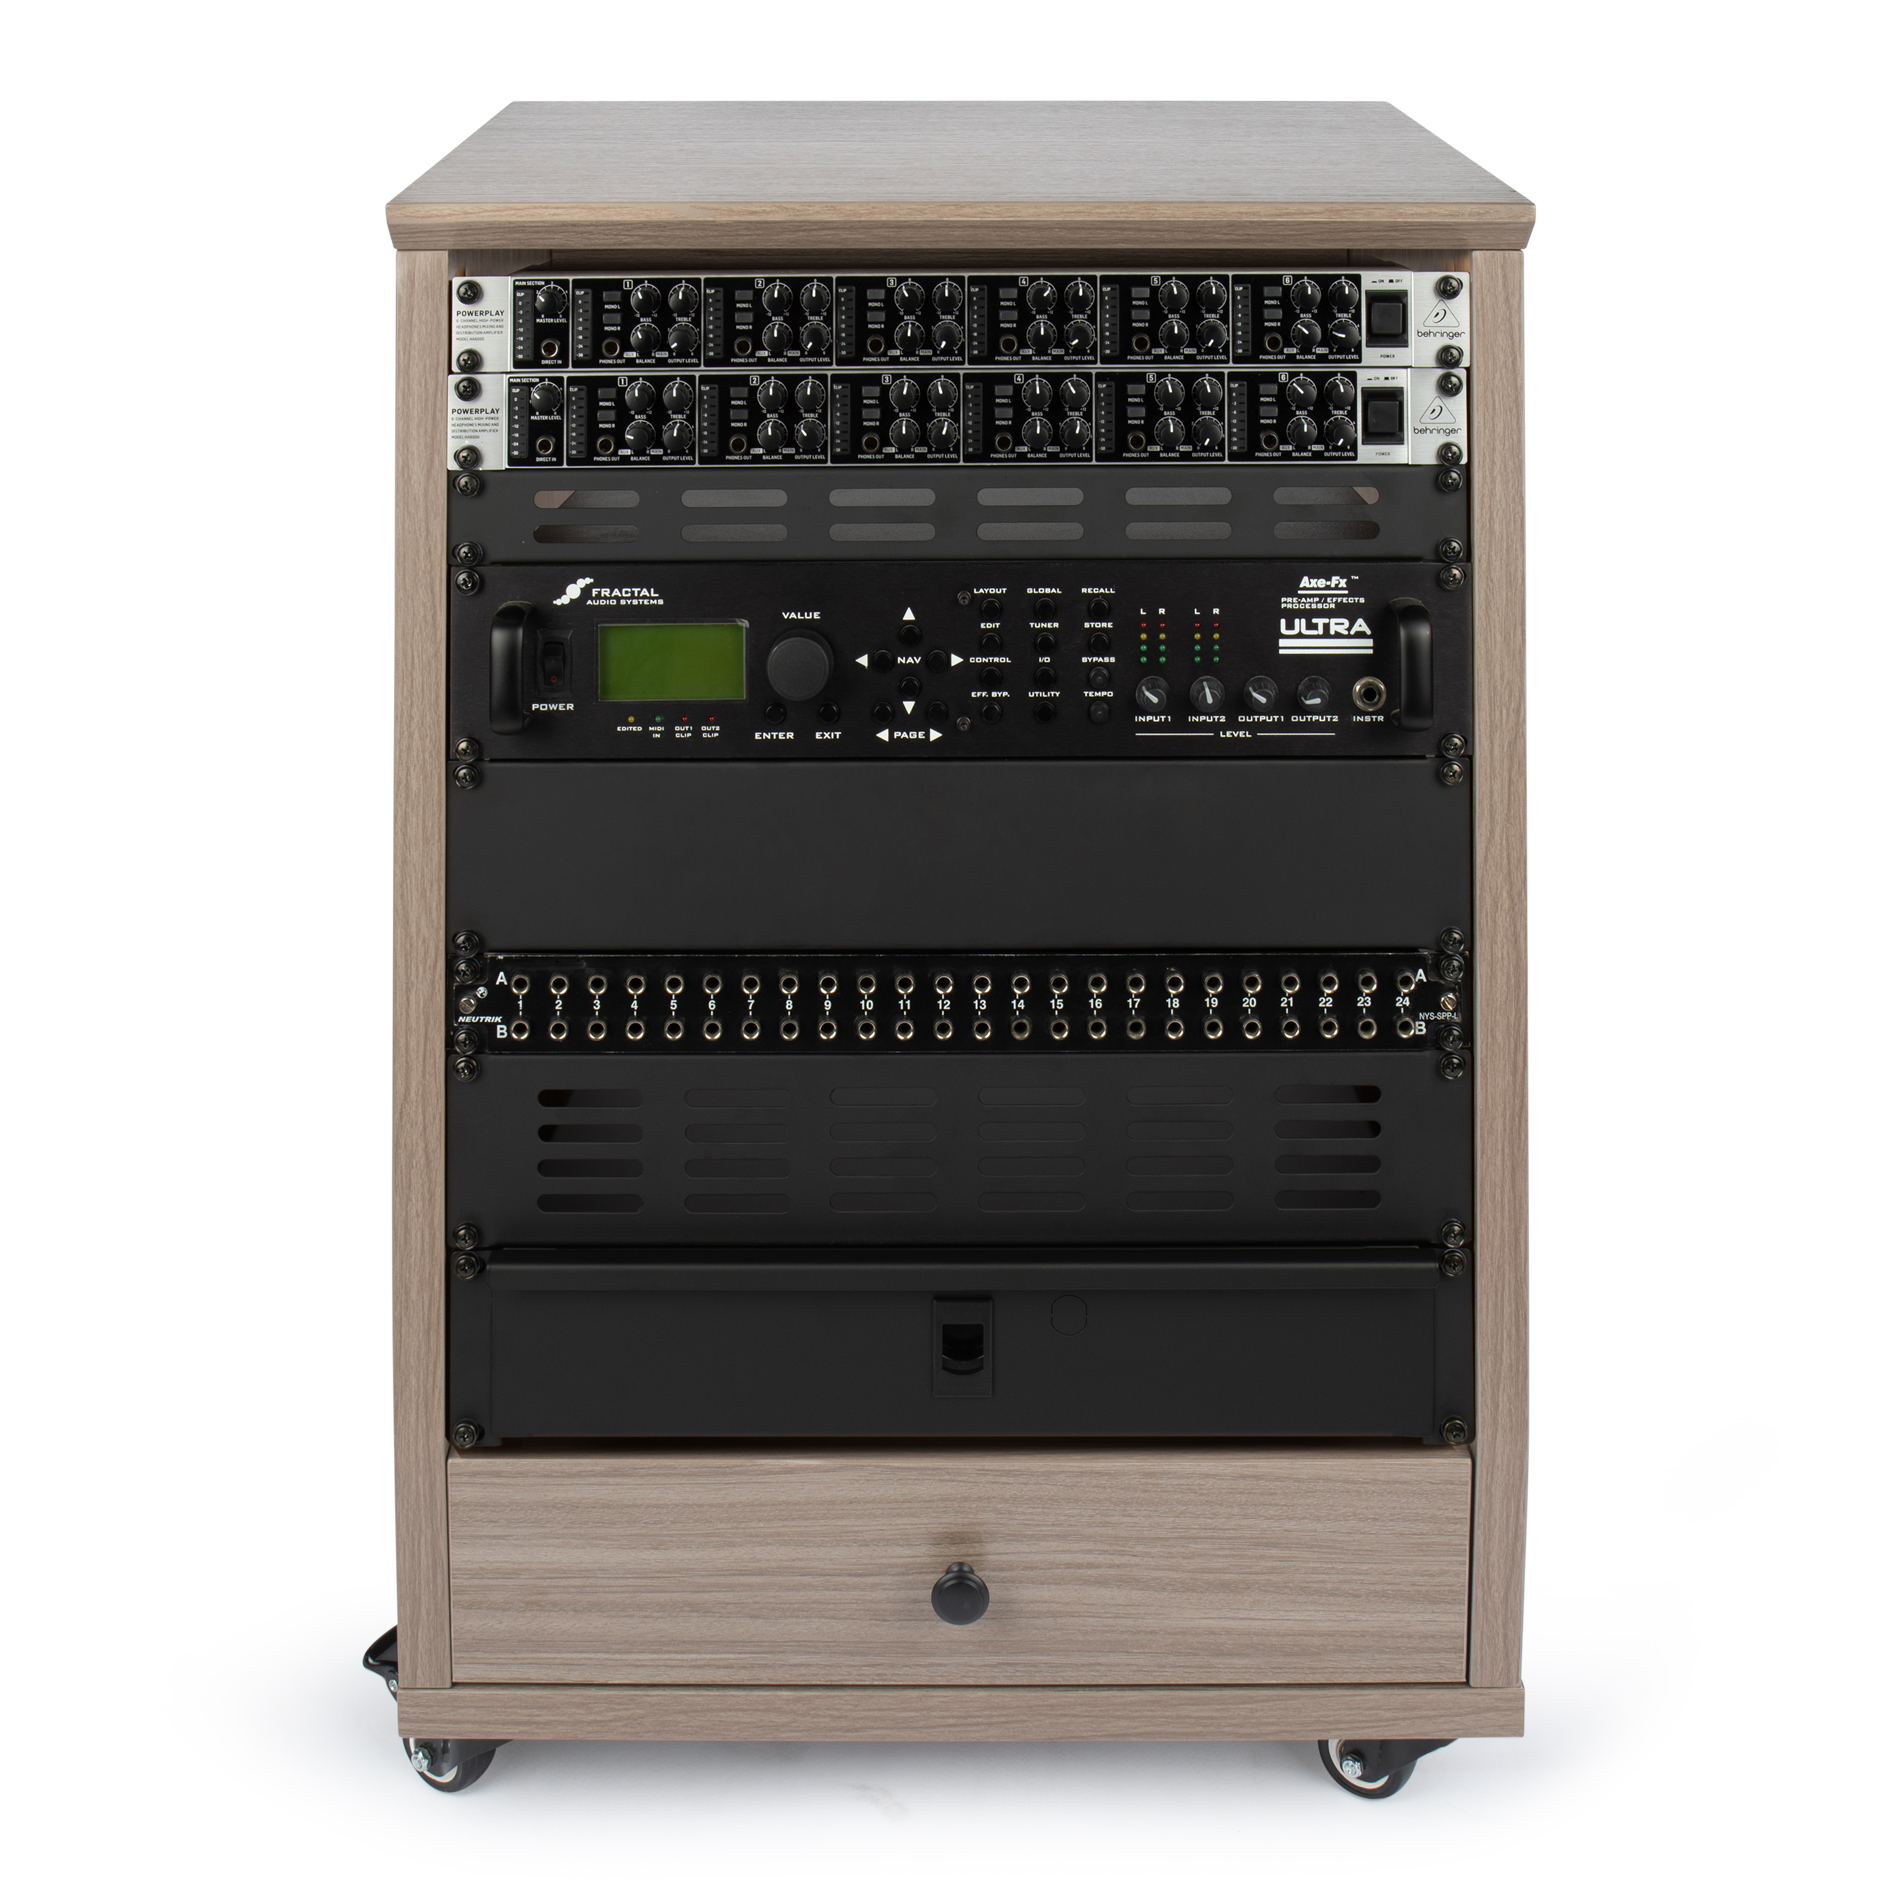
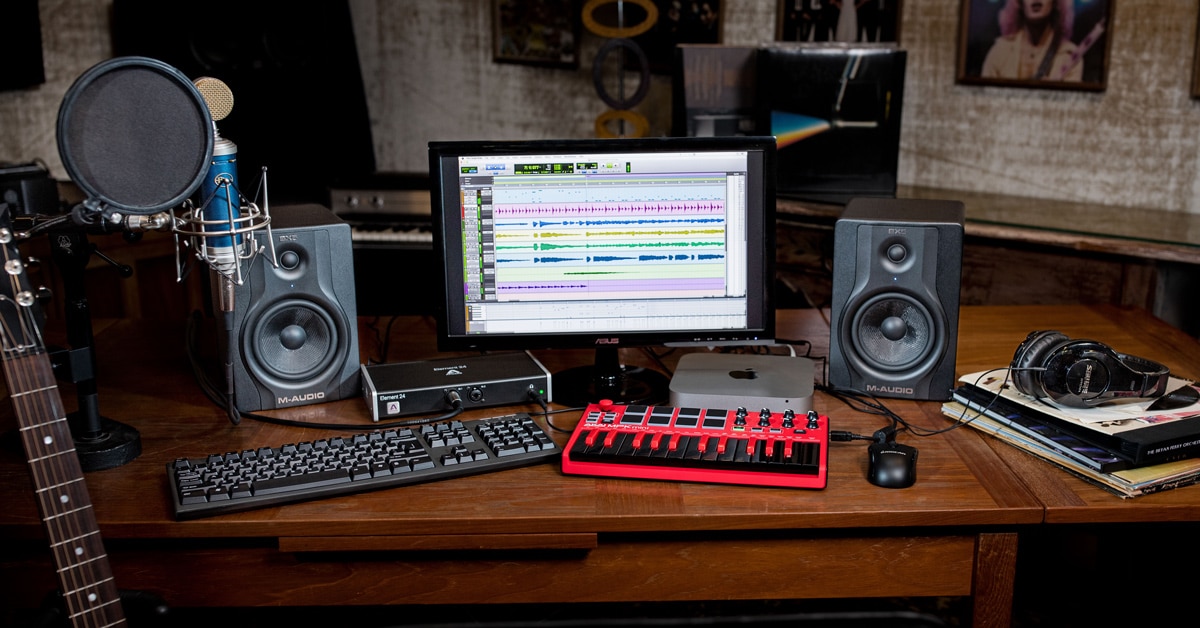
Recording studio racks are essential for organizing and protecting audio equipment. These structures provide easy access and thermal management for devices.
Recording studio environments thrive on organization and equipment safety, making racks a staple for any sound engineer or music producer. Studio racks, often constructed from heavy-duty materials, come in various sizes, from small tabletop models that hold a few units to large free-standing structures capable of housing an entire studio’s worth of gear.
They’re designed to conform to standard equipment dimensions, typically described in “rack units” (U), a unit of measure where one rack unit equals 1. 75 inches in height. The organization benefits are significant as they help prevent cable clutter, which can be both unsightly and hazardous. Proper rack mounting also ensures optimal airflow, keeping gear cool and preventing overheating, which can extend the lifespan of expensive studio components and maintain sound quality. Whether for a home studio or a professional recording suite, incorporating studio racks is crucial for a streamlined workflow and equipment longevity.
The Heart Of The Studio: Rack Essentials
The core of any recording studio is its rack. This unsung hero holds the gear that shapes sounds. Proper rack organization ensures efficiency and ease of use for sound engineers.
Components Of A Recording Studio Rack
Understanding what goes into a studio rack is key:
- Power Conditioners: Keep your equipment safe from power surges.
- Audio Interfaces: Convert analog signals to digital for recording.
- Preamps: Boost microphone levels to line level.
- Equalizers: Shape the audio frequency.
- Compressors: Control the dynamics of your audio.
- Effects processors: Add reverb, delay, and other effects.
- Patchbays: Simplify cable management and signal routing.
Why Quality Racks Are A Sound Investment
Investing in high-quality racks ensures:
- Protection for your valuable equipment.
- Organization that streamlines workflow.
- Accessibility, granting easy reach to all gear.
- Enhanced cooling to keep gear at optimal temperatures.
A robust rack supports future upgrades and expansion. Choose wisely for long-term benefits.

Credit: www.adorama.com
Types Of Studio Racks
Studio racks are vital for a tidy and efficient workspace. These come in various forms, each serving unique needs. Whether it’s a sizable floor model or a compact desktop version, studio racks keep gear organized. Choices range from fixed designs to fully customizable ones. Let’s explore the types available for an ideal setup.
Floor Standing Vs. Desktop Models
Floor standing racks suit larger studios well. They have more space for equipment. Many have wheels and stable bases. This makes moving them easy.
Desktop models fit smaller studios. They save space and sit within arm’s reach. Perfect for those with limited gear or confined work areas.
| Floor Standing Racks Features | Desktop Models Features |
|---|---|
| Greater equipment capacity | Space-efficient |
| Often come with wheels | Easy access to controls |
| Stable base for heavy gear | Compact size for smaller setups |
Customizable Rack Options
Some racks offer customization. This means you can adjust shelf height or add modules. If your gear changes, your rack can too. It’s all about flexibility and scalability.
- Adjustable shelves: Change heights as needed.
- Modular designs: Add or remove parts easily.
- Expandable structures: Start small and add on later.
Crucial Rack-mounted Gear
Crucial Rack-Mounted Gear sits at the heart of every recording studio setup. These devices are building blocks for professional sound quality. From boosting signals to managing loudness, the right gear makes all the difference. Let’s explore the must-haves for your studio rack.
Preamps for Pristine Audio Quality
Preamps For Pristine Audio Quality
A preamp boosts microphone signals before they hit your audio interface. This ensures your recordings capture every detail with clarity. It’s key for both vocals and instruments. A good preamp provides warmth and character that software can’t replicate.
- Tube Preamps: Rich, warm sounds for vocals
- Solid-State Preamps: Clean, transparent audio for accurate representation
- Hybrid Preamps: Best of both worlds, offering versatility
Compressors and Limiters for Audio Control
Compressors And Limiters For Audio Control
Compressors and limiters handle dynamics. They ensure your audio is punchy and balanced. Compressors ‘squeeze’ the audio, making soft sounds louder and loud sounds softer. Limiters prevent peaking and distortion. Both ensure polished, professional results every time.
- Optical Compressors: Smooth and musical compression
- VCAs: Precise control for dynamic range
- FETs: Add aggression to drums and bass

Credit: gatorco.com
Choosing The Right Rack Size
When setting up your recording studio, choosing the right rack size for your gear is crucial. It’s a balance of current needs and future expansions. The right rack should fit perfectly, keeping your space organized and your gear accessible.
Assessing Gear Needs
Your journey begins by figuring out what you need. List all your audio gear, including dimensions. Think about these factors:
- Size of each unit: Measured in rack units (U), e.g., a compressor might be 2U.
- Depth of gear: Ensure the rack can accommodate the longest piece of equipment.
- Weight capacity: Racks must support the total weight of your devices.
- Ventilation: Heat-sensitive gear needs racks with good airflow.
Expansion Considerations For Future Proofing
Buying a rack isn’t just about today’s needs. Anticipate growth. A flexible approach saves money and hassle down the road.
- Extra space: Aim for 10-20% more space than your current gear requires.
- Modularity: Racks with adjustable shelving or expandable frames adapt to new gear.
- Quality: Invest in sturdy racks. They protect expensive equipment and resist wear and tear.
Power Distribution And Management
A robust power distribution and management system is vital for any recording studio. It ensures that all your audio equipment gets the correct amount of power. Not only does it protect against electrical damage, but it also contributes to the overall sound quality. Let’s dive into how to keep your gear safe and sound pristine.
Safeguarding Equipment Against Power Surges
Power surges can strike without warning, potentially damaging your valuable studio equipment. To prevent this, surge protection is crucial. Use surge protectors designed for audio gear. They will absorb electrical spikes keeping your equipment safe. Look for protectors with high joule ratings for the best defense.
- High joule ratings: A higher number means better protection.
- Response time: Fast response limits equipment exposure to surges.
- Warranty: Choose products with a warranty that covers connected gear.
Clean Power For Clear Sound
Clean power isn’t only about safety. It’s about sound quality. Power line noise and interference can creep into your records. Devices called power conditioners clean your studio’s electricity. They ensure your gear performs at its best. Expect crisper highs, defined lows, and an overall cleaner mix.
Look for power conditioners with:
| Feature | Advantage |
|---|---|
| Voltage regulation | Keeps power steady, improving performance |
| Isolation | Reduces noise for a clear audio signal |
| Multiple outlets | Connect all your gear in one place |
Equip your studio rack with quality power distribution tools. Your recordings will thank you. Ensure your studio’s dynamic sound and long-term equipment health through proper power management.
Cooling And Ventilation Solutions
Keeping a recording studio’s gear in prime condition is essential. Cooling systems prevent damage and maintain performance. Let’s explore how to keep your studio’s racks cool and quiet!
Preventing Overheating In Racks
Steady air circulation is key. Without it, equipment overheats, potentially causing malfunctions or shortened lifespans.
- Use fan-based cooling units tailored for studio racks.
- Thermal management solutions should fit your specific setup needs.
- Regular maintenance like dust cleaning ensures optimal airflow.
Implementing rack-mounted fans pulls warm air away from equipment. Space gear with enough clearance, allowing air to flow freely.
Noiseless Cooling Technologies
Studio environments demand quiet cooling solutions. Excessive noise contaminates recordings.
- Silent fans designed for studios reduce noise.
- Invest in noise-reducing enclosures – they muffle equipment sounds.
- Solid-state cooling – no moving parts to reduce sound.
Silent cooling systems make a world of difference for audio clarity. Locate cooling units at a distance from microphones to minimize interference. Sealed rack doors with ventilation panels support quiet operation.
Cable Organization And Management
Recording studio racks act as the spine of your studio set-up. Proper cable organization and management is key to ensuring a clean, efficient, and safe working environment.
Avoiding The Tangle: Best Practices
A labyrinth of cables turns any studio into a danger zone. Tangled cables are not only a trip hazard but can also degrade signal quality and make trouble-shooting a nightmare.
- Label every cable – Know each cable’s purpose at a glance.
- Use cable ties – Maintain neat and organized cable paths.
- Color-code – Assign colors to different types of cables.
- Run cables along walls – Keep walkways clear.
Patch Bays For Flexibility And Accessibility
Patch bays serve as control panels for your studio’s inputs and outputs.
They allow quick re-routing without the behind-the-rack cable swap nightmare.
| Patch Bay Benefits | Description |
|---|---|
| Flexibility | Change signal flow instantly. |
| Efficiency | Save time on set-up changes. |
| Organization | Reduce cable clutter. |
Standardize the types of cables used in your studio for better patch bay management.
The Aesthetic Appeal Of Studio Racks
Let’s face it, the look of your studio matters as much as the sound. Studio racks are more than just functional; they bring that sleek, professional vibe to your creative space. A well-designed rack can be a centerpiece, showcasing your gear with style while keeping everything tidy and accessible.
Customizing The Look Of Your Rack Setup
Customization turns a standard rack into a personal statement. Here’s how:
- Choose racks with a finish that complements your studio’s color scheme.
- Install faceplates or skins to add a pop of color or interesting textures.
- Add rack drawers or shelves for a clean, organized appearance.
Consider the material of your racks. Wood brings warmth, while metal exudes a modern touch.
Led Lighting And Visibility Enhancements
LED lighting doesn’t just light up your setup; it transforms it:
| Feature | Benefits |
|---|---|
| Color customization | Match the mood or theme of your music. |
| Enhanced visibility | Spot your gear quickly, even in low light. |
| Dynamic effects | Create movement with color changes and pulsing lights. |
For those late-night sessions, LED lights provide crucial visibility while also protecting your eyes from strain.
Acoustic Considerations And Placement
Creating music requires not just talent but the right environment. Recording studio racks play a crucial role. They hold important gear. But placing them correctly is key. They can affect sound quality. Let’s explore acoustic considerations and placement strategies for recording studio racks.
Room Acoustics And Rack Positioning
Good sound starts with room acoustics. Racks should not interfere with sound waves. Place them away from microphones. Near walls can cause sound bounce. This bounce creates echoes. The goal is clear sound recording.
- Avoid corners: Traps bass and muddies sound.
- Space out equipment: Prevents heat buildup and noise.
- Consider symmetry: For balanced sound reflection.
- Use absorptive material: On walls behind racks.
Isolation Solutions For Rack Equipment
Isolation is key. It protects gear from external vibrations. Racks need to stand solid. They should not shake. Vibrations can travel. They ruin recordings. Use isolation devices under racks.
- Isolation pads: Reduce vibration transfer.
- Rack stands with spikes: Minimize contact with floor.
- Floating shelves: Dampen equipment vibration.

Credit: www.guitarcenter.com
Advanced Add-ons And Accessories
Setting up a professional recording studio involves more than just the basics. Advanced add-ons and accessories can transform your space. These tools add efficiency and quality to every recording session. They are the secret to smooth operation and dynamic sound. Let’s dive into some of the advanced gear that can enhance your studio setup.
Enhancing Functionality With Additional Gear
Extra gear can take your studio’s functionality to new heights. Think of add-ons as your personal studio assistants. They manage cables, extend connectivity, and add overall flexibility to your workspace. For instance:
- Power Conditioners – They keep your equipment safe from electrical surges.
- Patch Bays – Simplify cable management and signal routing.
- Rackmount USB Hubs – Provide easy access to multiple USB connections.
Gadget-specific Rack Enhancements
The right accessories can unlock the full potential of each rack-mounted gadget. Rack enhancements ensure each device functions at its best.
| Gadget | Enhancement | Benefits |
|---|---|---|
| Audio Interfaces | Rack Ears | Secure mounting and easy access |
| Preamps | Vent Panels | Better airflow, less overheating |
| Compressors | Half-rack Adapters | Combine two units in a single rack space |
These gadget-specific accessories ensure best performance and organization. Such details may seem small but they make a big difference. Studios equipped with these extras enjoy smoother operations and better sound control.
Frequently Asked Questions For Recording Studio Racks
What Are Recording Studio Racks Used For?
Recording studio racks are essential for organizing and housing audio equipment. They provide a centralized location to mount, protect, and access devices such as amplifiers, effects units, and other gear necessary for audio production workflows.
How Do I Choose The Right Studio Rack?
Choosing the right studio rack involves considering the size of your gear, the available space, and desired accessibility. Look for sturdy construction, proper ventilation, and compatibility with standard rack-mountable equipment.
What Size Studio Rack Should I Buy?
The size of the studio rack you need depends on the amount of equipment you have. Standard sizes range from 2U to 48U—each “U” represents 1. 75 inches of vertical space. Assess your current and future gear requirements to decide.
Can Studio Racks Reduce Noise?
Yes, certain studio racks are designed with noise-reducing materials and features. They help minimize equipment hum and vibration, contributing to a quieter studio environment which is vital for quality recordings.
Conclusion
Selecting the right studio racks is key to an organized and efficient recording environment. They protect your investment and enhance workflow. To wrap up, remember that durability, size, and accessibility are pivotal. Your gear deserves the best support. Make the right choice, and let creativity thrive in a space where every piece is in its perfect place.
One reply on “Recording Studio Racks: Essential Gear for Pro Sound”
Helpful ❤️