Recording at home requires basic equipment like a microphone and audio interface. Setting up a dedicated space will improve sound quality and reduce background noise.
By following these tips, you can create professional-grade recordings in the comfort of your home studio. Ready to embark on your recording journey? Recording at home is a cost-effective and convenient way to create music, podcasts, and more. With the right equipment and setup, you can achieve high-quality results without breaking the bank.
Let’s explore the essential tools and techniques needed to set up your home recording studio for success. Whether you’re a beginner or seasoned pro, these tips will help you produce top-notch recordings from the comfort of your own space.

Credit: en.wikipedia.org
Setting Up Your Home Recording Space
Choosing The Right Room
Consider room size, natural light, and layout for optimal recording conditions.
Soundproofing And Acoustic Treatment
Use soundproofing materials like foam panels and bass traps to reduce noise.
Strategically place rugs, curtains, and furniture to improve acoustics.
Essential Equipment For High-quality Recording
Essential Equipment for High-Quality RecordingInvest in quality microphones for clear sound capture. Consider condenser and dynamic microphones for different purposes.
- Pop filters and shock mounts reduce unwanted noise and vibrations.
- Microphone stands help achieve the desired positioning for optimal recording.
- XLR cables maintain signal integrity between microphones and audio equipment.
An audio interface connects microphones to the computer for recording. Choose one with multiple input/output options.
- Select a reliable DAW software for editing and mixing recorded audio tracks.
- Focusrite Scarlett Solo and PreSonus AudioBox are popular audio interfaces.
- Ableton Live and Pro Tools are versatile DAW options used by many professionals.
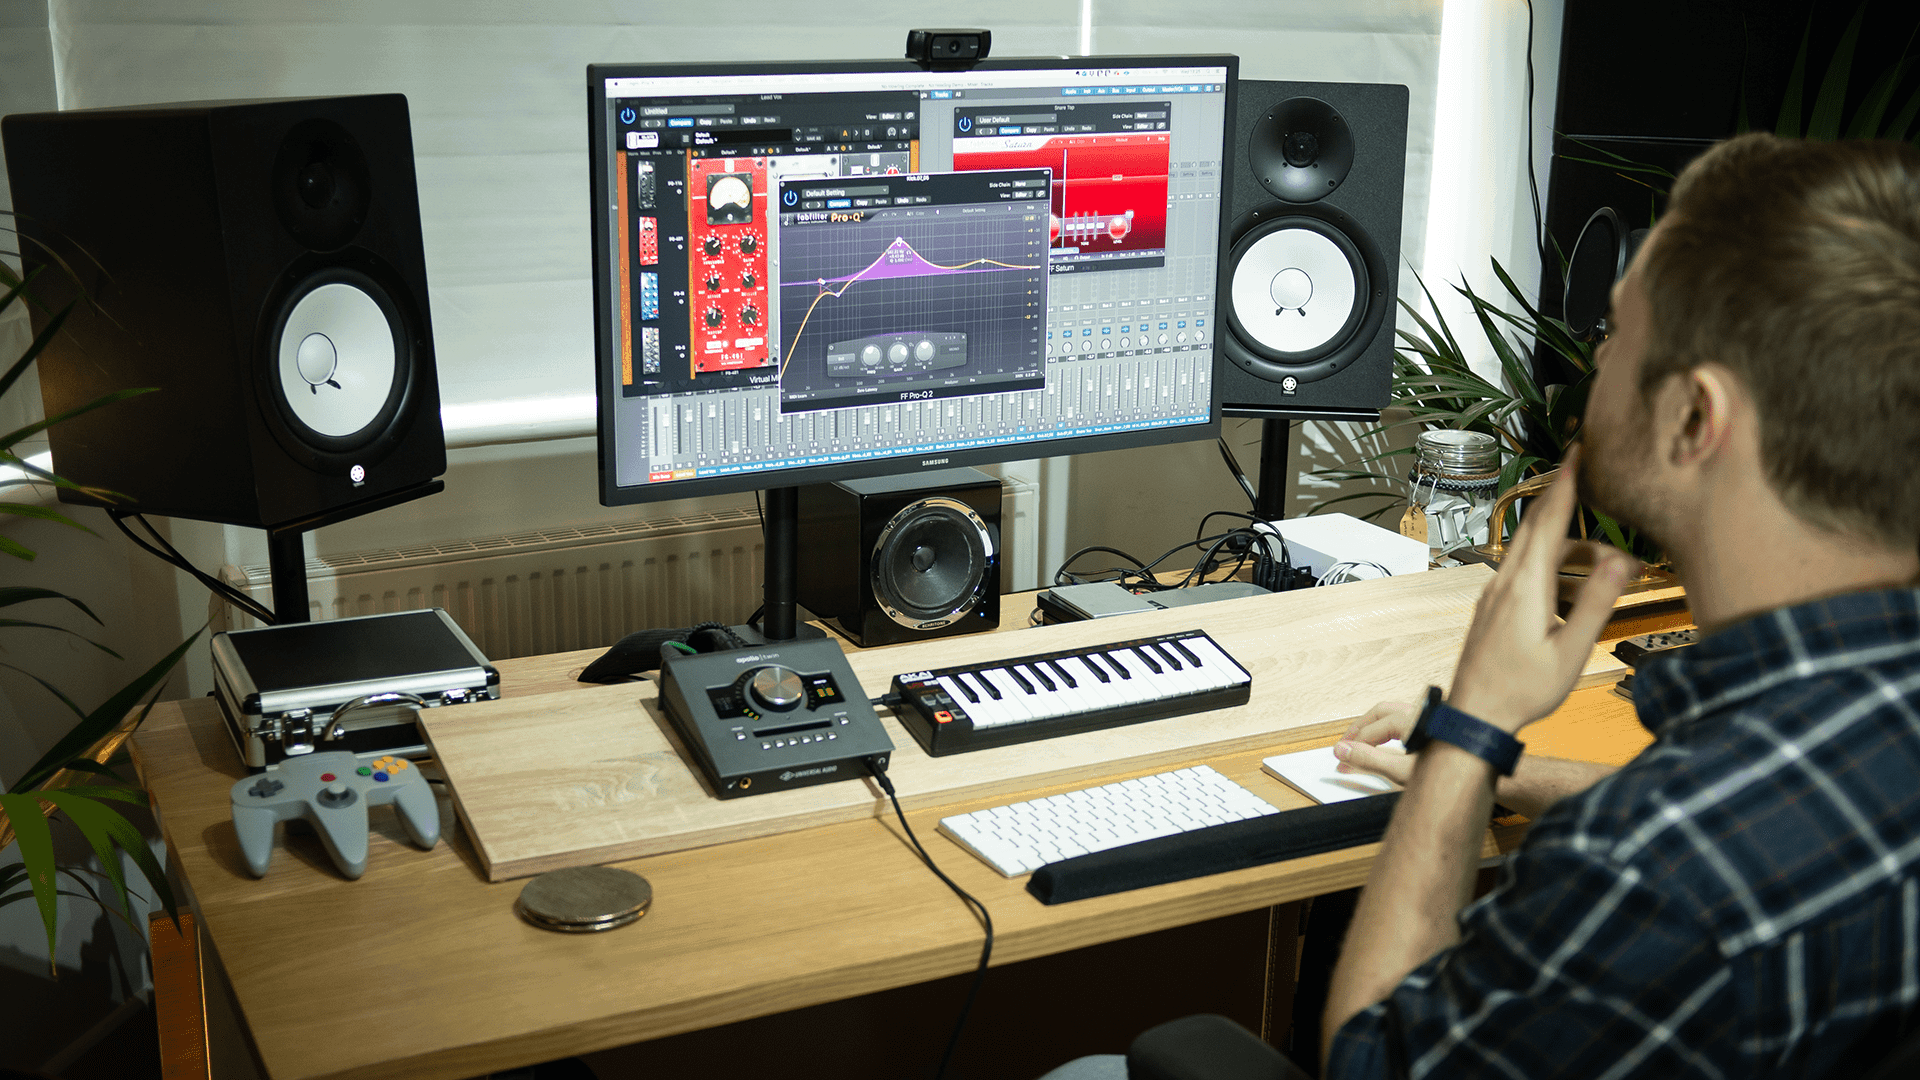
Mastering The Recording Process
Recording at home can be an exciting and rewarding endeavor, whether you’re an aspiring musician, podcaster, or content creator. While creating a professional quality recording at home may seem daunting, mastering the recording process is achievable with some fundamental knowledge and techniques.
Optimizing Mic Placement
Proper mic placement is crucial in capturing clear and balanced audio. Position the microphone at a distance of approximately 6-12 inches from the sound source and adjust the angle to achieve the desired sound. Experimenting with different placements can help find the optimal position for capturing the best audio quality.
Understanding Sound Engineering Basics
Having a basic understanding of sound engineering principles can greatly enhance the recording process. Knowledge of concepts such as signal flow, equalization, and compression can help in achieving professional-sounding recordings. Learning about these fundamentals can empower home recording enthusiasts to refine their audio production skills.
Utilizing Techniques For Professional Audio Production
Recording at home has become increasingly popular over the years, allowing musicians and producers to create high-quality audio without the need for expensive studio time. However, to achieve a professional-sounding result, it’s essential to utilize various techniques for audio production. In this post, we’ll explore two key techniques: layering and multi-tracking, and applying mixing and mastering techniques.
Layering And Multi-tracking
Layering and multi-tracking are powerful techniques that can take your recordings to the next level. Layering involves recording multiple tracks of the same instrument or vocal part and blending them together to create a rich and full-bodied sound. Each track can be carefully EQ’d, compressed, and panned to achieve the desired result. By layering different takes, you can capture different nuances and create a more dynamic and polished performance.
Multi-tracking, on the other hand, allows you to record different instruments or vocal parts separately and combine them later during the mixing process. This technique offers greater control over each element, enabling you to adjust the volume, EQ, and effects independently. It also allows for experimentation and creativity, as you can try out different arrangements and harmonies to enhance the overall composition.
Applying Mixing And Mastering Techniques
Mixing and mastering are crucial stages in the audio production process that help refine the sound and ensure it translates well across various listening platforms. During mixing, you’ll balance the levels of each track, apply EQ and compression to enhance clarity and dynamics, and add effects such as reverb and delay to create depth. Proper EQ’ing and panning will help ensure that every instrument has its own space in the mix, while compression will control the dynamic range.
Mastering, the final step, involves applying overall EQ adjustments, subtle compression, and limiting to ensure the audio sounds consistent and polished across different playback systems. It also involves fine-tuning the level and spacing between tracks to create a cohesive and professional-sounding album or song. It’s worth considering professional mastering services to achieve optimal results if you lack experience in this area.
By utilizing these techniques for professional audio production, you can elevate the quality of your home recordings and compete with studio-produced tracks. Remember, practice and experimentation play key roles in mastering these techniques, so don’t be afraid to make mistakes and learn from them. With dedication and the right tools, you can achieve remarkable results in your home recording studio.
Tips For Achieving Studio-quality Sound At Home
Recording at home can be a convenient and cost-effective way to create music or podcasts. However, achieving studio-quality sound can be a challenge. With the right knowledge and techniques, you can elevate your recordings to a professional level. In this blog post, we will explore some tips that will help you achieve studio-quality sound at home.
Effective Use Of Equalization (eq)
Equalization, commonly known as EQ, is a powerful tool that allows you to shape the frequency response of your recordings. By boosting or cutting specific frequencies, you can enhance certain elements or fix problems in your recordings. Here are some tips to effectively use EQ:
- Start with a clean slate: Before applying EQ, make sure your recording is free from noise or unwanted artifacts.
- Identify problem frequencies: Listen closely to your recordings and identify any frequencies that sound harsh or muddy.
- Use subtractive EQ: Instead of always adding EQ, try removing frequencies that are causing problems. This can help create a more balanced and natural sound.
- Experiment with different EQ shapes: Different EQ curves, such as bell, shelf, or high-pass filters, can have varying effects on your recordings. Experimentation is key to finding the right sound.
- Avoid excessive EQ: While EQ can be useful, too much of it can result in an unnatural and thin sound. Use EQ sparingly and always trust your ears.
Utilizing Reverb And Delay Effects
Reverb and delay are popular effects used to add depth and spatial feel to recordings. By creating the illusion of a physical space, you can make your recordings sound more professional. Here are some tips for using reverb and delay effects:
- Choose the right type of reverb: Whether it’s a plate, hall, or room, each type of reverb imparts a different character to your recordings. Experiment with different settings to find the one that suits your sound.
- Adjust the reverb decay time: The decay time determines how long it takes for the reverb to fade away. Short decay times are suitable for a tight sound, while longer decay times can create a more spacious feel.
- Use delay to add depth: Delay is a powerful effect that can create interesting rhythmic patterns and add depth to your recordings. Experiment with different delay times and feedback settings to achieve the desired effect.
- Balance the wet and dry signals: Finding the right balance between the dry (original) and wet (effected) signals is crucial. Too much reverb or delay can overwhelm the original sound, while too little may not create the desired effect.
By following these tips, you can elevate your home recordings to a professional level. Remember, achieving studio-quality sound requires practice and experimentation. Take the time to fine-tune your recordings and trust your ears to guide you towards the best results.

Credit: www.amazon.in
Credit: mastering.com
Frequently Asked Questions For Recording At Home
Can I Record Professional-quality Audio At Home?
Yes, with the right equipment and techniques, you can achieve professional-quality audio recordings at home. Invest in a good microphone, soundproof your room, and use software for editing and mixing to enhance your recordings and achieve the desired professional sound.
What Equipment Do I Need For Recording At Home?
To get started with recording at home, you’ll need a few key pieces of equipment. This includes a microphone, audio interface, headphones, and a computer with recording software. Additionally, you may want to consider investing in acoustic treatment to improve the sound quality in your recording space.
How Can I Soundproof My Home Recording Studio?
You can soundproof your home recording studio by using acoustic treatment materials like foam panels, bass traps, and diffusers. These materials absorb and diffuse sound waves, reducing unwanted echo and external noise. Additionally, you can use thick curtains, rugs, and bookshelves to further dampen sound within your space.
What Software Can I Use For Recording And Editing At Home?
There are numerous software options available for recording and editing audio at home. Some popular choices include Audacity (free), Pro Tools, Logic Pro, Ableton Live, and GarageBand (for Mac users). Research and choose a software that suits your specific needs and preferences.
Conclusion
To wrap up, home recording can be an enriching and rewarding experience for any musician. From setting up a home studio to capturing high-quality music, the potential is limitless. With the right tools and knowledge, you can unleash your creativity and bring your music to life from the comfort of your own space.