To record audio in Pro Tools, select a track and arm it for recording. Then, hit the record button and begin recording your audio.
Pro Tools is a popular digital audio workstation used by professionals for recording, editing, and mixing music and sound. To record audio in Pro Tools, you need to create a new track or select an existing one and arm it for recording.
Once you have your track ready, simply hit the record button and start recording your audio. Pro Tools offers various recording modes, including real-time and non-real-time recording, and you can also use external audio devices for recording. We’ll explore in detail how to record audio in Pro Tools and some tips and tricks to improve your recording quality.
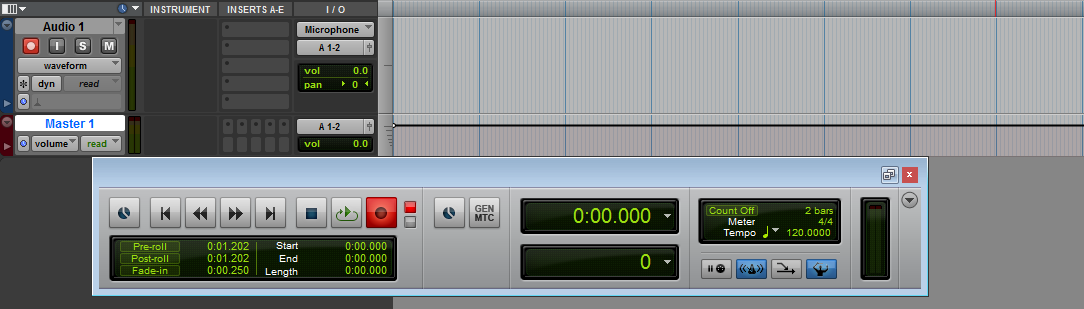
Credit: www.protoolsproduction.com
Get Set Up
To record audio in Pro Tools, you need to first set up your equipment correctly. Make sure your microphone is connected and your input settings are configured in Pro Tools. This will ensure that your recordings sound clear and professional.
Setting up your audio inputs and tracks correctly is essential for recording high-quality audio in Pro Tools. In this article, we will guide you on how to get set up for recording audio in Pro Tools, including connecting your audio inputs and creating a new audio track.
Connect Your Audio Inputs
Before you start recording audio in Pro Tools, you need to make sure your audio inputs are connected correctly. Follow these steps to connect your audio inputs:
- Plug in your microphone, guitar, or other audio source to your audio interface.
- Connect your audio interface to your computer via USB or Firewire.
- Launch Pro Tools and select “Setup” from the menu bar.
- Select “I/O Setup” from the dropdown menu.
- Click on the “Input” tab and create new audio paths for each of your audio inputs.
- Assign the inputs to the appropriate channels on your audio interface.
Create A New Audio Track
Once your audio inputs are connected, you can create a new audio track in Pro Tools to start recording. Follow these steps to create a new audio track:
- Click on the “Track” menu and select “New Track”.
- Choose “Audio Track” from the dropdown menu.
- Set your desired input in the “Input” section.
- Select your desired track format and sample rate in the “Format” section.
- Click “Create” to create a new audio track.
By following these simple steps, you can ensure that you are set up to record audio in Pro Tools. With the proper set up, you can begin recording high-quality audio for your projects.
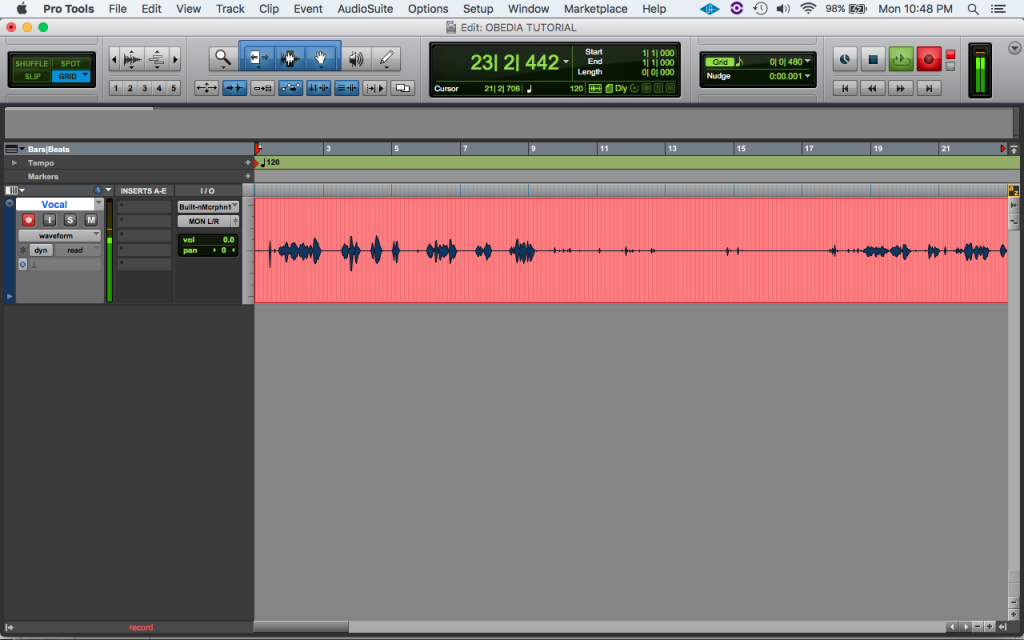
Credit: obedia.com
Configure Your Settings
To record audio in Pro Tools, it is crucial to configure your settings properly, including selecting the correct input device and sample rate. This will prevent any unwanted noise or distortion and ensure clear and high-quality recordings.
Configure Your Settings: Before starting to record audio in Pro Tools, it is important to configure your settings to ensure that your recording session proceeds smoothly and without any errors. In this section, we’ll look at two important settings: Sample Rate and Bit Depth, and Recording File Type. Set Your Sample Rate And Bit Depth: When it comes to audio recording, sample rate and bit depth are two important factors that determine the quality of your audio recordings. Sample rate refers to the number of samples of audio taken per second, while bit depth refers to the number of bits of data that describe each sample. To set your sample rate and bit depth in Pro Tools, follow these steps: 1. Go to the Setup menu and select Playback Engine 2. Choose your desired sample rate and bit depth from the options available 3. Click OK to save your changes It is important to note that higher sample rates and bit depths will result in higher quality audio, but will also take up more storage space on your hard drive. Choose Your Recording File Type: Pro Tools allows you to choose from a variety of recording file types, including WAV, AIFF, and MP3. The file type you choose will depend on your intended use for the audio recording. To choose your recording file type in Pro Tools, follow these steps: 1. Go to the Setup menu and select Preferences 2. Click on the Audio tab 3. Select your desired file type from the options available 4. Click OK to save your changes It is important to note that WAV and AIFF are both lossless file types, meaning that they maintain the quality of your audio recording, while MP3 is a compressed file type that sacrifices some quality for a smaller file size. In conclusion, configuring your settings before recording audio in Pro Tools is a crucial step that must not be overlooked. By setting your sample rate and bit depth, and choosing your recording file type, you’ll ensure that your audio recording session is of high quality and goes without a hitch.
Set Your Levels
If you’re working with audio in Pro Tools, setting your levels is an important step to ensure that your recordings aren’t too quiet or too loud. Here’s how you can set your levels to record audio in Pro Tools.
Check Your Input Levels
Before you start recording, it’s important to ensure that your levels aren’t too high or too low. To check your input levels, follow these steps:
- Select the track you want to record on
- Click on the “Input” button in the Mix window
- Make sure the “Gain” knob is at its default position (0dB)
- Speak or play the loudest part of what you’re going to record
- Watch the input meter and adjust your levels accordingly
- Ensure that the highest peak is hitting between -12dB and -6dB on the meter
Adjust Your Preamp Gain
If your input levels are too low, you may need to adjust your preamp gain. Follow these steps:
- Make sure your interface’s preamp is turned on
- Speak or play the loudest part of what you’re going to record
- Adjust the preamp gain until your levels are hitting between -12dB and -6dB on the meter
Once you’ve set your levels, you’re ready to start recording in Pro Tools. Remember to check your levels periodically as you record to ensure that they remain in the appropriate range.
Record Your Audio
If you want to create high-quality audio content, recording audio in Pro Tools can be an excellent option. Pro Tools is a versatile audio recording and editing software that is widely used in the music and audio recording industry. One of the main features of Pro Tools is its ability to record audio directly into the software. In this section, we will guide you on how to record audio in Pro Tools from start to finish.
Arm Your Track
The first step to recording audio in Pro Tools is to arm your track. Arming a track means you are enabling it to receive the audio you record. To arm a track, simply click on the “R” button on the track you want to record on. You can also arm multiple tracks at once by holding down the “Ctrl” key and clicking on the “R” buttons.
Press Record
Once your track is armed, you can start to record audio. To begin recording audio, click on the red “Record” button located at the top of the screen or press the “command” and the space bar keys simultaneously. Pro Tools will then start recording your audio input, and you will see a waveform appear on the track view.
It is essential to monitor your recording levels while recording audio. If your levels are too low, you may end up with a weak recording, and if they are too high, it could result in clipping. You can adjust the recording levels by moving the input gain slider on your interface or in the Pro Tools mixer.
Once you’re done recording, click on the “Stop” button or press the space bar key to stop the recording sequence. Pro Tools will then automatically create a new audio clip of your recorded audio.
Record Audio in Pro Tools can be an enjoyable task as it is quite simple. By following the above steps, you can easily record audio in Pro Tools and create excellent quality audio content.
Monitor Your Recording
When it comes to recording audio, monitoring what you’re recording is just as crucial as the recording process itself. Pro Tools makes it easy to monitor your recording in real-time, so you can make sure you’re capturing the sound you want. Here’s how:
Listen To Your Input
Before you start recording, it’s important to listen to your input signal to make sure it’s not too loud or too quiet and has no unwanted noise. To do this, make sure your track is armed for recording, and click on the input monitoring button on the track. This will allow you to hear your audio input in real-time, and adjust your levels accordingly.
Use Headphone Cue Mix
Pro Tools allows you to set up a separate headphone cue mix, which is particularly useful when recording multiple sources or a live band. This allows you to give each performer their own mix that only they can hear, so they can hear themselves and any effects you’ve added to their channel. To set up a headphone cue mix, click on the ‘New Headphone Cue’ button on the track and set up your mix accordingly.
Monitoring your recording is a crucial step in the recording process, and with Pro Tools, it’s easy to do so. Listen to your input signal and use the headphone cue mix to ensure you’re capturing the best sound possible.
Edit Your Audio
Record audio in Pro Tools and bring professional quality to your sound editing. With the advanced features and user-friendly interface, you can easily edit your audio to perfection. Take your recordings to the next level with Pro Tools.
Edit Your Audio Once you have recorded your audio in Pro Tools, the next step is to edit it. Editing your audio is crucial for making it sound professional and polished, and Pro Tools provides a range of tools and features to help with this process. Here are some ways to edit your audio in Pro Tools. Trim The Start And End Point Trimming the start and end points of your audio is essential for removing any unwanted noise or silence at the beginning or end of a recording. To do this, select the audio clip in the Edit window and drag the start or end of the clip to the desired position. You can also use the Trim tool, which is located in the Edit window toolbar and allows you to trim the audio clip with precision. Normalize Your Audio Another way to enhance the quality of your audio is by normalizing it. Normalizing your audio ensures that the overall volume of your recording is consistent and that there are no sudden spikes or dips in volume. In Pro Tools, you can normalize your audio by selecting the audio clip and going to the Clip menu, then selecting Normalize. Pro Tools also allows you to adjust the threshold and peak levels for normalization to get the desired result. In conclusion, editing your audio in Pro Tools is an essential step to creating a professional and high-quality recording. By trimming the start and end points of your audio and normalizing the volume, you can enhance the overall sound quality and make your recording stand out. With the range of tools and features available in Pro Tools, you can achieve the perfect edit for your audio.
Export Your Audio
Once you have recorded your audio in Pro Tools, it’s time to export your file so that you can share it with others or use it in other projects. Exporting your audio is simple and only takes a few steps.
Save Your Recording
Before exporting your audio, make sure you save your recording. You don’t want to lose your hard work! To save your recording, simply click on File and then select Save (or Save As if you want to save a copy with a new name).
Choose Your Export Settings
Next, you need to choose your export settings. Pro Tools offers several options for exporting your audio, including file format, bit depth, and sample rate. You should choose the export settings that best suit your needs.
Here’s a breakdown of the export settings:
| Setting | Description |
|---|---|
| File Format | The format in which your audio will be saved (e.g. MP3, WAV, AIFF). |
| Bit Depth | The number of bits of information in each sample of your audio (e.g. 16-bit, 24-bit). |
| Sample Rate | The number of samples of audio taken per second (e.g. 44100 Hz). |
Once you have chosen your export settings, click on File and then select Export to begin the export process.
Overall, exporting your audio in Pro Tools is a straightforward process that will allow you to share your recordings with others and use them in various projects. So make sure you save your recording and choose the right export settings for your needs.
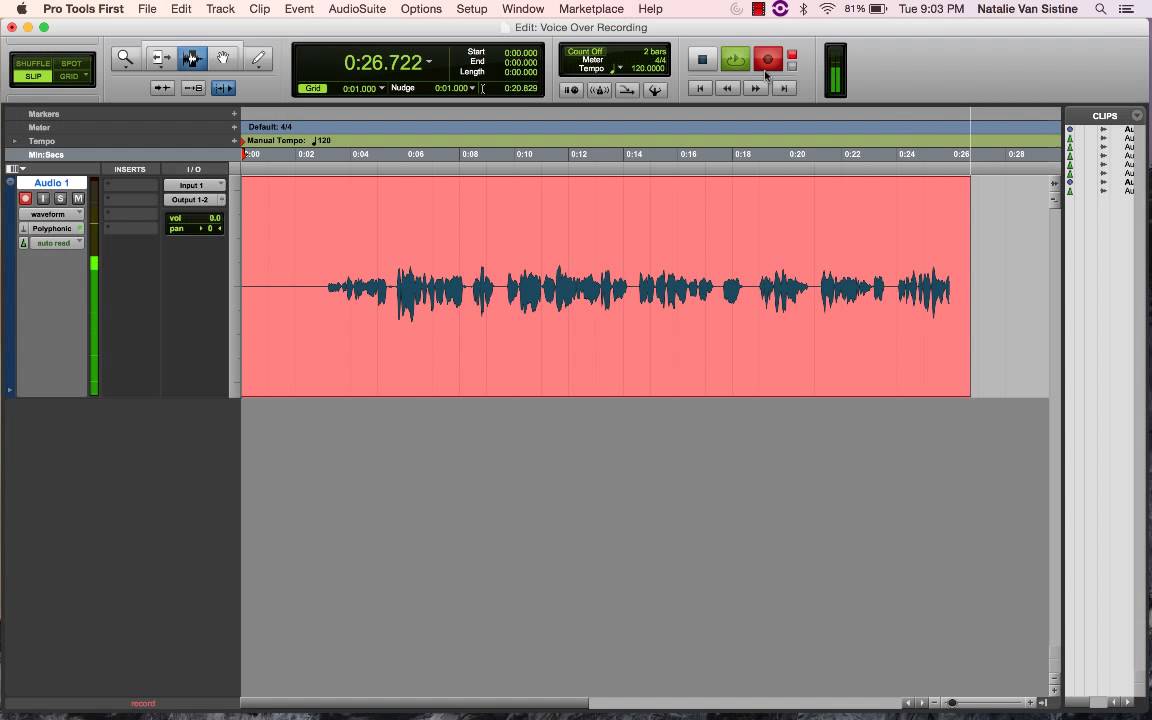
Credit: www.youtube.com
Additional Tips And Tricks
Learn how to record audio like a pro in Pro Tools with these additional tips and tricks. Achieve high-quality sound recordings by adjusting settings and using shortcuts to streamline your workflow.
Use Pre-roll To Set Up Your Recording:
Before you start recording, use the pre-roll feature in Pro Tools to set up the recording. Pre-roll allows you to test the recording and ensure that everything is in place before the actual recording begins. With pre-roll, you can set the right tempo, level, and routing, and also make sure that any inserts or plug-ins are working properly. Using pre-roll also gives you a chance to make any necessary adjustments before the recording begins, which can save time and reduce errors.
Delete Unwanted Takes:
When recording in Pro Tools, you may need to make several takes before you get the perfect one. After you have finished recording, go through each take and listen to them carefully to determine which one is the best. Delete any unwanted takes to save space on your hard drive and to make it easier to find the right take when you need it. To delete a take, highlight it and press the delete key. Pro Tools will ask you to confirm the delete, so be sure that you have selected the right take before you delete it.
Use Fades:
When recording audio in Pro Tools, it is essential to use fades to avoid any unwanted clicks or pops at the beginning or end of each clip. A fade-in is used at the beginning of a clip to gradually bring the volume up to the desired level, while a fade-out is used to gradually reduce the volume at the end of a clip. To create a fade, simply highlight the clip and choose the fade-in or fade-out option from the menu. You can adjust the length and shape of the fade to suit your needs.
Save Your Work:
Always remember to save your work in Pro Tools. This is especially important if you are working on a large project and don’t want to lose any of your hard work. To save your work, choose “Save” from the “File” menu, or use the keyboard shortcut “Command+S” for Mac users or “Ctrl+S” for Windows users. It is also a good idea to save your work frequently, especially after making significant changes or completing a recording session.
Organize Your Sessions:
Keeping your Pro Tools sessions organized is essential, especially if you are working on a large project. Use folders to group similar tracks together, and color-code your tracks to make them easier to identify. You can also use markers to indicate important sections of your session, such as intro, verse, chorus, and outro. This will make it easier to navigate your session and find the sections you need quickly.
Frequently Asked Questions On Record Audio In Pro Tools
Where Is The Record Button On Pro Tools?
The record button in Pro Tools can be found at the bottom right-hand side of the Edit window. It’s a red circle button, which you can click to start and stop recording.
How Do I Create An Audio Track In Pro Tools?
To create an audio track in Pro Tools, go to the track menu and select “New” and then “Audio Track. ” Choose the input source and gain settings, name the track, and press “Create. ” You can now record or import audio onto the new track.
Do You Need An Audio Interface To Record In Pro Tools?
Yes, an audio interface is necessary to record in Pro Tools. Pro Tools needs a high-quality audio signal to work efficiently, and an audio interface helps to translate analog audio signals into digital signals that Pro Tools can work with.
How Do I Record Vocals On Audio Tool?
To record vocals on audio tool, follow these steps: 1. Connect your microphone to your computer. 2. Open the audio tool and create a new track. 3. Choose your microphone as the input source. 4. Hit the record button and start singing.
5. When finished, stop the recording and listen back to the track to make any necessary edits.
Conclusion
To sum up, recording audio in Pro Tools has never been easier. By following the steps outlined in this blog post, you can start recording high-quality audio in no time. With the right tools and techniques, you can take your audio recordings to the next level and produce professional-quality results.
So why wait? Start recording with Pro Tools today and take your audio projects to new heights.