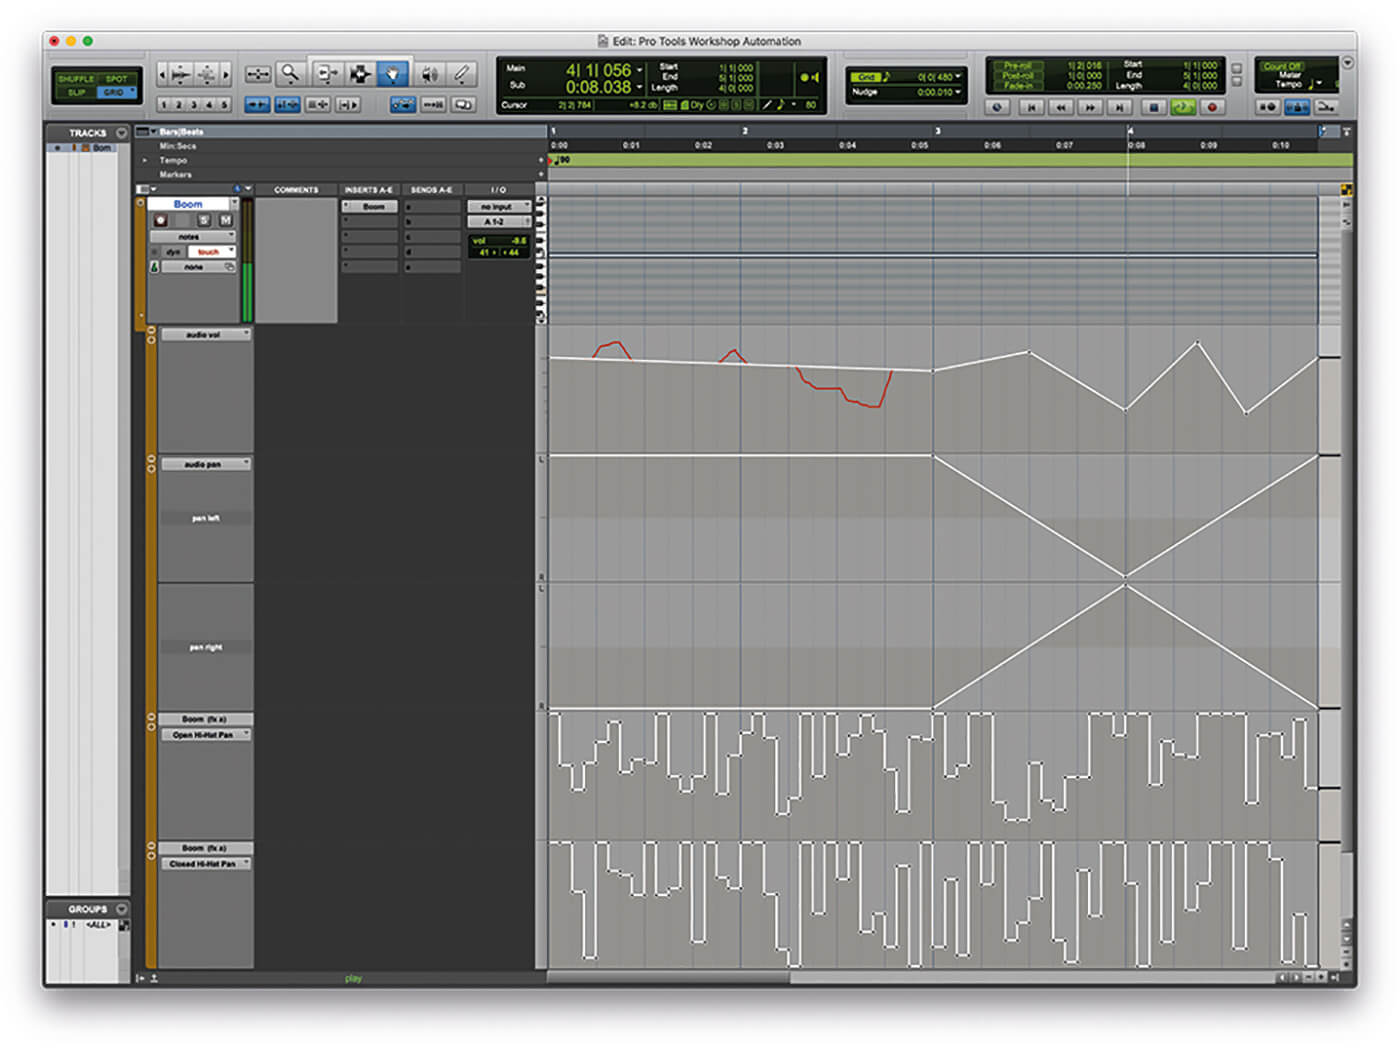
Pro Tools First allows for easy panning automation using the volume automation lane. By creating breakpoints in the lane, you can switch the position of the track’s audio between the left and right speakers.
Pro Tools First is a powerful digital audio workstation that offers numerous features and tools for music production. One of the most important techniques in mixing music is panning automation, which allows you to place audio tracks in specific positions in the stereo field.
Pro Tools First offers an easy way to perform panning automation using the volume automation lane. By creating breakpoints in the lane, you can switch the position of the track’s audio between the left and right speakers. In this guide, we will explore the basics of panning automation in Pro Tools First.

Credit: m.youtube.com
Setting Up Panning Automation
Achieve dynamic and powerful soundscapes by setting up panning automation in Pro Tools First. This feature allows you to create movement in your mix by automating the position of audio tracks in the stereo field. Experiment with different pan settings to enhance your music production.
Panning automation is a technique used in mixing audio tracks that allows the sound to be positioned across the stereo field. It is an essential tool for achieving a balanced mix that sounds good on all types of speakers. In this blog post, we will discuss how to set up panning automation in Pro Tools First.
Creating A New Project
To get started, open Pro Tools First and create a new project. You can do this by clicking on File and selecting New Project. Give your project a name and set the tempo and time signature, then click Create.
Selecting Audio Tracks
Next, you need to select the audio tracks that you want to pan. You can do this by clicking on Track in the menu bar and selecting New. Choose Mono or Stereo for the track format depending on the type of audio file you want to add.
Adding Panning Automation
Once you have added your audio tracks, you can start adding panning automation. To do this, click on the track name and select Volume/Pan from the dropdown menu. This will open the Pan automation lane. To set up panning automation, you need to create control points on the automation lane. Click on the Pan knob and drag it left or right to create a control point. You can add as many control points as you need to achieve the desired panning effect. Pro Tools First also allows you to adjust the width of the stereo field by using the Width control. This can be found next to the Pan knob.
Summary
In conclusion, panning automation is a powerful tool for creating a balanced mix. Setting up panning automation in Pro Tools First is a simple process that involves creating a new project, adding audio tracks, and creating control points on the automation lane. With a little practice, you can use panning automation to create a dynamic and immersive audio experience for your listeners.
Working With Panning Automation
With Pro Tools First Panning Automation, working with Panning Automation becomes simpler. Automate the panning of your channels for a more efficient workflow and better sounding mix.
Panning Automation is an incredible feature available in Pro Tools First, offering users an efficient and straightforward way to adjust the stereo positioning of audio tracks over time. The automation process allows you to create engaging mixes that not only sound better but are more interesting for listeners. In this article, we will explore some of the basics of Working with Panning Automation in Pro Tools First, including “Understanding the Pan Control,” “Drawing Automation,” and “Editing Automation.”
Understanding The Pan Control
The first step in working with panning automation is to understand the pan control. This is the knob responsible for controlling the stereo width of the audio track and is typically located in the Mixer View of Pro Tools First. The pan control can be adjusted from left to right, with the center position representing the center of the stereo field. By automating the pan control, you can control precisely how the audio track moves between the left and right speakers.
Drawing Automation
Drawing automation is one of the easiest ways to work with panning automation in Pro Tools First. To do this, open the Automation View of your session, select the pan control, and start drawing the automation line. You can create complex and unique panning movements by manipulating the automation line. You can also use different shapes and angles to add variety to the panning changes. Remember to select the correct pan automation mode to ensure that your automation behaves how you want it to.
Editing Automation
After you have drawn automation, you can go in and edit it as needed. Editing automation in Pro Tools First is a seamless process. To edit the automation, all you need to do is click and drag on the automation line to move it up or down. You can also add breakpoints to the automation line, giving you even more control over the panning movements. With the ability to edit automation, you can make quick adjustments to correct any mistakes or make changes to the panning in real-time quickly. In conclusion, Panning Automation is a feature that every Pro Tools First user should have in their arsenal. By understanding the pan control, drawing automation, and editing automation, you have the necessary skills to create dynamic panning movements that bring your mixes to life.
Tips And Tricks
Pro Tools First offers incredible functionality for sound designers and music producers. Among its features is panning automation, which allows you to move sounds from one speaker to another. In this section, we’ll take a look at some tips and tricks for using panning automation to create stereo effects, work with MIDI tracks, and virtual instruments.
Creating Stereo Effects
- Experiment with panning automation to create stereo soundscapes.
- Use different sounds and instruments to create a fuller soundstage.
- Try gradually moving sounds from left to right and back again.
- Be mindful of volume levels – panning too many sounds to one side can create an imbalance in your mix.
Using Panning Automation With Midi Tracks
Panning automation can also be used effectively with MIDI tracks. Here are some ideas:
- Pan individual MIDI tracks to create space in your mix.
- Use automation to create a dynamic panning effect for a specific instrument.
- Try panning MIDI drums to create a natural feel for your rhythm section.
Using Panning Automation With Virtual Instruments
Virtual instruments are a staple of modern music production. Panning automation can help you make the most of them:
- Use panning automation to create a wider stereo image for virtual instruments.
- Try panning different elements of a virtual instrument, such as drums or keys.
- Experiment with different panning techniques – for example, panning instruments slightly off-centre can create a natural-sounding mix.
Conclusion
By following the tips and tricks outlined above, you can make the most of Pro Tools First’s panning automation feature. Whether you’re working with stereo effects, MIDI tracks, or virtual instruments, these techniques will help you create a more dynamic and engaging mix.

Credit: www.mixinglessons.com
Common Mistakes
Pro Tools First users often make mistakes when it comes to panning automation. It’s important to avoid over-panning, which can lead to a cluttered mix and to use subtle automation to enhance the overall sound. Additionally, using panning automation too frequently can be distracting and take away from the focus of the music.
Panning automation is a powerful tool that can take your mixes to new heights. It allows you to control the position of each track in the stereo field and create a more immersive listening experience. However, like any tool, it’s important to use panning automation properly to avoid common mistakes that can negatively impact your mix. In this post, we’ll take a closer look at those mistakes and show you how to avoid them.
Overusing Panning Automation
One of the most common mistakes when using panning automation is overusing it. While panning automation can bring life to your mix, too much of it can create a chaotic and unbalanced sound. It’s important to remember that not every instrument or sound needs to be panned. A good rule of thumb is to only use panning automation when it serves a purpose, such as making space for other elements in the mix.
Forgetting To Bypass Automation
Another mistake that can cause problems is forgetting to bypass automation. This can happen when you’re working on a section of the mix and forget to turn off the panning automation when moving to another section. This can result in a sudden change in the stereo field when the automation kicks in, which can be jarring for the listener. It’s important to always check for automation that needs to be turned off before moving to a different part of the mix.
Not Using Headphones
Lastly, not using headphones when working with panning automation can be a big mistake. When using speakers, the sound can bleed into both ears, which can make it difficult to hear the exact placement of a track in the stereo field. This can lead to inaccurate panning automation. To solve this problem, use headphones when working with panning automation. This will provide a more accurate representation of the sound and prevent mistakes.
Conclusion
By avoiding these common mistakes, you can achieve better results when using panning automation in Pro Tools First. Remember to use it sparingly, always turn off automation when not needed, and use headphones for optimum results. With these tips in mind, you can take your mixes to the next level and create a more dynamic and immersive listening experience for your audience.
Troubleshooting
Troubleshooting panning automation in Pro Tools First can be a challenge for new users. By checking the pan automation, adjusting track-types, and monitoring preferences, you can fix the problem and improve the quality of your mixes.
Pro Tools First’s panning automation is an essential tool for shaping tracks in your mix. But what happens when it’s not working as expected? Here are some common troubleshooting tips for panning automation in Pro Tools First.
Automation Not Playing Back
If your automation isn’t playing back, the first thing to check is that it’s enabled for playback. Right-click on the track’s automation lane and ensure that “Read” is selected. Additionally, make sure that your session’s automation mode is set to “Read” or “Latch” (or “Touch” if you’re manually writing automation). Next, check that your automation breakpoints are actually on the track. Zoom in on the automation lane and look for any blank sections. If you find any, manually create breakpoints by clicking on the line and dragging it up or down to create a point.
Pan Control Not Responding
If the pan control on a track isn’t responding to automation, there could be a few potential issues. First, check that the automation is enabled for playback (as described in the previous section). Next, ensure that the pan control is actually set to “Pan” rather than “Balance.” This can be a common mistake that can cause issues with panning automation. Additionally, ensure that the pan control is set to “Post Pan” rather than “Pre Pan.”
Audio Tracks Stuck In Mono
If your audio tracks are stuck in mono and won’t pan, it’s likely that the track itself is mono rather than stereo. Check the track’s input or output routing to ensure that it’s set to a stereo option. If you’re still having issues, try creating a new stereo track and copying the audio content over to that track. In conclusion, troubleshooting panning automation in Pro Tools First requires some attention to detail and careful consideration of your track settings. Follow these tips to ensure that your automation operates as intended and your tracks sit perfectly in the stereo field.
Credit: musictech.com
Frequently Asked Questions On Pro Tools First Panning Automation
How Do You Automate Panning In Pro Tools?
To automate panning in Pro Tools, click on the automation menu and select the automation parameter you want to automate. Then, draw the automation curve over the time selection using the automation pencil tool. Finally, adjust the automation curve to achieve the desired panning effect.
How Do You Automate Panning Logic?
Automating panning logic involves using software programs or plugins that can automatically adjust the stereo field of audio tracks. This can be done through various techniques, such as volume automation, EQ, or dynamic processing. The goal is to create a more dynamic and immersive listening experience by spreading out the sound and creating a sense of width and depth.
How Do I Reset Pan Automation In Pro Tools?
To reset pan automation in Pro Tools, click on the track name and select “Automation” from the drop-down menu. Then, choose “Pan” from the submenu and select “Clear” to remove any existing pan automation. Alternatively, you can use the shortcut key “Command+Option+Click” on the pan control to reset it.
What Is Panning Automation?
Panning automation is a technique used in audio engineering to position a sound source within the stereo field. It creates the impression of movement by adjusting the sound from left to right or vice versa. This effect is often used in music production and film sound design to add depth and enhance the listener’s experience.
Conclusion
Overall, Pro Tools First panning automation is a powerful tool that can enhance any audio project. With its user-friendly interface, customizable settings, and precise control over sound placement, this feature can help producers and engineers achieve their creative vision with ease.
Whether you’re mixing vocals, instruments, or sound effects, panning automation is an essential skill that should be mastered for optimal results. So, don’t hesitate to experiment and explore this feature to improve the quality of your audio projects.