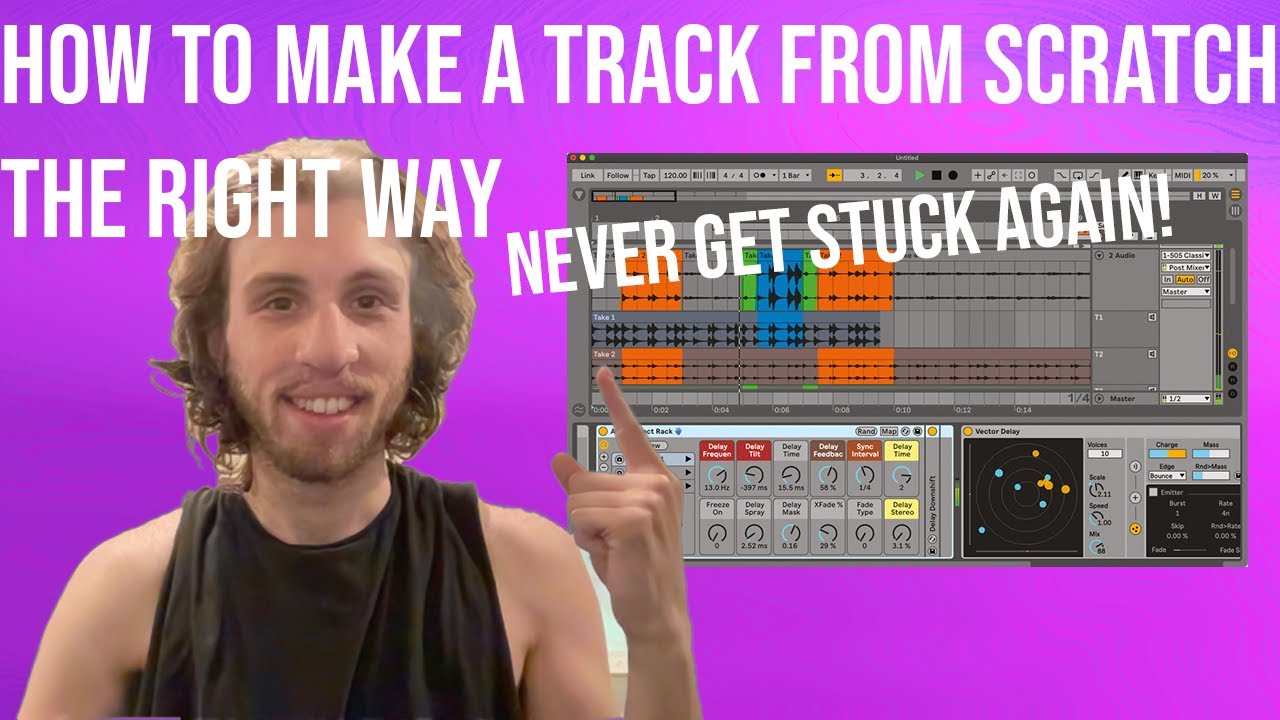
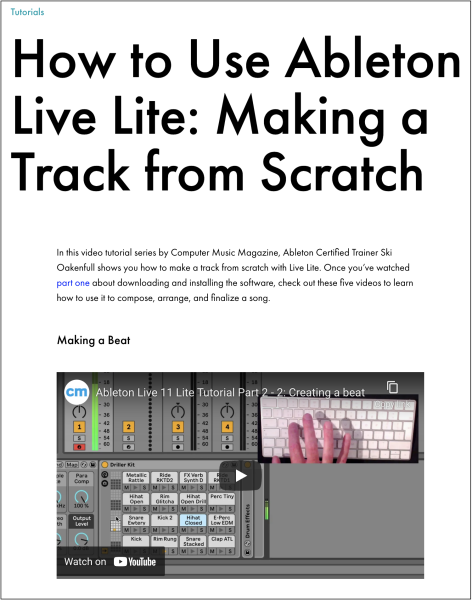
To make a track from scratch in Ableton Live, start by opening a new live set, dragging in audio clips or creating MIDI clips, and arranging them in the Session or Arrangement View. The process involves selecting sounds, creating patterns, and layering elements to build up a cohesive song structure.
Utilize Ableton’s built-in instruments, effects, and plugins or import external sounds to add variation and depth to the track. Experiment with automation, mixing, and mastering techniques to achieve a polished final product. With Ableton’s user-friendly interface and endless creative possibilities, anyone can easily create a track from scratch and bring their musical vision to life.

Credit: m.youtube.com
Getting Started
Learn how to create your own music track from scratch in Ableton Live. This beginner’s guide covers everything from setting up your session, using samples and loops, creating melodies and beats, and arranging your track for a polished final product.
Getting Started: Making a track from scratch can be a daunting task, especially for beginners. However, with a few tips and tricks, it can become an exciting and fulfilling experience. To start, you’ll need a Digital Audio Workstation (DAW), and Ableton Live is one of the most popular options available. In this guide, we’ll show you how to get started on making a track from scratch in Ableton Live.
Setting Up A New Project:
The first step in creating a track from scratch is setting up a new project in Ableton Live. To do this, launch Ableton Live, and then select “New Live Set” from the “File” menu. Alternatively, you can use the keyboard shortcut “Ctrl+N” (Windows) or “Command+N” (macOS) to create a new project.
Choosing The Right Tempo And Key:
Once you’ve set up your project, the next step is to choose the right tempo and key for your track. The tempo determines the speed of your track, and the key determines the overall tone and mood. Choosing the right tempo and key is important because it sets the foundation for the rest of your track. Here are some tips for choosing the right tempo and key:
- Consider the genre of music you want to produce
- Experiment with different tempos and keys to find what works best for your track
- Use Ableton Live’s “Tap Tempo” feature to find the tempo of a reference track
- Try to choose a key that matches the vocal range of your singer (if you’re planning on adding vocals to your track)
Once you’ve chosen the right tempo and key, you can start building your track by adding instruments, samples, and effects.
Creating A Basic Beat
In Ableton Live, creating a basic beat is the first step in making a track from scratch. Utilize the software’s drum rack to import and experiment with various drum sounds, adjust the tempo and add effects to create a rhythmic foundation for your track.
Creating A Basic Beat When it comes to producing a track in Ableton Live, the starting point is often creating a basic beat. This is the foundation upon which the rest of the track is built. In this article, we will go over the steps to create a basic beat in Ableton Live. H3: Working With Drum Samples The first step in creating a beat is to work with drum samples. Ableton Live comes with a variety of drum samples to choose from, and using these can be a quick and easy way to get started. Some popular options include the classic 808 and 909 drum machines. To work with drum samples, simply drag and drop them into a new MIDI track in Ableton Live. From there, you can use the MIDI editor to program patterns and adjust the timing and velocity of each drum hit. H3: Layering Beats For A Fuller Sound Once you have a basic rhythm programmed using drum samples, you can then layer additional sounds for a fuller sound. This can include adding shakers, hi-hats, or percussion instruments. To layer beats, you can create a new MIDI track and layer the sounds on top of your existing beat. You can adjust the timing and velocity of each sound to create a more complex pattern. H3: Adding Groove And Swing To add more interest and movement to your beat, you can add groove and swing. This creates a more human-like feel to your beat by adjusting the timing of each hit slightly. To add groove and swing, you can use Ableton Live’s groove pool. Simply drag and drop the groove you want to apply onto your MIDI track. You can adjust the amount of groove applied to your beat to get the perfect balance. In conclusion, by following these steps, you can create a basic beat in Ableton Live. By working with drum samples, layering beats, and adding groove and swing, you can create a solid foundation for your track.
Adding Melodic Elements
In Ableton Live, adding melodic elements to your track can elevate it to the next level. Whether you use virtual instruments or record live instruments, experimenting with melodies can bring your production to life.
Once you have created a solid beat and established the structure of your song, it’s time to add some melodic elements. This is where your creativity can truly shine, as you explore different sounds and ideas to create a memorable and engaging track. Here are some tips for adding melodic elements to your Ableton Live project:
Creating Simple Basslines
A strong bassline is essential to any electronic music production, providing the foundation for the rest of your melody. To create a simple bassline in Ableton Live:
- Select the Simpler or Sampler instrument in your audio effects rack.
- Choose a bass sound that fits your track’s genre and mood.
- Using your MIDI keyboard or the piano roll editor, create a simple bassline that follows the root notes of your chord progression.
- Add some variation to the bassline by changing the rhythm or adding accents on certain notes.
Designing Synth Melodies
Synth melodies are another essential element of electronic music, adding emotion and energy to your track. Here are some steps to create synth melodies in Ableton Live:
- Select a synth instrument in your audio effects rack.
- Experiment with different presets until you find a sound that fits your track.
- Using your MIDI keyboard or the piano roll editor, create a simple melody that fits with your chord progression.
- Add some variation to the melody by changing the rhythm, adding trills or slides, or using different octaves.
By focusing on creating strong basslines and synth melodies, you can add depth and emotion to your track in Ableton Live. Don’t be afraid to experiment with different sounds and techniques to find the perfect melody for your song.
Arranging Your Track
Learn how to arrange your track from scratch in Ableton Live with this step-by-step tutorial. Create a solid structure and flow for your music by utilizing the powerful tools and techniques of Ableton Live.
Arranging Your Track: Now that you have created the basic structure of your track and added some variations and interest, it is time to arrange your song. This is where you organize the different parts of your track to create a cohesive and engaging listening experience. Structuring Your Song: The arrangement of your song is a crucial part of the music-making process, as it is what keeps the listener engaged from beginning to end. It is important to structure your song in a way that makes sense and flows well. A standard structure for electronic music is an intro, verse, chorus, verse, chorus, breakdown, buildup, and outro. However, feel free to experiment and create your own unique structure. Building Variations And Breakdowns: Variations and breakdowns are essential elements to keep your listeners interested. One way to create variations is to add or remove certain parts of your track to create a different sound. Breakdowns are used to create anticipation before the build-up and drop, which is a common feature in electronic music. You can use effects like filters and reverbs to create tension in your breakdowns. Creating Transitions And Fills: Transitions and fills are used to move between different parts of your track, such as from the verse to the chorus. They help to keep the track flowing and add interest to the arrangement. One way to create a transition is to add a drum fill or a riser effect. Try experimenting with different sounds to find the perfect transition or fill that fits your track. In conclusion, arranging your track is not only about organizing your different parts but also about creating a cohesive listening experience for your audience. Don’t be afraid to experiment with different structures and use variations, breakdowns, transitions, and fills to keep your track interesting and engaging all the way through.
Mixing And Mastering
Learn the essential skills of mixing and mastering to produce high-quality tracks from scratch in Ableton Live. Whether you’re a beginner or a professional, this guide covers all the fundamental techniques and strategies required to take your tracks to the next level.
If you have followed along with the previous steps of making a track from scratch in Ableton Live, by now, you would have a produced an initial idea that is well constructed and has its basic arrangement. Now, it’s time to move on to one of the most critical aspects of creating a track – Mixing and Mastering. Mixing and mastering make a huge difference in how your music sounds, considering that you are preparing the track for release. Here are some tips to help you navigate this process.
Balancing Levels And Eqing
Balancing levels and EQing are two crucial techniques that you need to get right when mixing your track. The goal is to make sure that every element of the mix can be heard and sits well in the mix together. Balancing levels involves setting the relative volume of each audio element in your track, ensuring nothing is too loud or too quiet. EQing is the process of adjusting the frequency content of individual audio elements in your track to remove any unwanted frequencies.
Applying Effects And Processing
After balancing levels and EQing your track, it’s time to add effects and processing. Effects can help your track to sound more polished, and creative use of processing can make your song stand out. When applying effects, don’t overdo it. Less is sometimes more, and you should aim to enhance your track’s sound, not bury it.
Preparing Your Track For Release
Once you have mixed and added effects to your track, the final step is to prepare it for release. This encompasses making sure that your track meets the technical standards required by streaming platforms. You can use tools like Loudness Normalization, which checks that your track is not too loud or too quiet, ensuring that it is ready for the streaming platforms. Also, make sure that your track is exported to a file format that is widely accepted, such as WAV or MP3.
In conclusion, Mixing and Mastering are essential parts of the music production process. If done correctly, the results will be a professional sounding track that is ready to be shared with your audience. By balancing levels and EQing, applying effects and processing, and preparing your track for release, you can be confident that your track will sound great on any sound system or streaming platform.

Credit: www.skioakenfull.com

Credit: routenote.com
Frequently Asked Questions On Making A Track From Scratch In Ableton Live
How Do I Create A Track In Ableton?
To create a track in Ableton, go to the Session View and click on an empty slot in the column. A new audio or MIDI track will be created. From there, you can add instruments, effects, and start recording or programming your music.
How Do I Start Making A Song In Ableton?
To start making a song in Ableton, follow these simple steps: 1. Open a new project and create a MIDI track 2. Select a virtual instrument 3. Add clips to the timeline 4. Record or program MIDI notes 5. Arrange the clips in the session view or the arrangement view.
How Do I Cut A Track In Ableton?
To cut a track in Ableton, simply select the “slice” tool and click where you want to make cuts. Adjust the start and end points of each slice as desired, and then export the edited track.
How Do I Create A Return Track In Ableton?
To create a return track in Ableton, go to the “Add Track” button and select “Return Track” from the dropdown menu. Then, assign the track a name, audio inputs and outputs. Finally, drag and drop the effects and plugins you want to use onto the return track.
Conclusion
Creating a track from scratch in Ableton Live may seem daunting at first, but with the right tools and techniques, it can be a rewarding experience. Taking the time to master the software and experiment with different sounds and effects can result in a truly unique and personalized composition.
Remember to trust your instincts and let your creativity guide you. With practice and determination, you can achieve your desired sound and take your music production skills to the next level.