To use synths in Logic Pro X, open the software and create a new software instrument track, choose a synth and explore its settings. Now, let’s dive deeper into how to use synths effectively in Logic Pro X.
Logic Pro X is a popular digital audio workstation (DAW) used by music producers to create sounds and music. One of the most important features of Logic Pro X is the ability to use synths. Synths can create a wide range of sounds, from warm analog tones to futuristic digital sounds.
However, using synths can be daunting for beginners. This is where Logic Pro X comes in, it offers an intuitive and user-friendly interface for using synths. We’ll explore the basics of using synths in Logic Pro X to create unique, interesting sounds that will take your music to the next level.
Overview Of Synths In Logic Pro X
If you are an aspiring music producer or professional music composer, you know that Logic Pro X is a go-to digital audio workstation (DAW) to create music seamlessly. Logic Pro X has rich features and tools that allow music enthusiasts to create amazing music tracks effortlessly. Synthesizers are one of the most crucial tools in this DAW that bring exceptional value to all music producers. To assist you in getting the most out of the Synths in Logic Pro X, it’s incredibly important that you understand some of the fundamental concepts of Synths in Logic Pro X. In the next sections, we will introduce Synths, types of Synths available in Logic Pro X, and provide related insights that will help you take your music production skills a notch higher.
Introduction To Synths
Synthesizers refer to sound-generating instruments that produce a wide range of audio signals. They are either virtual or hardware-based. Virtual synthesizers are software-based and come inbuilt in the Logic Pro X DAW. They contain diverse functions that allow music producers to create unique sounds that resonate with their creative ideas. Hardware-based synthesizers, on the other hand, include actual machines that a producer can interface with and play. In this post, we will only focus on the inbuilt software-based synthesizers in Logic Pro X.
Types Of Synths Available In Logic Pro X
| Synth | Description |
|---|---|
| Alchemy | Alchemy is a sample manipulation synthesizer that offers a wide range of granular and spectral synthesis capabilities. |
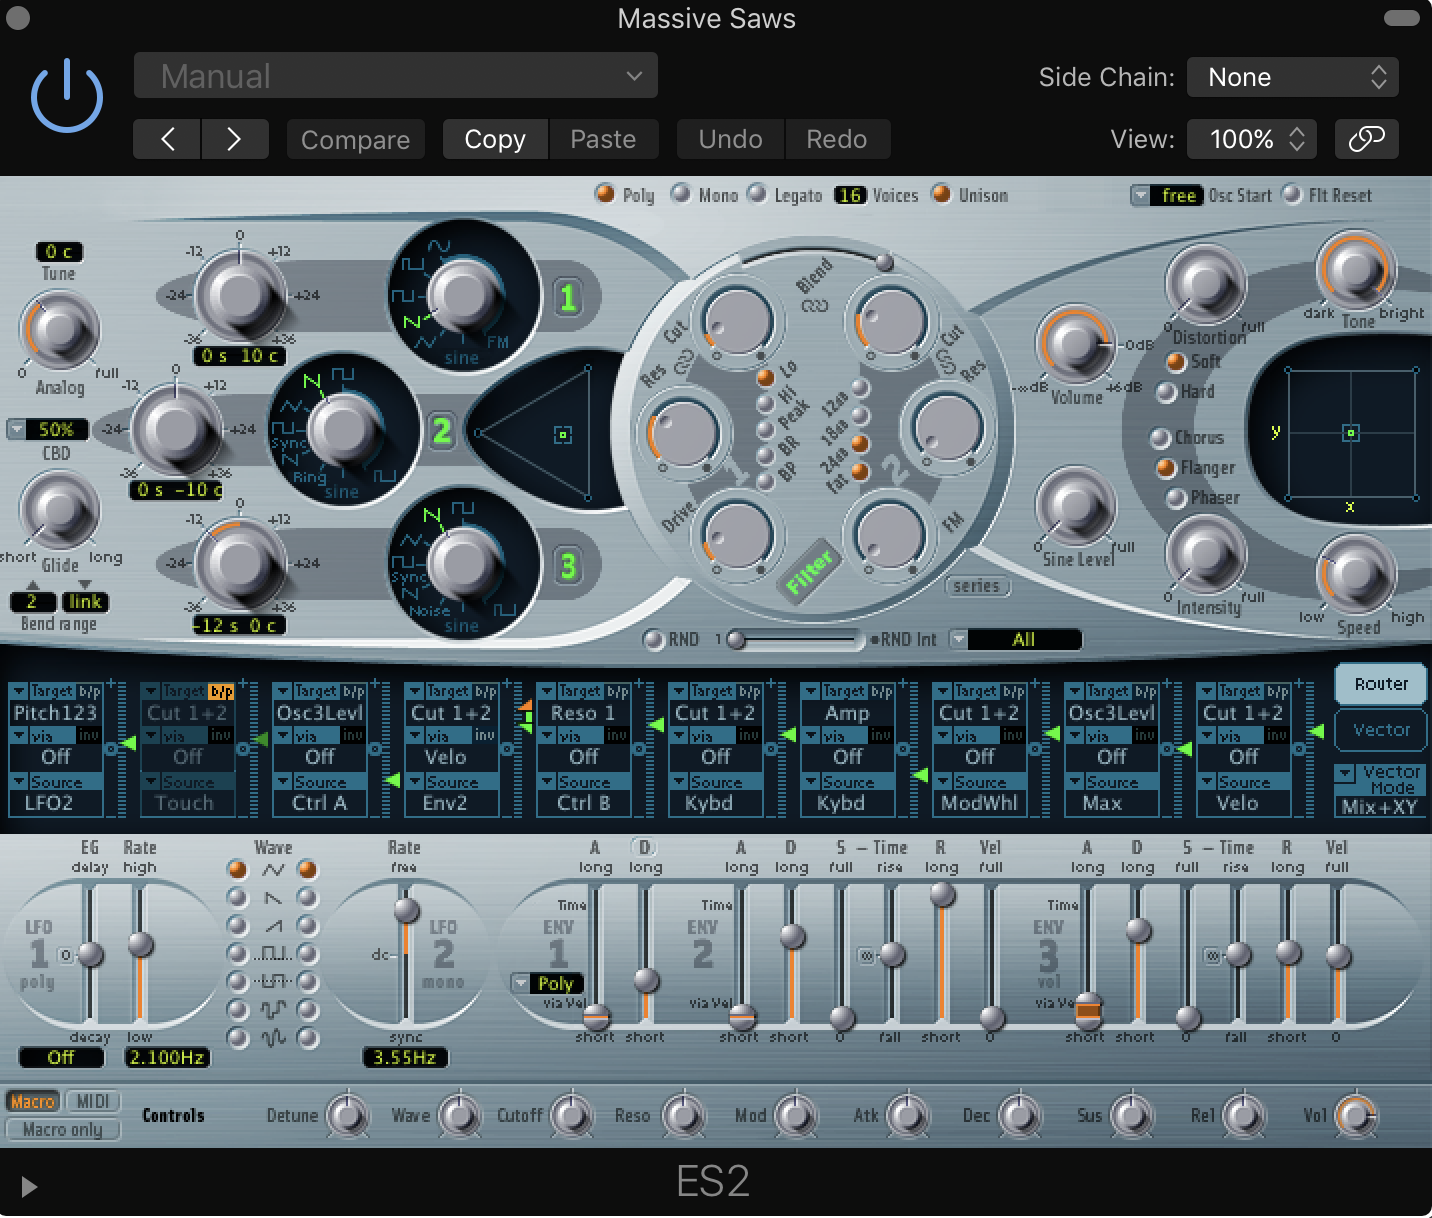
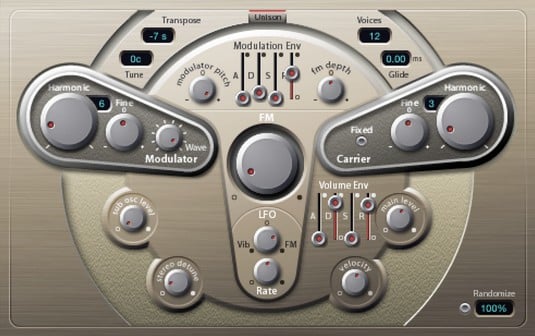
| ES2 | ES2 is a versatile synthesizer designed to deliver sublime sound quality, inspiring modulation and incredible flexibility in music production. |
| EVB3 | EVB3 is an Electronic Virtual Body Organ, simulating legendary Hammond B3 Tone wheel and Leslie rotary speaker. |
| EVP88 | EVP88 is an authentic-sounding electric piano designed to create a classic ’70s and ’80s soundscape. |
| ESM | ESM is a monophonic synth that features a single overtone oscillator, sweeping filter, and LFO for modulation. |
Choosing the right synthesizer for your style of music is crucial. Logic Pro X offers a range of Synths each with its unique characteristics. For example, Alchemy is a granular and spectral synthesizer that’s perfect for creating rich pads and evolving soundscapes. On the other hand, the ES2 Synthesizer is built for fat and aggressive electronic sounds, making it perfect for producing classic dance beats. Understanding these differences can help you to identify the Synthesizer that suits you best.
In conclusion, Synthesizers are an essential tool in creating new and unique sounds that can enhance the quality of your music production and take your tracks to the next level. Knowing the different types of Synths available in Logic Pro X and their capabilities can help you to understand which one best suits your music style and create music effortlessly. Start exploring Logic Pro X’s Synth capabilities and bring your creative ideas to life!
Credit: flypaper.soundfly.com
Setting Up Synths In Logic Pro X
Learn how to set up synths in Logic Pro X and begin creating your own unique sounds. With this comprehensive guide, you’ll be able to easily navigate the software and start making music like a pro.
If you’re a producer or a music enthusiast, Logic Pro X is an excellent digital audio workstation to create and produce music. One of the most crucial elements of music production is using synthesizers to create unique sounds. Synth plugins in Logic Pro X are an essential tool to create amazing sounds. In this blog post, we will discuss how you can set up synths in Logic Pro X.
Creating A New Software Instrument Track
To utilize synths in Logic Pro X, you need to create a new software instrument track. You can create a new software instrument track by following these easy steps:
- Click on the “+” button located in the top left corner of the Logic Pro X interface.
- Select “software instrument” and click “create.”
- Choose a sound library from the provided list or select “external” if you have a plugin installed.
Adding A Synth To The Track
Once you have created a new software instrument track, it’s time to add a synth to the track. Follow these simple steps to add a synth to your track:
- Click on the “library” button.
- Search for the synth plugin you want to use.
- Click and drag the plugin to your software instrument track.
It’s essential to ensure the output of the synth is set to the software instrument track you have created. You can ensure this by checking if the output is set to the relevant track in the mixer. In conclusion, using synths in Logic Pro X is a vital tool in creating exceptional music, and it all starts with setting up software instrument tracks and adding plugins. So, follow the steps above to start using synths in your Logic Pro X tracks today!
Exploring Synth Parameters
One of the most exciting aspects of using synths in Logic Pro X is their wide range of parameters that can be tweaked and manipulated to create unique sounds. In this post, we will explore the key synth parameters – oscillators, filters, envelopes, LFOs, and arpeggiators – and how they can be used to enhance your productions.
Oscillators
Oscillators generate the basic soundwave of a synth patch. They can be adjusted to produce different waveforms, such as sine, square and sawtooth, which impacts the character of the sound. In Logic Pro X, there are a variety of different oscillator types to choose from, including analog, digital and physical modeling. By experimenting with oscillator settings, you can create everything from simple lead sounds to complex pads and textures.
Filters
Filters shape the tone of a synth patch by removing or accentuating certain frequencies. In Logic Pro X synths, filters come in various types, such as low-pass, high-pass, and band-pass. They can be adjusted using parameters like cutoff, resonance and drive to create subtle or drastic changes to the sound. Filters can be used to add warmth, brightness, or to create a more aggressive tone.
Envelopes
Envelopes control how a sound evolves over time by modulating different synth parameters. The four most common envelope settings are attack, decay, sustain, and release (ADSR). In Logic Pro X synths, envelopes can be applied to parameters like filter cutoff, amplitude, and pitch. By adjusting envelope settings, you can create long, sustained sounds, short percussive hits, or anything in between.
Lfos
LFOs stand for low-frequency oscillators and generate repeating waveforms at a much slower rate than audio oscillators. They can be used to introduce movement and modulation to a sound by controlling various synth parameters. In Logic Pro X synths, LFOs can be applied to parameters such as filter cutoff, oscillator pitch, and amplitude. You can use LFOs to create pulsing rhythms, swirling textures, or subtle modulation that adds depth to a sound.
Arpeggiators
Arpeggiators are tools that automatically play a sequence of notes from a chord in a rhythmic pattern. They are ideal for creating complex, layered melodies that would be difficult to play manually. Logic Pro X synths come equipped with arpeggiators that can be customized to fit your needs. They can be adjusted to play specific scales, keys, and rhythms, and can be synced to your project tempo.
Creating Patches With Synths
By using synths in Logic Pro X, creating patches becomes a breeze. With the ability to manipulate a variety of sounds, you can generate unique, personalized patches that are perfect for your music production needs.
One of the most exciting elements of Logic Pro X is its range of synths, which enable you to create unique, original sounds that add depth and personality to your music. If you’re new to working with synths, it can be challenging to know where to begin, but it’s worth persevering and experimenting until you find patches that suit your style. In this post, we’ll explore how to create patches with synths, including choosing sounds and settings, customizing patches, and saving and loading patches.
Choosing Sounds And Settings
When it comes to creating patches with synths in Logic Pro X, the process begins with choosing your sounds and settings. The software comes with a vast range of synth options, and it’s essential to spend time getting to know what each one does and how it works. Spend time experimenting with the different synths to determine which ones are best suited to your needs and demands. Once you’ve chosen a synth, take the time to adjust the settings to your liking, whether that’s tweaking the oscillators, modulators, or filter settings. Logic Pro X makes it easy to adjust all of these settings, so play around with them until you find the perfect configuration.
Customizing Patches
Once you have your basic patch set up, it’s time to customize it to suit your specific musical style and vision. This step requires a bit of experimentation and creativity, but it’s worth exploring different effects and modulation techniques to achieve unique and interesting sounds. For example, try adding a bit of reverb, delay, or distortion to your patch to give it extra depth and texture. Alternatively, you can experiment with modulation techniques such as using LFOs or envelope generators that can make your patch sound more dynamic and less straightforward.
Saving And Loading Patches
Once you’ve created a patch that you’re happy with, you should save it so that you can access it quickly and easily in future sessions. Logic Pro X makes it straightforward to save and load patches, and you can save them in a variety of different folders and locations. When you save a patch, you have the option to name it, add descriptions and tags, and organize it into different categories, making it easy to find and open when you need it. Additionally, you can also share your patches with other Logic Pro X users, which is a great way to get feedback and collaborate with other musicians.
Conclusion
Creating patches with synths is a fun and rewarding way to add depth and personality to your music. Whether you’re a seasoned producer or a beginner, Logic Pro X’s range of synths and customization tools makes it easy to create unique and interesting sounds. Spend time experimenting and exploring, and you’ll soon discover a whole new world of sonic possibilities.
Using Synths In Music Production
Logic Pro X provides an extensive range of synthesizers that can comprehensively aid you in music production. From classic synthesizers to modern ones, Logic Pro X offers a variety of tools that can create a wide range of sounds, melodies, basslines, and textures. In this blog post, we will explore how to use synths in Logic Pro X for creating top-notch music.
Creating Melodies With Synths
The synth tools in Logic Pro X allow users to create melodies with ease. Simply open the synth tool, choose a suitable preset, and start playing around with the MIDI keyboard. One great way of creating melodies in Logic Pro X is by recording your improvisations.
- Open the synth tool
- Choose a suitable preset
- Start playing around with the MIDI keyboard
- Record your improvisations
Once you have recorded your improvisations, you can edit them by adjusting the notes, length, and velocity. You can also add effects like reverb and delay to create a more immersive sound.
Designing Basslines With Synths
Synths can also be used to create basslines for your music production. The process for creating basslines is similar to that of creating melodies. The only difference is the choice of sounds.
- Open the synth tool
- Choose a bass preset
- Start playing around with the MIDI keyboard
- Record your improvisations
When designing basslines, it’s essential to ensure the kick and bass frequencies do not intersect. This way, you can achieve a clean and punchy sound that is perfect for any music production.
Adding Texture With Synths
Synths can also be used to add texture to your music production. Textures help give your music a unique signature that distinguishes it from others. In Logic Pro X, there are several ways to add texture to your music using synthesizers.
- Use the arpeggiator to create unique patterns
- Add modulation effects like chorus and phaser
- Incorporate ambient sounds like pads and atmospheres
By utilizing the above methods, you can elevate your music production to an entirely new level, making it stand out from others.
Credit: www.dummies.com
Advanced Techniques For Synth Manipulation
Learn advanced techniques for synth manipulation in Logic Pro X, including modulation, layering, and automation. With these tools, you can create unique and complex sounds to enhance your music production.
Utilizing Automation
Automation is a powerful tool in Logic Pro X that can help you to create unique synth sounds. You can use automation to adjust any parameter of the synth over time. For instance, you can create sweeping filter effects by automating the cutoff frequency. Or, you can create pulsing rhythm by automating the synth’s LFO rate. To use automation in Logic Pro X, go to the Tracks area, select the synth track, and then select the parameter you want to automate. Click on the “A” button next to the parameter to enable automation, and then draw in the automation curve using the Automation tool.
Working With Midi Controllers
MIDI controllers are another great way to manipulate synths in Logic Pro X. You can use any MIDI controller to adjust parameters such as filter cutoff, resonance, and envelope settings in real-time. Logic Pro X supports all major MIDI controllers, including keyboards, drum pads, and control surfaces. To set up a MIDI controller, go to the Control Surfaces section of the Preferences window, and select the desired controller from the list. You can then map the controller’s knobs, faders, and buttons to various synth parameters using the Learn function.
Layering Multiple Synths
Layering multiple synths is a powerful way to create complex, rich sounds in Logic Pro X. By layering synths, you can blend different waveforms, filters, and effects to create a unique sound that is greater than the sum of its parts. To layer synths in Logic Pro X, simply create multiple synth tracks and route them to the same bus or output. You can then adjust each synth’s settings until you achieve the desired sound. Be careful not to overdo it, though – too many layers can result in a muddy, cluttered sound that lacks clarity. In conclusion, these are some advanced techniques for synth manipulation in Logic Pro X. By utilizing automation, working with MIDI controllers, and layering multiple synths, you can create truly unique sounds that stand out from the crowd. With a little experimentation and practice, you’ll be able to unlock the full potential of your synths and take your music to the next level.
Troubleshooting Synth Issues In Logic Pro X
Ensure seamless synth production with these tips to troubleshoot synth issues in Logic Pro X. Maximize the potential of Logic Pro X’s synths by gaining deeper insights into the software’s features and functions with a few simple techniques.
Using synths in Logic Pro X can help to create dynamic and captivating soundscapes. However, sometimes synth issues can occur, which can be frustrating and time-consuming. To help you resolve any issues that you may encounter, we have compiled some common synth problems and solutions.
Common Synth Problems
Here are some issues you may encounter when using synths in Logic Pro X:
- Sound is distorted or crackling
- No sound is produced
- Latency issues
- Audible clicks and pops
- Unresponsive synth controls
Solutions To Synth Problems
Here are some solutions to the common synth problems:
Sound is distorted or crackling
If the sound produced by the synth is distorted or crackling, try the following:
- Check the sample rate and bit depth settings of the session
- Ensure that the synth’s level is not too high
- Check that the synth is not clipping or overdriven by lowering its volume
No sound is produced
If no sound is produced by the synth, try the following:
- Check that the synth is receiving MIDI signals
- Check the track’s output routing
- Ensure that the synth’s volume is not set to zero or muted
Latency issues
If you are experiencing latency issues, try the following:
- Open the Audio MIDI Setup and adjust the buffer size
- Lower the sample rate and bit depth of the session
- Disable any unused plugins or instruments
Audible clicks and pops
If you hear audible clicks and pops, try the following:
- Check the sample rate and bit depth settings of the session
- Decrease the buffer size
- Disable any unused plugins or instruments
Unresponsive synth controls
If the synth’s controls are unresponsive, try the following:
- Restart Logic Pro X and the synth plugin
- Check that the track is not locked or frozen
- Disconnect and reconnect the synth to the MIDI controller
In conclusion, synth issues can be frustrating, but with these solutions, you’ll be on your way to producing the perfect sounds. Keep this guide handy for quick reference when troubleshooting synth issues in Logic Pro X.

Credit: m.youtube.com
Frequently Asked Questions On How To Use Synths In Logic Pro X
Does Logic Pro Have Synthesizer?
Yes, Logic Pro has several built-in synthesizers, such as the ES2, Retro Synth, and Sculpture, that allow users to create various types of electronic sounds and music.
How Do You Mix Synths In Logic Pro X?
To mix synths in Logic Pro X, start by panning each instrument in the stereo field. Adjust the EQ to add clarity and separate the sounds. Use compression to control the dynamics of each track. Adjust the volume levels to balance the mix.
Finally, add reverb and delay to create space and depth.
What Is The Best Synth In Logic Pro X?
The best synth in Logic Pro X is subjective and depends on personal preferences. Some popular options among users are Retro Synth, Alchemy, and ES2. Each synth has unique features and capabilities, making it essential to experiment and find the best fit for one’s musical needs.
How Do I Open Retro Synth In Logic Pro X?
To open Retro Synth in Logic Pro X, go to the “New Track” option and select “Software Instrument”. Then, click on the drop-down menu and select “Retro Synth” to add it as a track.
Conclusion
Using synths in Logic Pro X is easy and fun. With various features and tools, it allows you to create unique and engaging music. By following the steps mentioned above, you can make the most of your synth experience. Besides, experimenting with different sounds and techniques can help you discover new approaches to synthesizing in Logic Pro X.
So, keep practicing and exploring, and see where it takes you!