To use synths in FL Studio, open the plugin window, select the synth you want to use, and start playing or programming your melody. FL Studio offers various synths, including Harmor, Sytrus, and Serum, to create unique sounds and enhance your music productions.
Synthesizers are essential tools for music production in FL Studio. They can be used to create unique and captivating sounds that can take your music to the next level. FL Studio comes with many built-in synths that can be used to shape your tracks’ sounds, such as Harmor, Sytrus, and Serum.
Additionally, third-party plugins can be integrated into FL Studio to expand your synth library. Learning how to use synths in FL Studio will enable you to design sounds, create melodies, and add textures to your tracks, providing a vast and exciting playground for your music productions. We will discuss how to use synths in FL Studio and explore the different synthesizers available in FL Studio.
Credit: www.youtube.com
Getting Started With Synths
Learn how to effortlessly incorporate synths into your music production by using FL Studio. With its user-friendly interface and diverse range of features, FL Studio can help you create unique and captivating sounds that will bring your music to life.
If you’re new to the world of synthesizers and music production, it can be overwhelming to know where to start. However, with a few basics in mind, you’ll be creating amazing sounds in no time. In this article, we’ll cover the essentials on how to use synths in FL Studio, beginning with getting started.
Setting Up Your Midi Controller
Before you can start using synths in FL Studio, you’ll need to set up your MIDI controller. This device will allow you to play and control the synth sounds in your DAW (digital audio workstation). To do this in FL Studio, simply connect your MIDI controller to your computer via USB and ensure that it’s powered on. Then, click on Options > MIDI Settings in the FL Studio menu. Here, you’ll need to ensure that your MIDI controller is recognized by FL Studio and that it’s selected as an input device.
Choosing The Right Synth
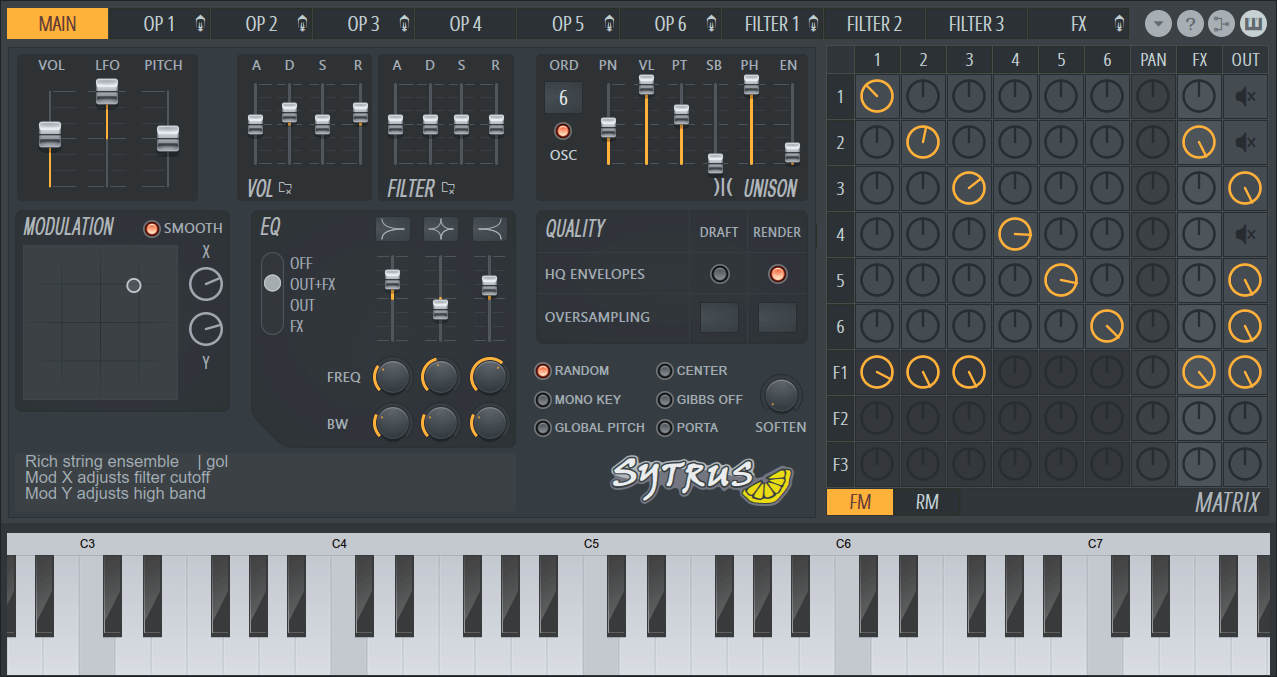
Once you have your MIDI controller set up, it’s time to choose the right synth for your project. This will largely depend on what kind of music you’re producing and the sound you’re aiming for. FL Studio comes with a range of built-in synths, such as Harmor, Sytrus, and 3xOsc, which are great for beginners and experts alike. Additionally, there are countless third-party synths available online that you can purchase or download for free. When choosing a synth, consider the type of synthesis it uses (such as subtractive or FM), the range of sounds it can produce, and how easy it is to use.
Getting Familiar With Synth Controls
Once you’ve chosen your synth, it’s time to get familiar with the controls. Each synth will have its own set of parameters that you can adjust to create different sounds, such as oscillators, filters, envelopes, and LFOs. Experiment with different combinations of these controls to create unique sounds and find what works best for your project. Remember, there’s no right or wrong way to use synths in FL Studio – it’s all about experimenting and finding what sounds best for you. With these basics in mind, you’ll be creating amazing music in no time.
Understanding Synth Parameters
To use synths in FL Studio, understanding synth parameters is key. By adjusting parameters such as oscillators, filters, and envelopes, you can create unique and dynamic sounds for your music productions. Take time to learn each parameter and experiment with different settings to unlock the full potential of your synths.
If you’re just starting with Synths on Fl Studio, understanding the parameters can be a bit daunting, but with a little practice and guidance, you’ll get a hang of it. Knowing the basics of parameters will help you understand how the sound is produced and how to manipulate it to create your desired effect. In this article, we will focus on three essential synth parameters – oscillators, filters, and envelopes.
Oscillators
Oscillators are the building blocks of sound waves. They are responsible for creating the primary sound. Fl Studio offers many types of oscillators, including square waves, sine waves, sawtooth waves, and more, each with its unique sound. These waves are generated at specific frequencies and have different harmonics. You can create complex sounds by mixing and matching different oscillators.
Filters
Filters help in shaping the sound by removing unwanted frequencies. With filters, you can remove unwanted harmonics, cut off the high or low frequencies, and add resonance to your sound, giving it a unique character. Fl Studio provides different types of filters such as Low Pass, High Pass, and BandPass, which you can use to create your desired sound.
Envelopes
Envelopes control the parameters of the Synth’s sound over time. They determine how the sound will behave over time. With envelopes, you can change the volume, pitch, or timbre of a sound over a specific time frame. Fl Studio offers four types of envelopes – ADSR, AHDSR, 8-point envelope, and 2-point envelope. Each envelope type represents particular parameters, and you can modify them to create different sounds. To create a great sound, each of these parameters must be used correctly. You can start with a basic sound, tweak each parameter, and experiment, resulting in a new and unique sound. By understanding these parameters, you’ll be able to create complex sounds and kick start your music production journey.
Sound Design With Synths
Explore the world of sound design with synths in FL Studio and learn how to use them to create unique sounds for your music productions. With their endless possibilities, synths can help you achieve a variety of effects, from simple melodies to complex compositions, and take your music to the next level.
Creating Basslines
Basslines are the backbone of electronic music. They propel the track forward and create a sense of movement. To create a bassline with a synth, start by selecting a synth with a warm, rich tone. Then, adjust the oscillators to create a deep, full sound. Use the ADSR envelope to shape the sound, making it punchy at the attack and sustaining it at the decay and release. Experiment with different filter settings until you find the perfect balance between low-end weight and harmonic content.
Making Leads
Leads can take many forms in electronic music, from bright and soaring to gritty and distorted. To create a lead with a synth, start by selecting a synth with a clean, bright tone. Then, adjust the oscillators to create a sound that cuts through the mix. Use the ADSR envelope to shape the sound, making it sharp at the attack and decaying quickly to create a staccato effect. Experiment with different filter settings until you find the perfect balance between brightness and warmth.
Credit: www.image-line.com
Advanced Synth Techniques
If you’re a music producer using FL Studio, then you know how important synthesizers can be for creating amazing sounds. However, just using basic synth sounds can get boring after a while. That’s where using advanced synth techniques comes in handy. In this post, we will cover some advanced techniques to help you take your synth game to the next level.
Using Automation To Add Movement
One of the best ways to make your synth sounds more interesting is to add movement. This can be achieved using automation. Automation is simply the process of changing a parameter over time. In FL Studio, you can right-click on any parameter and select “Create Automation Clip”. This will create a new track that you can use to automate that parameter. You can then use the pencil tool to draw in the automation.
Layering Sounds For Depth
Layering sounds is another great way to add depth and complexity to your synth sounds. This involves using multiple synth sounds together to create a richer, more interesting sound. To do this in FL Studio, simply load up multiple synth plugins and start experimenting with layering them together. You can also use effects like reverb and delay to blend the sounds together and create a more cohesive sound.
Overall, these advanced synth techniques can help take your music production game to the next level. Use them to create more interesting and dynamic synth sounds that will set your music apart from the rest.
Manipulating Synth Effects
Manipulating synth effects in FL Studio is a crucial part of creating unique sounds. With the use of filters, envelope controls and LFO settings, you can get the desired result. Take your time to experiment with these features and you’ll be surprised at the exciting sounds you can produce.
After creating some mesmerizing synth sounds, it’s time to enhance them with some effects. Fortunately, FL Studio offers a plethora of effect plugins that you can use to manipulate your synth sounds and create something extraordinary. In this guide, we’ll discuss some of the essential synth effects that you can use in FL Studio.
Delay And Reverb
Delay and reverb are two essential effects that can add depth and space to your synth sounds. In FL Studio, there are numerous delay and reverb plugins available, each with its unique sound. The delay effect creates an echo effect by repeating the sound over a set amount of time, while the reverb effect simulates the sound of an acoustic space, such as a room or hall. To use the delay effect in FL Studio, simply add the plugin to your synth track and adjust the time, feedback, and mix settings to create the desired effect. The reverb effect works in the same way, allowing you to adjust the decay, size, and mix settings to create a spacey and ambient sound.
Flanger And Phaser
Flanger and phaser effects add a unique and hypnotic quality to your synth sounds. The flanger effect creates a sweeping sound by delaying and mixing a copy of the original sound, while the phaser effect creates a swirling sound by phase-shifting the frequencies of the sound. To use the flanger and phaser effects in FL Studio, add the plugin to your synth track and adjust the rate, depth, and mix settings to get the desired sound. You can also experiment with different presets to see what works best for your synth sound. In conclusion, manipulating synth effects is a crucial step in creating unique and captivating synth sounds in FL Studio. With the right combination of plugins and settings, you can take your synth sounds to new heights and bring your music to life.
Creating Synth Patches From Scratch
Creating synth patches from scratch is a powerful way to add unique, custom sounds to your music. With FL Studio’s extensive synth capabilities, you can create everything from classic analog-style leads and basses to bright, modern pads and textures. Here are some tips for creating killer synth patches from scratch in FL Studio.
Starting With A Blank Canvas
One of the first things to do before creating a synth patch is to start with a blank canvas. This means loading up a basic synth sound with no effects or processing applied. FL Studio’s default synth, 3xOsc, is a great starting point for this.
Once you have a basic sound loaded up, start experimenting with the synth’s parameters and settings. This includes things like adjusting the oscillator waveform, filter cutoff frequency, envelope settings, and more.
Experimenting With Sound Design
Sound design is a crucial aspect of creating synth patches from scratch in FL Studio. This involves experimenting with different synth parameters and settings until you find the perfect sound for your track. Here are some tips for effective sound design:
- Get familiar with the synth’s parameters and settings: Before you start designing your sound, make sure you understand the different parameters and settings available in your synth. This will help you create more nuanced and complex patches.
- Use modulation: Modulation is the art of changing multiple parameters over time to create evolving and interesting sounds. FL Studio’s powerful modulation capabilities enable you to do this with ease. Experiment with things like LFOs, envelopes, and automation to add movement and interest to your patches.
- Layer sounds: Layering multiple sounds is another effective way to create complex and unique patches. Try layering different oscillators, effects, or even different synths to create a sound that’s truly one-of-a-kind.
- Think outside the box: Sometimes the best sound design happens when you take risks and try something unconventional. Don’t be afraid to experiment with unusual settings or parameters to see what you come up with.
By following these tips and experimenting with different synth parameters and settings, you can create amazing synth patches from scratch in FL Studio. With a little practice, you’ll be able to create custom sounds that perfectly complement your music and make your tracks stand out from the crowd.
Using Synths In A Mix
Using synths in a mix is a popular technique used by music producers and composers alike. FL Studio offers a plethora of synth options to choose from, allowing you to create unique sounds and textures to elevate your music. In this section, we’ll look at two important aspects of using synths in a mix – complementing other instruments and arranging your synth parts. Let’s dive in.
Complementing Other Instruments
When using synths in a mix, it’s crucial to ensure they complement the other instruments in the arrangement. Synths can add depth and dimension to a track, but they can also clash if not used correctly. Here are some tips to ensure your synths complement the other instruments:
- Choose a synth sound that complements the main melody or chords of your track.
- Identify the frequency range of the other instruments and adjust your synth accordingly. You may need to EQ your synth to cut through the mix.
- Use panning to create space in the mix. You may want to pan your synths to the left or right to create a wider stereo field.
Arranging Synth Parts
Arranging your synth parts effectively can make all the difference in your mix. Here are some tips to ensure your synth parts are arranged properly:
- Start with a simple synth melody or chord progression. Then, build upon it with additional synth layers.
- Consider the dynamic of your track and where the synths can add impact. Is there a chorus or drop that can benefit from a powerful synth sound?
- Don’t be afraid to experiment with different synth sounds and textures. FL Studio offers a wide variety of synths that can add depth and uniqueness to your mix.
- Avoid overusing synth sounds. Space out your synth parts to create moments of impact throughout the track.
Using synths in a mix can enhance your music and take it to the next level. Remember to choose sounds that complement the other instruments in your arrangement, and arrange your synth parts effectively for the best results. With these tips, you can create unique and impactful synth-driven music in FL Studio.
Common Synth Mistakes To Avoid
Synthesizers are powerful tools that can add a unique touch to your FL Studio productions. However, there are some common mistakes that beginners often make when using synths. To avoid those mistakes, it’s important to take your time, experiment with different settings, and learn the basics of sound design.
If you’re a music producer, you know the importance of using synths in your compositions. However, without the right knowledge, it’s possible to make some common mistakes that can hinder the potential of your music. Here, we’ll focus on some of the most common synth mistakes to avoid when using synths in Fl Studio.
Overcomplicating Sound Design
One of the biggest mistakes beginners make is overcomplicating their sound design. It’s easy to fall into the trap of endlessly tweaking parameters and effects, but this can lead to a cluttered and dissonant sound. Keep it simple and try to achieve the sound you want with just a few adjustments. Instead of layering too many sounds, try using fewer sounds and balancing them properly to create a fuller texture.
Clashing Frequencies
Another pitfall that new producers must beware of is clashing frequencies. It’s crucial to understand how different frequencies interact with each other and make sure that they are properly balanced in the mix. Low frequencies can muddle the mix if they’re not handled properly, while high frequencies can be harsh and grating if they’re too loud or the resonance is too high. Therefore, always analyze the frequency spectrum of your mix to make sure that each element has its own space and doesn’t interfere with any others.
Not Experimenting Enough
Finally, it’s essential to experiment with your synths and the effects you use. Many producers fall into the trap of using the same synth presets or effects on every track they produce. While it’s always good to have a go-to sound, not experimenting enough can lead to predictable and uninspiring music. So, don’t be afraid to try new combinations and effects to see what works best for your music. In conclusion, if you avoid these common synth mistakes, you’ll be able to create impressive and unique music that stands out from the crowd. By keeping your sound design simple, balancing your frequencies, and experimenting with different approaches, you’ll unlock the full potential of your synths in Fl Studio.

Credit: www.image-line.com
Frequently Asked Questions For How To Use Synths In Fl Studio
How Do You Make A Synth Sound On Fl Studio?
To make a synth sound on FL Studio, open a new channel and choose a synth plugin. Use the synth’s oscillators, filters, envelopes, and effects to create your desired sound. Adjust the parameters and use automation to add texture and movement to your sound.
Finally, mix and master your track.
How Do I Connect My Midi Synth To Fl Studio?
To connect your MIDI synth to FL Studio, follow these steps: 1. Connect your synth to your computer via USB 2. In FL Studio, go to Options > MIDI Settings 3. Select your MIDI input device 4. Enable MIDI input on any channels you want to use 5.
Play your synth and it should be detected by FL Studio.
Does Fl Studio Have Synths?
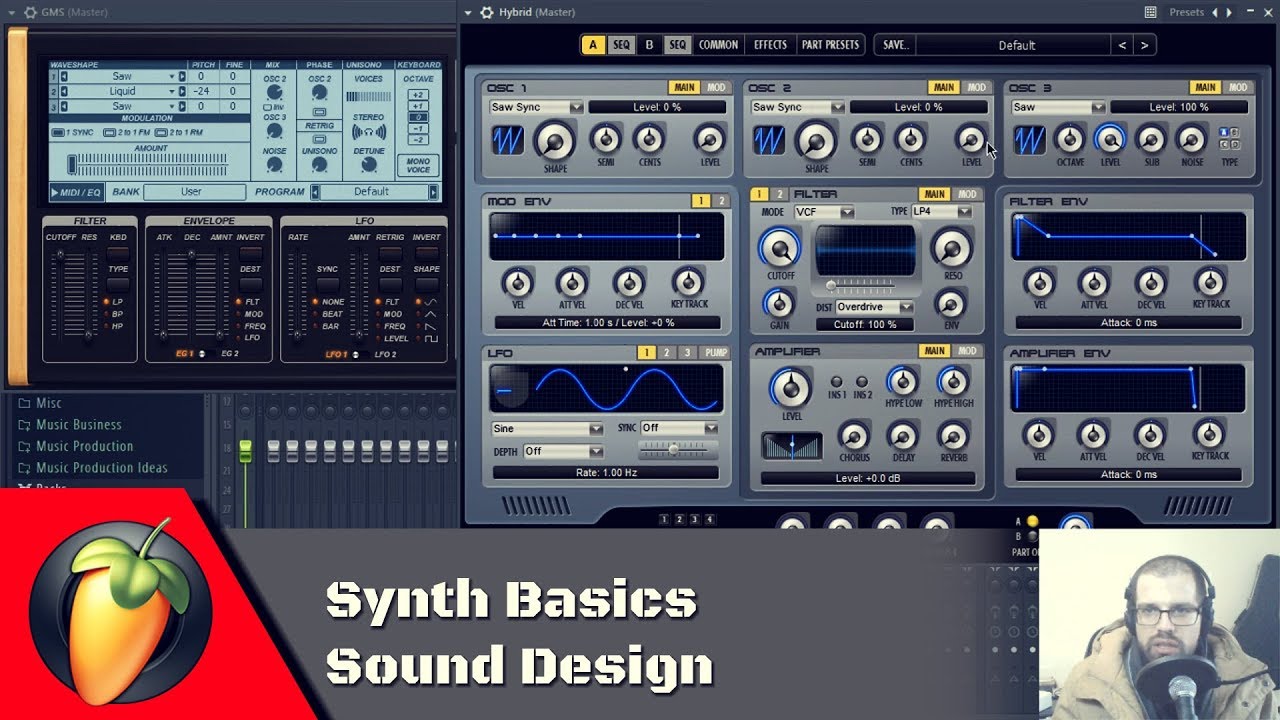
Yes, FL Studio does have synths. FL Studio has a range of synthesizers that allow users to create a variety of sounds and styles, including Harmor, Sytrus, and GMS.
How To Layer Synths In Fl Studio?
To layer synths in FL Studio, first create a new instance of the synth plugin you want to layer. Then, create a new MIDI channel and assign it to the same synth plugin. Use different settings for each channel to create a layered sound.
You can also add effects and adjust levels to fine-tune your sound.
Conclusion
To sum up, synths in Fl Studio are an extremely flexible tool that can greatly enhance the sound of your music. With features like automation, modulation, and layering, the possibilities are virtually endless. Whether you’re a seasoned producer or just starting out, understanding how to use synths in Fl Studio is a skill worth mastering.
Don’t be afraid to experiment and try new things, as the best sounds often come from unexpected places. With practice, patience, and a little bit of creativity, you’ll be able to create amazing music using synths in Fl Studio.