To use DistroKid to upload to YouTube, simply select your music release and choose the YouTube option. After entering relevant details, DistroKid will automatically generate a video and upload it to your YouTube channel.
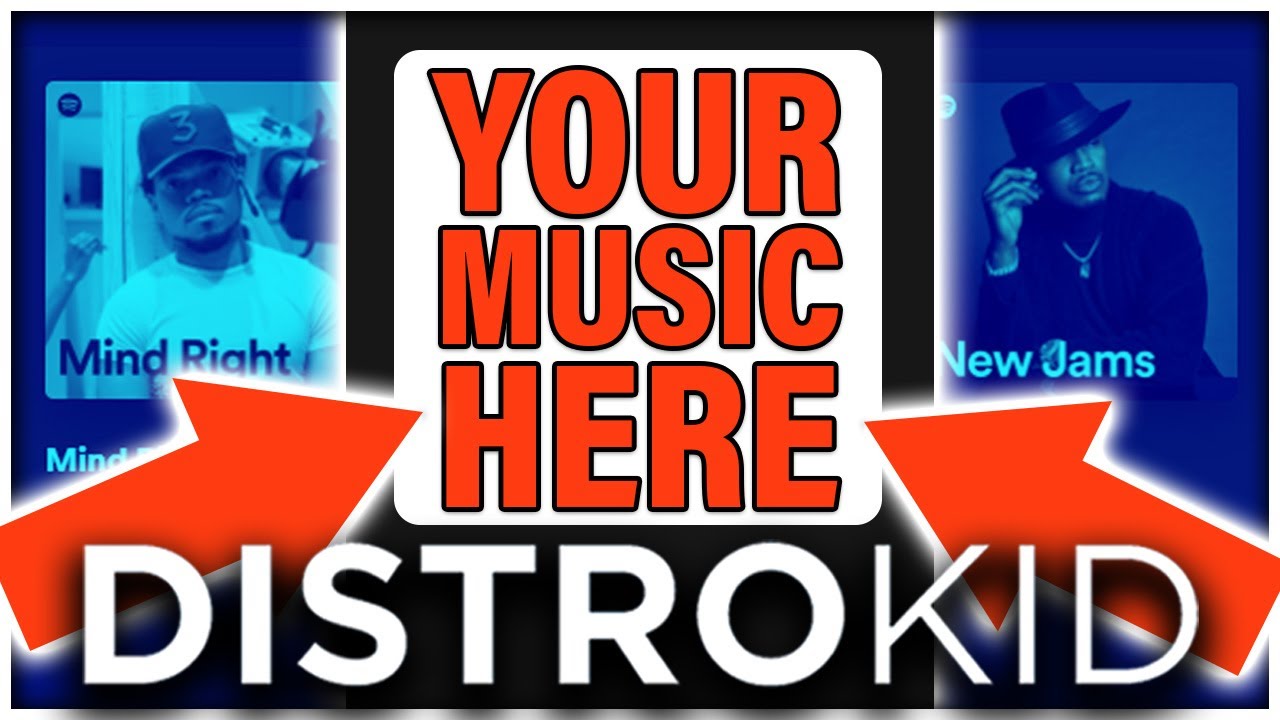
DistroKid offers a seamless way for musicians and content creators to distribute their music on various platforms like YouTube. By utilizing DistroKid’s user-friendly interface, artists can easily reach a broader audience through YouTube. This feature enhances visibility and engagement, boosting the online presence of musicians and increasing their chances of success in the competitive music industry.
By following a few simple steps, artists can swiftly upload their music to YouTube and expand their reach to a global audience looking for fresh sounds and captivating tunes.
Credit: m.youtube.com
Setting Up Your Distrokid Account
Whether you’re a budding musician or an established artist, uploading your music to YouTube with Distrokid is a breeze. The first step is Creating an Account and getting started on your musical journey.
Creating An Account
1. Visit the Distrokid website and click on ‘Sign Up’ to create your account.
2. Enter your email address, choose a password, and select a plan that suits your needs.
3. Verify your account through the email sent to you by Distrokid.
4. Fill in your artist details and payment information to complete your account setup.
Uploading Your Music
1. Log in to your Distrokid account and navigate to the ‘Upload’ section.
2. Click on ‘Upload New Album’ to begin the process of adding your music.
3. Fill in the necessary details such as the album title, release date, and genre.
4. Upload your music files and cover art, making sure they meet the guidelines provided.
5. Review all the information and submit your music for distribution to YouTube.
Adding Your Music To Youtube
With DistroKid, you can easily distribute your music to YouTube for fans to enjoy. By uploading your tracks through this platform, you can expand your audience reach and monetize your content effortlessly. DistroKid’s user-friendly interface makes it a seamless process to get your music on YouTube, allowing you to focus on creating and sharing your art.
Selecting Youtube As A Distribution Channel
Upon choosing Distrokid to distribute your music, select YouTube as the distribution channel to reach a wide audience on the popular video platform.
Uploading Your Music To Youtube
Now it’s time to upload your music to YouTube and make it available to listeners worldwide. Follow these steps to seamlessly add your music to the platform:
- Create a YouTube account if you don’t have one already.
- Sign in to your Distrokid account and navigate to the ‘YouTube’ section.
- Click on the ‘Add to YouTube’ button next to the song you want to upload.
- Fill in the necessary details such as title, artist name, and genre.
- Upload your music file or link to the track in the designated space.
- Review the information and ensure all details are accurate before finalizing the upload.
By following these simple steps, you can easily upload your music to YouTube using Distrokid and share your creativity with a global audience.
Optimizing Your Youtube Content
Creating Engaging Visuals
Using Distrokid to upload your music to YouTube is just the first step. It’s crucial to optimize your content to attract viewers and increase engagement. One way to do this is by creating engaging visuals to accompany your music. Catchy thumbnails, vibrant cover art, and visually appealing videos can entice viewers to click on your content. Remember, first impressions matter, and captivating visuals can make your music stand out in the sea of YouTube content.
Writing Compelling Descriptions And Tags
Compelling descriptions and tags play a significant role in making your YouTube content discoverable. Utilize descriptive, keyword-rich titles and detailed descriptions that accurately represent your music. Additionally, tags are essential for improving the visibility of your videos. Include relevant keywords and phrases that are related to your music to increase the likelihood of your content being found by potential listeners.
Credit: support.distrokid.com
Understanding Youtube’s Content Id System
When it comes to uploading your music to YouTube using DistroKid, it’s essential to understand YouTube’s Content ID system. This system plays a crucial role in identifying and managing copyrighted material on the platform. By comprehending how Content ID works and its potential impact on your music, you can ensure a seamless and hassle-free experience when sharing your music with the world.
How Content Id Works
Content ID is YouTube’s advanced digital fingerprinting system that scans every video uploaded to the platform. It compares the audio and video content of uploaded videos against a vast database of registered and copyrighted material. This database includes content from record labels, artists, and other rights holders.
When you upload your music using DistroKid and select YouTube distribution, DistroKid is responsible for delivering your music to YouTube. DistroKid will then deliver your audio files to YouTube’s Content ID system for scanning and registration. Once your music is registered, YouTube’s Content ID system will compare it to any subsequently uploaded videos to identify any potential matches or instances of copyright infringement.
Potential Impact On Your Music
When your music is registered with Content ID, YouTube provides you with several benefits and tools to better manage and protect your music. First and foremost, it allows you to monetize your music by running ads on videos that use your copyrighted content. This includes videos posted by other creators, giving you the opportunity to earn revenue and gain exposure.
Additionally, Content ID also provides you with the ability to track and monitor the usage of your music on YouTube. You can access detailed analytics and reports showing which videos have used your music, how they are performing, and how much revenue they have generated. This valuable data can help you make informed decisions regarding your music’s promotion and licensing opportunities.
However, it’s important to note that Content ID may also identify instances where your music has been used without your permission or against your copyright terms. In such cases, YouTube’s Content ID system allows you to take appropriate action, such as blocking the infringing video or submitting a claim to request the removal or monetization of the unauthorized usage.
By understanding how Content ID works and the potential impact it can have on your music, you can fully leverage this powerful system to not only protect your rights but also monetize your music and make data-driven decisions about your music career on YouTube.
With DistroKid’s seamless integration with YouTube’s Content ID system, you can confidently share your music with the world while enjoying the benefits and protection provided by this advanced technology.
Maximizing Your Reach And Engagement
Once you’ve successfully uploaded your music to YouTube using DistroKid, it’s time to focus on maximizing your reach and engagement. Promoting your content and engaging with your audience are essential steps that can help you gain more exposure and build a dedicated fan base. In this section, we will explore some effective strategies to help you get the most out of your YouTube uploads.
Promoting Your Content
When it comes to promoting your music on YouTube, there are various techniques you can employ to increase visibility and attract more viewers. Here are a few tips to help you get started:
- Create eye-catching thumbnails: Visual appeal plays a crucial role in getting viewers to click on your videos. Design captivating thumbnails that accurately represent your content and encourage users to check out your music.
- Optimize your video titles and descriptions: Use targeted keywords and phrases that relate to your music genre and the content of your video. This will help YouTube’s algorithm understand and categorize your content correctly, allowing it to reach the right audience.
- Promote through social media: Leverage the power of social media platforms like Facebook, Instagram, and Twitter to share your YouTube videos with your followers. Include engaging captions and hashtags to increase the chances of your content being discovered by potential fans.
- Collaborate with other creators: Partnering with other YouTubers or musicians can not only expand your reach but also introduce you to new audiences. Consider collaborations such as featuring in each other’s videos, creating joint projects, or even just cross-promoting each other’s content through shoutouts.
Engaging With Your Audience
Building a strong and engaged audience requires active interaction and communication. Here are some strategies to help you engage with your viewers:
- Respond to comments: Take the time to reply to comments on your videos. Show appreciation for positive feedback and address any questions or concerns expressed by your viewers. This will help foster a sense of community and personal connection with your audience.
- Encourage user-generated content: Inspire your fans to create videos or covers related to your music. Acknowledge and share their content, fostering a sense of involvement and support within your fan base.
- Host live streams or Q&A sessions: Interact with your viewers in real-time through live streams or question-and-answer sessions. This provides a unique opportunity to connect with your audience, answer their queries, and showcase your personality.
- Utilize community features: Take advantage of YouTube’s community tab and other interactive features to share updates, behind-the-scenes content, previews, and exclusive material with your subscribers. This will make them feel connected and valued, encouraging them to stay engaged and return for more.
By applying these strategies to promote your content effectively and engaging with your audience consistently, you can maximize your reach on YouTube, attract new fans, and nurture a dedicated community around your music. Remember, regular uploads and authentic engagement are key to building a successful online presence and increasing your chances of becoming a recognized musician on YouTube.

Credit: www.wikihow.com
Frequently Asked Questions Of How To Use Distrokid To Upload To Youtube
Can You Monetize Youtube With Distrokid?
Yes, you can monetize YouTube with DistroKid by enabling YouTube Art Tracks in your account settings.
Does Distrokid Pay For Youtube Views?
DistroKid does not pay for YouTube views. Artists earn money from ads shown on their videos.
How Do I Claim My Youtube Channel On Distrokid?
To claim your YouTube channel on DistroKid, visit their website and follow the instructions for claiming a channel. Input the necessary information and connect your DistroKid account with your YouTube channel. Once completed, your channel will be claimed on DistroKid.
How Do I Claim My Artist Channel On Youtube?
To claim your artist channel on YouTube, follow these steps: 1. Sign in to YouTube Studio. 2. From the left-hand menu, click on “Settings” then “Channel” and then “Advanced settings”. 3. Under the “Channel settings” tab, click on “Claim an artist channel”.
4. Enter your official artist channel name and select it from the search results. 5. Finally, click on “Submit request” and wait for YouTube to review and approve your claim.
Conclusion
Using DistroKid to upload music to YouTube is a straightforward process that offers numerous benefits for independent artists. With its user-friendly interface and extensive distribution network, it’s a valuable tool for reaching a wider audience. By utilizing DistroKid, musicians can efficiently share their creations with the world and maximize their online presence.