To use analog gear with Ableton Live, connect the audio interface and assign the input channel in the preferences settings. Then, create a new audio track and set the input routing to the desired channel for recording.
Ableton Live is an incredibly powerful digital audio workstation (DAW) that offers many creative tools for music production. However, many producers prefer the warm and natural sound of analog gear. Analog gear adds character and depth to music recordings that is hard to replicate with digital effects.
Fortunately, it is possible to use analog gear with Ableton Live to combine the best of both worlds. We’ll explore how to connect and set up analog gear for use with Ableton Live. Whether you’re using a vintage synthesizer, guitar amp, or effects pedal, this guide will help you integrate it into your Ableton workflow. Let’s dive in!
Choosing Analog Gear
When integrating analog gear with Ableton Live, it’s important to choose equipment that can be easily synced and controlled from the software. Look for gear that has MIDI capabilities or CV inputs/outputs to ensure a seamless integration with your digital setup.
When it comes to incorporating analog gear with Ableton Live, choosing the right analog equipment is crucial to get the desired sound and make your music stand out. Analog gear offers a warm and authentic sound that digital plugins can’t replicate. This blog post will guide you through the process of choosing the best analog synthesizers, drum machines, effects units, and mixing consoles for use with Ableton Live, allowing you to achieve a unique and personalized sound.
Analog Synthesizers
Analog synthesizers are an essential piece of gear for electronic music production. They create a unique, warm sound that can’t be replicated digitally. When choosing an analog synthesizer, consider the number of oscillators, the filter types, and modulation capabilities. Some popular analog synths that work well with Ableton Live include the Moog Subsequent 37, Korg MS-20, and Arturia MiniBrute 2S.
Analog Drum Machines
Analog drum machines are another popular choice for electronic music production. They are versatile and can create unique drum sounds that digital plugins might not be able to achieve. When choosing an analog drum machine, consider the number of channels, the quality of the sounds, and the ability to program patterns. Some popular analog drum machines that work well with Ableton Live include the Roland TR-8S, Elektron Analog Rytm MKII, and the Korg Volca Beats.
Analog Effects Units
Analog effects units are a great way to add character and warmth to your sound. They offer unique tones and textures that digital plugins might not be able to produce. When choosing an analog effects unit, consider the type of effect (reverb, delay, etc.), the quality of the sound, and the ability to dial in specific settings. Some popular analog effects units that work well with Ableton Live include the Strymon Timeline, Eventide H9, and BOSS RE-20 Space Echo.
Analog Mixing Consoles
Analog mixing consoles offer a unique character and warmth that digital mixing might not be able to replicate. They are ideal for adding a final touch to your mix and providing a warm and authentic sound. When choosing an analog mixing console, consider the number of channels, the quality of preamps, and the routing capabilities. Some popular analog mixing consoles that work well with Ableton Live include the SSL G Series, Neve 1073, and API 1608. With the right analog gear, you can take your music production to a new level. Incorporating analog synthesizers, drum machines, effects units, and mixing consoles with Ableton Live can help you achieve a unique sound that stands out. Consider the qualities mentioned above while choosing the best gear for your music production needs.
Credit: m.youtube.com
Connecting Analog Gear To Ableton Live
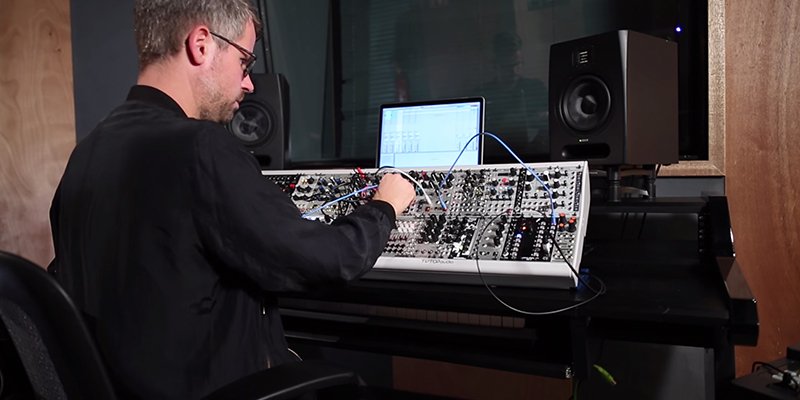
Incorporating analog gear into your Ableton Live setup can enhance the creativity and warmth of your music productions. By using external hardware and connecting them to Ableton Live, you can integrate the physical world of sound with the digital world of Ableton’s interface.
Analog gear has once again gained popularity in modern music production, providing a warmer, richer sound that many producers crave. If you’re new to using analog gear, however, it can be intimidating to connect it to Ableton Live. Don’t fret! We’ve got you covered. In this post, we’ll guide you through the process of connecting analog gear to Ableton Live.
Audio Interface Setup
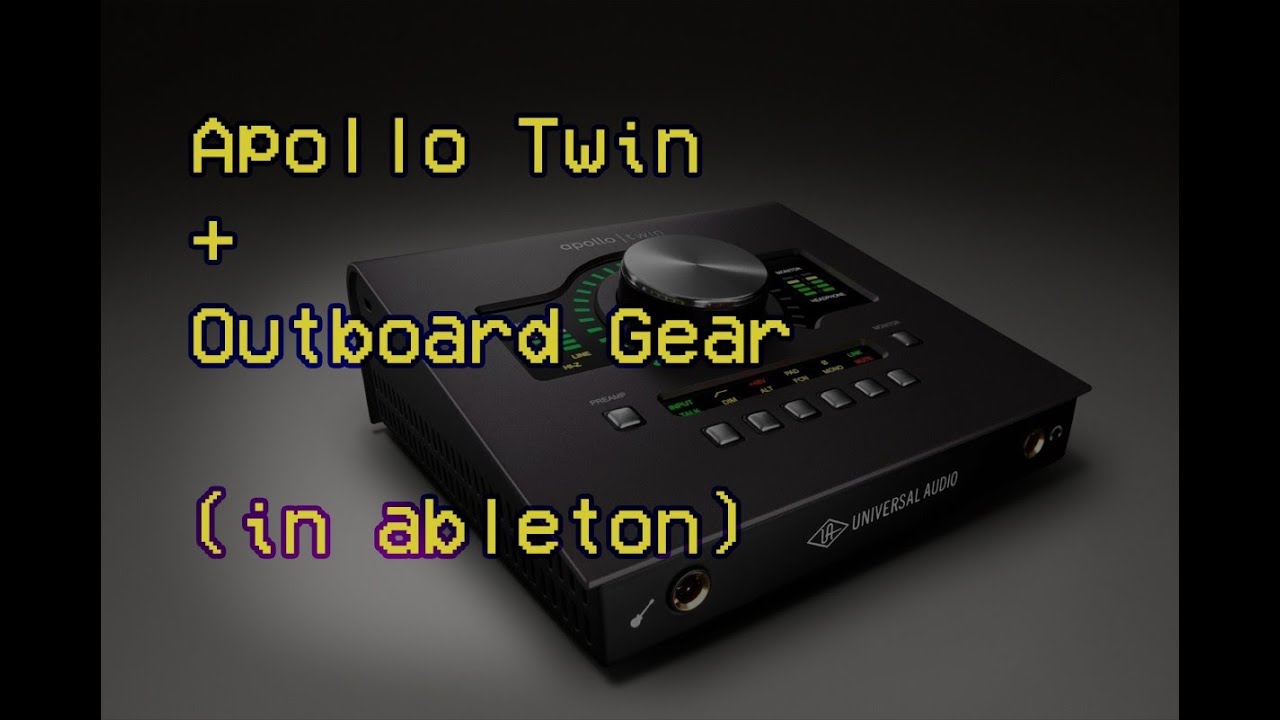
To connect analog gear to Ableton Live, you’ll need an audio interface with enough inputs and outputs to accommodate your gear. Once you’ve connected your interface to your computer, you’ll need to set up your audio preferences. In Ableton Live, go to Preferences, then Audio. Choose your audio interface in the Input and Output Device dropdown menus. Set your Sample Rate, Buffer Size, and Latency according to your audio interface’s specifications.
Midi Controller Setup
To control your analog gear with Ableton Live, you’ll need to connect a MIDI controller. Connect your MIDI controller to your computer with a USB cable. In Ableton Live, go to Preferences, then Link/MIDI. In the Input and Output dropdown menus, select your MIDI controller. Enable Track and Remote for your controller.
Analog Gear Signal Flow
Before you start sending audio through your gear, it’s essential to understand the signal flow. Some analog gear, like compressors and EQs, require you to send audio from Ableton Live into the gear, then back into your audio interface. Other gear, like synthesizers, can be connected directly to the audio interface. Consult your gear’s manual for specific instructions.
Syncing Analog Gear With Ableton Live
To synchronize your analog gear with Ableton Live, you’ll need to send a clock signal from Ableton Live to your gear. Connect a MIDI cable from your audio interface’s MIDI output to your gear’s MIDI input. In Ableton Live, go to Preferences, then Link/MIDI. Under MIDI Ports, enable Sync for your audio interface’s output. Now, when you hit play in Ableton Live, your analog gear will start playing in time with your session. You can also use Ableton Live’s MIDI Clock Sync to control the tempo of your gear. Simply enable the Sync option in the MIDI Ports section for your gear’s input. In conclusion, connecting analog gear to Ableton Live is a straightforward process that will open up a whole new world of sonic possibilities for your productions. By following these simple steps, you’ll be well on your way to incorporating the warmth and character of analog into your digital workflow.
Recording Analog Gear In Ableton Live
Learn how to integrate your favorite analog gear into your Ableton Live setup. This allows you to preserve the authentic sound of analog while still benefitting from the flexibility of digital production tools. With a few simple steps, you’ll be ready to record and mix with the best of both worlds.
Recording with analog gear can add warmth and depth to your digital productions. With Ableton Live, it’s easy to incorporate analog gear into your workflow and take advantage of its unique sound. Here are the steps you need to follow to record analog gear in Ableton Live.
Creating Audio Tracks
To record audio from an analog source, you’ll need to create an audio track in Ableton Live. Here’s how:
- Click on the “Create” button in the session or arrangement view.
- Select “Audio Track.”
- Set the track’s input source to your audio interface by clicking on the “Audio From” drop-down menu.
- Arm the track for recording by clicking on the “Arm” button.
Setting Input Levels
Correctly setting your input levels is crucial to getting a good recording. Here’s how to do it:
- Make sure your analog gear is connected to your audio interface and turned on.
- Play the input source at its loudest level.
- Adjust the input level on your audio interface until the meters in the track display a consistent level around -6dB to -9dB.
Applying Audio Effects
One of the benefits of using analog gear is the ability to apply audio effects in real-time. Here’s how:
- Insert the analog gear into your signal chain.
- Set up a send/return track in Ableton Live and send the audio from your main track to the send/return track.
- Insert the audio effects on the send/return track.
- Adjust the send level to hear the effects in the main track.
Working With Analog Gear In Arrangement View
In arrangement view, analog gear can be used to process individual tracks or groups of tracks. Here’s how:
- Select the track or tracks you want to process with analog gear.
- Insert the analog gear into the track’s audio effects chain.
- Adjust the settings on the analog gear to achieve the desired sound.
Working With Analog Gear In Session View
In session view, analog gear can be used to process clips or entire scenes. Here’s how:
- Select the clip or clips you want to process with analog gear.
- Drag the analog gear onto the clip or clips.
- Adjust the settings on the analog gear to achieve the desired sound.
Recording analog gear in Ableton Live is a great way to add unique character to your digital productions. By following these steps, you can incorporate analog gear into your workflow and take advantage of its rich, warm sound.
Credit: www.ableton.com
Advanced Techniques
Learn how to incorporate analog gear into your Ableton Live setup with these advanced techniques, allowing you to achieve warm, authentic sounds and unique textures. Boost your creativity and take your music production to the next level by exploring the possibilities of analog gear integration.
Cv/gate Integration
CV/Gate integration is a technique that allows you to control your analog gear with Ableton Live. It involves sending Control Voltage (CV) and Gate signals from Ableton Live to your analog gear. To use this technique, you’ll need a CV/Gate interface that connects to your computer via USB. Once you’ve connected your interface, you can assign the CV/Gate outputs to Ableton Live’s MIDI tracks and use them to control your analog gear. This technique is incredibly powerful and allows you to create complex modulations that would be impossible to achieve with MIDI alone.
Using Ableton Live As A Sequencer For Analog Gear
Another advanced technique for using analog gear with Ableton Live is to use Ableton Live as a sequencer. This involves programming sequences in Ableton Live and sending them to your analog gear via MIDI. To use this technique, you’ll need to make sure that your analog gear is MIDI compatible. Once you’ve connected your gear to Ableton Live via MIDI, you can use Ableton Live’s MIDI clips to program sequences. This technique allows you to take advantage of Ableton Live’s powerful sequencing features, while still using your analog gear’s unique sound.
Creating Custom Midi Control Maps
Creating custom MIDI control maps is a technique that allows you to map individual MIDI messages to specific parameters on your analog gear. This allows you to control your gear in a more intuitive way, using hardware controllers that are tailored to your specific needs. To use this technique, you’ll need to create custom MIDI control maps using Ableton Live’s MIDI mapping feature. Once you’ve created your maps, you can assign them to your hardware controllers and use them to control your analog gear. This technique is incredibly powerful and can help you achieve a much more expressive performance when using analog gear with Ableton Live. In conclusion, using advanced techniques like CV/Gate integration, using Ableton Live as a sequencer for analog gear, and creating custom MIDI control maps can help you achieve a much more expressive performance when using analog gear with Ableton Live. These techniques may take some time to set up, but the results will be well worth the effort. By taking advantage of Ableton Live’s powerful MIDI capabilities, you can unlock new possibilities for your analog gear and create unique, expressive performances that are impossible to achieve with software alone.
Troubleshooting Common Issues
To use analog gear with Ableton Live, troubleshoot common issues such as latency and calibration. Ensure your gear is properly connected, configure the audio settings, and test the signal flow. Additionally, consider using third-party plugins and MIDI controllers for seamless integration.
Troubleshooting Common Issues: Using analog gear with Ableton Live can enhance your music production by adding warmth, character, and texture to your sound. However, this process is not always straightforward, and many producers may face issues when integrating analog gear with Ableton Live. In this section, we’ll explore some of the common issues you may encounter and how to troubleshoot them. Grounding Issues: One of the most common issues when using analog gear with Ableton Live is grounding. Grounding issues occur when different pieces of equipment have a different grounding system, which can cause hum or buzzing in the signal. The best way to address grounding issues is to ensure that all your equipment is properly grounded. You can also try using a ground lift adapter, which can help isolate and eliminate the ground loop. Latency Issues: Another common issue when using analog gear with Ableton Live is latency. Latency occurs when there is a delay between the time you play an instrument or sing and the time it is recorded in Ableton Live. This can be frustrating for producers, especially when recording live instruments. To address latency issues, ensure that your buffer size is set correctly and try lowering it to reduce the latency. You can also use a direct monitoring feature if your interface has one, which will allow you to monitor your input signal in real-time. Signal Noise Issues: Signal noise is also a common issue when using analog gear with Ableton Live. This occurs when there is unwanted noise in the signal, which can be caused by poor connections, low-quality cables, or electromagnetic interference. To address signal noise, ensure that all your connections are secure and that you’re using high-quality cables. You can also try using a noise gate or a noise reduction plugin to remove unwanted noise from your signal. In conclusion, using analog gear with Ableton Live can add depth and character to your music production. By being aware of the common issues that you may encounter and how to troubleshoot them, you can ensure that your music production process is smooth and hassle-free. Remember to ground your equipment correctly, address latency issues, and use high-quality cables to ensure the best sound quality.

Credit: m.youtube.com
Frequently Asked Questions Of How To Use Analog Gear With Ableton Live
How Do I Use External Gear In Ableton?
To use external gear in Ableton, you need to connect it to your computer’s interface using a MIDI or USB cable. Then, create a new MIDI track in Ableton and select the external gear as your MIDI input. Finally, record-enable the track and start playing your external gear to record it into Ableton.
How Do You Integrate Analog Lab In Ableton?
To integrate Analog Lab in Ableton, simply open the plug-in in Ableton and choose your desired presets. You can also choose to map the Analog Lab controls to your Ableton knobs and faders for easier control.
Does Analog Come With Ableton Live?
Analog is a software synthesizer that is produced by Ableton. It is included in the Suite version of the Ableton Live software, but it is not included in the Standard or Intro versions.
Does Arturia Work With Ableton?
Yes, Arturia works seamlessly with Ableton Live providing MIDI control, plug-in integration, and automapping of controls. The two software integrates perfectly together.
Conclusion
To sum up, integrating analog gear with Ableton Live can be a game-changer for producers looking to add a unique touch to their music. With the right equipment and techniques, one can achieve the warmth and depth only analog gear can provide, while still benefiting from the convenience and flexibility of the digital world.
By following the tips shared in this post, you can get started on exploring the limitless sonic possibilities that come with this hybrid approach.