To undo in FL Studio, simply press Ctrl+Z on your keyboard. This action will revert your last change.
FL Studio is a popular digital audio workstation utilized by music producers around the world. With its diverse range of features and intuitive interface, users can create professional-level music easily. However, mistakes are inevitable during the creative process. Knowing how to undo is crucial for maintaining productivity and workflow efficiency.
Whether adjusting a parameter, deleting a track, or editing MIDI notes, the Ctrl+Z shortcut in FL Studio allows users to quickly backtrack and correct errors. By mastering this simple yet powerful function, producers can focus on their creativity without worrying about making mistakes.
Fl Studio Interface Basics
Learn the basics of the FL Studio interface to effectively utilize its “Undo” function. Navigate the interface to undo actions by using the keyboard shortcut or selecting “Edit” and then “Undo” from the menu. Mastering this feature allows for seamless corrective actions during music production.
Navigation
In FL Studio, navigation across different sections is vital for seamless workflow.
- Browser Panel: Holds samples, plugins, and presets.
- Channel Rack: Where instruments and audio clips reside.
- Playlist: Arranges various patterns into a song format.
- Mixer: Adjusts volume, effects, and panning of tracks.
Tool Selection
Choosing the right tool in FL Studio can enhance your editing capabilities.
- Selection Tool: Highlight and manipulate specific parts of your project.
- Draw Tool: Create MIDI notes or automation with precision.
- Pencil Tool: Insert notes or draw automation freely.
- Paint Tool: Easily paint patterns in the Piano Roll.
“` This SEO-optimized content provides an engaging overview of Fl Studio Interface Basics, focusing on Navigation and Tool Selection using HTML syntax for WordPress.
Credit: www.image-line.com
Understanding Undo Functionality
Understanding Undo Functionality in FL Studio is crucial for maximizing your workflow efficiency. Familiarizing yourself with how undo works can save you time and effort during your music production process.
Applying Undo
To activate Undo in FL Studio, simply press Ctrl + Z on your keyboard. This command allows you to revert the last action you performed within the software.
Limitations
While Undo is a valuable tool, it’s essential to note its limitations. In FL Studio, the number of steps you can undo may be restricted based on your project settings and system capabilities.
Utilizing History Panel
In FL Studio, the History Panel is a powerful feature that allows you to undo and redo changes made to your project. By utilizing this feature, you can easily navigate through the history of your project and revert to previous states. Understanding how to effectively use the History Panel can greatly improve your workflow and make it easier to experiment with different ideas without the fear of irreversible changes.
Accessing History Panel
To access the History Panel in FL Studio, you can simply locate and click on the ‘History’ button located in the top toolbar. Alternatively, you can press Ctrl+Alt+Z on your keyboard to quickly open the History Panel. Once accessed, you will be able to view a list of the recent actions performed in your project, allowing you to easily track and undo changes as needed.
Navigating History
Once the History Panel is open, you can navigate through the list of actions by using the scrollbar on the right-hand side. This allows you to quickly locate and select a specific point in your project’s history that you’d like to revert to. By clicking on a specific action in the History Panel, you can instantly undo or redo the changes, making it easy to experiment and fine-tune your project without the fear of irreversible edits.
Customizing Undo Settings
Customizing Undo Settings is an important aspect of using FL Studio efficiently. By adjusting the number of undos and configuring memory usage, you can tailor the undo feature to fit your specific workflow. In this section, we will explore how to make these customizations to enhance your FL Studio experience.
Adjusting Number Of Undos
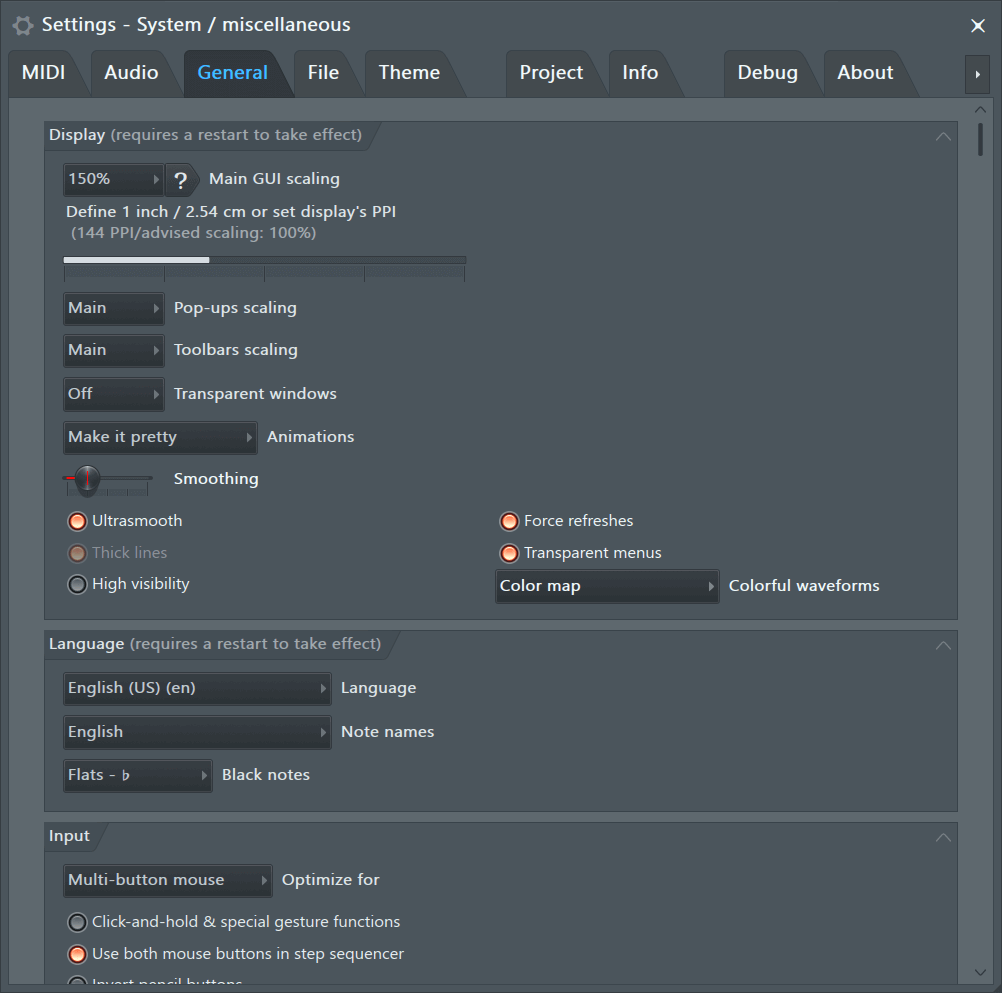
By default, FL Studio allows you to undo up to 32 actions. However, you can adjust this number to better suit your needs. To do this:
- Click on ‘Options’ in the toolbar at the top of the screen
- From the drop-down menu, select ‘General Settings’
- In the General Settings window, locate the ‘Undo Steps’ option
- Adjust the number using the provided slider. Increase it if you require more undos, or decrease it if you prefer fewer.
- Click ‘Accept’ to save your changes and exit the General Settings window
By customizing the number of undos, you can ensure that you have enough steps to backtrack when needed, or reduce unnecessary clutter in your undo history.
Configuring Memory Usage
FL Studio also allows you to configure the memory usage specifically for the undo feature. This ensures that the undo history does not excessively consume system resources. To configure memory usage:
- Again, click on ‘Options’ in the toolbar at the top of the screen
- Select ‘General Settings’ from the drop-down menu
- In the General Settings window, find the ‘Undo/Memory’ section
- Under this section, you will see an option to specify the ‘Maximum undo steps’ and ‘Maximum memory per undo step’
- Adjust these values based on your system’s capabilities and your desired performance
- Remember to find a balance between the number of undos and the memory usage to optimize FL Studio’s performance
- Click ‘Accept’ to save your changes
By configuring memory usage, you can optimize the undo feature to work seamlessly with your computer’s resources, ensuring efficient workflow and preventing any unnecessary slowdowns.
Best Practices For Undo In Fl Studio
When working in FL Studio, it’s crucial to have a strong understanding of the undo feature. This allows you to revert any changes you’ve made, giving you the freedom to experiment and refine your creative process. In this section, we’ll explore the best practices for using the undo feature effectively in FL Studio.
Workflow Optimization
To optimize your workflow in FL Studio, it’s essential to make the most of the undo feature. Here are some tips to help you work efficiently:
- Save regularly: Before making any major changes, it’s important to save your project. This way, if you make a mistake or want to backtrack, you can always revert to a previous version.
- Use keyboard shortcuts: FL Studio offers a range of keyboard shortcuts for undoing and redoing actions. These shortcuts can save you valuable time and help streamline your workflow. Familiarize yourself with these shortcuts to increase your productivity.
- Utilize the Step Sequencer: The Step Sequencer in FL Studio allows you to easily create and edit patterns. If you make a mistake or want to try a different variation, you can simply undo or redo your actions. This versatility enables you to experiment without the fear of permanently altering your composition.
Avoiding Overcomplication
One common mistake when using the undo feature in FL Studio is overcomplicating your workflow. Here are a few strategies to avoid unnecessary complications:
- Think before you undo: Before undoing any action, consider the potential consequences. Undoing certain actions may have a domino effect, affecting other elements of your project. Be mindful of the overall impact before proceeding.
- Limit the number of undos: While the undo feature in FL Studio is incredibly useful, relying too heavily on it can lead to confusion and a cluttered project. Only undo changes that are absolutely necessary, and try to find alternative solutions whenever possible.
- Backup your files: In addition to using the undo feature, it’s crucial to regularly back up your FL Studio project files. This way, if you reach a point where undoing is no longer a viable option, you can always revert to a previous version of your project.

Credit: zapier.com

Credit: www.amazon.com
Frequently Asked Questions On How To Undo In Fl Studio
How Do You Undo And Undo In Fl Studio?
To undo in FL Studio, press “Ctrl+Z” on your keyboard. To redo, press “Ctrl+Y. ” It’s a simple shortcut that helps with editing.
How Do I Undo A Delete In Fl Studio Mac?
To undo a delete in FL Studio Mac, simply press Command + Z on your keyboard.
How Do I Undo A Cut In Fl Studio?
To undo a cut in FL Studio, simply press “Ctrl” + “Z” on your keyboard. This action will reverse the cut operation and restore the audio or data that was removed.
How Do I Go Back More Than Once In Fl Studio?
To go back multiple times in FL Studio, simply use the Undo feature (Ctrl + Z) repeatedly until you reach the desired step.
Conclusion
Mastering the undo feature in FL Studio is crucial for seamless music production. By following the step-by-step guide provided, you can effectively utilize this function to undo and redo actions, preventing any mishaps and enhancing your workflow. Remember, practice makes perfect, so keep experimenting and honing your skills.