To sidechain in FL Studio, route the desired track into a compressor on the target track. Sidechaining in FL Studio involves using the routing capabilities to link one track’s audio to affect another track’s volume.
By setting up a compressor on the target track and routing the input to the desired sidechain source, you can achieve the popular pumping effect often heard in electronic music. Understanding how to sidechain effectively can help create dynamic mixes with well-controlled elements that blend seamlessly together.
In this guide, we will explore the step-by-step process of setting up sidechain compression in FL Studio to enhance your music production skills and add depth to your tracks. Let’s delve into the intricacies of sidechaining and how you can implement it in your projects.
Credit: unison.audio
Setting Up Sidechain In Fl Studio
Discover how to set up sidechain in FL Studio with this step-by-step guide. Learn the process of creating that pumping and rhythmic effect in your music production. Master this technique to make your tracks stand out and sound professional.
Choosing The Right Plugin
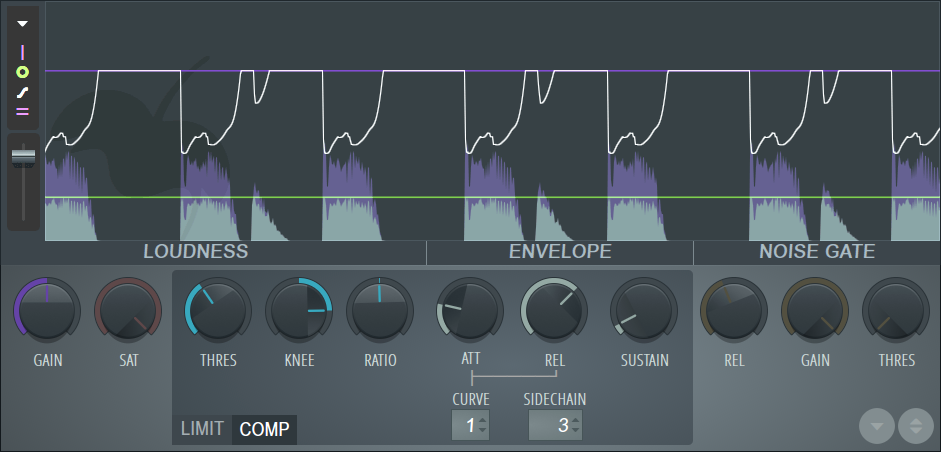
When sidechaining in Fl Studio, choose a suitable compressor plugin.
- Some popular options include Fruity Limiter and Gross Beat.
- Ensure the selected plugin supports sidechain functionality.
Creating The Sidechain
Initiate the sidechain process by following these steps:
- Open your Fl Studio project and select the track to be sidechained.
- Add the chosen compressor plugin to the track.
- Locate the sidechain input option within the plugin settings.
- Route the audio source you want to trigger the sidechain to this input.
- Adjust the compressor parameters to achieve the desired sidechain effect.
Mastering Sidechain Compression
Understanding the nuances of sidechain compression is essential for achieving professional sound quality in your music production. Mastering sidechain compression in FL Studio involves fine-tuning parameters like threshold, ratio, attack, and release to create dynamic and balanced mix elements.
Understanding Threshold And Ratio
Threshold determines the level at which compression will kick in, while ratio controls the extent of compression applied to the signal. Adjusting these settings is crucial for achieving the desired balance between the main track and the sidechain-triggered element.
Fine-tuning The Release And Attack
Release dictates how quickly the compressor recovers after the input signal falls below the threshold, while attack controls how quickly the compression is applied when the signal exceeds the threshold. Balancing these settings is vital for a smooth and natural-sounding sidechain effect.
Creative Applications Of Sidechaining
When it comes to mixing and producing music, one of the most powerful and versatile techniques that producers can employ is sidechaining. This process involves using a compressor to dynamically manipulate the level of one sound source based on the level of another. While sidechaining is commonly used to create a pumping effect in electronic music, its creative applications extend far beyond that. In this article, we’ll explore some innovative ways you can use sidechaining in FL Studio to add depth, movement, and excitement to your tracks.
Using Sidechain For Pumping Effect
One of the most popular and well-known applications of sidechaining is to create the classic pumping effect in electronic dance music. By sidechaining a kick drum to a bassline or synth, you can make the other instrument “duck” or decrease in volume every time the kick hits, creating a pulsating and energetic rhythm. This technique adds groove and impact to the mix, making it ideal for genres like house, trance, and EDM.
Creating Unique Rhythmic Textures
Beyond the traditional pumping effect, sidechaining can be used to create unique and dynamic rhythmic textures in your music. By sidechaining different elements in your mix to each other, you can achieve intricate and evolving interplay between sounds. For example, sidechaining a pad to a percussion loop can result in subtle and mesmerizing movements, adding depth and interest to your arrangement.
Credit: www.image-line.com
Advanced Tips And Techniques
When it comes to sidechaining in FL Studio, there are plenty of advanced tips and techniques that can take your mixes to the next level. In this section, we will explore two key areas: sidechaining multiple elements and automation for dynamic mixes. These techniques will help you create more professional-sounding tracks and give you greater control over your mix.
Sidechaining Multiple Elements
One of the powerful features of FL Studio is the ability to sidechain multiple elements in your mix. This technique allows you to create complex rhythmic patterns and give your tracks a unique sound. To sidechain multiple elements, follow these steps:
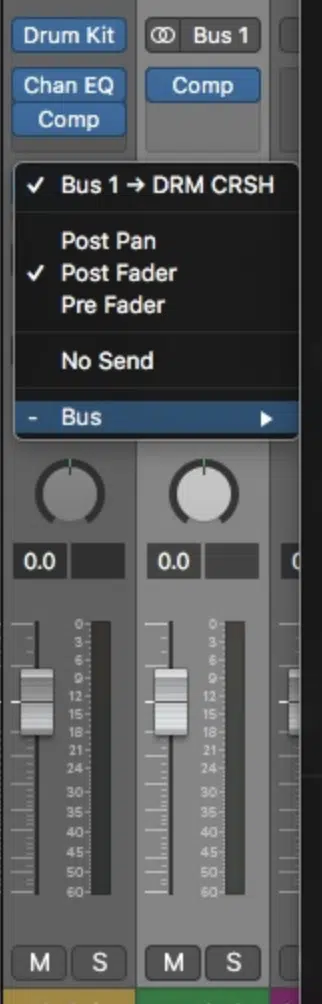
- Create a bus or group channel for the elements you want to sidechain. This will allow you to apply the sidechain effect to multiple elements simultaneously.
- Route the audio outputs of the elements you want to sidechain to the bus or group channel you created.
- Select the bus or group channel and add a compressor to the channel insert.
- Adjust the compressor settings to your desired effect. For example, you can set a fast attack time to create a pumping effect, or adjust the threshold to control the amount of sidechain compression applied.
- Route the sidechain source, usually a kick drum or bassline, to the sidechain input of the compressor on the bus or group channel.
- Adjust the sidechain input level to fine-tune the sidechain effect and achieve the desired level of pumping.
By sidechaining multiple elements, you can create intricate rhythmic patterns and achieve greater separation and clarity in your mix. Experiment with different combinations of elements and sidechain settings to discover unique and creative effects.
Automation For Dynamic Mixes
Automation is a key tool for creating dynamic mixes in FL Studio. It allows you to control various parameters over time, such as volume, panning, and effects. Through automation, you can add movement and interest to your tracks, highlighting important elements and creating transitions. Here’s how you can use automation for dynamic mixes:
- Select the parameter you want to automate, such as volume, panning, or an effect parameter.
- Enable automation recording by clicking on the automation icon in the track header or using the shortcut key.
- Play your track and adjust the parameter in real-time while the recording is active.
- Once you have recorded your automation, you can fine-tune it by editing the automation points on the automation lane.
- Experiment with different automation shapes and curves to add dynamics and expressiveness to your mix.
Automation is a powerful tool that allows you to sculpt your mix and create unique sonic landscapes. It gives you complete control over how your elements evolve and interact over time.

Credit: www.adsrsounds.com
Frequently Asked Questions On How To Sidechain In Fl Studio
How Do You Sidechain Tracks In Fl Studio?
To sidechain tracks in FL Studio, route the desired input to a mixer track. Then, add a compressor to the destination track. Next, click on the sidechain button and select the input track. Adjust threshold and ratio settings to achieve the desired sidechain effect.
How Do You Properly Sidechain?
To properly sidechain, route the audio signal of one track through another track’s compressor. Adjust the sidechain input on the compressor to control the level of compression applied. Experiment with different settings for desired effects.
How Do I Sidechain My Fl Studio Fruity Peak Controller?
To sidechain your FL Studio Fruity Peak controller, route the desired audio track to a compressor inserted on the target track, then adjust the sidechain input to receive signal from the routed track. Adjust settings for desired effect.
How Do You Side Chain Kick And 808?
Side chain the kick to the 808 by using a compressor. Route the kick’s audio to the compressor’s side chain input. Adjust the settings to trigger the compression on the 808 whenever the kick hits. This creates space for the kick in the mix without sacrificing the 808’s power.
Conclusion
To sum up, sidechaining in FL Studio is a crucial tool for achieving a dynamic mix. Understanding the various techniques and options available for sidechaining can greatly enhance your music production. By implementing the tips and tricks covered in this guide, you can take your productions to the next level.
Experiment, practice, and have fun exploring the creative possibilities of sidechaining in FL Studio.