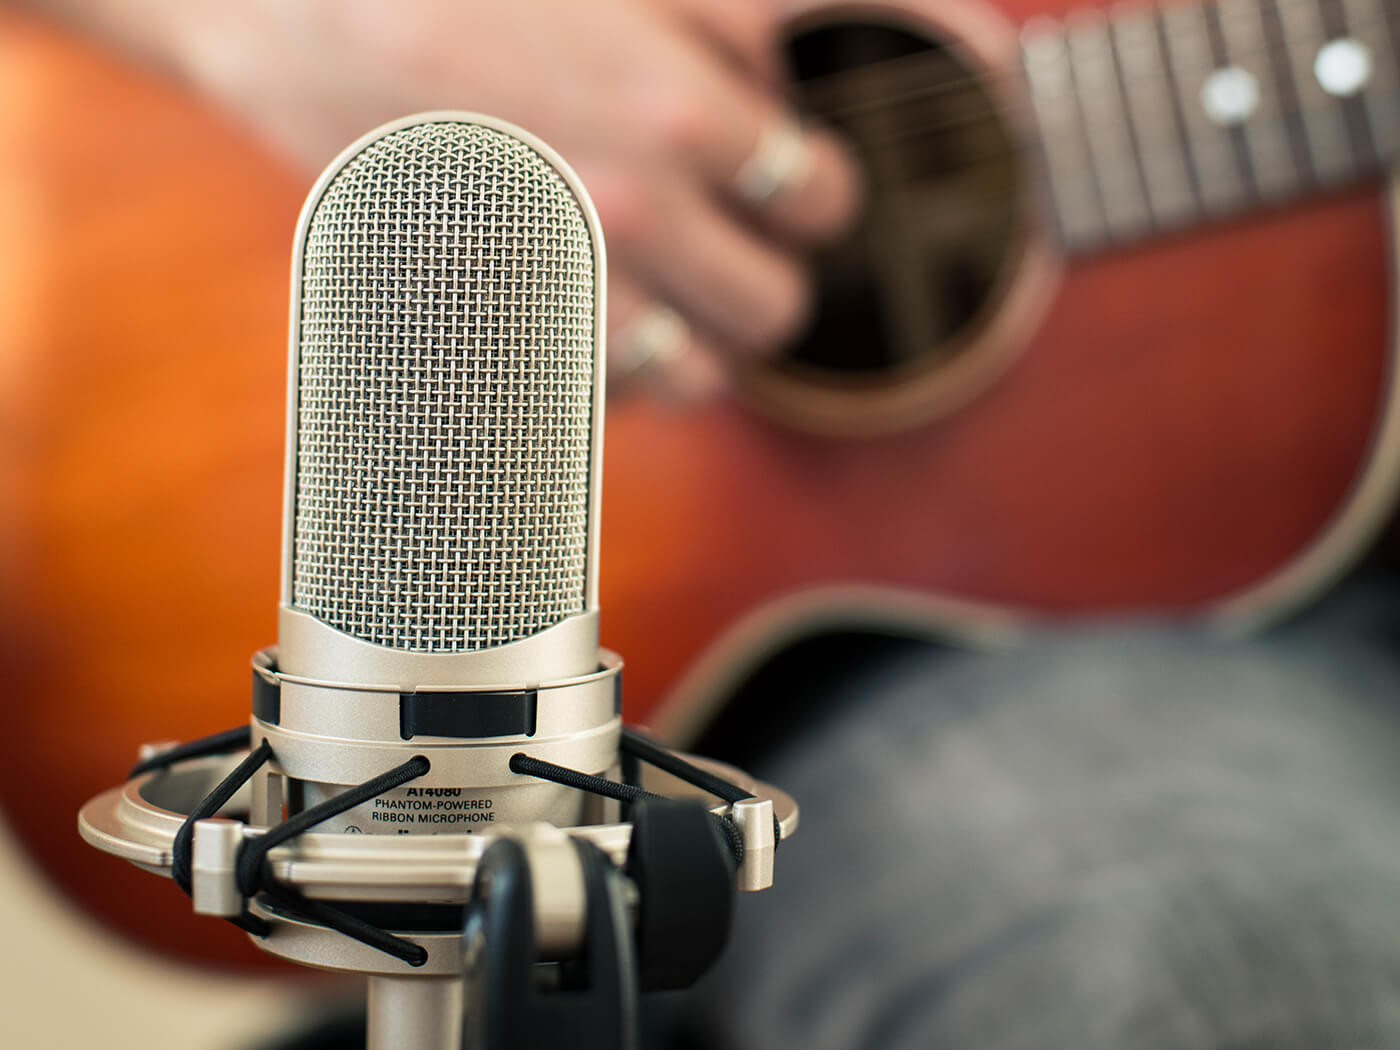
To record an acoustic guitar with one mic, simply place the mic about a foot away, facing the 12th fret. Recording an acoustic guitar with just one microphone is a great way to capture its natural sound.
The key is to position the mic properly to capture the guitar’s tone and resonance. We will discuss various microphone options, placement techniques, and recording tips to help you achieve a high-quality acoustic guitar recording with just one mic. We will also cover some common mistakes to avoid, such as room noise, reflections, and phase issues.
By following our guidelines, you’ll be able to create a full, warm, and natural guitar sound that will enhance your recordings.
Understanding Your Microphone
Achieving the perfect sound while recording an acoustic guitar with just one microphone requires a thorough understanding of your microphone. Experiment with positioning and distance to find the optimal placement and create a warm, natural, and well-balanced sound.
Mic Types
When it comes to recording an acoustic guitar with one microphone, it’s important to understand the different types of microphones available. There are two main types of microphones: dynamic and condenser. Dynamic microphones are more rugged and tend to handle higher sound pressure levels better. They can be ideal for close-miking an acoustic guitar. Condenser microphones, on the other hand, are more sensitive and can capture more detail and nuance in a recording. They work well for room recordings and spaced-pair techniques.
Polar Patterns
Polar patterns refer to the directionality of a microphone. There are three main types of polar patterns: cardioid, omnidirectional, and figure-8. Cardioid microphones are the most common and are great for close-miking an acoustic guitar. They capture sound from one direction while rejecting sound from the sides and rear. Omnidirectional microphones capture sound equally from all directions and work well for room recordings. Figure-8 microphones capture sound from the front and rear while rejecting sound from the sides.
Proximity Effect
Proximity effect refers to the increase in bass response when a microphone is placed closer to a sound source. This can be useful when recording an acoustic guitar as it can enhance the warmth and richness of the instrument. However, it’s important not to get too close to the guitar as it can cause muddiness or boominess in the recording. When recording an acoustic guitar with one microphone, it’s important to consider the type of microphone, the polar pattern, and the proximity effect. Understanding these concepts will help you achieve the best possible sound in your recordings.
Preparing Your Environment
Preparing your environment is essential for getting a clear and high-quality recording of an acoustic guitar with just one microphone. Find a quiet space with minimal background noise, adjust the position of your microphone, and experiment with different room setups to achieve the desired sound.
Room Acoustics
Before recording an acoustic guitar with one microphone, it is essential to consider the acoustics of your recording room. Opt for a room with a controlled environment that has minimum reflections and echoes.
Placement Of Guitar And Mic
Proper placement of the microphone and guitar results in better sound quality. Place the microphone a few feet away from the guitar and ensure that the soundhole is pointing towards the microphone.
Tips:
- Avoid placing the microphone too close to the guitar as it may result in excess noise and distortion.
- Use a mic stand to place the microphone properly
- Experiment with the placement of the microphone until you find the ideal placement
Recommended Microphones:
| Table 1. Recommended Microphones for Recording an Acoustic Guitar with One Mic | |||
| Microphone | Type | Price Range | Recommended for |
|---|---|---|---|
| Shure SM57 | Dynamic microphone | $99 | Great all-around microphone |
| AKG Perception 170 | Condenser microphone | $79 | Perfect for budget recording |
| Audio-Technica AT4053b | Condenser microphone | $599 | Ideal for professional studios |
In conclusion, preparing your environment by considering the room acoustics and properly placing your guitar and microphone can affect the quality of your acoustic guitar recording significantly. Use the recommended microphones to achieve the optimum sound quality for your recordings.
Setting Up Your Equipment
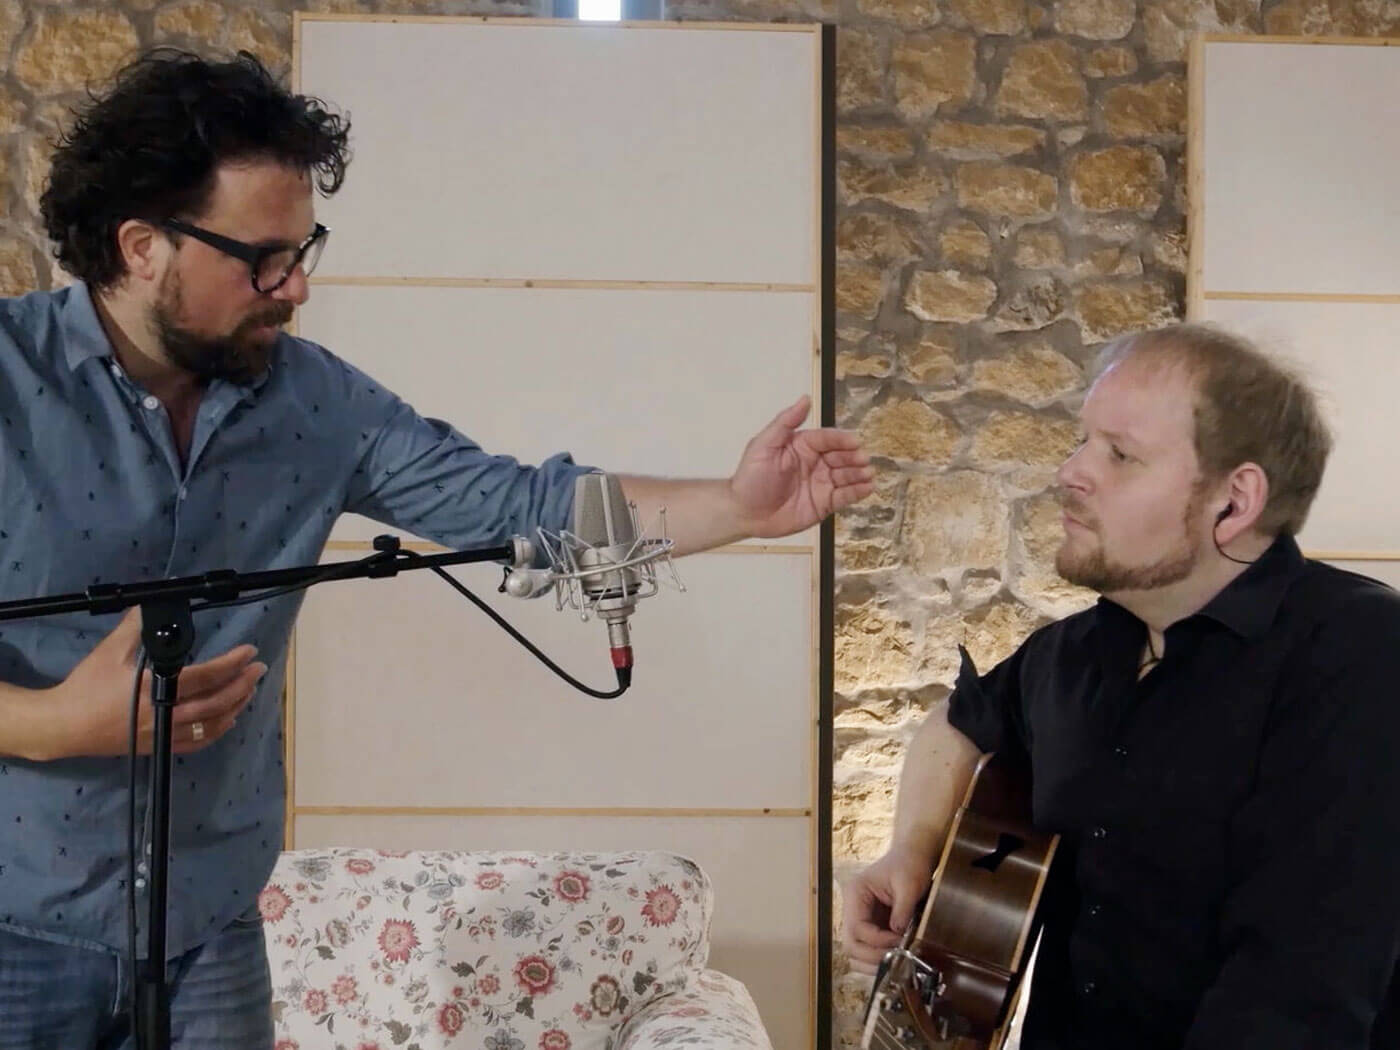
When it comes to recording an acoustic guitar, many musicians prefer to use a single microphone setup. This method allows them to capture the authentic sound of the guitar without overcomplicating the recording process. In this post, we’ll cover everything you need to know about recording an acoustic guitar with one microphone. Let’s start with setting up your equipment.
Mic Placement Techniques
The placement of your microphone plays a crucial role in the recording quality of your acoustic guitar. The closer the mic is to the guitar, the more bass and proximity effect you will get. On the other hand, the further away the mic is from the guitar, the more air and room presence you will get. Here are a few techniques for placing a microphone:
- X/Y technique: Place two small diaphragm condenser microphones, one at a 90-degree angle and the other at a 120-degree angle, and point them at the guitar’s 12th fret. This technique gives you a stereo sound image with a wide frequency response.
- Spaced Pair technique: Place two identical microphones a few feet away from the guitar, one pointing toward the soundhole and the other at the 12th fret. This technique gives you a moderate to a wider stereo image.
- Close Mic technique: Place a large diaphragm condenser microphone around four to six inches away from the 12th fret of the guitar. This technique gives you better isolation from the other elements of your recording environment.
Gain Staging
Gain staging is the process of adjusting the input levels of your microphone at each stage of your recording chain. Proper gain staging ensures that you get the best signal-to-noise ratio, avoid distortion and maintain the integrity of your recording. Here are some gain staging tips:
- Start with a low gain: Start with the microphone’s gain at its lowest setting and gradually increase it until you reach the desired level.
- Avoid clipping: Watch out for clipping, which occurs when the input level goes beyond the maximum level allowed. It can cause distortion and damage your equipment.
- Use a high-pass filter: Use a high-pass filter to cut out unwanted low-frequency noises that can muddy up your recording.
Credit: guitar.com
Finding The Right Sound
To achieve the perfect sound when recording acoustic guitar with just one mic, it’s essential to carefully choose your microphone placement. Experiment with placing the microphone at different positions to get the best sound possible. Good mic positioning can make all the difference in capturing the warmth and depth of the instrument.
Recording an acoustic guitar with just one microphone is a challenge that many musicians have to face. To capture a sound that’s pleasing to the ears, you need to experiment with different techniques and angles to find the perfect tone. Here are some tips for finding the right sound and capturing it with just one mic.
Experimenting With Distance And Angles
The distance between the microphone and the guitar can significantly impact the sound quality. The closer the mic is to the guitar, the more focused the sound will be. On the other hand, if you move the mic away from the guitar, you will get a more ambient and spacious sound. Try experimenting with different distances from the mic to the guitar to find the sweet spot. You can also change the height and angle of the microphone to capture different frequencies.
Listen For Room And Guitar Tones
When recording with one mic, it’s essential to listen to both the guitar and the room’s sound. You want to capture the guitar’s natural tone while also picking up the room’s acoustics. Depending on the room’s size and layout, you may need to adjust the mic’s placement for optimal results. Listen carefully for any unwanted noise and adjust the mic’s position accordingly. Pay attention to the guitar’s tone as well, making sure that it’s not too bright or too dull. Recording an acoustic guitar with one mic can be a challenging task, but with patience and experimentation, you can find the right sound that best suits your music. Remember always to listen and make adjustments until you are satisfied with the result.
Techniques To Improve Your Recording
To achieve a great recording when using only one microphone to record an acoustic guitar, consider the placement of the microphone relative to the guitar and the environment in which you are recording. Experiment with placement options, including the distance and angle from the guitar to the microphone, as this can greatly affect the overall sound quality of the recording.
Make sure the recording environment is acoustically suited to enhance the natural sound of the guitar.
Recording an acoustic guitar with only one mic may seem like a challenge, but with the right technique, it is possible to achieve a great result that captures the instrument’s natural sound. Here are a few techniques to improve your recording:
Using A Di Box
If you want a direct signal from an acoustic guitar, a DI box is an essential tool. It converts the line-level signal from the guitar into a microphone-level signal that can be plugged into a mixer or audio interface. By using a DI box, you can achieve a cleaner, more focused sound that is perfect for mixing. Here’s how to use a DI box for recording an acoustic guitar with one mic:
- Plug the acoustic guitar into the DI box.
- Connect the DI box to the mixer or audio interface using a balanced XLR cable.
- Position the mic (preferably a condenser mic) about six inches from the guitar’s soundhole.
- Start recording!
Blending Multiple Mics
Blending multiple mics can help you capture the full sound and dynamics of your acoustic guitar. By mixing different microphones in different positions, you can create a more detailed and rich recording. However, blending too many microphones can result in phase issues and make the sound muddy. Here’s how to blend multiple mics for recording an acoustic guitar with one mic:
- Position the mic (preferably a condenser mic) about six inches from the guitar’s soundhole.
- Place another mic (perhaps a dynamic mic) about a foot away from the guitar’s body, facing the 12th fret.
- Blend the two microphones on a mixer or audio interface to achieve your desired sound.
- If necessary, you can add a third microphone, perhaps a ribbon mic, placed at a distance to capture the ambiance of the room.
- Experiment with different positions and combinations of mics until you achieve the sound you want.
With these techniques, you can record an acoustic guitar with one mic and still get a professional sound. Whether you choose to use a DI box, blend multiple mics or experiment with other approaches, the key is to listen carefully and make adjustments until you achieve the desired result.
Credit: guitar.com
Tips For Post-production
Learn how to record an acoustic guitar with one mic by following these post-production tips. Adjust levels, reduce noise, add effects, and achieve a clear, balanced mix for your guitar track.
After successfully recording your acoustic guitar with just one mic, the next step is to fine-tune your recording in post-production. Here are some tips to get the most out of your recording.
Removing Background Noise
Background noise is inevitable in most recordings, but it can be easily removed in post-production. Use noise reduction software like Audacity to get rid of any unwanted sound. Highlight a section of your recording that’s just the background noise, then use the noise reduction effect to get rid of it. Ensure you do not remove any part of the guitar playing, or else you’d lose the essence of the recording.
Adding Reverb And Eq
Reverb and EQ can make or break a recording, so it’s essential to use them wisely. Reverb brings life to your acoustic guitar recording by creating a more natural-sounding environment. EQ is used to balance the tonality of your recording. Experiment with these effects to find the perfect mix that works for you. Try using reverb to make your recording sound more spacious. With EQ, try emphasizing the highs to make the guitar sound brighter or the lows for deeper tones.
Summary
In post-production, the goal is to enhance the quality of your recording while preserving the natural sound of your guitar. Always listening with a critical ear to your recordings before making any adjustments. Remove any unwanted background noise, add reverb and EQ, and tweak until you’re satisfied. With these tips, you can turn a simple one-mic recording into a professional-sounding masterpiece.

Credit: www.youtube.com
Frequently Asked Questions For How To Record An Acoustic Guitar With One Mic
Do You Need Two Mics To Record Acoustic Guitar?
No, you don’t necessarily need two mics to record an acoustic guitar. However, using two mics can provide better stereo sound and capture the instrument’s nuances. Experiment with different mic positions and techniques to find the best sound for your recording.
How Do I Set Up My Mic To Record My Acoustic Guitar?
To set up your mic to record acoustic guitar, follow these steps: 1. Choose the right microphone. 2. Place the mic at the appropriate distance from the guitar. 3. Angle the mic towards the sound hole of your guitar. 4.
Use a pop filter if needed to avoid unwanted sounds. 5. Connect the mic to your recording device and adjust the levels.
Can You Use A Vocal Mic To Record Acoustic Guitar?
Yes, you can use a vocal mic to record an acoustic guitar. However, keep in mind that vocal mics are designed specifically for capturing the human voice and may not be optimized for capturing the nuances of a guitar. It is recommended to use a microphone that is designed for recording instruments for the best results.
Is It Better To Record Acoustic Guitar With Mic Or Direct?
Recording an acoustic guitar with a microphone typically captures a warmer and more natural sound, while direct recording can provide a cleaner and more consistent tone. It ultimately depends on your personal preference and the desired result for your project.
Conclusion
To sum up, recording an acoustic guitar with one mic is a simple yet effective technique that can produce a natural and unprocessed sound. By experimenting with mic placement and adjusting EQ and compression, you can fine-tune your recording to your individual taste.
Remember, the key to a great recording is patience, practice, and persistence. So, grab your mic and get ready to capture the beauty of your acoustic guitar music.