To prepare your vocals for mixing, record in a quiet environment, add compression and EQ, and use de-essing if necessary. A well-recorded vocal track can make or break a song.
It’s important to give your vocals the attention they deserve during the mixing process, to ensure that they shine through the mix and convey the intended emotion. There are several steps you can take during recording and post-production to prepare your vocals for mixing.
We’ll cover each step in detail and provide tips and best practices to ensure that your vocals are ready for the final mix. Whether you’re a seasoned professional or a beginner, these techniques will help you to achieve clean, clear, and impactful vocal tracks.

Credit: www.soundonsound.com
Importance Of Vocal Preparation
To achieve a polished final mix, it is vital to prep your vocals correctly. This involves proper warm-up techniques, careful selection of microphone and recording environment, and using the right processing tools during mixing. Vocal preparation is crucial because it improves the clarity, musicality, and overall quality of your tracks.
Preparing your vocals before mixing is crucial to achieving a high-quality output that meets professional standards. Whether you’re producing music for commercial purposes, personal projects, or mere hobby, vocal preparation is a non-negotiable aspect of the mixing process. The vocal track is usually the focal point of any song, and getting it right can make or break the entire production. This article covers the importance of vocal preparation, with a focus on the key subheading, “Clean Vocals is a Must.”
Clean Vocals Is A Must
Vocal preparation is not complete without ensuring clean, noise-free recordings. As a content creator, whether it’s podcasting, voiceovers, or music production, capturing clear and articulate vocals requires the elimination of any unwanted background noise. Even the slightest background noise could negatively impact the overall audio quality, which could further compound during the mixing stage. To obtain clean vocals, consider the following: – Use appropriate equipment: Use a high-quality microphone to record your vocals. This helps to minimize noise and increase clarity. – Record in a sound-treated space: Select a recording space with minimal background noise, such as a sound-treated room. – Use a noise gate: A noise gate is a technique used to reduce unwanted background noise while retaining the main vocal sound. It helps to clean up your recording and reduce unpleasant sounds.
Impact On The Mixing Quality
The quality of vocal preparation significantly affects the quality of your mix. It determines the level of editing required and overall quality of the end product. A well-prepared vocal eliminates most of the time spent on editing, refining, and time-aligning in the mixing stage. By ensuring clean vocals from the recording stage, the mixing process becomes easier, smoother, and faster. All vocal effects can be streamlined, and minor tweaks applied to improve the final mix. In conclusion, the importance of vocal preparation cannot be overemphasized. Whether you’re dealing with singing or speaking vocals, it is crucial to take the time to prepare appropriately. By focusing on clean vocals and understanding its impact on mixing quality, you can significantly improve the overall outcome of your audio production.
Credit: www.waves.com
Vocal Recording Preparation
Preparing your vocals for mixing is crucial in achieving a professional sound. Start by warming up and hydrating prior to recording, choose the right microphone, experiment with different singing styles and techniques, and don’t forget to use a pop filter to reduce unwanted noises and plosives.
Remember, a little preparation goes a long way in producing a polished and high-quality vocal recording.
Before hitting the record button, it’s essential to ensure that your vocals are prepared for mixing. Vocal recording preparation involves several critical steps to help you get the best possible sounding voice. In this post, we’ll go over some of the essential steps when it comes to preparing your vocals before mixing.
Warm-up Exercises
Before you start recording, it’s vital to warm up your vocal cords. This not only helps reduce strain on your voice but also improves the quality of your vocals. There are several warm-up exercises you can do, such as vocal sirens, lip trills, and humming. These exercises help loosen your vocal cords, increase blood flow, and develop better control over your voice.
Hydration Is Key
Staying hydrated is crucial both for your vocal cords’ health and the quality of your vocals. Drinking water helps lubricate your vocal cords, allowing them to vibrate more efficiently, and prevents your throat from becoming dry. Aim to drink at least 8-10 glasses of water a day, and avoid caffeine and alcohol, as they can dehydrate your body.
Avoid Smoking And Alcohol
Smoking and consuming alcohol can severely damage your vocal cords and affect the quality of your voice. Smoking causes inflammation and irritation of the vocal cords, leading to hoarseness and vocal fatigue. Alcohol, on the other hand, dries out your throat and affects your vocal cords’ ability to vibrate effectively. If you want to achieve the best possible sounding vocals, it’s crucial to avoid smoking and alcohol. In conclusion, vocal recording preparation is crucial to achieving the best possible sounding vocals. It involves warming up your vocal cords, staying hydrated, and avoiding smoking and alcohol. By following these critical steps, you can ensure that your vocals are prepared for mixing, and your final mix will sound professional and polished.
Vocal Editing And Tuning
To prepare your vocals for mixing, vocal editing and tuning is crucial. This involves tuning each pitch in your vocal track to ensure it’s in key, and editing for timing and rhythm consistency. A well-edited and tuned vocal will enhance the overall quality and clarity of your mix.
Preparing your vocals for mixing can be a challenging task. However, with the right techniques, it can be much easier to achieve a polished and professional sound. One such technique is vocal editing and tuning.
Removing Background Noise
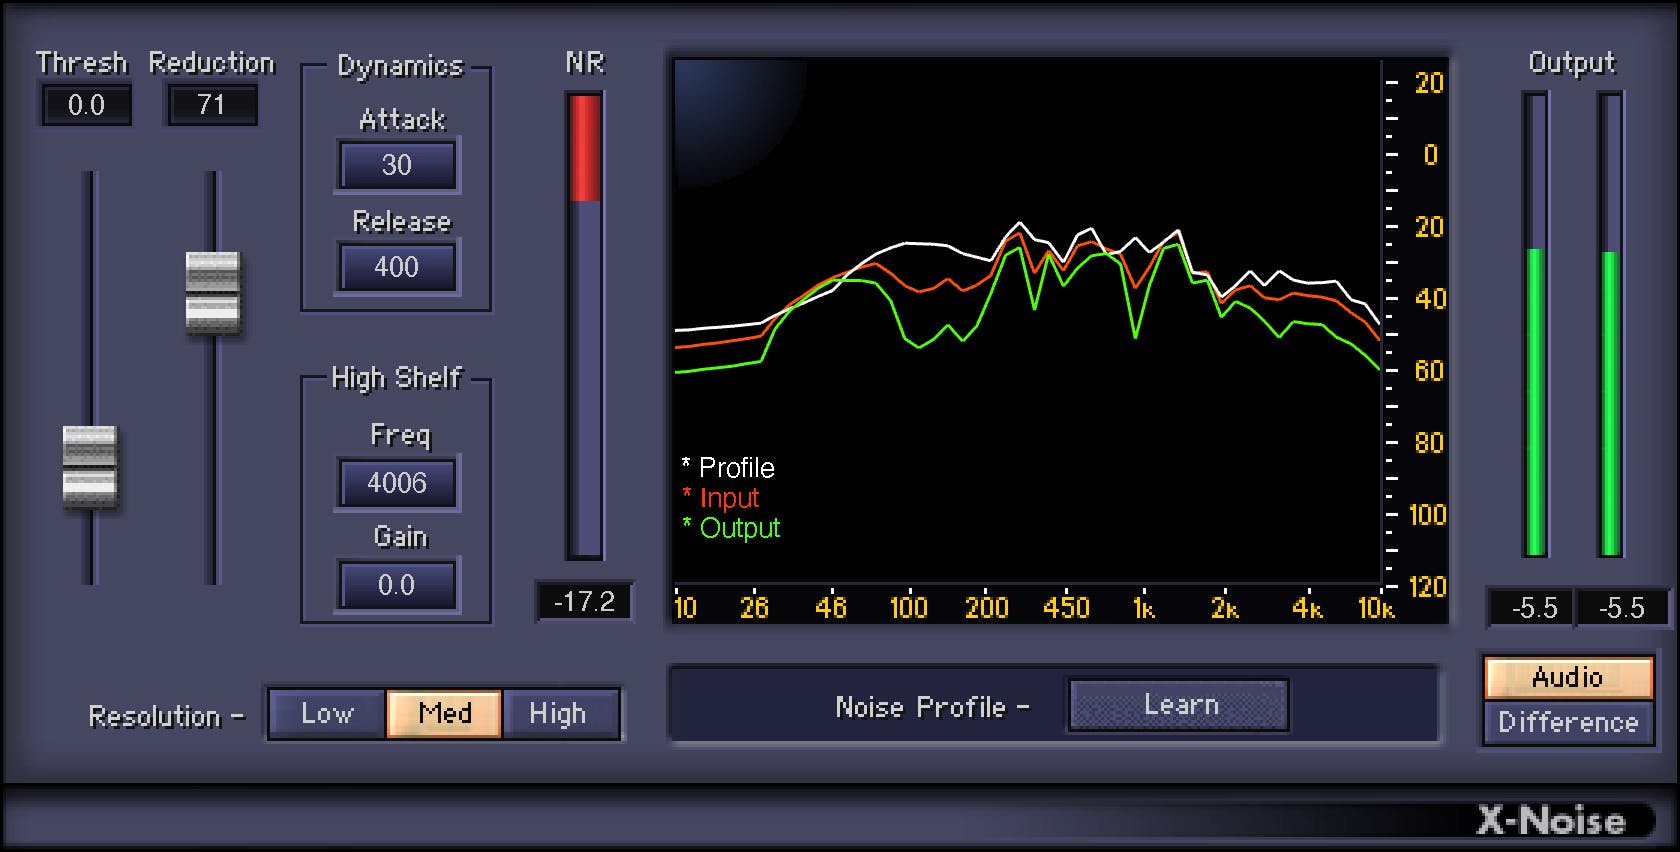
Background noise such as hiss, hum, and pops can distract from the quality of your vocals. Therefore, it’s essential to remove them to ensure a clean sound. You can use noise reduction plugins in your DAW or manually edit out background noise between phrases.
Comping Vocal Takes
Comping is the process of selecting and combining the best parts of different vocal takes to create a seamless performance. It ensures that your vocals sound cohesive and polished. To comp vocal takes, you can use comping tools in your DAW or manually edit together the best parts of each take.
Pitch Correction
Pitch correction is a process that can make or break a vocal performance. It involves correcting pitch errors to ensure that each note matches the desired pitch. You can use pitch correction plugins in your DAW or manually edit pitch using the audio editor. However, be careful not to overcorrect and remove the natural-sounding imperfections in your vocal performance. In conclusion, vocal editing and tuning are essential steps in preparing your vocals for mixing. Removing background noise, comping vocal takes, and pitch correction are easy to use and accessible methods to achieve a polished and professional sound.

Credit: mixandmastermysong.com
Arranging And Comping
Arranging and comping are two crucial steps in vocal preparation for mixing, as they help to organize and refine the vocal tracks for a more cohesive sound. Here’s how you can use these techniques to get your vocal tracks ready for the mixing process.
Organizing Vocal Takes
Before arranging and comping your vocal tracks, it’s important to first organize them properly. This means labeling each take clearly and making sure that they are in the correct order. You may also want to color code the tracks to differentiate between the different takes.
Once you have your vocal takes organized, you can then begin the process of comping.
Melodyne And Auto-tune Tricks
Melodyne and Auto-Tune are two software tools that can be used in the arranging and comping process to help refine and tune your vocal tracks. Melodyne’s pitch detection algorithm makes it easy to identify and correct any pitch issues in the recordings, while Auto-Tune can be used to create a distinct vocal effect.
To use Melodyne and Auto-Tune effectively, it’s important to understand how they work and what effects they can produce. Experiment with different settings to find the sound that works best for your vocal tracks.
Creating Vocal Harmonies
Creating vocal harmonies is another important aspect of arranging and comping your vocal tracks. This involves layering multiple vocal tracks on top of one another to create a fuller, richer sound.
To create vocal harmonies, you can either record additional vocal takes or use software tools like Melodyne to duplicate and manipulate the existing tracks. Experiment with different harmonies and arrangements until you find the combination that works best for your music.
Conclusion
By using techniques like arranging, comping, Melodyne, Auto-Tune, and vocal harmonies, you can prepare your vocal tracks for mixing and achieve a more professional sound. Whether you’re a beginner or an experienced producer, these tips will help you take your vocal tracks to the next level.
Mix Prep And Setting Levels
To prepare your vocals for mixing, it is important to focus on mix prep and setting levels. This involves cleaning up any unwanted noise, adjusting the levels of each track to ensure they blend well together, and applying effects such as compression and EQ to enhance the overall sound.
Proper vocal preparation can make a huge difference in the final mix.
Setting Up Session For Mixing
To prepare your vocals for mixing, you need to start by setting up your mixing session. This involves creating a new session in your digital audio workstation, importing your vocal tracks, and organizing them accordingly. Make sure to keep track of each track’s unique name so you can identify them easily. It is recommended to keep all your tracks in a separate folder for ease of access and better organization.
Pan And Levels
After importing and organizing your vocal tracks, it’s time to set the pan and levels. Pan adjustment helps in creating a unique soundstage and gives your vocals space in the mix. It is followed by setting up the levels of each track to balance their loudness and maintain clarity. It is important to note that all the tracks should be audible, but none of them should overpower the others.
Grouping Vocal Tracks
Once you’ve set the pan and levels, the next step is to group your vocal tracks. Grouping your vocal tracks helps you to process them collectively, saving time and effort while maintaining a cohesive sound. You can group tracks based on their character, timbre, or even their intended usage. For example, you can group backing vocals separately from lead vocals. In summary, preparing vocals for mixing is an essential step in producing high-quality music. It involves setting up your session, adjusting pan and levels, and grouping tracks, all of which help you achieve a cohesive, balanced, and clear sound. Be sure to follow these steps to ensure your vocals are perfect for mixing.
Vocal Processing
One of the most crucial steps in preparing your vocals for mixing is vocal processing. This involves using different tools and techniques to ensure a clear and balanced sound. Equalization, compression, de-essing, saturation, reverb, and delay are the most commonly used vocal processing techniques.
Equalization And Compression
Equalization and compression are the two most important tools in a mixer’s arsenal for preparing vocals. Equalization helps to balance the frequencies in a vocal performance, while compression helps to control the dynamics and ensure a consistent volume throughout the track.
To equalize vocals, use a high-pass filter to remove unwanted low-end frequencies, and a low-pass filter to remove harsh, high-end frequencies. Then, adjust the frequency bands to bring out the best qualities of the vocals.
Compression, on the other hand, will help to keep vocals at a consistent volume. Apply a ratio of 2:1 or 3:1, with a threshold of around -6 dB to -12 dB. Attack time should be set lower for fast transients, and release time should be set between 100-400ms to maintain the natural sound of the vocals.
De-essing And Saturation
De-essing is the process of reducing the sharp “s” and “t” sounds that could cause problems during mixing. Using a de-esser plugin, you can target those sharp sounds and reduce them while preserving the overall quality of the vocals.
Saturation can add warmth and character to your vocals. This process involves adding harmonic distortion to the vocals, which creates a more natural and organic sound.
Reverb And Delay
Finally, adding reverb and delay can give your vocals depth and space. Reverb can be used to create a natural acoustic environment for the vocals, while delay can be used to add rhythmic elements to the track.
When adding reverb, make sure it doesn’t overpower the vocals. Use a shorter delay time for a slapback effect, or a longer delay time for a more spacious effect.
Overall, vocal processing is an art form, and it takes some experimentation to get it right. However, by following these tips and techniques, you can ensure that your vocals are ready for mixing and sound their best.
Automation
Preparing your vocals for mixing is a crucial step in ensuring that your final mix sounds polished and professional. One way to prepare your vocals for mixing is through automation. By automating various aspects of your vocals, you can create a dynamic and engaging vocal mix that captures the listener’s attention.
Volume Automation
One of the most important ways to use automation when preparing your vocals for mixing is through volume automation. Volume automation allows you to adjust the volume of your vocals throughout the song to create a more dynamic and engaging vocal mix. By automating the volume of your vocals, you can bring out the important parts of the vocals and ensure that they are heard clearly over other instruments.
Effects Automation
Effects automation is another useful way to prepare your vocals for mixing. Effects such as reverb, delay, and chorus can add depth and dimension to your vocals when used correctly. By automating these effects, you can create a more interesting and engaging vocal mix. For example, you could use reverb automation to create a wetter sound during the chorus or delay automation to create a more ethereal sound in the bridge.
Creating Dynamic Vocal Mix
To create a dynamic vocal mix, it is important to use both volume and effects automation together. By adjusting the volume of your vocals and automating effects, you can create a more engaging and dynamic vocal mix. For example, you could use volume automation to bring out the chorus vocals and add reverb automation to create a bigger sound.
By utilizing automation in your vocal mixing, you can create a professional and polished sound that captures the listener’s attention. Keep in mind that automation should enhance the vocals, not overpower them. With the right balance of volume and effects automation, you can prepare your vocals for mixing and ensure that your final mix sounds incredible.
Final Touches And Tips
After recording vocals for a song, the final touches and tips can take your mix from good to great. These touches include adding vocal effects, referencing and fine-tuning, and preparing vocal stems for mastering. Let’s look at each of these in more detail.
Adding Vocal Effects
Vocal effects can add flavor and character to your vocal tracks. Some common effects include reverb, delay, and distortion. When adding vocal effects, it’s important to keep it tasteful and not overdo it. You want the effect to enhance the vocal, not overpower it.
Keep in mind that different genres require different types of vocal effects. For example, a rock song may benefit from heavy distortion and slapback delay, while a ballad may require a more subtle reverb effect.
Referencing And Fine-tuning
Referencing your vocal mix against other well-mixed and mastered songs is an essential step in achieving a balanced and polished sound. By referencing, you can get a sense of the overall tonality, level, and balance of your mix. This allows you to make any necessary adjustments.
Fine-tuning involves adjusting individual vocal tracks to make sure they fit well together. You can use EQ, compression, and automation to achieve this. When fine-tuning, it’s important to listen critically and make decisions based on what sounds best for the song.
Preparing Vocal Stems For Mastering
Preparing your vocal stems for mastering involves exporting them in a way that makes them easy to work with during the mastering process. This includes exporting the stems in the appropriate format (such as WAV or AIFF) and naming them properly. You also want to make sure there are no artifacts or unwanted noise in the stems.
It’s important to note that mastering engineers prefer to work with raw, unprocessed stems. So, make sure any EQ, compression, or effects are removed from your vocal stems before exporting them for mastering.
Frequently Asked Questions Of How To Prepare Your Vocals For Mixing
How Do You Prepare Vocals For Mixing?
To prepare vocals for mixing, start with a clean, noise-free recording. Edit and tighten up the performance, removing any unwanted sounds or mistakes. Use EQ to enhance the vocals, cutting out low-end rumble and boosting high-end clarity. Apply compression to control dynamics and add warmth.
Finally, add reverb and/or delay to add depth and space.
How Do You Edit Vocals Before Mixing?
You can edit vocals before mixing by first removing any unwanted noise or hiss using a noise gate or de-esser. Next, adjust the volume levels and use EQ to enhance the vocals’ clarity and presence. You can also add effects like reverb or delay to create a desired ambiance.
Finally, use a compressor to even out the volume and control the dynamics.
How Do I Get My Vocals To Sit Better In The Mix?
To make your vocals sit better in the mix, try these tips: Use EQ to adjust the frequencies that clash with other instruments. Add some compression to even out the levels. Use reverb or delay to enhance the vocal’s presence.
Pan the vocals to the center for more clarity. Finally, adjust the volume levels carefully.
How Do You Get Vocals Upfront In The Mix?
To get vocals upfront in the mix, use EQ to boost the high frequencies, use compression to even out the vocal levels, and add reverb and delay effects for depth and presence. It’s also important to balance the other instruments in the mix and adjust volume levels accordingly.
Conclusion
Preparing your vocals for mixing requires some effort, patience, and expertise. By following the tips mentioned above, you can ensure that your vocals are well-prepared and ready for the mixing process. Keep in mind that a good performance during recording and proper mic placement can make a huge difference in how well your vocals mix.
Additionally, having a clear vision of how you want the final mix to sound can help you make better decisions during the mixing process. With these guidelines in mind, you’ll be on your way to creating a polished and professional sounding vocal track.