To gain stage in Cubase, adjust input levels to prevent clipping and maintain a balanced mix. Use the gain staging technique for optimal audio quality and headroom in your project.
When properly implemented, gain staging can enhance the clarity and detail of your recordings, resulting in a more polished final product. By following these simple steps, you can ensure that your tracks sound professional and well-mixed. Whether you are a beginner or an experienced user, mastering gain staging is essential for achieving high-quality audio in Cubase.
Learn how to effectively manage levels and create dynamic recordings that stand out in the competitive music industry.

Credit: www.sweetwater.com
Setting Up Your Interface
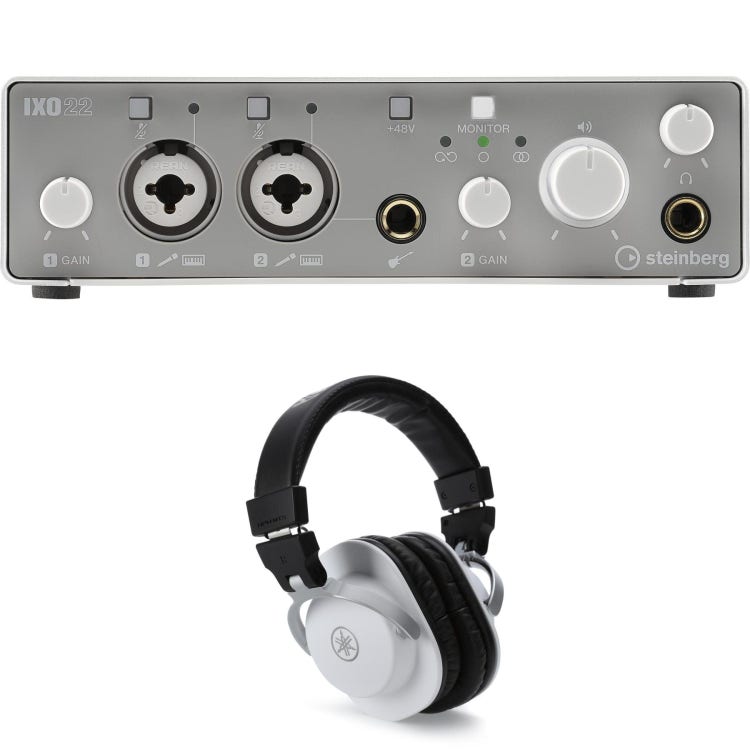
When setting up your interface in Cubase, it’s crucial to ensure that you have the right input selected and that your input levels are properly adjusted. This initial step plays a key role in achieving optimal audio quality and clarity in your recordings.
Selecting The Right Input
Choose the appropriate input source from your audio interface menu within Cubase. This could be a microphone, instrument, or line input depending on what you are recording.
Adjusting Input Levels
Make sure your input levels are set correctly to avoid clipping or low-quality recordings. Adjust the gain on your interface so that the signal is strong but not peaking into the red zone.
By correctly setting up your interface and input levels in Cubase, you’ll create a strong foundation for your recording sessions.

Credit: www.youtube.com
Understanding Gain Staging
What Is Gain Staging?
Gain staging refers to the process of managing the volume levels at each stage of the audio signal chain in your Cubase project.
Importance Of Proper Gain Staging
Proper gain staging is essential to prevent audio distortion and maintain clarity in your mix.
Optimizing Signal Levels
When it comes to working with audio in Cubase, optimizing signal levels is crucial for achieving professional-quality recordings and mixes. A key aspect of this process involves understanding signal-to-noise ratio, avoiding clipping and distortion, and ensuring that your audio signals are at the right level for each stage of your production.
Understanding Signal-to-noise Ratio
Signal-to-noise ratio (SNR) is a measure of the level of a desired signal (such as music) to the level of background noise present. A higher SNR indicates a more clean and clear signal. In Cubase, adjusting input levels and using high-quality preamps can help improve SNR and reduce unwanted noise in your recordings. It’s important to monitor and adjust your levels to maintain a healthy SNR throughout your production process.
Avoiding Clipping And Distortion
Clipping occurs when the input signal exceeds the maximum capacity of the recording system, resulting in a harsh, distorted sound. To avoid clipping in Cubase, keep an eye on your meters and ensure that your peaks are well below 0 dBFS. Utilizing compression and limiting plugins can also help manage levels and prevent clipping, while maintaining a consistent and controlled sound.
Utilizing Cubase’s Tools
To gain stage in Cubase, you can use the channel metering tools such as the input gain and output faders to control levels. Additionally, you can utilize the channel strip and meter bridge to monitor and adjust the gain staging of each track for optimal audio levels.
Cubase is a powerful digital audio workstation that offers various tools to help you enhance the sound quality of your tracks. When it comes to gaining stage in Cubase, utilizing these built-in tools can make the process easier and more effective. In this section, we will explore two essential tools for gaining stage in Cubase: Using Channel Gain and Panners, as well as Applying Track Compression.
Using Channel Gain And Panners
In Cubase, the Channel Gain and Panners are indispensable tools for adjusting the volume and positioning of your audio tracks within the stereo field. By utilizing these tools effectively, you can achieve a well-balanced mix that brings out the best in each individual element of your track. To adjust the volume of a specific audio channel, you can use the Channel Gain. Simply locate the channel you want to adjust, locate the Channel Gain knob, and turn it clockwise to increase the volume or counterclockwise to decrease it. This enables you to bring specific tracks forward or push them into the background, ensuring each element of your mix sits in the right place. In combination with the Channel Gain, the Panners allow you to control the stereo positioning of your audio tracks. By panning a track to the left or right, you can create a sense of space and depth in your mix. This is particularly useful when dealing with multiple instruments or vocals, as it helps to separate them and give each element its own place in the stereo field. To adjust the panning, locate the Pan knob of the desired track and move it left or right accordingly. By finely adjusting the Channel Gain and Panners, you can ensure that each sound comes through clearly and is properly positioned within the mix, resulting in a more pleasing and balanced listening experience.
Applying Track Compression
Another powerful tool in Cubase for gaining stage is Track Compression. Compression helps to even out the dynamic range of your tracks, making the louder parts quieter and boosting the quieter sections. This allows you to bring up the overall volume of your tracks while maintaining control and preventing any clipping or distortion. To apply compression to a track in Cubase, start by selecting the desired track. Next, locate the Dynamics section in the Inspector panel. Here, you will find a variety of compression presets or the option to adjust the compression parameters manually. When adjusting the compression settings, pay attention to the threshold, ratio, attack, and release parameters. The threshold determines at what level the compression kicks in, the ratio controls the amount of compression applied, and the attack and release settings determine how quickly the compression engages and disengages. It’s important to strike a balance when applying compression, as too much can squash the dynamics and make your tracks sound lifeless, while too little may not have a noticeable effect. Experiment with different settings and listen carefully to how your tracks are affected, adjusting as necessary to achieve the desired sound. Utilizing Cubase’s Channel Gain and Panners, as well as applying Track Compression, are essential steps in gaining stage and creating a well-balanced mix in Cubase. By familiarizing yourself with these tools and mastering their application, you can take your tracks to the next level and ensure they sound professional and polished.
Advanced Techniques
Advanced Techniques:
In Cubase, there are various advanced techniques you can employ to take your stage gain to the next level. These techniques help you achieve a more professional and polished sound in your productions. In this section, we will explore two powerful techniques: Parallel Compression and Group Bus Processing.
Parallel Compression
Parallel compression, also known as New York compression, is a technique used to add depth, punch, and sustain to your audio tracks. It involves blending a heavily compressed version of the audio signal with the dry (uncompressed) signal. Here’s how you can implement parallel compression in Cubase:
- Start by creating a send channel from the track you want to compress. You can do this by right-clicking on the track and selecting “Add Group Channel Track”.
- On the newly created group channel track, insert a compressor plugin. Adjust the settings to achieve the desired amount of compression.
- Return to the original track, where the dry signal resides. Reduce the track fader level to create a blend between the compressed and uncompressed signals. Experiment with different levels to find the perfect balance.
- By utilizing parallel compression, you can enhance the impact and presence of your audio tracks without sacrificing the dynamics.
Group Bus Processing
Group bus processing is a technique that allows you to apply effects and processing to multiple tracks simultaneously. It is useful for creating cohesion and consistency among similar tracks, such as drums, vocals, or guitars. Follow these steps to implement group bus processing in Cubase:
- Create a new group channel track by right-clicking on the track list and selecting “Add Group Channel Track”.
- Assign the tracks you want to process to the newly created group channel by selecting them and holding down the “Shift” key while clicking and dragging them onto the group channel.
- On the group channel track, insert the desired effects and processing plugins. Adjust the parameters to achieve the desired sound. This will apply the effects to all the tracks assigned to the group channel.
- By using group bus processing, you can streamline your workflow and make global changes to multiple tracks at once. It also allows for easy control and manipulation of the overall sound of your mix.

Credit: www.youtube.com
Frequently Asked Questions On How To Gain Stage In Cubase
How Do You Add Gain In Cubase?
To add gain in Cubase, open the audio track, go to the channel settings, adjust the gain fader.
How Do You Gain A Stage In A Daw?
To gain a stage in a DAW, use the software’s menu to add a new track or channel.
What Is The Difference Between Clip Gain And Gain Staging?
Clip gain adjusts individual clips’ volume, while gain staging balances the overall volume of tracks in a mix. Clip gain is specific to each clip, while gain staging affects the entire mix. Both are important in achieving a balanced and professional sound.
What Is Gain Staging In Mixing?
Gain staging in mixing is the process of carefully adjusting the volume levels of individual tracks to maintain an optimal dynamic range and prevent distortion. It ensures each element in the mix is balanced and can be heard clearly without overpowering others.
Conclusion
Gaining stage in Cubase is crucial for achieving professional-sounding mixes. By understanding the principles of gain staging and applying best practices, you can ensure optimal signal levels throughout your production process. Consistently monitoring and adjusting levels will lead to cleaner, more balanced audio and ultimately enhance the overall quality of your music.