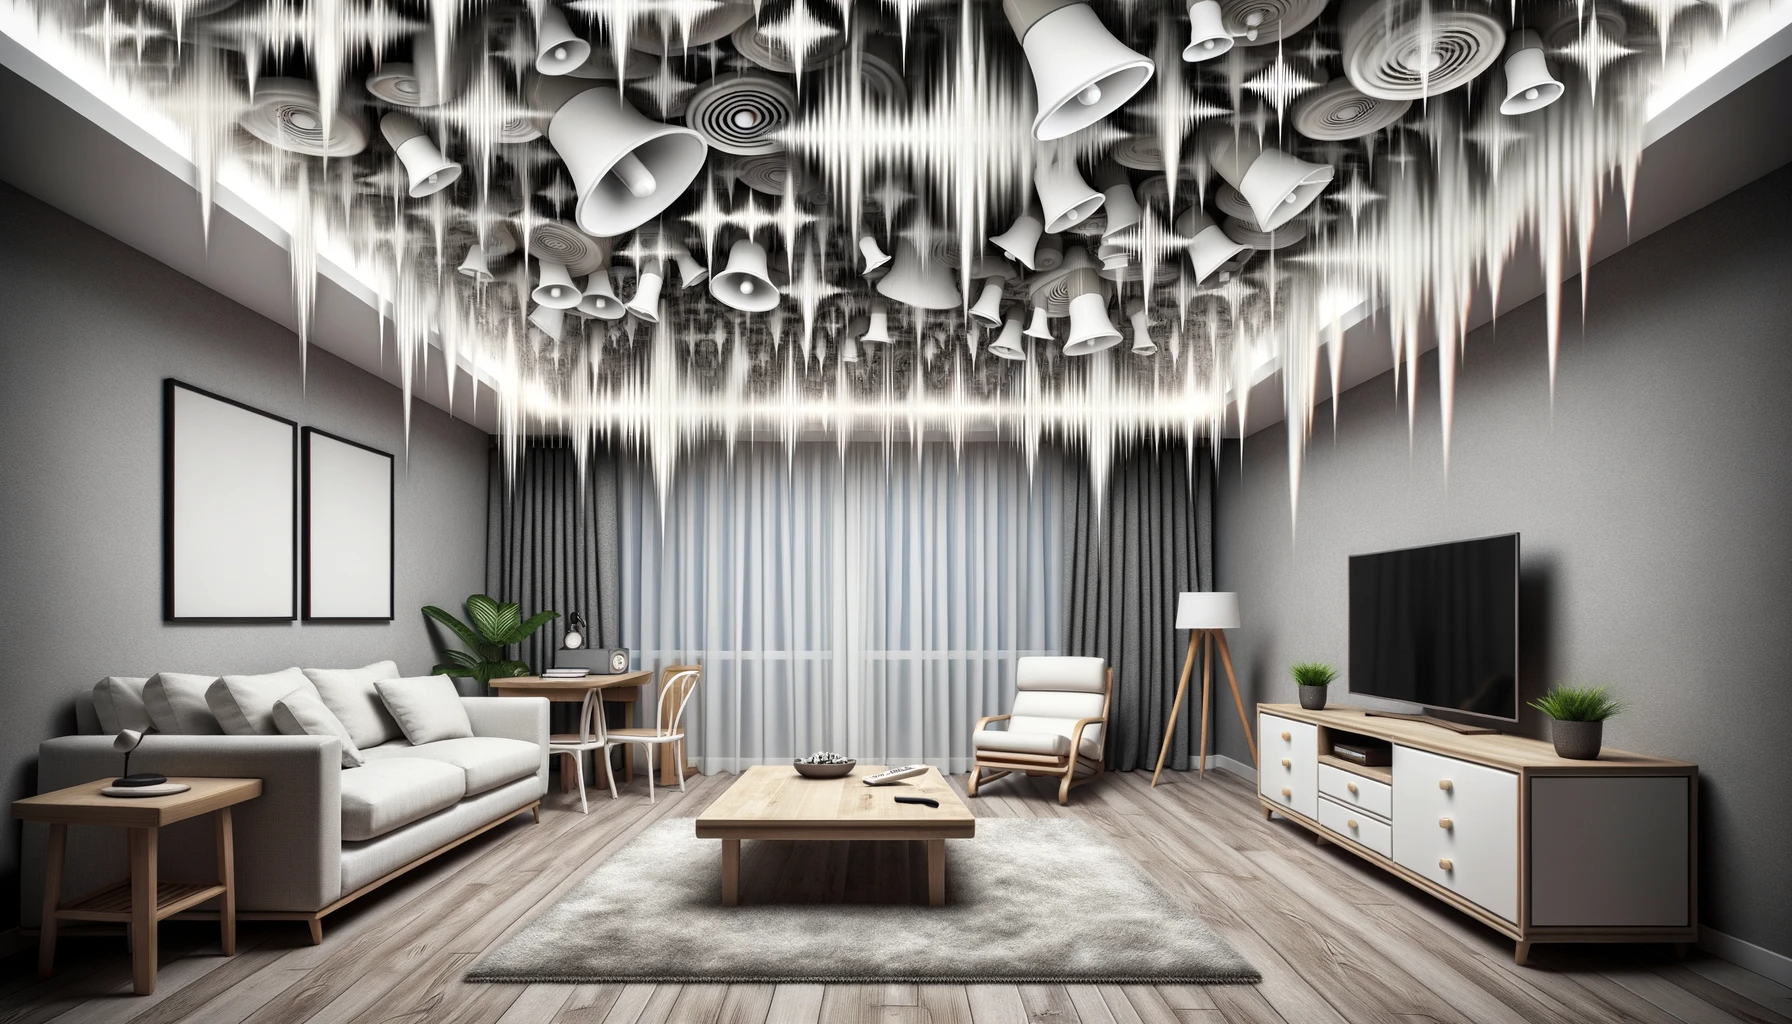
To make acoustic panels, gather materials such as fabric, insulation boards, and wood frames. Assemble these components into a panel designed to absorb sound.
Creating your own acoustic panels can enhance the audio quality in any room, whether it’s a home theater, recording studio, or an office conference space. Acoustic panels work by reducing reverberation, thus improving the clarity of sound. This DIY project is not only cost-effective but also allows for customization in size and aesthetic to match your space.
To ensure the best performance, select high-quality sound-absorbing materials like dense fiberglass or mineral wool. With some basic tools, a bit of time, and attention to detail, you can build effective acoustic treatments that rival commercial options. Remember to cover the insulation with acoustically transparent fabric for a finished look that also serves to keep fibers contained. By following these steps, you’ll create panels that are both functional and visually appealing.

Credit: m.youtube.com
Introduction To Diy Acoustic Panels
Welcome to our guide on DIY Acoustic Panels. Creating these panels is simple and costs less than store-bought options. They help control sound in a room. By following this guide, you can make your own acoustic panels. Let’s start your journey for a better-sounding space.
Rationale Behind Personal Soundproofing
Have noisy neighbors? Want to build a home theater? Personal soundproofing helps. It reduces outside noise and improves room acoustics. A quiet, tranquil room enhances relaxation and focus. It’s perfect for sleep, study, and recording audio.
Basic Concepts Of Sound Absorption
Sound absorption is key for acoustic panels. They take in sound energy and reduce noise. Materials like rockwool and fiberglass are common for this. The right material and design make a big difference.
- Thickness: Thicker panels absorb more sound.
- Placement: Position panels for the best effect.
- Density: Higher density improves sound absorption.
Essential Materials For Homemade Acoustic Panels
Creating effective acoustic panels requires quality materials. Carefully chosen components can make a substantial difference in sound absorption. Below are essential items for making acoustic panels at home.
Choosing The Right Fabric
When selecting fabric for acoustic panels, focus on these key attributes:
- Acoustically Transparent: The fabric must allow sound to pass through it. To test, blow through the fabric. If air passes easily, it’s suitable.
- Material Quality: Opt for a durable fabric like burlap, jute, or speaker cloth to withstand wear and tear.
- Color and Style: Choose colors that match your room’s aesthetic. Pick patterns or solid colors based on personal preference.
Selecting Absorbent Core Material
The core material is paramount. It captures sound waves. Here are efficacious options:
| Material | Sound Absorption Coefficient | Thickness |
|---|---|---|
| Rockwool | High | 2-4 inches |
| Owens Corning 703 | Very High | 2 inches |
| Fiberglass | Variable | 1-4 inches |
Choose a thickness that suits the acoustical needs of your space.
Frames And Other Construction Supplies
Crafting a sturdy frame is vital. Utilize these supplies:
- Wood: Pine or similar varieties offer a balance of strength and cost-effectiveness.
- Joining Elements: Strong L-brackets ensure a solid framework.
- Fabric Stapler: A heavy-duty stapler affixes fabric neatly to the frame.
- Adhesive: Use spray glue for bonding the fabric to the insulation material.
Designing Your Acoustic Panels
Designing Your Acoustic Panels is a craft blending functionality and style. Your creative vision can reflect in these sound-absorbing essentials. Whether installing them in a studio, home theater, or office, thoughtful design ensures peak performance and aesthetic pleasure. Below, explore three key aspects influencing their effectiveness and appeal.
Determining Panel Sizes
Determining Panel Sizes
Size matters for acoustic panels. Bigger isn’t always better. Focus on your space’s specific needs. Consider these points:
- Measure room dimensions.
- Evaluate the available wall space.
- Target critical reflection points for precise placement.
Select sizes balancing coverage with space constraints. Often, a mix of panel sizes works best.
Visual Aesthetics vs. Functionality
Visual Aesthetics Vs. Functionality
Balancing looks with performance is critical. Don’t sacrifice one for the other. Use fabrics and colors enhancing the room’s design. But remember, material choice affects sound absorption. Opt for acoustic-friendly fabrics that complement your style.
Placement Strategies for Optimal Sound Absorption
Placement Strategies For Optimal Sound Absorption
Skillful panel placement transforms acoustics. Follow this guide for ideal locations:
- Identify primary sound sources.
- Pinpoint initial reflection points.
- Address corners for bass trapping.
Strategic location creates audible harmony. Enjoy your space’s new sound quality with well-placed panels.

Credit: www.reddit.com
Step-by-step Assembly Process
Creating acoustic panels can be a fun DIY project. Below is the step-by-step assembly process. This method combines ease and efficiency for effective sound absorption in any room. Let’s dive into making your very own acoustic panels.
Cutting And Preparing The Frame
Fashioning the frame is the first step. Gather the necessary tools and materials. You’ll need wood, a saw, a measuring tape, and screws. Follow these simple steps:
- Measure and mark the wood for the panel size you want.
- Use the saw to cut the wood to your marked measurements.
- Assemble the frame using screws to form a rectangular shape.
- Ensure the frame is sturdy and the corners are square.
Mounting The Absorbent Material
The absorbent material will capture sound waves. Choose material like rockwool or fiberglass insulation for this.
- Cut the insulation to fit snugly inside the frame.
- Place the insulation into the frame.
- Secure it with a light adhesive or wire if needed.
Wrapping With Fabric And Finishing Touches
To finish, we’ll cover the panels. This step gives them a polished look. Use these guidelines:
- Choose a breathable fabric for optimal sound absorption.
- Cut the fabric to size, leaving extra for wrapping.
- Wrap the fabric tightly around the frame and insulation.
- Use a staple gun to secure the fabric at the back of the frame.
- Trim any excess fabric and ensure the front is smooth.
Making acoustic panels is easy. With the right materials and steps, you’ll have your space sounding better in no time.
Installation Tips And Techniques
Properly installing acoustic panels can fundamentally enhance the sound quality of your space. Whether in a recording studio, home cinema, or office, the right installation methods ensure optimal acoustic performance and enduring placement. Below, find essential tips and techniques to mount your acoustic panels effectively.
Hanging Panels On Different Surfaces
Different wall materials require specific hanging strategies. Here’s a quick guide for various surfaces:
- Drywall: Use wall anchors and screws. Pre-drill holes to secure the panels neatly.
- Concrete: Adhesive strips or construction adhesive will provide a firm grip. Drill and insert wall plugs if heavier panels are to be hung.
- Wood: Screws directly into the studs offer the best support for wooden surfaces.
Always ensure the surface is clean and dry before starting. A level helps maintain straight, even rows of panels.
Adjustable Mounting For Flexible Acoustics
For changing acoustic needs, consider adjustable mounting systems. These allow for easy repositioning.
| Mounting System | Flexibility | Usage |
|---|---|---|
| French Cleats | High | Secures flush against the wall yet allows for horizontal adjustments. |
| Z-Clips | Medium | Offers a sturdy mount with some level of vertical adjustability. |
| Wire Cable Systems | Very High | Ideal for ceiling-mounted panels; enables vertical and angle adjustments. |
Using adjustable mounts, you can easily tweak the room’s acoustics by repositioning panels anytime.
Maintaining And Enhancing Panel Performance
Acoustic panels play a vital role in sound management in spaces. Over time, panels need care to keep up their sound-absorbing powers. Proper maintenance ensures long-lasting effectiveness.
Routine Cleaning And Care
Keeping acoustic panels clean is simple, yet essential. Dust and dirt can affect their performance. Follow these steps:
- Vacuum gently with a soft brush attachment.
- Use a damp cloth for surface stains.
- Avoid harsh chemicals that can damage the fabric.
- Inspect panels regularly for damage.
By doing these, panels work like new.
Combining Panels With Other Soundproofing Methods
To further reduce noise, pair panels with other methods. This enhances sound quality. Consider these combinations:
| Method | Benefit |
|---|---|
| Sealants | Eliminate gaps for sound leaks |
| Mass-loaded Vinyl | Add mass to walls for better sound blockage |
| Carpeting | Soft surface on floors to absorb footfall |
This multi-layered approach keeps sound in check for best results.

Credit: www.acousticfields.com
Frequently Asked Questions On How To Make Acoustic Panels
What Material Can I Use For Acoustic Panels?
Acoustic panels often feature materials like fiberglass, mineral wool, foam, or rigid fiberglass. These substances effectively absorb sound, enhancing audio clarity in a space.
Can You Diy Acoustic Panels?
Yes, you can DIY acoustic panels. Gather materials like fabric, insulation boards, and wood frames. Measure, cut, and assemble these components to create effective sound absorbers for your space.
How Much Does It Cost To Make Your Own Acoustic Panels?
The cost to make your own acoustic panels can range from $20 to $50 per panel, depending on materials and size. DIY options offer a cost-saving alternative to commercial panels.
How Are Acoustic Panels Made?
Acoustic panels typically consist of a sound-absorbing core material, such as fiberglass or foam, wrapped in fabric. Manufacturers cut these materials to size and encase them in frames for installation.
Conclusion
Crafting your own acoustic panels is a rewarding endeavor. By following the steps outlined, you’ll enhance your space’s audio quality. Embrace the project as a creative journey. Remember, the right materials and measurements make all the difference. Start building your panels today — your ears will thank you!