To install banks and presets for the Vital VST synthesizer, download and extract the files before placing them in the proper directory. The Vital VST synthesizer is a powerful software instrument used by music producers worldwide.
With its extensive library of banks and presets, it offers endless creative possibilities to those who use it. However, installing the banks and presets correctly can be a daunting task for beginners. In this guide, we will provide you with step-by-step instructions on how to install banks and presets for Vital VST, so you can start making music immediately.
We’ll cover everything from downloading the files to using the proper directory, and everything in between, so you can get the most out of your new software instrument without any hassle.
Credit: www.youtube.com
Downloading Banks And Presets
Learn how to easily download and install banks and presets for the Vital VST synthesizer with this comprehensive guide. Boost your music production game with the right sounds and take your tracks to the next level.
If you are a music producer, then having access to a wide range of sound presets is essential. The Vital VST synthesizer is great for creating all sorts of sounds for your productions. In this guide, we will go over how to download and install banks and presets for the Vital VST synthesizer.
Find Reputable Websites
The first step to downloading banks and presets for the Vital VST synthesizer is to find reputable websites that offer them. It is important to download your files from a trusted source, as downloading from an untrusted site could result in malware or viruses infecting your device. Make use of a search engine and research forums or websites that offer presets and banks for Vital. Check out the user comments and ratings to ensure that the website is trustworthy.
Check Compatibility With Vital
Before downloading any presets or banks, it is crucial to make sure they are compatible with the Vital VST synthesizer. Not all sounds are compatible with Vital, so it is important to do your research and only download presets that are designed for this synthesizer. This ensures that the sounds you download will work correctly and that you won’t waste time trying to get them to work.
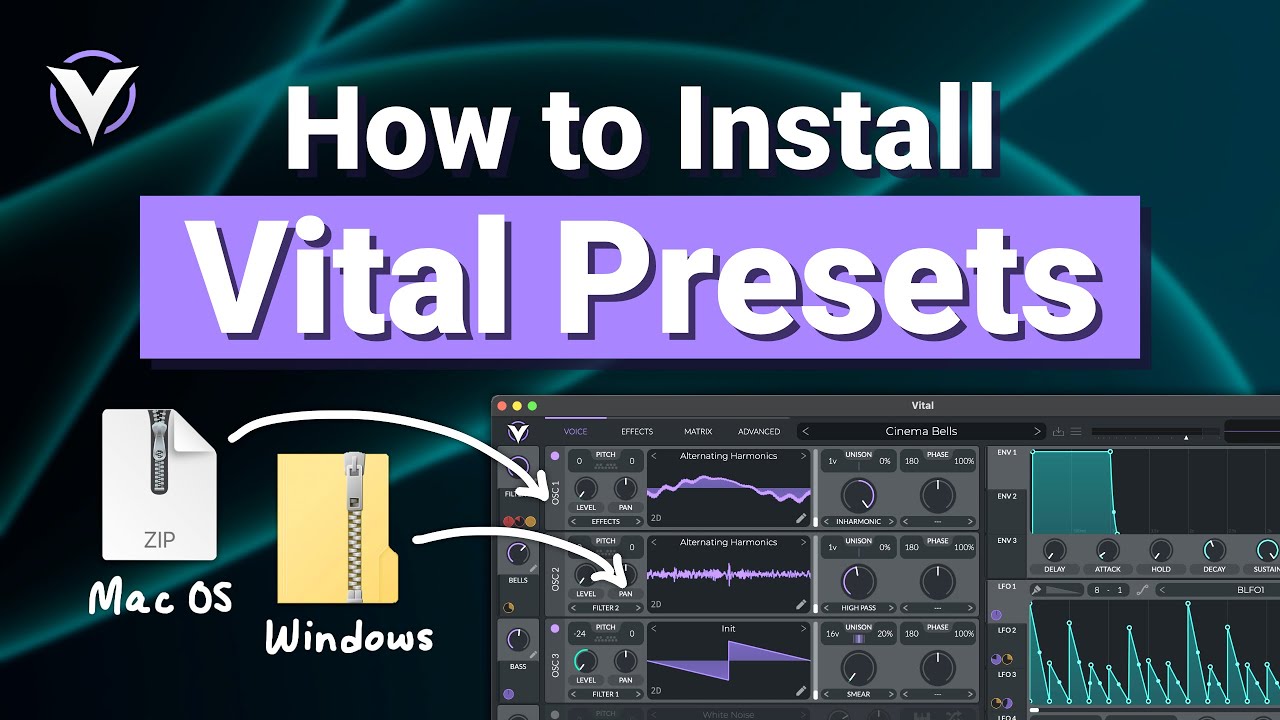
Download And Unzip The Files
Once you have found a reputable website and checked compatibility, download the presets or banks files to your computer. Save them in a location that you can easily access later. The items you download will generally be in .zip format, so you need to unzip them so that you can use them. To do this, right-click on the .zip file and select “Extract All” or “Uncompress”. In conclusion, downloading banks and presets for the Vital VST synthesizer is an easy task that can be done by anyone. All you need is to find reputable websites, check compatibility, download the files and unzip them. By following these simple steps, you can add a wide range of sounds to your music productions.
Installation Of Banks And Presets In Vital
Learn how to install new banks and presets for your Vital VST synthesizer with this helpful guide. Follow simple steps to easily add new sound libraries to your music production software and enhance your creative potential.
Are you looking to enhance your music production experience with Vital VST synthesizer? One way to do this is by adding new presets and banks to your Vital library. In this guide, we’ll walk you through the process of installing new banks and presets in Vital.
Locate Vital Vst Folder
Before you start, make sure you know where to find your Vital VST folder. This is usually located in your Digital Audio Workstation (DAW) software’s plugin folder. Once you locate this folder, you can proceed with the installation process.
Copy The Presets And Banks Files
To install new presets and banks in Vital, you need to copy the files into the correct folder. First, download the presets and banks you want to install from a trusted source. Then, open your Vital VST folder and locate the “Presets” and “Banks” subfolders. Copy and paste the downloaded files into the appropriate folders.
Restart Vital
After copying the files, restart Vital to ensure the new presets and banks are loaded. If you had Vital open during the installation process, close and reopen it again.
Authorize The Presets And Banks In Vital
Now that your new presets and banks are installed, you need to authorize them within Vital. Open the Vital plugin in your DAW software and navigate to the “Presets” or “Banks” menu. From there, find the new presets and banks you installed and authorize them by selecting them. By following these four simple steps, you can easily install new banks and presets in Vital and start exploring new sounds and possibilities for your music production.
Troubleshooting
This guide offers a step-by-step process for installing banks and presets for Vital VST synthesizer, including troubleshooting tips. It is designed to be user-friendly and easy to follow, ensuring that even beginners can successfully install and use this powerful tool.
Presets And Banks Are Not Showing In Vital
If the presets and banks are not appearing in your Vital VST Synthesizer after installation, there are a few potential issues to consider. First, ensure that you have installed the presets and banks correctly by following the instructions provided in the installation guide. If you have done this and are still experiencing issues, try the following troubleshooting steps:
- Check that the location of the presets and banks is correctly set in the Vital Plugin Settings.
- Restart Vital and your DAW.
- Ensure that the presets and banks you downloaded are compatible with the version of Vital VST Synthesizer that you are using.
- Try reinstalling the presets and banks again.
Vital Is Not Responding After Installation
If Vital is not responding at all after you have installed it, there could be a variety of issues. First, ensure that Vital is correctly installed and compatible with your operating system. If you have confirmed this and are still experiencing issues, try the following:
- Check that your DAW and Vital are both up to date.
- Try reinstalling Vital.
- Disable any other plugins you have running to eliminate potential conflicts.
- Restart your computer.
Authenticity Of The Banks And Presets
It is important to ensure the authenticity of the banks and presets that you install into Vital VST Synthesizer. Some tips to spot fake or unauthentic presets and banks are:
| Signs of inauthentic presets or banks: | Signs of authentic presets or banks: |
| Too-good-to-be-true pricing | Reasonable pricing |
| Low-quality audio demos or no demos at all | High-quality audio demos |
| Unprofessional website or seller | Professional website or seller |
| No refund or exchange policy | Clear refund or exchange policy |
It is important to protect your computer and your music by only downloading and installing authentic presets and banks from reputable sources.

Credit: www.productionmusiclive.com
Credit: m.youtube.com
Frequently Asked Questions On How To Install Banks And Presets For Vital Vst Synthesizer Guide
Where Are Vital Synth Presets Stored?
Vital synth presets are stored in a specific folder located in your computer’s hard drive. The exact location may vary depending on your operating system and the version of the software. However, you can usually find the presets by navigating to the Vital folder in your home directory.
How Do I Import Vital Presets Into Ableton?
To import vital presets into Ableton, first locate the preset files and copy them. Then, open Ableton and click “Options” > “Preferences” > “File Folder”. Under “Plug-In Sources”, click “Browse” and select the folder containing the presets. Finally, click “Rescan” to make sure Ableton recognizes the new presets.
How Do I Install Banks For Vital Vst Synthesizer?
Installing banks for Vital VST Synthesizer is very easy. First, download the desired bank file and extract it. Open Vital Synthesizer, go to the “Presets” dropdown menu and select “Show Folder”. Move the extracted bank folder to the “User Presets” folder.
The bank will now be available in the “User” section of the presets menu.
What Is A Preset In Vital Vst Synthesizer?
A preset is a pre-made sound that can be loaded into the Vital Synthesizer. Presets are a great way to quickly test out different sounds and see how they fit into your music production project. Each preset can be customized to the user’s liking by adjusting the various parameters of the sound.
Conclusion
To conclude, installing banks and presets for the Vital VST synthesizer doesn’t have to be complicated. By following the step-by-step guide and tips we provided, you can easily customize and expand your music production capabilities. With the vast variety of preset options available, you can experiment and create unique sounds fitting for your musical genre.
By continuously exploring and upgrading your sound library, you can take your music production to new heights!