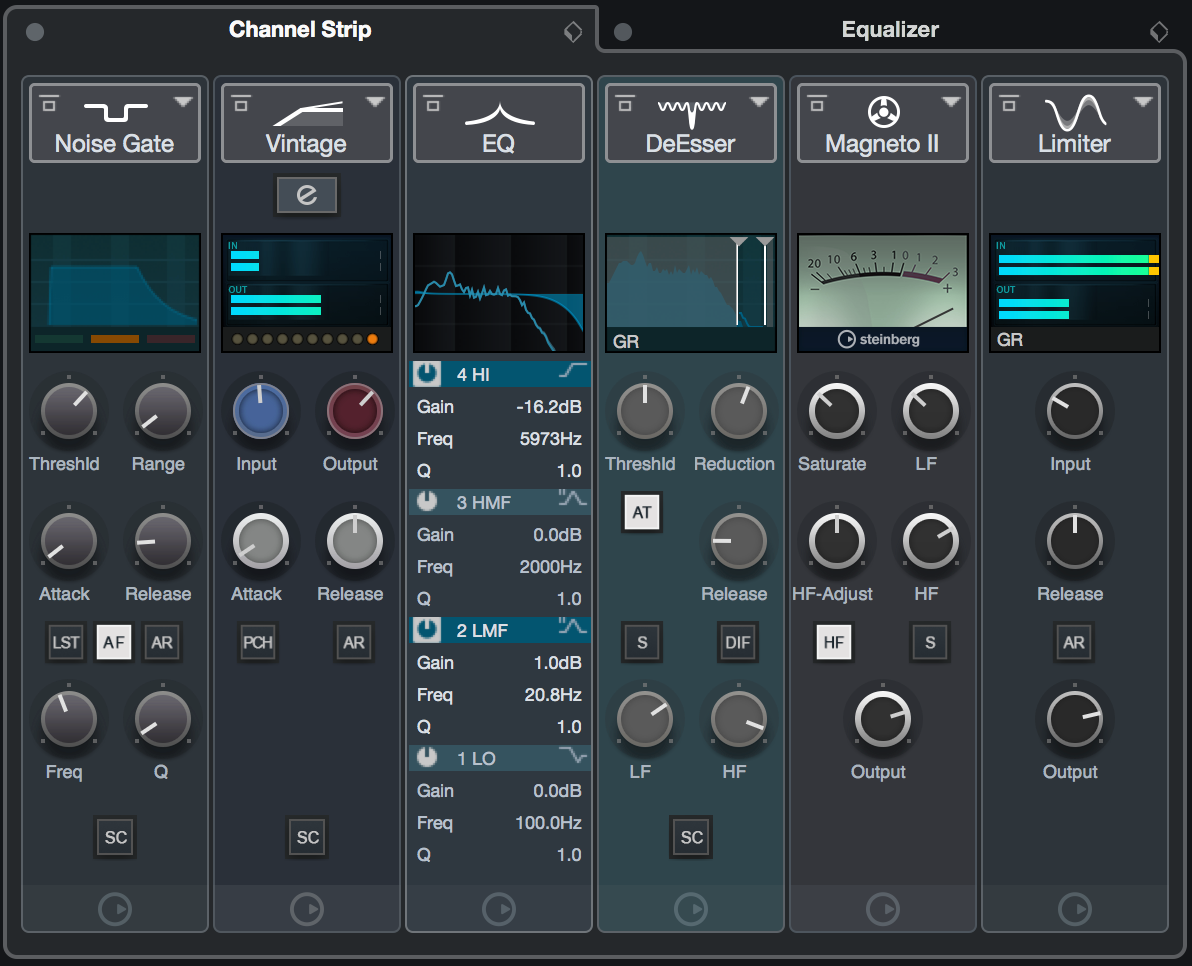
To fix timing in Cubase, use the Quantize feature in the MIDI editor for precise alignment of notes. Adjust the quantization strength to correct timing errors easily.
Cubase is a powerful digital audio workstation used by many music producers and artists. However, achieving the perfect timing in your tracks is crucial for a professional sound. Whether you need to tighten up drums, align MIDI notes, or synchronize multiple tracks, mastering the timing in Cubase is essential.
By understanding how to use the Quantize feature effectively, you can elevate the quality of your music productions. In this guide, we will explore step-by-step instructions on fixing timing issues in Cubase to enhance the overall musicality of your projects.
Credit: www.steinberg.net
Setting Up Cubase For Precise Timing
Optimizing Audio Buffer Settings
In Cubase, access the Preferences menu to adjust buffer settings for smoother performance.
Lower buffer size reduces latency but requires more CPU power, finding the ideal balance is crucial.
Adjusting Latency Settings
Locate the Audio Setup window to fine-tune latency settings based on your hardware and project requirements.
Lower latency improves real-time responsiveness, while higher settings enhance stability during playback.
Credit: www.sweetwater.com
Utilizing Metronome And Click Tracks
When it comes to music production in Cubase, fixing timing issues is essential for a polished and professional sound. One of the key tools to help you achieve precise timing is the metronome. Utilizing the metronome and click tracks effectively can greatly improve the rhythmic accuracy of your recordings.
Configuring Metronome Settings
To start, go to the metronome settings in Cubase and adjust the tempo and time signature to match your project. Configure the metronome sound to be clear and audible in your headphones or studio monitors.
Using Click Tracks Effectively
Click tracks are a valuable tool for staying in time when recording or performing. They provide a consistent beat to follow, helping you maintain rhythm and tempo throughout the song.
Enable the click track in Cubase to hear the metronome while recording or playing back your tracks. This will guide you in staying on beat and syncing up with other instruments or tracks.
Practice with the click track to internalize the tempo and improve your timing skills. Start by playing along with the click at a slow tempo, gradually increasing the speed as you become more comfortable.
Quantizing And Correcting Timing Errors
In music production, ensuring precise timing is crucial for creating professional-sounding tracks. Quantizing and correcting timing errors in Cubase can greatly enhance the overall quality of your productions. This article will delve into the key aspects of quantization and how to effectively correct timing errors in both MIDI and audio tracks within Cubase.
Understanding Quantization
Quantization is the process of aligning musical notes to a specific time grid, allowing for a more uniform and structured rhythm. In Cubase, quantization can be applied to MIDI and audio recordings to ensure that each note or beat falls precisely on the designated grid, thus enhancing the overall timing and groove of the track.
Correcting Timing Errors In Midi And Audio
Cubase provides powerful tools for correcting timing errors in both MIDI and audio recordings. Whether it’s adjusting the timing of MIDI notes or aligning the transients of audio events, Cubase offers a range of features to help you achieve precise synchronization and rhythm in your music.
When working with MIDI, the quantize features in Cubase allow you to instantly snap notes to the nearest grid position, effectively correcting any timing discrepancies. For audio recordings, the audio warp functions enable you to quantize and adjust the timing of individual audio events, ensuring that they align perfectly with the desired rhythm.
Fine-tuning Timing With Automation
When it comes to creating professional-sounding music in Cubase, timing is everything. Even the slightest discrepancy can throw off the groove and overall feel of a track. Thankfully, Cubase offers powerful automation tools that allow you to fine-tune timing with precision. In this section, we’ll explore how to automate track timing adjustments in Cubase, as well as how to utilize tempo and time signature tracks to ensure your timing is spot-on.
Automating Track Timing Adjustments
If you find that certain sections of your track are slightly offbeat or out of time, you can easily fix them by automating track timing adjustments in Cubase. This powerful feature allows you to move individual notes or events to the desired position, ensuring every beat is perfectly aligned.
To automate track timing adjustments, follow these simple steps:
- Select the track you want to adjust the timing for.
- Open the automation panel by clicking on the “Automation” button in the toolbar.
- Choose the “Time Warp” automation track from the available options.
- Zoom in on the waveform to get a detailed view of the individual beats or notes.
- Click on the desired beat or note and drag it to the correct position using the Time Warp tool.
- Repeat this process for any other beats or notes that need adjustment.
- Play back your track to ensure the timing adjustments sound just right.
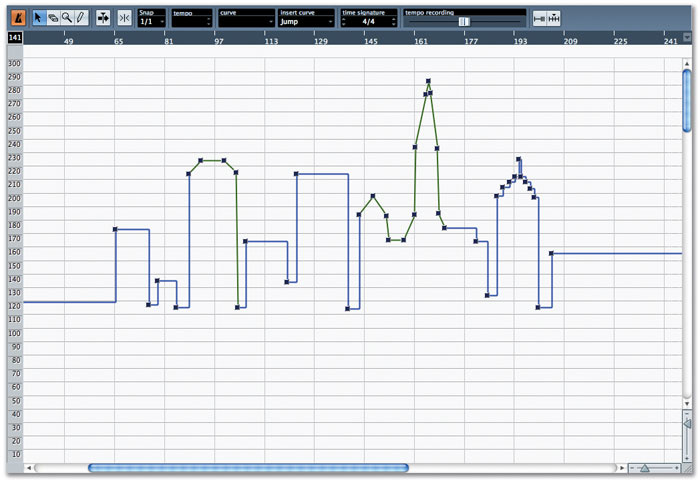
Utilizing Tempo And Time Signature Tracks
In addition to automating track timing adjustments, Cubase allows you to utilize tempo and time signature tracks to further refine the timing of your music. These tracks give you full control over the tempo and time signature changes throughout your project, helping you create dynamic and intricate compositions.
To utilize tempo and time signature tracks effectively, consider the following tips:
- Activate the tempo track by clicking on the “Tempo” button in the transport panel.
- Double-click on the tempo track to create tempo nodes and adjust the tempo for different sections of your track.
- Activate the time signature track by clicking on the “Time Signature” button in the transport panel.
- Add and edit time signature changes by double-clicking on the time signature track and entering the desired values.
- Experiment with tempo and time signature changes to add depth and complexity to your music.
With these powerful automation tools at your disposal, you’ll be able to fine-tune the timing of your tracks in Cubase like a pro. Whether you need to make subtle adjustments or create intricate tempo changes, Cubase provides the flexibility and precision you need to perfect your timing and bring your music to life.
Credit: www.soundonsound.com
Frequently Asked Questions Of How To Fix Timing In Cubase
How Do I Set The Time Signature In Cubase?
To set the time signature in Cubase, go to the Project menu, select Time Signature, and choose the desired time signature from the options.
How Do I Stretch Audio Time In Cubase?
To stretch audio time in Cubase, select the audio event and go to Audio > Realtime Processing > Time Stretch. Use the Range tool to adjust the length.
How Do I Change The Tempo In The Middle Of A Song In Cubase?
To change the tempo in the middle of a song in Cubase, use the Tempo Track Editor. Click on the Tempo Track and add points to adjust tempo.
How Do You Align Vocals In Cubase 12?
To align vocals in Cubase 12, use the VariAudio feature to adjust pitch and timing for perfect synchronization.
Conclusion
Fixing timing in Cubase is crucial for creating professional-quality music. By utilizing the various tools and techniques discussed in this blog post, you can ensure that your musical projects are perfectly timed and in sync. Mastering timing in Cubase will undoubtedly elevate the overall quality of your music productions.