For first-time home recording, invest in good quality microphone and headphones. Choose a quiet recording space.
Are you a beginner looking to set up your home recording studio but feeling overwhelmed? Not to worry, as we are here to guide you through some essential tips and tricks to get you started on the right track. Setting up a home recording space can be both exciting and challenging, especially if you’re new to the world of audio recording.
But fear not, with the right tools and knowledge, you’ll be well on your way to producing professional-quality recordings from the comfort of your home. Let’s explore some valuable tips to help you kickstart your home recording journey with confidence.
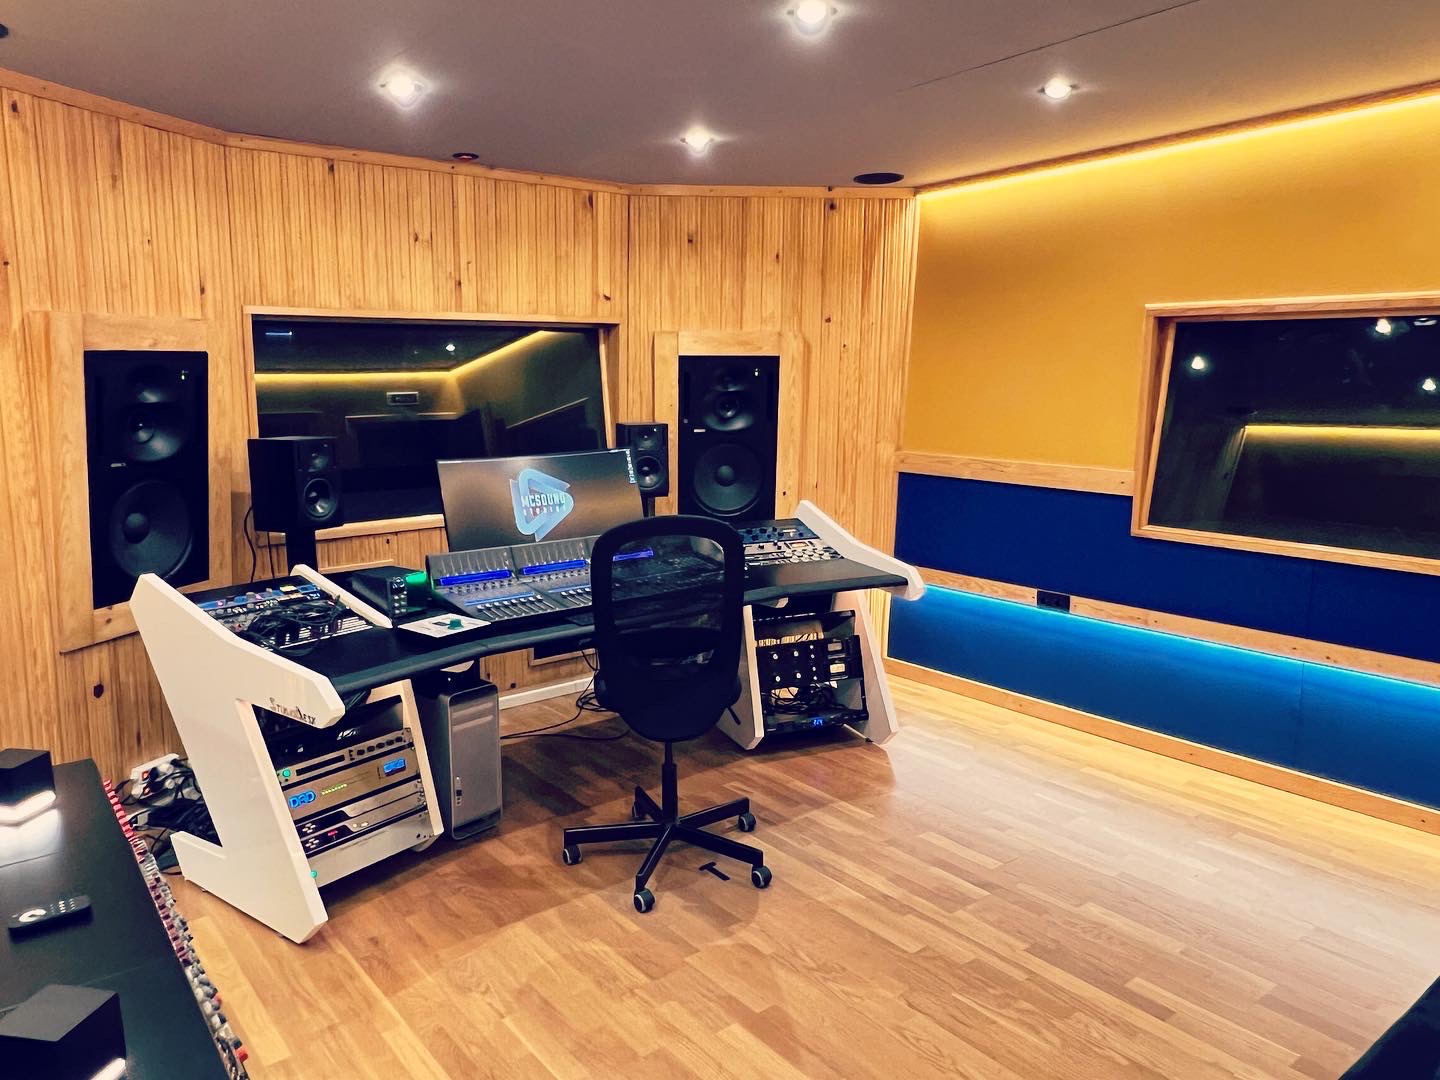
Credit: www.studiodesk.net
Setting Up Your Home Studio
Setting Up Your Home Studio:
Choosing The Right Space
When starting your home recording journey, select a quiet room with minimal external noise.
Essential Equipment
- Invest in a quality microphone for crisp audio.
- Acquire a digital audio workstation (DAW) software for recording.
- Consider purchasing studio headphones for accurate monitoring.

Credit: bookauthority.org
Understanding Audio Recording Basics
When starting with home recording, it’s essential to grasp the audio recording basics to achieve high-quality results. Understanding fundamental concepts like microphones and recording techniques is crucial.
Micrphones And Their Uses
Microphones are vital tools for capturing sound. Dynamic mics are ideal for loud instruments, while condenser mics are sensitive and great for vocals.
Recording Techniques
Position your microphone correctly to capture the best sound. Use close miking for individual instruments and ambient miking for room sound.
Mastering The Art Of Mixing And Editing
Mastering the art of mixing and editing is a vital skill for home recording enthusiasts. Achieving professional-sounding audio relies on effectively balancing levels, applying appropriate EQ, and using editing software to refine the final product. In this section, we will delve into valuable tips and techniques for honing your mixing and editing abilities, ensuring your recordings reach their full potential.
Balancing Levels And Eq
Adjusting the levels and equalization of audio tracks is fundamental to creating a polished and cohesive sound. Begin by balancing the individual levels of each track, ensuring they harmonize seamlessly. Utilize the EQ settings to fine-tune the frequency content of each track, eliminating any unwanted frequencies and enhancing the desired sonic characteristics. Mastering the art of balancing levels and EQ will result in a more professional and balanced mix.
Utilizing Editing Software
Editing software plays a crucial role in refining and perfecting recorded audio. Learn to utilize the various tools and features offered by your chosen editing software, such as cutting, trimming, and applying effects. Take advantage of the software’s capabilities to remove any imperfections, correct timing issues, and enhance the overall audio quality. By utilizing editing software effectively, you can elevate your recordings to a higher standard.
Incorporating Creative Sound Effects
When it comes to home recording, one of the most exciting aspects is incorporating creative sound effects. By adding unique and engaging sound effects to your recordings, you can take your projects to a whole new level. In this article, we will explore different ways you can incorporate sound effects into your home recordings, from exploring virtual instruments to adding depth with effects.
Exploring Virtual Instruments
Virtual instruments are a fantastic way to incorporate creative sound effects into your home recordings. These software-based instruments offer a wide range of sounds and are easily accessible. By exploring different virtual instruments, you can add unique textures and melodies to your recordings. Whether you’re looking for a realistic piano sound or an otherworldly synth, virtual instruments have got you covered. Here are a few popular virtual instruments you can explore:
- Native Instruments Kontakt
- Xfer Serum
- Spectrasonics Omnisphere
- Arturia V Collection
Adding Depth With Effects
Effects play a crucial role in adding depth and dimension to your sound effects. There are various effects you can experiment with, each offering a unique sonic enhancement. By applying effects to your recordings, you can create a rich and immersive experience for your listeners. Here are some effects you can try:
- Reverb: Adds spaciousness and simulates different acoustical environments.
- Delay: Creates repetition of sound, adding a sense of space and depth.
- Chorus: Produces a thicker sound by creating multiple, slightly detuned and time-delayed copies of the original signal.
- Flanger: Adds a swirling, “whooshing” effect by combining two identical signals and shifting the phase of one.
By experimenting with different effects, you can truly elevate your sound effects and make them stand out. Remember, the key is to strike a balance between using effects to enhance your recordings and ensuring they don’t overpower the main elements of your track.
Perfecting Your Final Product
When it comes to home recording, perfecting your final product is the ultimate goal. After spending hours capturing and editing your audio, it’s time to take your project to the next level. In this section, we will discuss two crucial steps – Understanding Mastering and Seeking Feedback and Revisions – that will help you refine your recording and ensure a professional-sounding outcome.
Understanding Mastering
Mastering is the final step in the audio production process. This is where your individual tracks are balanced, polished, and prepared for distribution. It involves techniques such as equalization, compression, and stereo enhancement to enhance the overall clarity, loudness, and dynamics of your music.
Here are a few key tips to keep in mind when mastering your home recordings:
- Ensure proper gain staging to prevent distortion and clipping.
- Apply equalization to fix any tonal imbalances and make your tracks sound cohesive.
- Use compression to control the dynamic range and ensure consistency in volume.
- Add reverb or other effects to create depth and space within your mix.
- Experiment with stereo widening techniques to give your recordings a wider soundstage.
- Consider using a mastering plugin or hiring a professional mastering engineer for optimal results.
Seeking Feedback And Revisions
One of the most important aspects of perfecting your final product is getting feedback and making revisions based on constructive criticism. It’s easy to become attached to your own work and overlook areas that could be improved. Seeking input from others who have a fresh perspective can provide valuable insights and help you refine your recording.
Here are a few strategies to seek feedback and implement revisions effectively:
- Share your recording with fellow musicians, producers, or audio enthusiasts and ask for their honest opinions.
- Consider joining online communities or forums dedicated to home recording, where you can submit your recordings for critique.
- Take note of specific areas for improvement mentioned by your reviewers and experiment with different techniques to address them.
- Don’t be afraid to make revisions and try new approaches based on the feedback you receive.
- Test your revised recording on different playback systems to ensure it translates well across various devices and environments.
Remember, perfecting your final product is an ongoing process. Be open to feedback, continue learning, and don’t be afraid to experiment with different techniques. With time and practice, your home recordings will reach a professional level that you can be proud of.
Credit: insidetherecordingstudio.podbean.com
Frequently Asked Questions For Home Recording Tips For First Timers
What Equipment Do I Need To Start Recording At Home?
To start recording at home, you’ll need a computer, audio interface, microphone, headphones, and recording software. Make sure to choose equipment that suits your needs and budget.
How Can I Soundproof My Home Recording Studio On A Budget?
To soundproof your home studio on a budget, you can use thick curtains, carpeting, acoustic panels, and foam insulation. These materials help reduce outside noise and echoes, resulting in cleaner recordings.
What Are Some Tips For Getting The Best Vocal Recordings At Home?
To get the best vocal recordings at home, choose a quiet room, use a pop filter, position your microphone correctly, and experiment with different mic placements. Also, practice good vocal techniques and warm up before recording to achieve optimal results.
Conclusion
Home recording can be an exciting and fulfilling experience for first-timers. By following these tips, you can create professional-quality recordings from the comfort of your own space. With a focus on room acoustics, equipment selection, and soundproofing, you can optimize your home studio for a successful recording journey.
Embrace the process and enjoy the creative freedom that home recording offers.