To get the most out of Logic Pro X Vol 1, follow along with the comprehensive tutorials provided in the package. This will help you navigate through the various tools and features offered by Logic Pro X, ultimately improving your music production skills.
Logic Pro X is a powerful digital audio workstation that is used by both amateur and professional music producers worldwide. The software offers a vast array of tools and features that allow producers to mix, master, and edit music tracks with precision and efficiency.
However, mastering the software and understanding its full potential can be a daunting task. That’s why Logic Pro X Vol 1 provides a comprehensive tutorial package that covers all the important features of the software. Whether you’re a beginner or an experienced producer, this package will help you navigate through the ins and outs of Logic Pro X, and ultimately improve your music production skills.
Setting Up Workspace
Setting up your workspace correctly is crucial for getting the most out of Logic Pro X Vol. 1. Organize your plugins, screensets, and preferences to best fit your workflow to increase efficiency and creative output.
Installation
Before setting up your workspace in Logic Pro X, you need to install it first. The installation process is straightforward. Please follow the instructions provided by the software to complete the installation process successfully. Once installed, you’re ready to start setting up your workspace.
Configuring Audio And Midi Devices
Working with audio and MIDI in Logic Pro X requires that you configure your devices properly. The configuration process is necessary to ensure that the audio and MIDI devices are communicating accurately with the software. To configure your devices, follow these steps:
- Click on the Logic Pro X menu and select “Preferences.”
- In the preferences window, click “Audio/MIDI.”
- Select your audio device from the “Devices” tab.
- Configure the input and output channels.
- Select your MIDI device from the “MIDI” tab.
- Configure the input and output ports.
- Click “Apply Changes” to save the configuration.
Once you have configured your audio and MIDI devices, you’re ready to set up your workspace. When setting up your workspace in Logic Pro X, there are some essential factors you need to consider to maximize your productivity. Here are some tips for setting up your workspace:
- Arrange the windows: Organize the windows and arrange them so you can work efficiently, toggle between them easily, and avoid clutter.
- Customize the toolbar: Choose the most frequently used tools and add them to the toolbar for quick access.
- Learn shortcuts: Use shortcuts for frequently used commands to speed up your workflow.
- Set up key commands: You can customize key commands for your most frequently used actions to simplify the workflow even further.
- Create templates: Establish templates that suit your preferred workflow to save time when starting new projects.
- Use track stacks: Use track stacks to organize and manage multiple tracks for easy editing and mixing.
By following the above tips, you will have a well-organized and efficient workspace, which will enable you to get the most out of Logic Pro X.
Credit: www.groove3.com
User Interface
Logic Pro X Vol 1 offers an intuitive user interface for music producers to enhance their creative workflow. Whether you’re a beginner or professional, its streamlined design and customizable features provide a seamless experience for music composition and production.
Navigation
Navigating through Logic Pro X user interface effectively will make your recording smooth and enjoyable. The user interface consists of multiple windows such as the main window, mixer, library, and editors. Knowing how to navigate these windows and how to split them will give you more control over your workspace. Here are some tips to navigate effectively:
- Use the key command “Command + 1” to switch to the main window
- Use the key command “Command + 2” to switch to the mixer
- Use the key command “Command + 3” to switch to the library
- Hold down the Option key and click an editor button to open that editor in a new window
- Use the “Tab” key to move between the different sections of the current window
Customizing Layouts And Shortcuts
Customizing your workspace to suit your workflow can save you a lot of time in the long run. Learning how to create your own layouts and shortcuts will ensure that you have quick access to frequently used tools and functions. To customize your layout, follow these steps:
- Go to “Window” and select “Open Layout”
- Select “New” and give your layout a name
- Drag and drop windows to change their positions
- Save your layout by going to “File” and selecting “Save as Layout”
To customize your shortcuts, follow these steps:
- Go to “Logic Pro X” and select “Preferences”
- Select “Key Commands”
- Find the command you want to customize and click on it
- Press the keys you want to assign to that command
- Click “OK” to save the shortcut
Customizing your layouts and shortcuts will help you create a workflow that is uniquely suited to your needs. With more efficient workflow, you’ll be able to focus more on creating music rather than navigating menus.
Working With Tracks
Discover how to work with Tracks and maximize your potential in Logic Pro X Vol 1. Explore essential topics like routing, editing, and grouping tracks, and take your music production skills to the next level.
If you are a music enthusiast, you must have realized the benefits of using Logic Pro X. This digital audio workstation excels when it comes to offering the best features that simplify recording and editing audio and MIDI. One way of making the most out of Logic Pro X is by understanding how to work with tracks. This article is Vol 1 of a series that unveils several areas that you can improve on to ensure you optimize the use of Logic Pro X.
Creating And Deleting Tracks
Creating and deleting tracks is a basic skill that every Logic Pro X user should master. With Logic Pro X, you can create an unlimited number of tracks which can be audio or MIDI, and label them to ensure that you can access them easily. To create tracks, you need to click on the ‘Track’ menu on the top menu bar, select ‘New track’ and choose the track type that you want. To delete tracks in your Logic Pro X project, select the track that you intend to remove and press the ‘Delete’ key on your keyboard. If you are deleting multiple tracks, you can select a range of tracks at once by holding down the shift key.
Audio And Midi Setup
To get the most out of Logic Pro X, you need to set up both audio and MIDI. In the case of audio, you need to make sure that you have the right hardware to ensure that the recording is of high quality. On the other hand, for MIDI, you should ensure that you have a MIDI controller or keyboard to work effectively. Setting up both audio and MIDI can be done by going to the ‘Preferences’ menu, selecting ‘Audio/MIDI’ and then configuring the settings based on your preferences. In summary, Logic Pro X offers you a wide range of features that can help you create and edit audio and MIDI files efficiently. Mastering the art of working with tracks is an essential part of ensuring that you maximize the potential of this software. By creating and deleting tracks and perfecting your audio and MIDI setup, you can make the most out of working with audio in Logic Pro X.
Workflow And Production
Increase your productivity with “Getting The Most Out Of Logic Pro X Vol 1”. Learn efficient workflow and production techniques to create high-quality music projects in Logic Pro X. This guide will help you optimize your time and take your music to the next level.
If you are seeking to enhance your workflow and production skills in Logic Pro X, you have come to the right place. With the release of ‘Getting The Most Out Of Logic Pro X Vol 1’, become acquainted with the ins and outs of this popular digital audio workstation. Whether you are an experienced producer or just starting, there is always room for improvement in optimizing a workflow. This guide has been created meticulously for the latter to learn some advanced production techniques and enhance their productivity.
Midi Sequencing
MIDI sequencing has now become an essential feature of music production, thanks to the ever-evolving technology in Logic Pro X. It allows you to play, record and edit MIDI data in a DAW, making sequencing far more seamless. Vol 1 of ‘Getting The Most Out Of Logic Pro X’ will walk you through the fundamentals of MIDI sequencing and how to put them in practical use. The guide teaches you how to create MIDI regions, edit them, and apply various MIDI effects to improve your MIDI sequencing.
Synthesizers And Sound Design
Do you find yourself using the same synth sounds or samples repeatedly? Do you want to create more unique and better-sounding tracks for your production projects? ‘Getting The Most Out Of Logic Pro X Vol 1’ has got you covered. This guide provides you with some comprehensive methodologies to create new synth sounds using synthesis, layering, and sampling techniques. You will learn how to create and manipulate synthesizers, utilize the built-in audio processing effects to improve your sound design, and much more. Overall, ‘Getting The Most Out Of Logic Pro X Vol 1’ is a must-read guide for any Logic Pro X user looking to improve their workflow and production skills. By the end of this guide, you would have learned some advanced techniques to enhance your workflow productivity and produce better sounding tracks.
Audio Editing
Logic Pro X Vol 1 enables you to get the most out of audio editing. From importing to mixing, this software is packed with features like Flex Time, Flex Pitch and more. Improve your workflow with shortcuts and templates, and edit your recordings with ease.
Recording Audio
Recording audio is the core of any music production. With Logic Pro X Vol 1, you have all the tools you need to capture high-quality recordings. To get started, begin by connecting your microphone or audio interface to your computer. Once connected, set up your Logic Pro X session to match your desired recording format, including sample rate and bit depth. Always ensure your recording levels are optimal throughout the recording session to avoid unwanted distortion.
Arranging And Comping Takes
Arranging and comping takes involve choosing the best performances from multiple recordings. Logic Pro X Vol 1 offers a comprehensive set of tools to help you edit and manipulate your audio takes. Begin by selecting all the takes you want to comp and create a new take folder. Then, use the take folders and comping tools to piece together the best parts of each take. Always be mindful of the timing and rhythm of your comped takes to ensure a seamless, credible performance.
Audio Editing Tips
Here are a few tips to help you get the most out of Logic Pro X Vol 1 when editing audio files:
- Use fade-ins and fade-outs to smooth out abrupt transitions
- Apply equalization (EQ) to remove unwanted frequencies or boost desired ones
- Use noise reduction tools to remove background noise or hiss
- Apply compression to even out the volume of your track and add sustain to instruments
- Use automation to create dynamic changes in volume or effects over time
Conclusion
Audio editing in Logic Pro X Vol 1 is a powerful and creative process that takes time and patience to master. With the right tools and techniques, you can turn a basic recording into a polished and professional-sounding masterpiece.
Credit: www.productionmusiclive.com
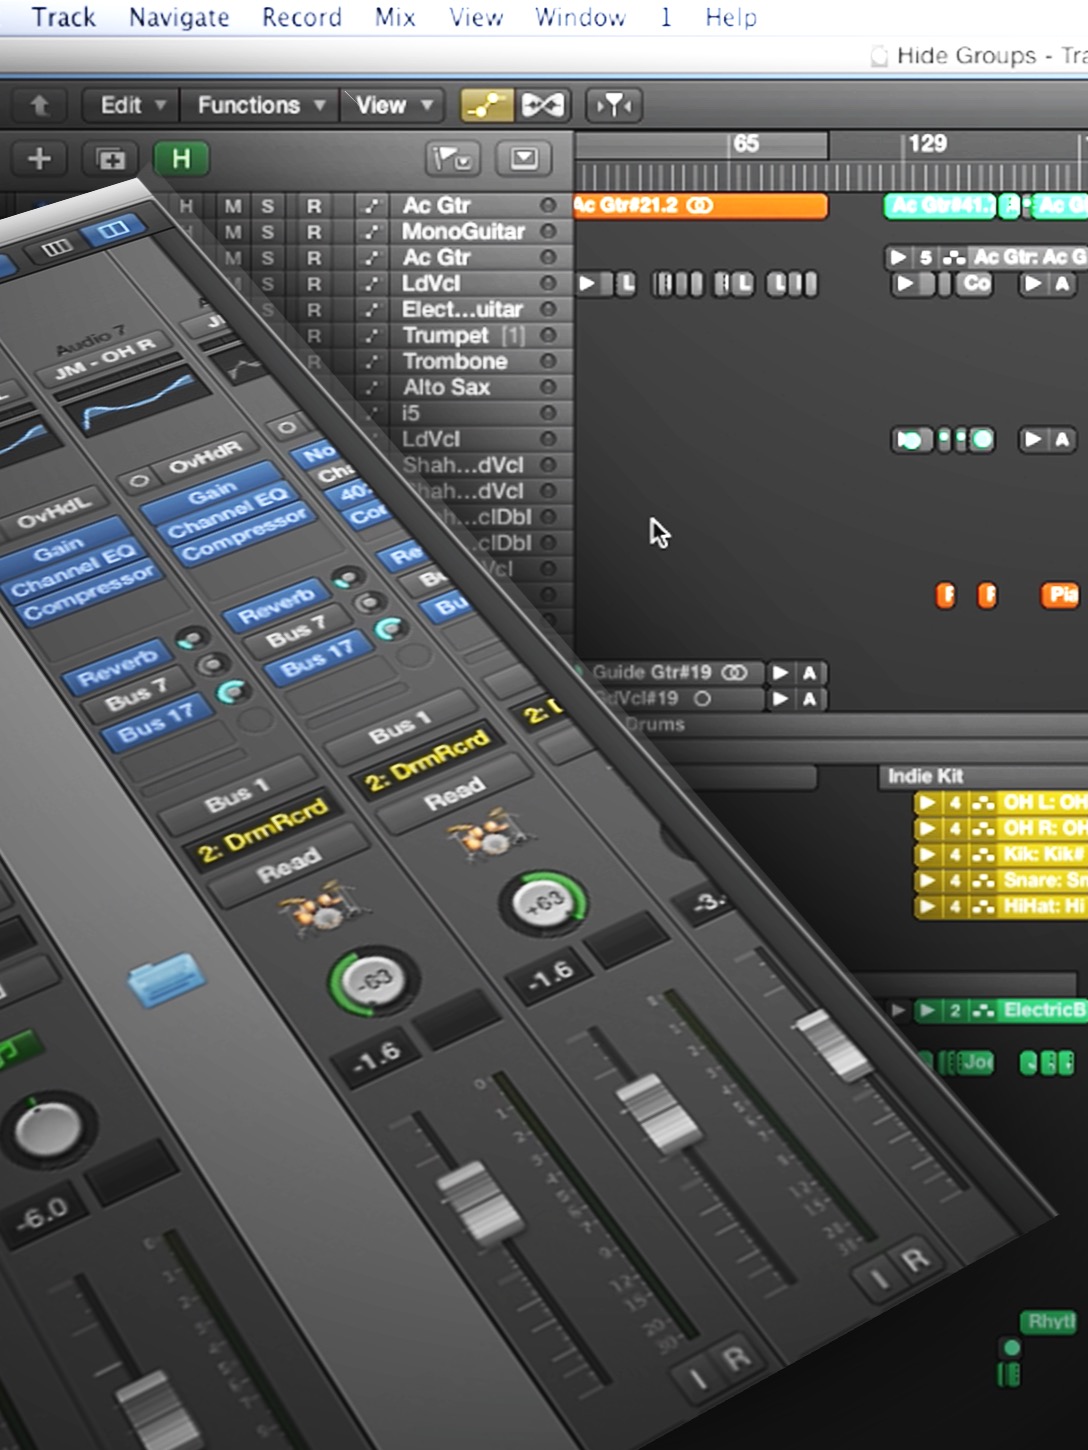
Mixing And Mastering
Mixing and Mastering are critical steps in music production that can make or break your final product. Logic Pro X Vol 1 provides you with an extensive set of tools to help you achieve professional-sounding mixes and masters.
Applying Fx And Plugins
One of the main advantages of using Logic Pro X is the vast number of effects and plugins available. Here are some essential ways you can apply these FX and plugins to your tracks:
- Compression: Use this to even out the dynamics of your tracks and add sustain.
- EQ: This is crucial for balancing the frequency spectrum of your tracks and correcting any unwanted tonal imbalances.
- Reverb: This creates a sense of space and depth, making your tracks more immersive.
- Delay: This effect adds spaciousness, texture, and rhythmic interest to your tracks.
- Saturation: This can add warmth, harmonics, and grit to your tracks, and help them stand out in a crowded mix.
Mixing Techniques
Good mixing is all about balance, clarity, and coherence. Here are some essential techniques you should be using:
- Gain Staging: This is the process of setting the levels of your tracks to prevent clipping and ensure maximum dynamic range.
- Panning: This is the process of placing each track in the stereo field to create a sense of width and separation.
- Levels: Ensuring that each track is at the appropriate level to remain audible in the mix.
- Stereo Imaging: This is the process of ensuring that each instrument or sound source is occupying its own space in the stereo field and not interfering with other instruments.
- Mix Buss Processing: This is the use of compression, EQ, and other effects on the overall mix to glue it all together and give it a cohesive sound.
With these techniques, you’ll create a well-balanced mix that translates well across different listening environments.
In conclusion, Logic Pro X Vol 1 provides you with the tools and knowledge needed to produce professional-level mixes and masters. By applying the FX and plugins appropriately and using proper mixing techniques, you can create a cohesive and well-balanced mix that stands out. Happy Mixing!
Collaboration And Sharing
Logic Pro X Vol 1 offers a multitude of tools for music producers, but the key to getting the most out of it is collaboration and sharing. Working with other creators allows for fresh ideas and perspectives while sharing your own projects can lead to feedback and improvement.
Collaboration and sharing are vital components for any audio production project, and Logic Pro X offers a wide range of features that cater to both. Sharing Projects and Version Control with ARA are key features that enable users to efficiently collaborate, backup, and restore projects with ease.
Sharing Projects
Sharing projects in Logic Pro X is a simple process that allows users to send their projects to other collaborators. By clicking on the ‘Share’ option, users can choose to export their projects as a Logic Pro X project, consolidating all the necessary files into a single package. Once exported, collaborators can import the project into their own Logic Pro X software and have access to all the project files, including audio, MIDI, and channel strip settings. This feature is especially useful when working remotely or when dealing with large files that are difficult to share through email or cloud services.
Version Control With Ara
Version Control with ARA is a fantastic feature in Logic Pro X that helps to keep track of changes made to a project. This feature is similar to Git or SVN, which are commonly used tools in software development to manage changes to code. ARA stores each change as a new project version, allowing users to revert to a previous version of a project if needed. This feature is especially useful when multiple collaborators are working on a project simultaneously, as it provides a way to ensure that everyone has access to the latest version of the project. Overall, Collaboration and Sharing are essential components of any audio project, and Logic Pro X provides several features that enable users to collaborate and share projects with ease. By utilizing the Sharing Projects and Version Control with ARA features in Logic Pro X, users can back up, restore, and revert to project versions with confidence, ensuring that their audio production projects run smoothly.

Credit: www.groove3.com
Frequently Asked Questions On Getting The Most Out Of Logic Pro X Vol 1
How Do You Master Volume In Logic Pro?
In Logic Pro, mastering volume involves using key features such as the Channel EQ, the Compressor, and the Limiter. The Channel EQ is useful for adjusting frequency levels, while the Compressor helps to balance the dynamics of the track. Finally, the Limiter can be used to set the maximum volume level and prevent clipping.
Experimenting with these features can help you achieve the desired volume in your tracks.
How Do I Get Better At Logic Pro X?
To improve your skills in Logic Pro X, you can practice consistently, watch tutorial videos, and read the user manual. Joining online forums and communities can also be helpful as you can learn from experienced users and exchange tips and tricks.
Experimenting with different features and plugins can also enhance your creativity and understanding of the software.
Can You Master A Song In Logic Pro X?
Yes, Logic Pro X has the capability to master a song. It offers a range of mastering tools and plugins to enhance the overall sound quality of the mix, including EQ, compression, and limiting. By utilizing these tools effectively, you can achieve a professional-sounding master that is ready for distribution.
How Do I Even Out Volume In Logic Pro?
To even out volume in Logic Pro, use the Gain plugin. First, select the track you want to adjust, then insert the Gain plugin. Increase or decrease the gain until the volume is even. Use the gain reduction meter to avoid clipping and distortion.
Conclusion
After reading this post, you now have a better understanding of how to maximize Logic Pro X’s functionalities and features. From creating beats and loops to editing and mixing tracks, Logic Pro X can help you make professional-quality music. Remember to experiment, learn new techniques, and keep practicing to become more proficient with the software.
With a little patience and perseverance, you can unlock your creativity and produce your best work yet.