Creating Drakes Marvins Room reverb effect can be achieved by using a combination of plugins and mixing techniques. To recreate the sound, you will need a reverb plugin, a compressor, and an EQ plugin.
Drake’s 2011 hit “Marvins Room” is an emotional ballad that is characterized by its distinct reverb effect. The song’s producer, Noah “40” Shebib, is known for his unique production style that often features a heavy use of reverb and other effects.
Recreating this effect can be challenging, but with the right tools and mixing techniques, it is possible. The key is to use a combination of plugins such as a reverb, compressor and EQ, while also making adjustments to the wet/dry mix and the pre-delay time. We will walk you through how to create Drakes Marvins Room reverb effect so that you can apply it to your own music productions.

Credit: www.youtube.com
Understanding Reverb
Achieving the signature reverb sound on Drake’s Marvin’s Room can elevate your music production to the next level. Understanding reverb and its different parameters like decay time and pre-delay can help you achieve this effect. By experimenting with the right settings and plugins, you can create a rich and immersive sound that brings your music to life.
When it comes to creating a unique and original sound for your music, adding effects becomes a critical aspect. One of the most popular and widely used effects is reverb. Understanding reverb is essential for music production.
What Is Reverb?
Reverb is a type of audio effect that aims to replicate the natural reverberation of sound in a physical space. It refers to the persistence of sound after it has been produced. Reverb effect adds depth and spaciousness to your music.
Types Of Reverb
There are different types of reverb, some of which include plate, chamber, hall, and spring. Each type of reverb provides a slightly different sound, which means that choosing the appropriate type is necessary to achieve the desired effect.
Parameters Of Reverb
Understanding the parameters of reverb is crucial in manipulating the sound. The parameters include decay time, room size, pre-delay, diffusion, and many more. Each parameter plays a significant role in the sound produced, so getting them right is imperative. Whether you’re a beginner or a seasoned music producer, understanding reverb is essential in creating unique sounds. So, take the time to learn the different types of reverb and the parameters involved to create the best possible sound.
Credit: www.youtube.com
Setting Up The Daw
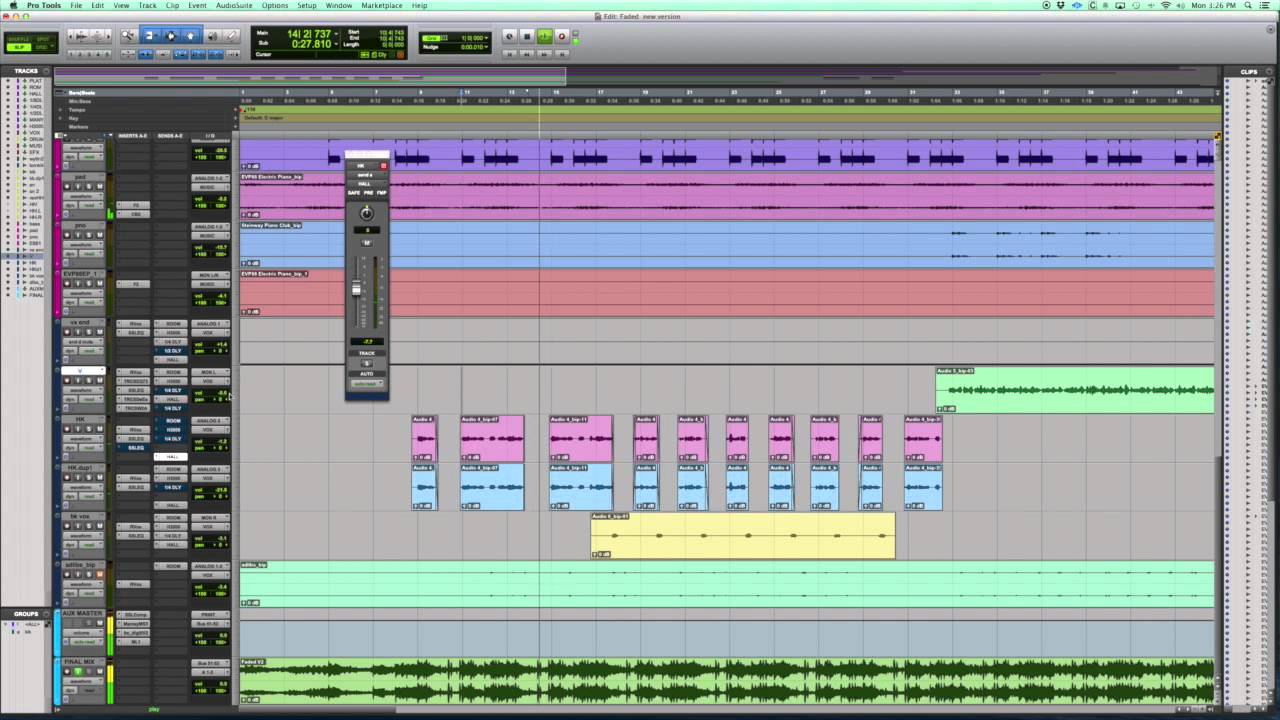
To create Drake’s “Marvin’s Room” reverb effect, it is important to properly set up the DAW. This involves adjusting the input and output levels, choosing the right audio interface, and selecting the appropriate plugins for your project. With careful attention to detail, you can achieve the desired professional sound.
Selecting The Right Daw
Choosing the right DAW (Digital Audio Workstation) is the first and most crucial step towards creating the perfect Drake Marvin’s Room reverb effect. Some of the popular DAWs among music producers worldwide include Ableton Live, Cubase, Logic Pro X, and FL Studio. You should choose a DAW that you are comfortable with and has all the tools you need to achieve the desired sound effect.
Setting Up The Session
After selecting your preferred DAW, it’s time to set up your session. The session refers to the individual project files that contain all your recorded audio, MIDI, and effects. Follow these steps to set up your session:
- Create a new project and name it accordingly. Ensure that the project’s tempo matches the tempo of Drake’s Marvin’s Room song (80 bpm).
- Choose the project’s sample rate and bit depth, which will determine the audio quality.
- Choose your preferred audio input and output device. Ensure that they are set up correctly and can receive and send audio signals.
- Create a new audio track and set it to receive input from your microphone or external sound card. Ensure that the track is armed and ready to record.
- Set up your preferred audio effects, including EQ, reverb, delay, and compression, to create the Marvin’s Room reverb effect.
Following these steps will set up your DAW session for creating the perfect Drake Marvin’s Room reverb effect. Remember, the key is to experiment with your audio effects and create your unique sound.
Finding The Right Source Sound
To create a sound close to Drake’s Marvin’s Room reverb effect, start by finding the right source sound. In this article, we’ll discuss different techniques for recording audio to get the perfect sound for your reverb effect. Selecting the right sound is crucial as it serves as the foundation for the entire reverb. Here are a few things to keep in mind when selecting a sound for your reverb.
Selecting The Right Sound
To achieve the perfect reverb, you need to select a sound that is clean and has a good dynamic range. It should have enough clarity to allow the reverb to stand out. A good source sound will be a single source of sound, such as vocals with minimal background noise. The quieter the sound, the better it is for reverb as it gives more space to work with reverb effects.
Different Techniques For Recording Audio
When recording audio, capturing a good sound is the first step to producing a great reverb effect. Different recording techniques can help you achieve the desired result. Below are a few techniques for recording audio:
| Technique | Description |
|---|---|
| X-Y Stereo Mic Technique | This technique involves placing two cardioid microphones next to each other with their heads positioned at a 90-degree angle. It’s ideal for recording a solo instrument such as a guitar or vocal. |
| Spaced Pair Technique | This technique involves spacing two identical microphones a few feet apart from each other. It’s ideal for recording ambience or multiple instruments. |
| Close-Mic Technique | This technique involves placing the microphone as close to the sound source as possible. It’s ideal for recording an instrument with less ambient sound. |
Once you’ve selected the right sound and recorded it using the appropriate technique, the next step is to process it. Use plugins to add reverb and other effects that will enhance the quality of the sound. Remember to experiment with different techniques until you find the perfect reverb that suits your sound.
Creating The Reverb Effect
To achieve Drake’s Marvins Room reverb effect, start by layering a vocal track and duplicating it. Use a long reverb plugin with a short decay time and adjust the mix and EQ to create the desired effect. Experiment with adding delays and doubling the vocals for a richer sound.
Creating the reverb effect for Drake’s Marvin’s Room is a key element to achieving the atmospheric and moody vibe of the song. In this section, we will explore the steps to create the reverb effect using a plugin, adjusting the parameters, and adding automation to create movement. Using a reverb plugin: Firstly, select a reverb plugin that suits the tone of the vocals and the overall mood of the track. A plugin with a smooth tail, such as the Valhalla VintageVerb, is a popular choice for Drake’s Marvin’s Room reverb effect. Adjusting the parameters: Once the plugin is selected, adjust the parameters such as decay time, pre-delay, and high/low cut to achieve the desired reverb effect. Set the decay time to a longer duration if you want to create a larger space feel. Pre-delay will give a sense of space between the vocals and their reverb. High and low cut can be used to adjust the frequency range of the reverb effect. Using automation to create movement: Adding automation to the reverb effect can enhance it by creating movement between the vocal phrases to add interest. Use the automation to increase the reverb’s depth and wetness during specific lyric phrases, which will emphasize the emotions conveyed in the lyrics. Experiment with different automation patterns to bring your track to life. In conclusion, creating the reverb effect for Drake’s Marvin’s Room is critical to the overall tone of the song. With the right plugin, adjusted parameters, and automation techniques, you can create a moody, atmospheric reverb effect that captures the essence of the track.
Enhancing The Effect
If you’re a fan of Drake’s music, then you’ve probably heard the reverb effect used in his hit song, “Marvin’s Room.” This effect is commonly used by sound engineers to give vocals a sense of space, depth, and warmth. However, that doesn’t mean that you can’t create this effect too! In this post, we’ll take a look at how to create Drake’s Marvin’s Room reverb effect and then enhance it using EQ and compression to take it to the next level.
Adding Eq To The Effect
One way to enhance the reverb effect is to use EQ. This involves adjusting the levels of different frequencies in the signal to create a more balanced sound. For instance, boosting the lower frequencies will add warmth to the vocals, while cutting the higher frequencies will remove any harshness or sibilance.
Here’s how to add EQ to the reverb effect:
- Insert an EQ plugin on the vocal track that you want to add reverb to.
- Adjust the EQ settings to your preference. For example, you might want to boost the low frequencies by around 3dB and cut the higher frequencies by around 2dB.
- Insert a reverb plugin on the same track and adjust the reverb settings to your preference.
- Use the wet/dry mix to balance the amount of reverb applied to the signal, and adjust the EQ settings as needed to further enhance the effect.
Using Compression To Balance The Sound
Another way to enhance the reverb effect is to use compression. This involves reducing the dynamic range of the signal by attenuating the loudest parts and boosting the quietest parts. This helps to create a more consistent and balanced sound, making it easier to hear the reverb effect.
Here’s how to use compression to balance the sound:
- Insert a compressor plugin on the vocal track that you want to add reverb to.
- Adjust the compressor settings to your preference. For example, you might want to set a ratio of 2:1, a threshold of around -20dB, and a medium attack and release time.
- Insert a reverb plugin on the same track and adjust the reverb settings to your preference.
- Use the wet/dry mix to balance the amount of reverb applied to the signal, and adjust the compressor settings as needed to further enhance the effect.
In conclusion, adding EQ and compression to the reverb effect can help to create a more polished, professional sound. With a little bit of experimentation, you can use these techniques to take your music production to the next level and create a sound that’s uniquely your own.
Credit: www.tiktok.com
Applying The Effect To The Mix
To create the Drake’s Marvin Room reverb effect, applying the effect to the mix is an essential step. This involves using the right settings for the reverb effect and ensuring it blends seamlessly with the rest of the mix.
Determining Which Tracks Need The Effect
Before applying the Drake’s Marvin Room Reverb effect, you need to identify which tracks need it. This is an important step because applying the effect to the wrong track may result in a muddy and unpleasant mix. Usually, you will want to apply the effect to the vocals, but you can also experiment with applying it to other tracks such as the drums or guitar. To determine which tracks need the effect, listen to each track individually and then listen to the whole mix. If you find that a track sounds a bit dry compared to the other tracks, then it may benefit from the effect.
Effects On The Overall Mix
When applying the effect to the mix, it’s important to consider its effects on the overall sound. It can add depth and space to the mix, but it can also make it sound muddy if applied too heavily. One way to avoid this is to use the effect subtly and only apply it to the tracks that really need it. Another approach is to use a parallel processing technique, where you create a duplicate of the track and apply the effect to the duplicate only. By doing this, you can blend the original and duplicate tracks to achieve the desired effect without affecting the overall sound too much. In conclusion, applying the Drake’s Marvin Room Reverb effect can add depth and space to your mix, but it’s important to use it judiciously and only on the tracks that really need it.
Frequently Asked Questions On Creating Drakes Marvins Room Reverb Effect
Does Drake Use Reverb?
Yes, Drake does use reverb in his music to add depth and a sense of space to his vocals and instrumentals.
What Instruments Are Used In The Song Marvins Room?
The main instruments used in the song “Marvins Room” are a piano and drums with additional background vocals and synth effects.
How Do I Add Reverb To My Vocals?
To add reverb to your vocals, you can use a digital audio workstation (DAW) or a reverb pedal. In a DAW, simply add a reverb effect to the vocal track and adjust its parameters. With a reverb pedal, connect your microphone to the input and adjust the settings to your preference.
Who Is The Girl’s Voice In Marvins Room?
The girl’s voice in Marvins Room belongs to Ericka Lee, a singer and songwriter who co-wrote the song with Drake.
Conclusion
Creating the Marvins Room Reverb Effect used in Drake’s popular song can be achieved with the right tools and techniques. By understanding the principles of reverb and having access to quality plugins, you can effectively recreate this effect. With a little patience and experimentation, you can produce a similar sound that adds depth and emotion to your music.
By following these steps, you’ll be able to achieve a professional-sounding Marvins Room Reverb Effect in no time.