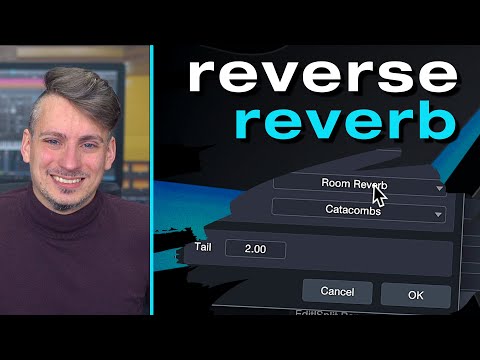
To create a reverse reverb in Studio One, add a reverb effect to a track and then reverse its audio. A reverse reverb can add an interesting effect to lead vocals, drums, and other instruments in your recordings.
Studio One is a powerful DAW (Digital Audio Workstation) used by many music producers and engineers. In this guide, we will explore how to create a reverse reverb effect in Studio One. Reverb is an essential tool in any mixing session – it adds a sense of space and dimension.
But a reverse reverb can take that a step further, creating an ethereal effect that can make your tracks stand out. This technique involves reversing the reverb tail of a sound, which will lead to the reverb swelling up to the beginning of the sound and dying down afterwards. It is a great effect to use on vocals, drums, and other instruments. Let’s dive into how to create this effect in Studio One.
Credit: www.youtube.com
Step-by-step Guide
Learn how to easily create a reverse reverb effect in Studio One with this step-by-step guide. Follow the simple instructions and enjoy the unique sound and texture of this effect in your productions.
Are you looking to add an ethereal touch to your music production? A reverse reverb effect might be just what you need. This audio effect technique has been used in countless songs and creates an otherworldly sound that captures listeners’ attention. In this step-by-step guide, we’ll show you how to create a reverse reverb in Studio One.
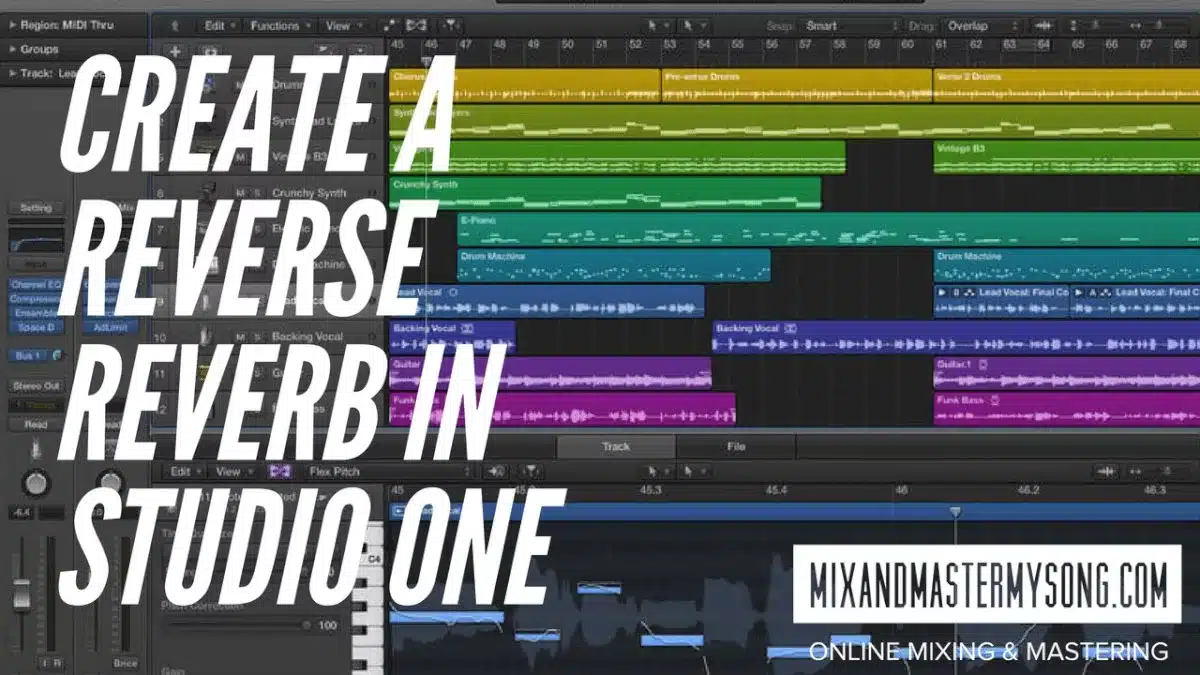
Setting Up A New Project
The first step is to create a new project in Studio One. Open the software and click on “New Song” in the start page. Choose the desired sample rate and bit depth for your audio.
Recording Or Importing Audio
Next, record or import the audio you want to apply the reverse reverb effect to. This can be done by clicking on “Audio” in the browser and dragging the audio file to the timeline. Ensure that the audio is aligned as per the song tempo and under tempo grid setting.
Creating A New Audio Track For The Reverb
Create a new audio track by selecting “Add Tracks” and selecting Audio Tracking – Stereo. Then, drag a copy of the audio track onto the new track you just created.
Reversing The Audio On The New Track
Right-click on the newly created audio track and click on “reverse” to reverse the audio.
Adding Reverb To The Track
Click on the “Mix” button at the top of the screen, then select “Add FX” and search for a reverb plugin. Dial in your desired reverb sound settings using built-in settings menu.
Mixing The Reverb With The Original Audio
Adjust the volume fader for both tracks until both audio tracks are in sync while still having that “surrounded by sound” effect.
Adjusting The Timing And Fade In/out Of The Reverse Reverb
Use the stretch tool to adjust the timing and tempo of the reversed track to fine-tune the sound.
Finalizing The Effect With Eq And Compression
Add EQ and compression to the effect to make it cleaner and more polished. EQ can be used to cut out harshness and brighten up the tone, while compression can be used to help bring out nuances within the sound. In conclusion, creating a reverse reverb in Studio One is a quick and straightforward process that can add a magical touch to your audio productions. Following these simple steps will have you creating mesmerizing audio effects in no time!
Credit: mixandmastermysong.com
Tips And Techniques
Learn how to create a reverse reverb in Studio One with these tips and techniques. Follow the step-by-step guide to get the desired sound and impress your audience with your skills. Find out how to mix and master your tracks like a pro.
Tips And Techniques For Creating A Reverse Reverb In Studio One
If you’re looking to add a unique and creative touch to your music production, try experimenting with a reverse reverb effect in Studio One. This effect can add depth and texture to your sounds, making them more engaging and interesting to the audience. Here are some tips and techniques to help you get started:
Experimenting With Different Types Of Reverb
To create a reverse reverb, you need to start with a regular reverb effect. Studio One offers different types of reverb, including hall, plate, room, and more. Experiment with different types of reverb to find the one that best suits your music style. Once you’ve chosen the right type, adjust the decay, pre-delay, and other parameters to customize the reverb effect to your liking.
Using Automation To Control The Reverb Effect
Automation is a powerful tool when it comes to sound production. You can use automation to control the wet/dry mix of the reverb effect, making it fade in and out at specific intervals. This technique can add a dramatic effect to your music and create a sense of tension and release.
Layering Multiple Reverse Reverbs For A Unique Sound
Layering multiple reverse reverb effects can create a unique and interesting sound. You can use different types of reverbs and adjust the settings to create a more complex and textured sound. By layering the effects, you can create a sound that is both subtle and impactful at the same time.
Applying The Effect To Specific Parts Of A Song
To avoid overusing the reverse reverb effect, apply it only to specific parts of your song. For example, you can apply the effect to a vocal track during the chorus or to a guitar riff in the bridge. Use the effect sparingly to create emphasis and impact.
Combining Reverse Reverb With Other Effects
Reverse reverb can be combined with other effects to create a more dynamic and creative sound. For example, you can combine it with delay, chorus, or distortion effects to create a more complex texture. Be creative and experiment with different combinations of effects to find the best sound for your music. In conclusion, creating a reverse reverb effect is a fun and creative way to add excitement and texture to your music production. By experimenting with different types of reverb, using automation, layering reverb effects, applying the effect to specific parts of the song, and combining the effect with other effects, you can create a unique and engaging sound that will capture the attention of your audience.
Credit: mixandmastermysong.com
Frequently Asked Questions For Create A Reverse Reverb In Studio One
How To Do Reverse Reverb In Studio One?
To do reverse reverb in Studio One, import the audio track and create a bus channel. Add a reverb to the bus channel, then reverse the audio track and clip it where needed. Send the audio track to the bus channel and render the effect.
Finally, reverse the audio track back to its original form.
How To Do A Reverse Reverb Effect?
To do a reverse reverb effect, you need to reverse the audio track, apply reverb to it, and then reverse it again. This will create a unique effect where the reverb builds up to the sound rather than trailing off.
You can use audio software like Audacity to achieve this effect.
How Do You Reverse A Track In Studio One?
To reverse a track in Studio One, simply select the track you want to reverse, go to the Audio drop-down menu, click on Process, and then select Reverse. Alternatively, you can use the shortcut key Ctrl+R (Windows) or Cmd+R (Mac) to quickly reverse a selected portion of the track.
How Do I Add Reverb To Studio 1?
To add reverb to Studio 1, go to the mixer window and click on the desired channel. Then, click on the “Sends” section and select a bus. Next, click on the bus’ “Inserts” section and add a reverb plugin. Adjust the settings of the plugin to achieve the desired effect.
Conclusion
Now you know how to create a reverse reverb in Studio One. It may seem like a challenging task, but with the right steps and settings, you can achieve a unique and creative effect for your music production. Experiment with different options and tweak the settings until you achieve the desired sound.
By adding this technique to your music production toolkit, you can take your tracks to a whole new level.