Acoustic panels enhance sound quality by reducing unwanted noise in studios. They’re essential for clear audio production.
Acoustic panels are vital for any recording or broadcasting space, serving as a sound absorption solution to mitigate echo and reverberation. This is crucial for professionals seeking to achieve the best possible sound environment within a studio setting. By installing these panels, sound waves are dampened, which helps to prevent them from bouncing off hard surfaces and creating a muddled audio experience.
As a result, recordings are crisper and more precise. An array of materials, such as foam or fiber, can be used to construct these panels, each offering varying degrees of sound absorption. Optimal studio sound quality necessitates strategic placement of acoustic panels to target specific areas where sound tends to reflect, achieving a balanced and controlled acoustic environment suitable for high-quality audio production.
The Role Of Acoustic Panels In Studio Sound Quality
High-quality sound is essential for any studio. Acoustic panels play a major role in achieving this. They capture and manage sound waves. This helps in creating a cleaner audio environment. Let’s dive into the specifics of how acoustic panels can enhance your studio’s sound quality.
Enhancing Clarity And Reducing Noise
Studios often struggle with unwanted noise and echo. Acoustic panels help by absorbing excess sound. This results in clearer audio. Here’s how they improve your studio:
- Control reverberation: They reduce echo for better sound clarity.
- Minimize background noise: Panels lower the impact of outside noise.
- Improve speech intelligibility: Words become more distinct. This is crucial for vocal recordings.
Impact On Recording And Playback
Good acoustic treatment means better recording quality. Acoustic panels influence both recording and playback in your studio:
- They enhance microphone performance. This picks up cleaner sounds.
- During playback, they ensure a true sound representation. This helps in accurate mixing and mastering.
- Musicians perform better in a well-treated space. It allows them to hear themselves clearly.
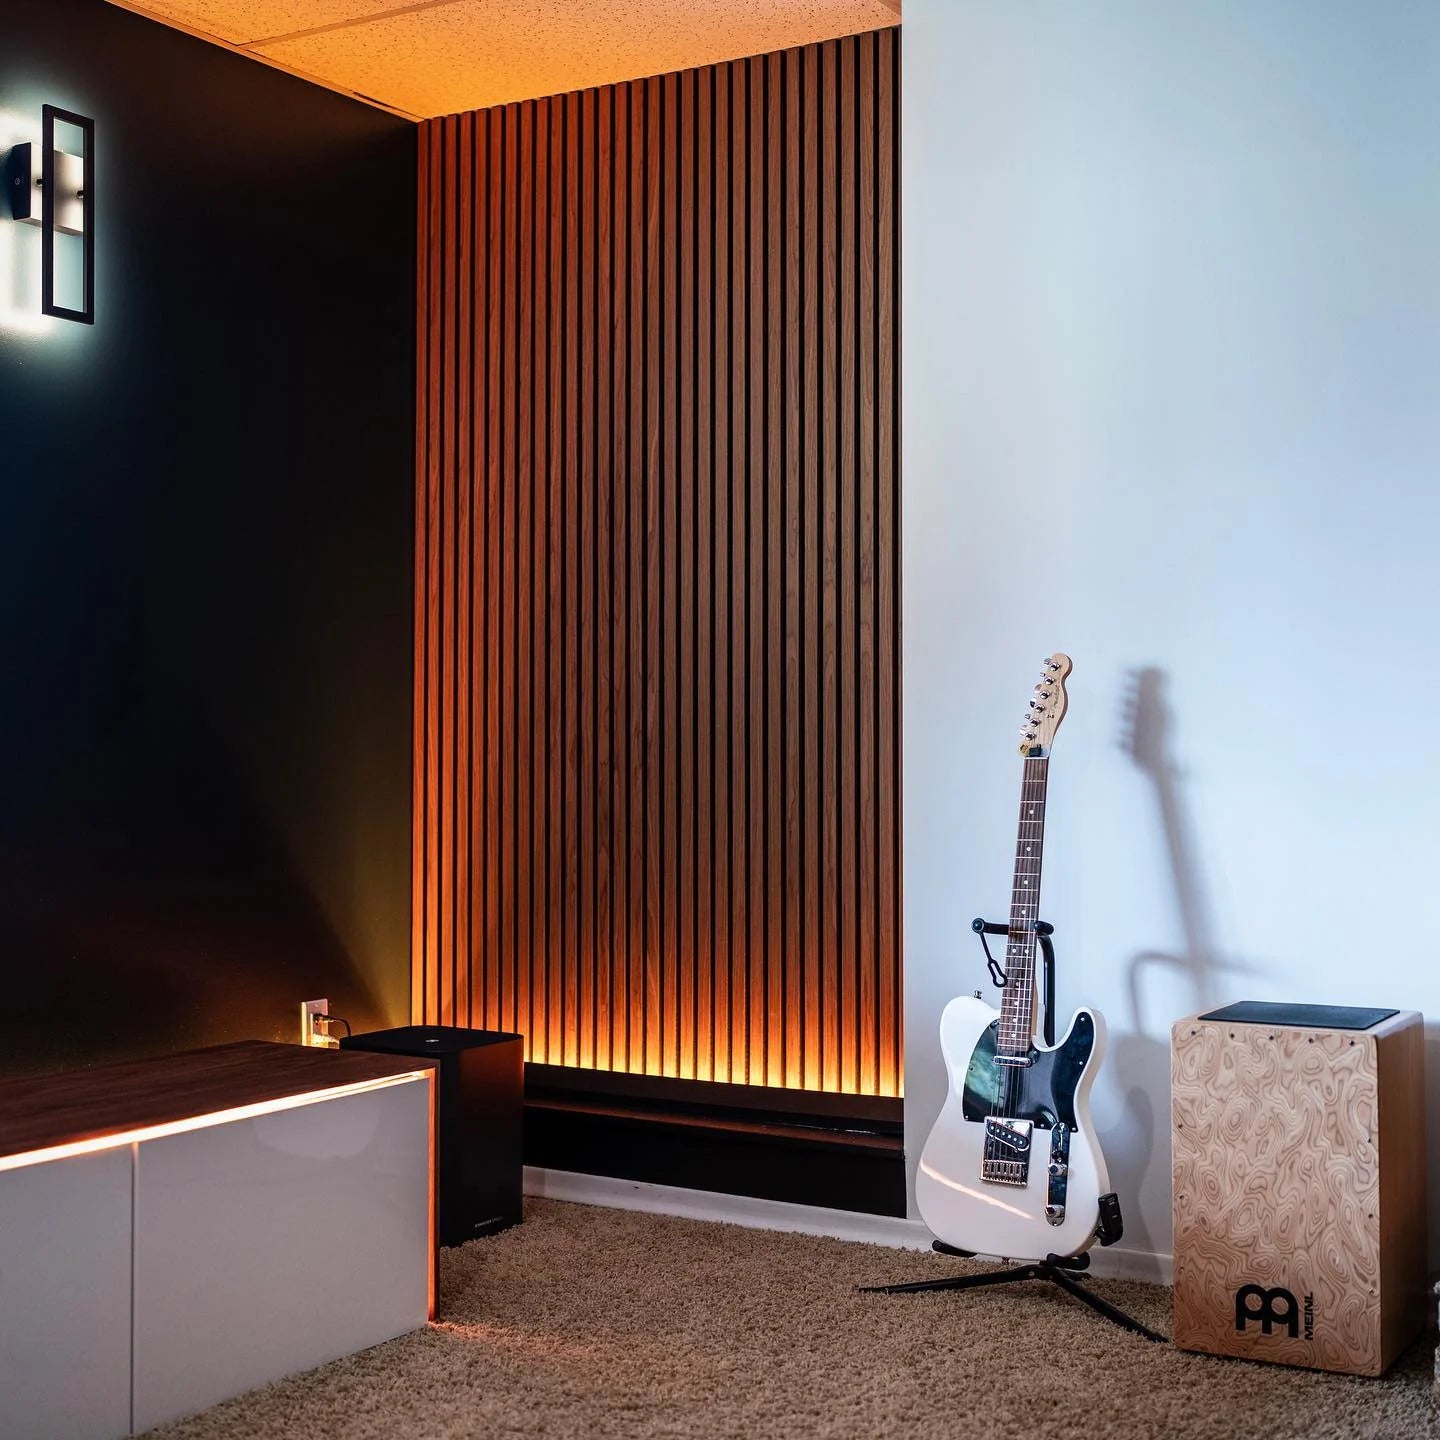
.jpg)
Credit: www.audimute.com
Types Of Acoustic Panels Available
When setting up a studio, sound quality is key. Acoustic panels help improve it. There are different panels for any need. Let’s look at some common types.
Fabric Wrapped Panels
Fabric wrapped panels blend well with studio decor. They absorb sound waves. This reduces echo. These come in various colors and sizes.
- Effective sound absorption
- Customizable design options
- Easy to mount
Foam Panels
Foam panels are popular for their ease of use. They are lightweight and affordable. They cut down on mid to high frequency echoes.
- Simple to install
- Cost-effective
- Good for general use
Wooden Diffusers
Wooden diffusers scatter sound. They create an even sound field. Ideal for a natural aesthetic. They are best for studios with live recording.
- Enhances sound clarity
- Visually appealing
- Durable
Bass Traps For Low Frequency Control
Bass traps tame low frequencies. They are placed in studio corners. Bass traps prevent bass build-up. This makes sound clear and balanced.
- Essential for accurate sound
- Improves overall acoustics
- Focuses on low-end absorption
Key Considerations When Choosing Acoustic Panels
Having the right acoustic panels makes all the difference for a studio’s sound quality. The panels help control echoes and reduce noise. It is important to choose the best panels for a studio. This section looks at what to think about when picking acoustic panels.
Material And Build Quality
The quality of the materials used in acoustic panels affects how they control sound. Panels come in different materials like foam, fabric, or wood. High-quality materials can capture sound better. Users should look for strong, long-lasting panels that can stand up to wear and tear.
Size And Thickness For Optimal Performance
The size and thickness of acoustic panels link to how well they perform. A bigger and thicker panel will usually absorb more sound. Studios vary in size, and so do their soundproofing needs. It’s key to match the panels’ size and thickness to the studio’s requirements for the best outcome.
- Small rooms: Thinner panels may work.
- Large spaces: Thicker and more panels are often better.
Flame Retardancy And Safety Standards
Safety is crucial when installing acoustic panels in any setting. Panels should meet local flame retardancy standards. This minimizes the risk of fire spreading. Always check for a panel’s fire rating before buying.
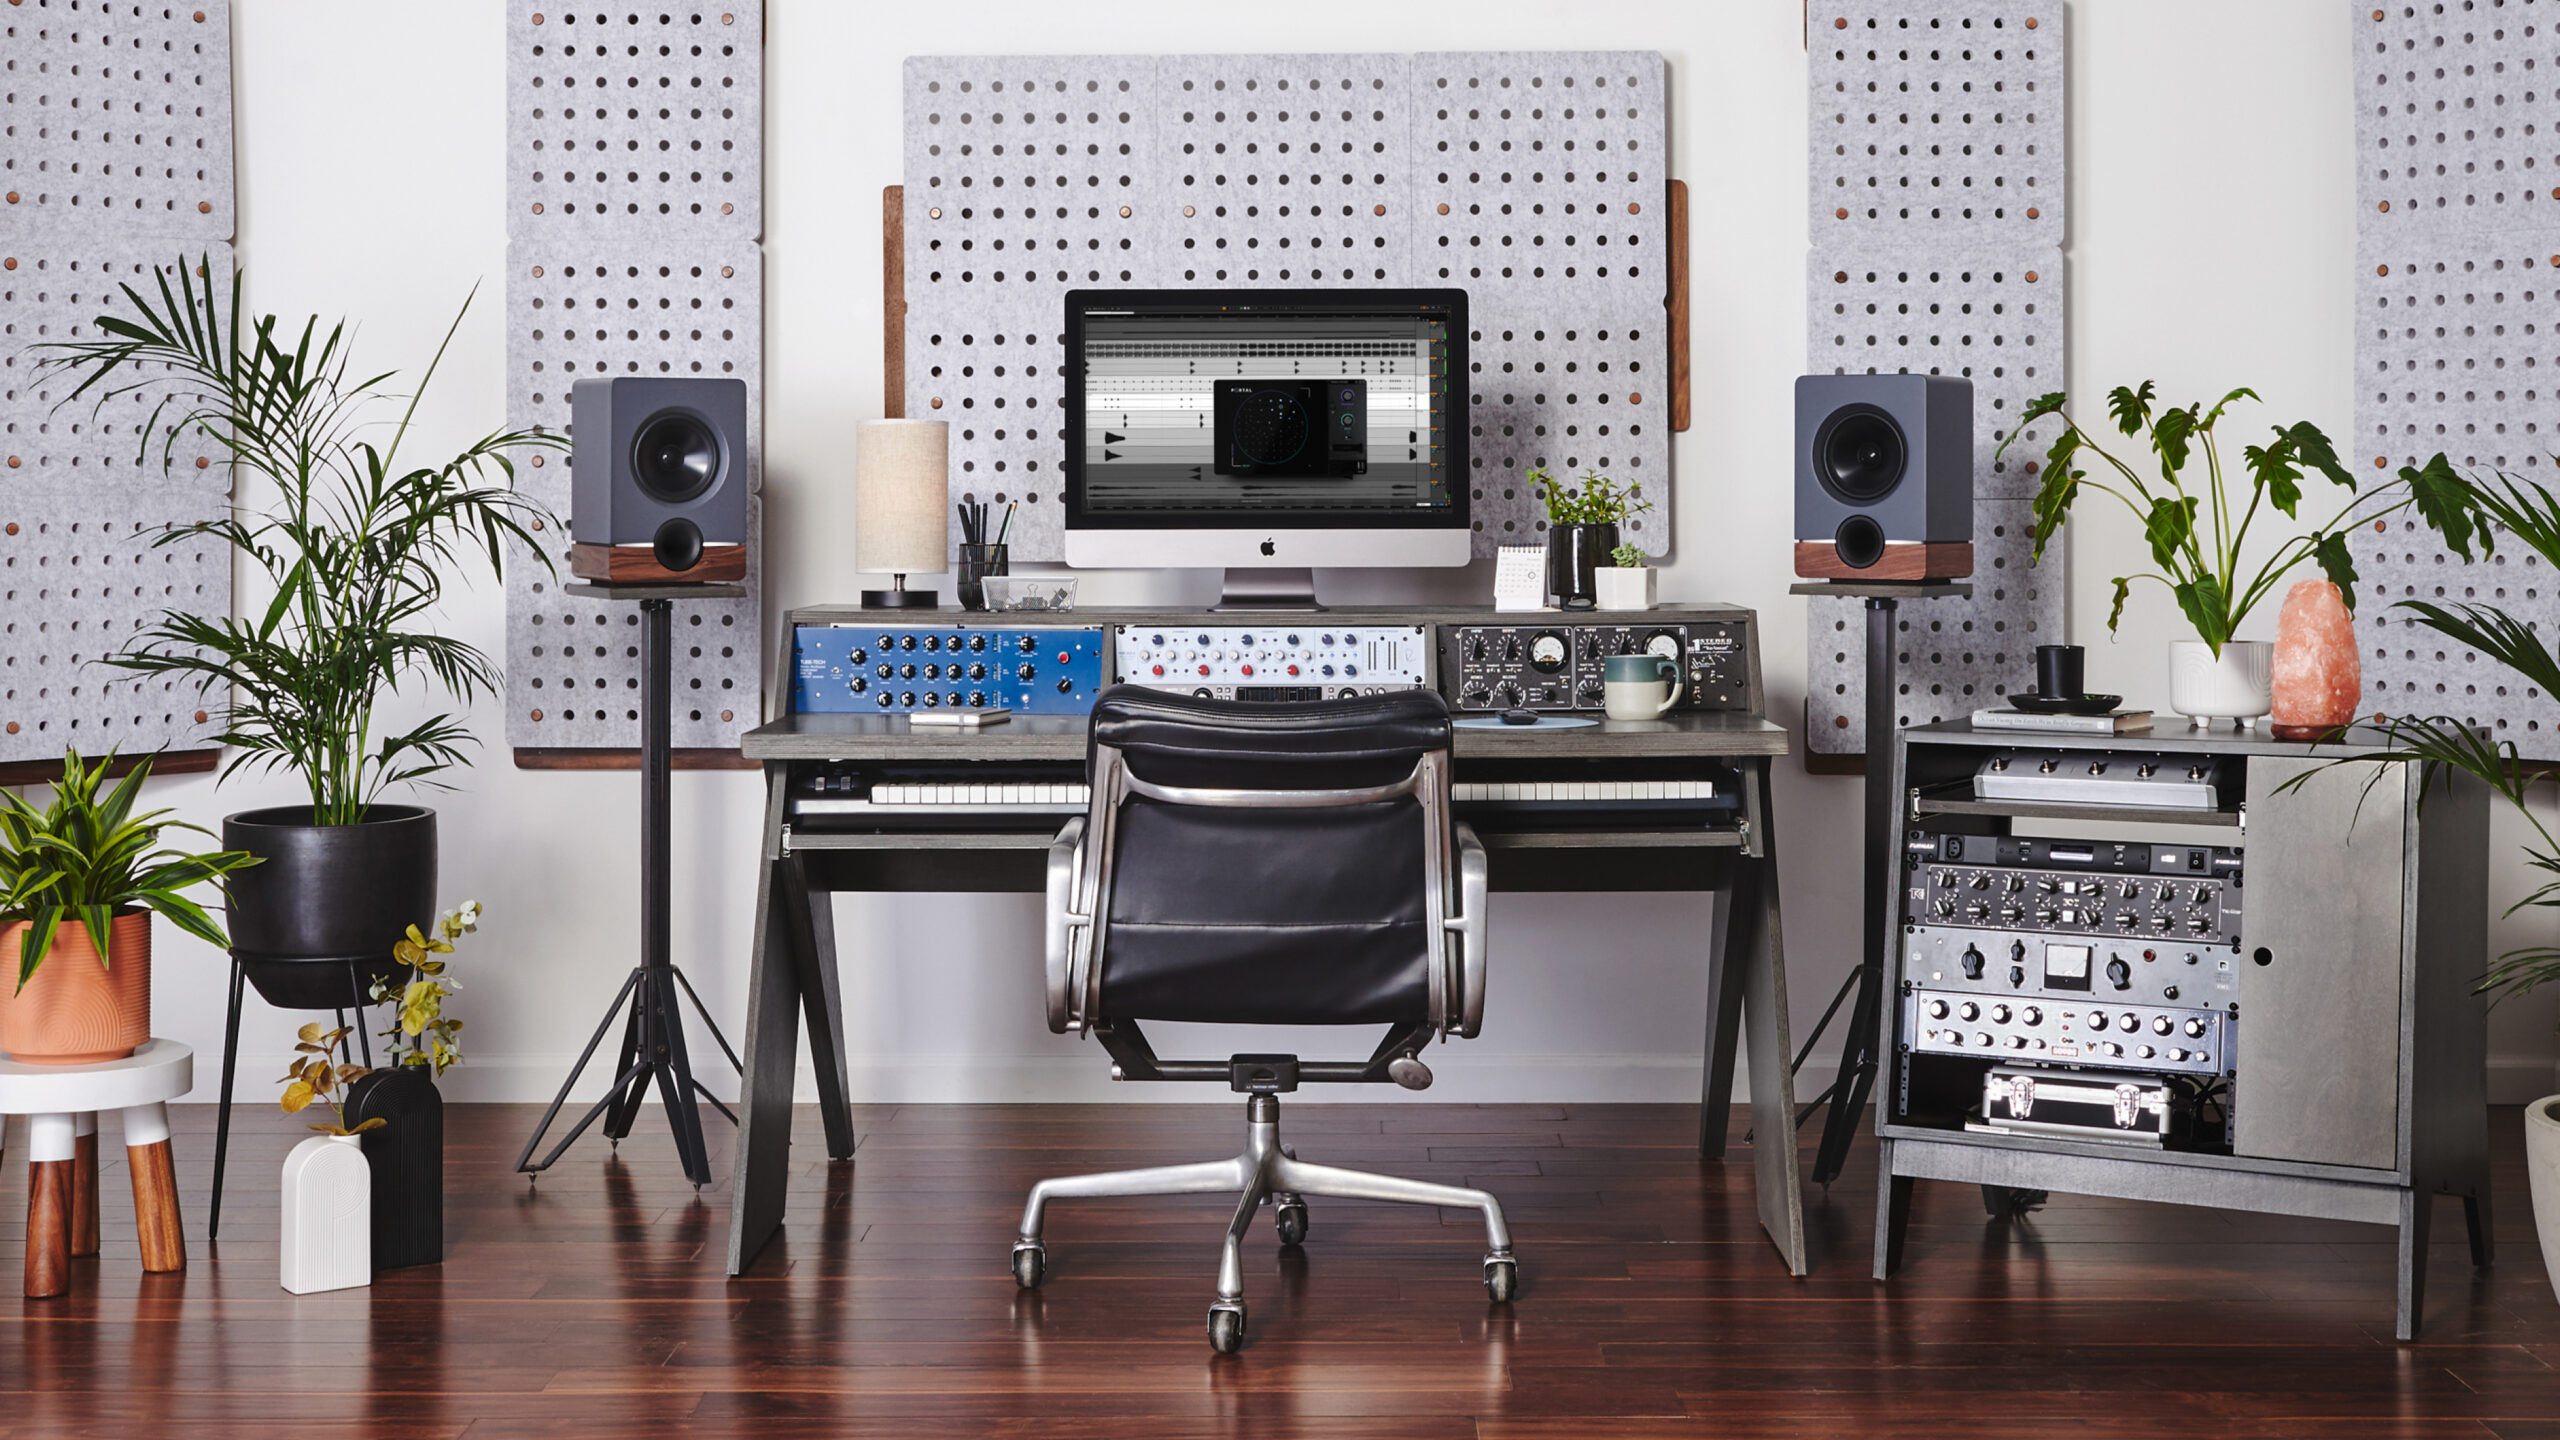
Credit: andorwillow.com
Installation Tips For Maximum Effectiveness
Setting up acoustic panels in your studio can transform muddy sound into clear, crisp audio. Install these panels correctly, and your recordings will thank you. Let’s dive into making the most of your acoustic treatment.
Strategic Placement For Sound Absorption
Sound waves bounce around your studio. Place acoustic panels where they hit the most. Here’s a simple guide:
- First reflection points: These are spots on the wall that catch sound directly from the speakers. A mirror trick helps you find them. Sit in your mix position and have someone move a mirror along the walls. Mark where you see the speakers. This is where panels should go.
- Ceiling and corners: Don’t ignore these areas. Sound loves to hide here. Add panels to the ceiling above your mix spot. Corners can trap bass. Bass traps fit perfectly here.
- Door and windows: These surfaces reflect too. Treat them with panels or thick curtains. Remember, the goal is even sound absorption around the room.
Avoiding Common Installation Mistakes
Common errors can reduce a panel’s effectiveness. Here’s a list to avoid:
| Mistake | Tip |
|---|---|
| Using glue directly on the wall | Use mounting brackets or adhesive strips to prevent damage and allow air to flow behind the panel. |
| Leaving gaps between panels | Fit panels snugly to ensure seamless sound absorption. |
| Ignoring manufacturer instructions | Every panel type is unique. Follow the specific installation guide provided. |
Correct installation is vital. It ensures your studio sounds its best.
Maintaining And Upgrading Your Acoustic Treatment
Acoustic panels keep your studio sounding its best. Like all good things, they need care to perform well.
Regular Cleaning And Care
Dirt and dust can affect your panel’s performance. Regular cleaning is essential.
- Use a soft brush to remove surface dust.
- Vacuum with a gentle attachment for deeper cleaning.
- Avoid water and harsh chemicals; they can damage the panels.
When To Consider Panel Replacement
Panels won’t last forever. Look for signs of wear and tear.
- Check for fading or discoloration.
- Inspect for physical damage like dents or frays.
- Listen for changes in sound quality.
Upgrading can bring new improvements to your sound. Consider replacement every few years.
| Sign | Action |
|---|---|
| Fabric Tears | Replace Panel |
| Core Material Deterioration | Replace Panel |
Real-world Examples: Acoustic Panels In Action
Dive into how acoustic panels elevate recording quality. Real-world studios showcase their drastic improvements. Witness now how your audio space can transform.
Case Studies Of Professional Studios
Professional studios gain clarity and precision with acoustic panels. Let’s explore successful installations.
- Studio A: Struggled with echo; panels eliminated reverberation.
- Studio B: Low frequency issues; panels balanced sound profile.
- Studio C: Vocal clarity needed; crisp vocals achieved post-panel.
Before And After: The Audible Difference
Discover the transformation. Acoustic panels quash noise issues. Experience the before and after.
| Aspect | Before Panels | After Panels |
|---|---|---|
| Reverb Time | Long and muddy | Short and controlled |
| Clarity | Muffled | Clear and distinct |
| Bass Response | Boomy and undefined | Even and smooth |
Audio samples provide audible evidence. Sound clarity transforms after panel installation. Listener satisfaction skyrockets.
Credit: output.com
Frequently Asked Questions Of Acoustic Panels For Studio
Where Should Acoustic Panels Be Placed In A Music Studio?
Place acoustic panels at first reflection points, which are the walls to the sides, front, and back of the listening position, as well as the ceiling. Also, consider areas behind speakers and at room corners to reduce bass buildup and flutter echoes.
How Do I Soundproof My Studio?
To soundproof your studio, install dense acoustic panels, use bass traps in corners, and seal gaps with weather stripping or acoustic caulk. Float the floors with rubber mats and hang heavy curtains over windows and doors.
What Is The Difference Between Soundproof Panel And Acoustic Panel?
Soundproof panels block noise from entering or exiting a space, while acoustic panels improve sound quality within a room by reducing echo and reverberation.
Do Acoustic Panels Improve Sound Quality?
Yes, acoustic panels enhance sound quality by reducing unwanted echoes and reverberation, leading to clearer audio in a room. They absorb excess sound, improving the listening environment.
Conclusion
Acoustic panels are a crucial investment for any studio aiming to achieve professional sound quality. They reduce unwanted noise and enhance audio clarity. Remember, optimal placement is key to their effectiveness. To transform your studio space, consider adding these sound solutions for a noticeable improvement in your recordings.