To create your own gate effect in Ableton Live, use the gate plugin provided in the software. With the help of the gate plugin, you can create a gating effect by controlling the level of a sound signal that passes through it.
Ableton Live is a versatile digital audio workstation that provides a wide range of plugins to create unique sound effects. One such effect is creating a gate effect. A gate effect allows you to control the level of a sound signal that passes through it.
You can create rhythmic stutter effects or remove unwanted noise from a track using a gate effect. Ableton Live has a built-in gate plugin that you can use to create your own gate effect. We will explore how to create a gate effect using Ableton Live’s gate plugin.
Understanding The Basics
Learn how to create your own gate effect in Ableton Live and add texture to your tracks with this simple tutorial. By understanding the basics of gating and using Ableton’s built-in tools, you can easily shape your sound and take your productions to the next level.
What Is Ableton Live?
Ableton Live is a powerful digital audio workstation that is widely used by music producers, DJs, and live performers. It is renowned for its user-friendly interface and ability to seamlessly integrate music production and performance. Live has two modes, the Arrangement mode, which is like a traditional timeline-based recording software, and the Session View mode, which enables you to create and perform musical ideas on the fly.
How To Set Up A New Project?
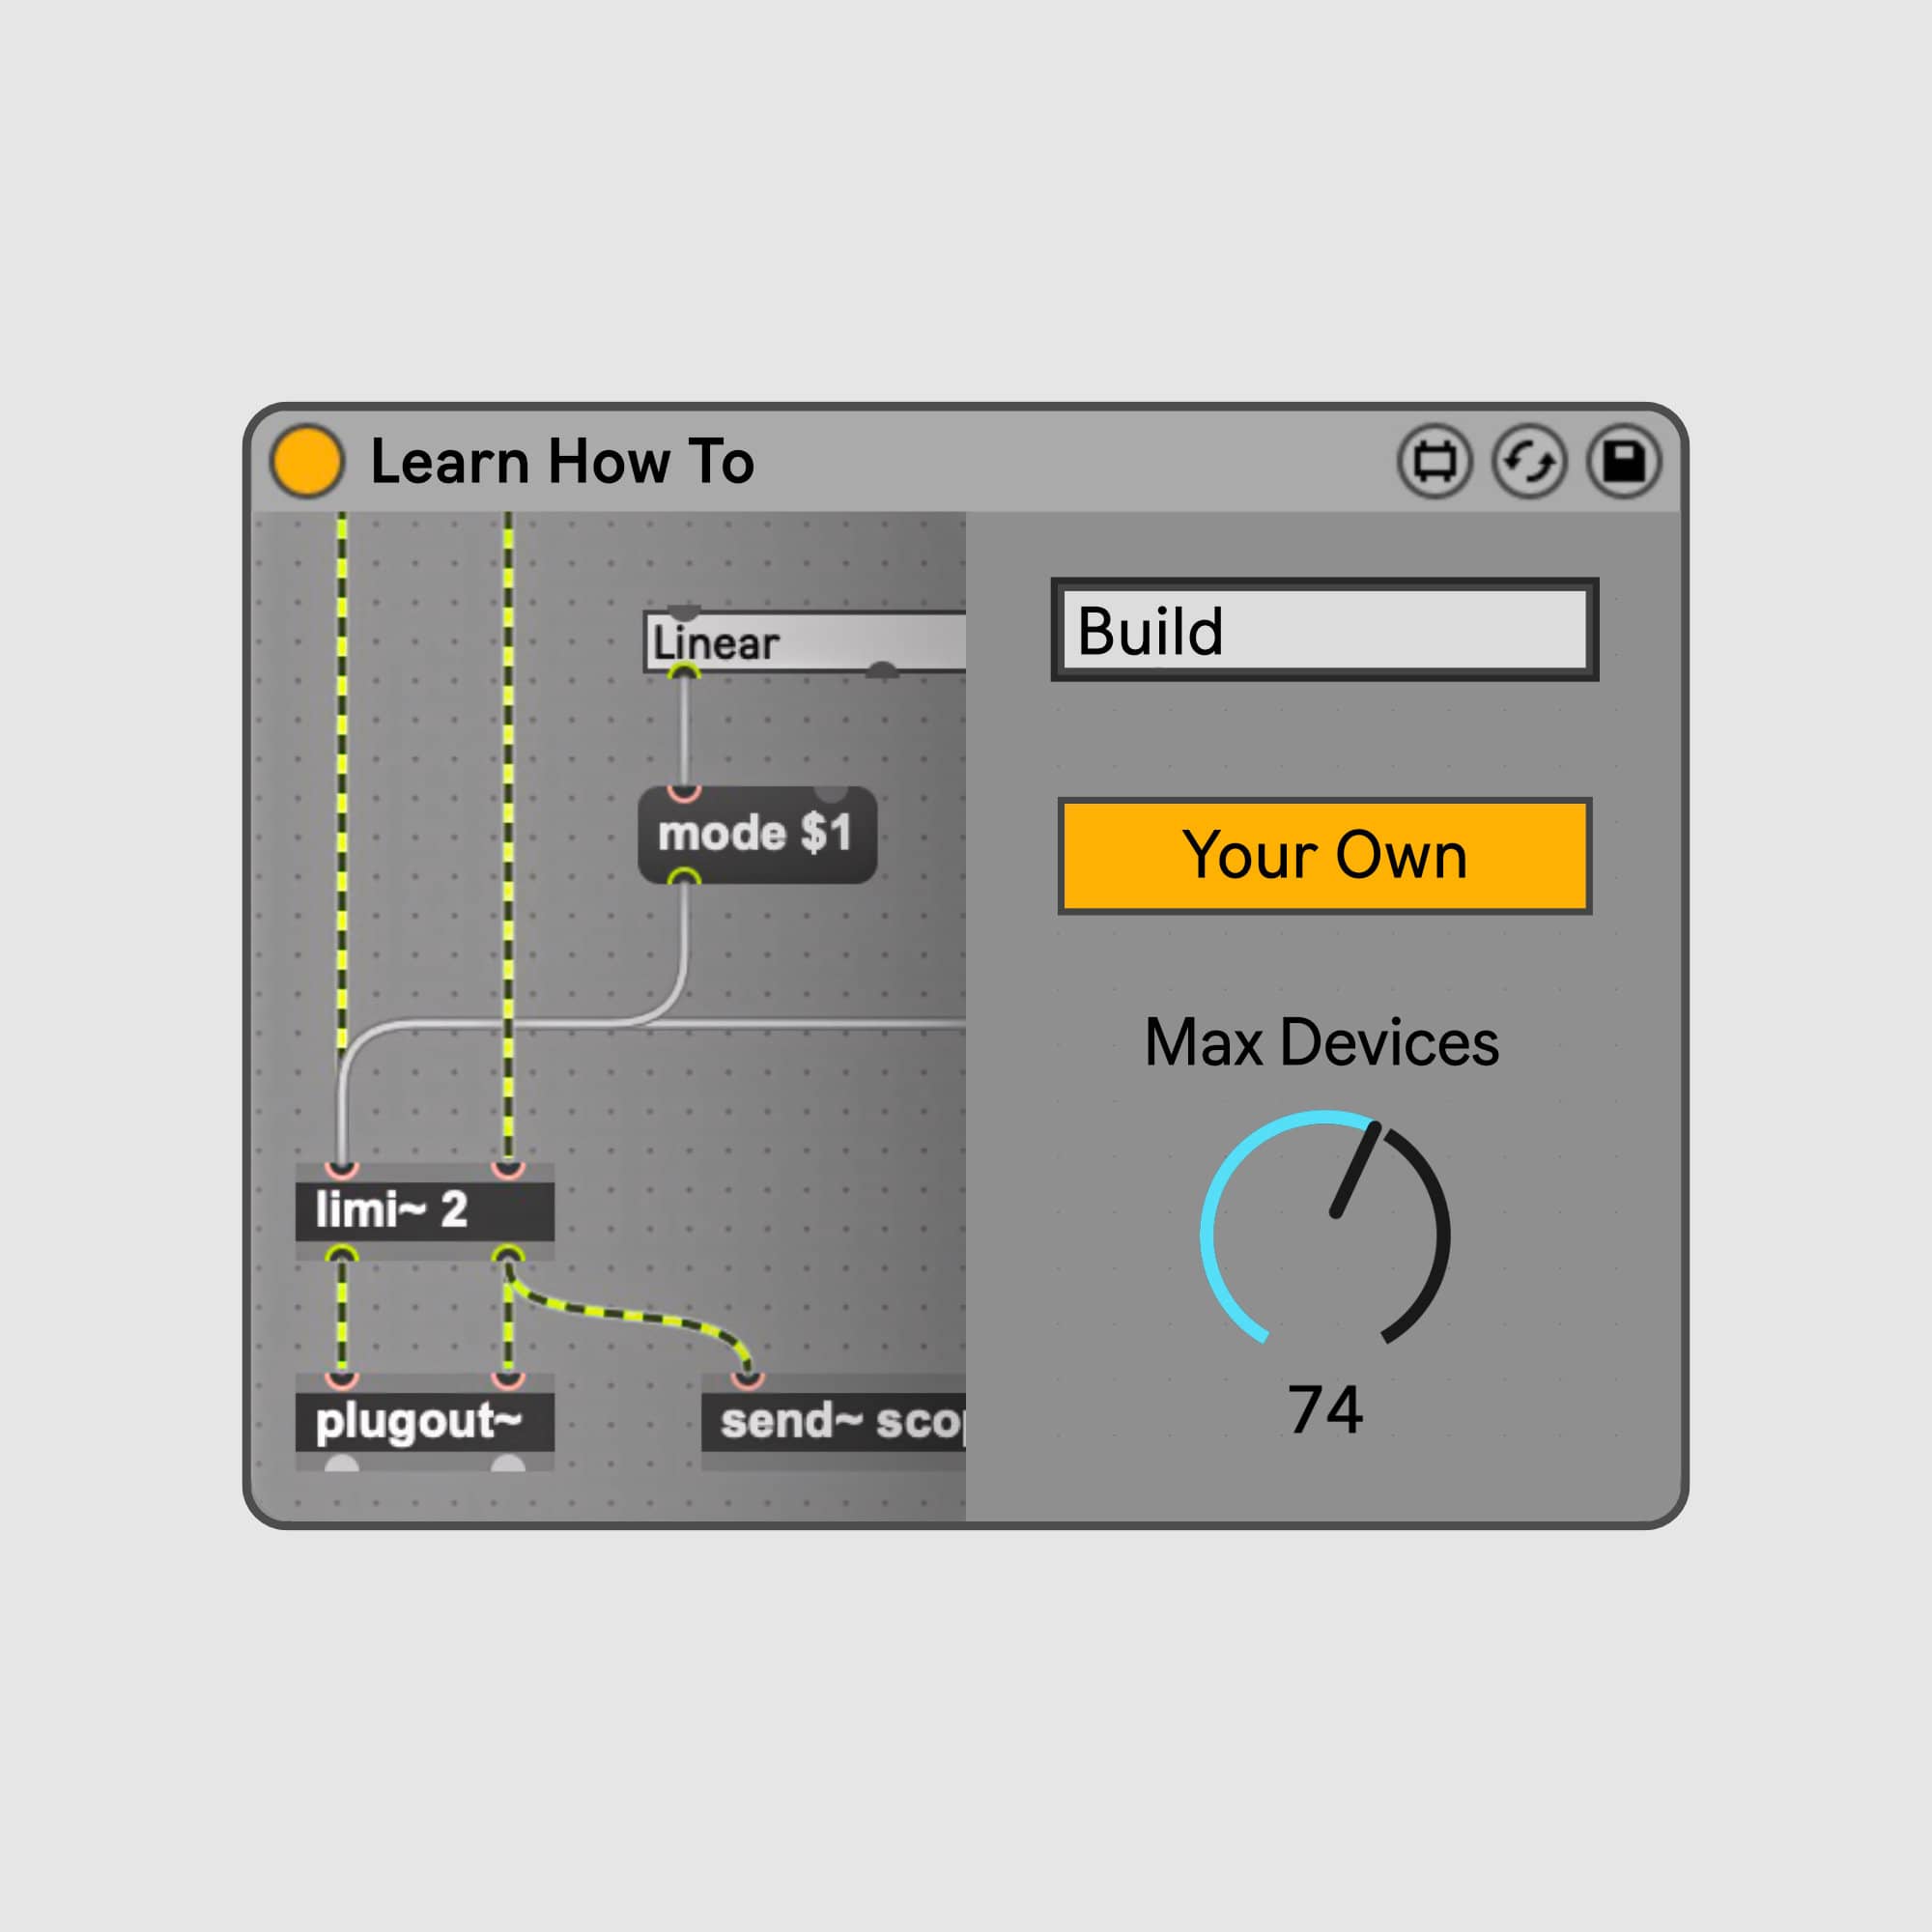
Setting up a new project in Ableton Live is quick and easy. After launching the software, click on “New Live Set” to start a new project. The default settings will give you a basic set-up with a tempo of 120 BPM and four audio tracks. However, you can customize the set-up depending on your preferences and project requirements. You can adjust the tempo, change the time signature, add more audio or MIDI tracks, and choose different effects presets. To create your own gate effect in Ableton Live, it’s essential to understand the basics of how the gate effect works. A gate effect allows you to control the volume of an audio signal based on a particular threshold level. Audio signals that fall below the threshold level will be attenuated or muted, while audio signals that exceed the threshold level will be unaffected. Using a gate effect, you can create rhythmic patterns, remove unwanted noises, and add dynamics to your mixes. In Ableton Live, you can use the Gate effect from the “Audio Effects” folder to create a gate effect. Once you’ve added the Gate effect to your audio track, you can adjust the settings, such as the threshold level, the release time, and the attack time, to achieve the desired effect. Experiment with different settings and automation to create unique and interesting gate effects that add texture and depth to your productions.
Credit: elphnt.io
How To Create Your Own Gate Effect In Ableton Live?
Learn how to create your own gate effect in Ableton Live to add character and uniqueness to your tracks. With these simple steps, you can customize your sound and make your music stand out.
Creating your own gate effect in Ableton Live is one of the most exciting ways to add character and dynamics to your music track. With the help of the gate effect, you can shape and refine your sound in several ways. In this tutorial, we will guide you through the steps needed to create your own unique gate effect in Ableton Live that enhances the quality of your audio production.
Choosing Your Samples
Before you begin to create a gate effect in Ableton Live, you must choose the samples that you wish to process. A gate is a modulation effect that opens and closes based on the audio signal’s loudness, so it is vital to select samples that have clear and distinguishable amplitude variations. Percussion samples like drums, hi-hats, or snares are good examples as they present a sharp transient.
Adding The Gate Plugin
To begin, create a new audio track in Ableton Live, and drag the audio clip you want to apply the gate effect on to the track. Next, navigate to the audio effects folder on the left-hand side of the screen and drag the Gate plugin onto the audio track.
Adjusting The Threshold
For your audio clip to ‘gate,’ you need to set a threshold level for input volume above which the gate will open, and below which it will close. Adjusting the threshold is an essential part of creating the gate effect. You can do this by moving the threshold slider up or down, based on the range of your sound’s volume level.
Setting The Attack And Release
The attack and release controls are where the magic happens in gating. The attack determines how quickly the gate will open after the input level goes above the threshold. The release determines how quickly the gate will close after the input level drops back below the threshold. Try playing with these parameters to achieve the desired effect.
Playing With The Sidechain
Sidechain adds a fun and creative dimension to the gate effect. Sidechain enables you to apply the gate effect to one track based on an input from another track. It’s a great opportunity to create an effect that syncs with your track’s rhythm, adding groove and energy to the song. You can experiment with different sounds to find the right balance. In conclusion, creating your own gate effect in Ableton Live is all about experimenting, so don’t be afraid to experiment with different settings and samples to find the sound that works for you.
Advanced Techniques To Enhance Your Gate Effect
Enhance your Gate Effect in Ableton Live with advanced techniques to bring your music productions to the next level. By creating your own Gate Effect, you can enhance the rhythmic drive of your tracks and give them the extra boost they need to stand out.
With Ableton Live’s intuitive interface and powerful processing capabilities, you can take your music to the next level with ease.
Creating a gate effect in Ableton Live is a great way to clean up your mix and eliminate unwanted sounds. While the basic gate effect is useful, there are advanced techniques that you can use to take your sound to the next level. In this post, we will cover some advanced techniques that you can use to enhance your gate effect.
Modulating The Gate With Lfo
One way to enhance your gate effect is to modulate it with an LFO. LFO stands for Low-Frequency Oscillator, and it generates a repeating waveform that can be used to modulate various parameters in your track. By modulating the gate with an LFO, you can create rhythmic patterns that add movement to your sound. To do this in Ableton Live, you can use the Auto Filter device and select the LFO option. From there, you can adjust the rate and depth of the modulation to create the desired effect.
Experimenting With Different Shapes
Another way to enhance your gate effect is to experiment with different shapes. By default, the gate effect in Ableton Live uses a square-shaped waveform to open and close the gate. However, you can change the shape of the waveform to create different effects. For example, a sine wave shape will create a smoother opening and closing of the gate, while a triangle wave shape will create a more linear effect. To experiment with different shapes, you can use the Gate device in Ableton Live and select the shape option.
Creating A Pseudo Sidechain With Autopan
You can also create a pseudo sidechain effect with the Autopan device in Ableton Live. The sidechain effect is a popular technique that is used to create a pumping effect in electronic dance music. While the traditional sidechain effect uses a compressor, you can achieve a similar effect with the Autopan device. To do this, you can set the phase option to 0 degrees and adjust the rate and depth of the modulation until you achieve the desired effect.
Using Eq To Shape The Sound
Lastly, you can use EQ to shape the sound of your gate effect. By using EQ, you can enhance certain frequencies and cut out unwanted frequencies. For example, you can boost the high frequencies to add more sparkle to your sound, or you can cut out the low frequencies to remove unwanted rumble. To do this in Ableton Live, you can use the EQ Eight device and adjust the frequency bands until you achieve the desired effect. Using these advanced techniques will allow you to take your gate effect to the next level and add more creativity to your mix. Try experimenting with these techniques and see how they can enhance your sound.
Credit: www.youtube.com
Tips And Tricks For A Better Gate Effect
Enhance your music production skills by creating your own gate effect in Ableton Live. By experimenting with different controls such as threshold and attack time, you can achieve a better sounding and more tailored result. Follow these tips and tricks for a better gate effect experience.
Creating a gate effect in Ableton Live is an incredibly useful tool to shape your audio recordings or live instruments. As with any audio effect, there are certain tips and tricks that you can use to make the most out of your gate effect. Here are a few things to keep in mind when creating your own gate effect:
Avoiding Clicks And Pops
One of the most common issues when using a gate effect is the presence of clicks and pops. These unwanted sounds can occur when the gate closes too quickly or when it opens too abruptly. To avoid clicks and pops, try adjusting the attack and release settings of the gate effect. This will smooth out the transition and create a more natural sound.
Setting The Gate To The Right Timing
Timing is everything when it comes to creating a gate effect. The gate needs to open and close at just the right moment to achieve the desired effect. To set the gate to the right timing, try experimenting with the threshold, hold, and release settings. These settings can help you fine-tune when the gate opens and closes.
Using Multiple Gates In Parallel
Using multiple gates in parallel is a great way to create complex gating effects. By using two or more gates at the same time, you can create unique sounds and rhythms that would be impossible with a single gate effect. To do this, simply add multiple gate effects to your track and adjust the settings to create the desired effect.
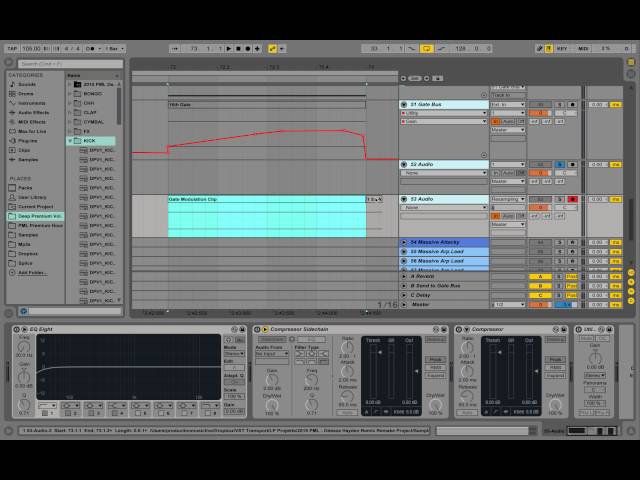
Automation For Dynamic Effects
Automation is a powerful tool for creating dynamic gate effects. By automating the gate effect parameters, you can create complex and evolving sounds that change over time. To automate the gate effect, simply right-click on the parameter you want to automate and select “show automation.” From there, you can draw in automation curves to create the desired effect. In conclusion, these tips and tricks can help you create a more effective and dynamic gate effect in Ableton Live. By avoiding clicks and pops, setting the gate to the right timing, using multiple gates in parallel, and automating the effect, you can take your gating to the next level.
Examples Of Famous Tracks That Use Gate Effect
Famous tracks like “Another One Bites The Dust” and “Billie Jean” utilize the gate effect to create rhythmic beats. With Ableton Live, you can easily create your own gate effect and add it to your tracks for a unique, professional sound.
Gate effect is an essential tool in the music industry, widely used for creating dynamic tracks that engage listeners. It is recognized for its ability to create short, percussive bursts and create an exciting, rhythmic feel. Here are some examples of famous tracks that use gate effect:
Queen – Another One Bites The Dust
Queen’s Another One Bites the Dust is renowned for its infectious bass groove, which was created using a gate effect. The effect gate-clipped the bass guitar’s sound, and then the sound is repeated in a rhythmic sequence. This produced the catchy bassline that the track is famous for.
Daft Punk – One More Time
Daft Punk’s One More Time is another track that uses the gate effect to create its memorable intro sequence. The effect fades in the opening notes, pump them up to full volume, and then reduce them once again, and repeat the cycle.
Metallica – One
Metallica’s song One is a classic example of gate effect used with a reverse reverb. The technique is used to create a pad of sorts for the song’s intro, which creates tension and anticipation for the listener. This makes the entrance of the full band hit harder, a technique often used in Metallica’s music. In conclusion, gate effect is an effective tool for creating dynamic, rhythmic music tracks. The technique has been used to great effect in numerous chart-topping hits across the years.

Credit: www.productionmusiclive.com
Frequently Asked Questions Of Creating Your Own Gate Effect In Ableton Live
How Do I Make A Gate In Ableton?
To make a gate in Ableton, insert a gate plugin on the track of your choice and adjust the threshold and attack/release times according to your needs. You can also use Ableton’s built-in gate effect in the audio effects section of the browser.
Does Ableton Have A Gate?
Yes, Ableton Live includes a gate effect that can be used to cut off or reduce audio signals below a certain threshold. The gate can also be used to create rhythmic effects with audio signals.
Does Ableton Have A Noise Gate?
Yes, Ableton does have a noise gate feature. It is included in the audio effect rack and can be used to minimize unwanted background noise and improve the overall sound quality of your recordings.
What Is Gate Fx?
Gate FX is a signal processing technique used in audio mixing to remove unwanted sounds during recording. It helps reduce unwanted noise and improves the sound quality of the final product.
Conclusion
To sum up, by creating your own gate effect in Ableton Live, you can add a dynamic element to your tracks, making them more interesting and engaging. With the steps outlined in this post, you can easily experiment with different settings and achieve different outcomes depending on your needs.
Don’t be afraid to play around with the parameters and make it your own. Remember to save your settings as presets for future use. With a little creativity and experimentation, the possibilities are endless. Happy experimenting!