To make your home studio sound professional, invest in a good audio interface and studio monitors. Then, treat your room with acoustic treatment to prevent unwanted reflections and improve sound quality.
Creating a professional sound in a home studio requires more than just high-quality equipment. While investing in a good audio interface and studio monitors is crucial, treating your room with proper acoustic treatment is equally important. This means controlling the reflections of sound waves in your space to improve the quality of recordings and overall sound.
Other factors to consider include finding the best microphone placement, using proper cables, and minimizing noise interference. By paying attention to these details and fine-tuning your setup, you can create a professional sound in your home studio.
Credit: audient.com
Invest In Quality Equipment
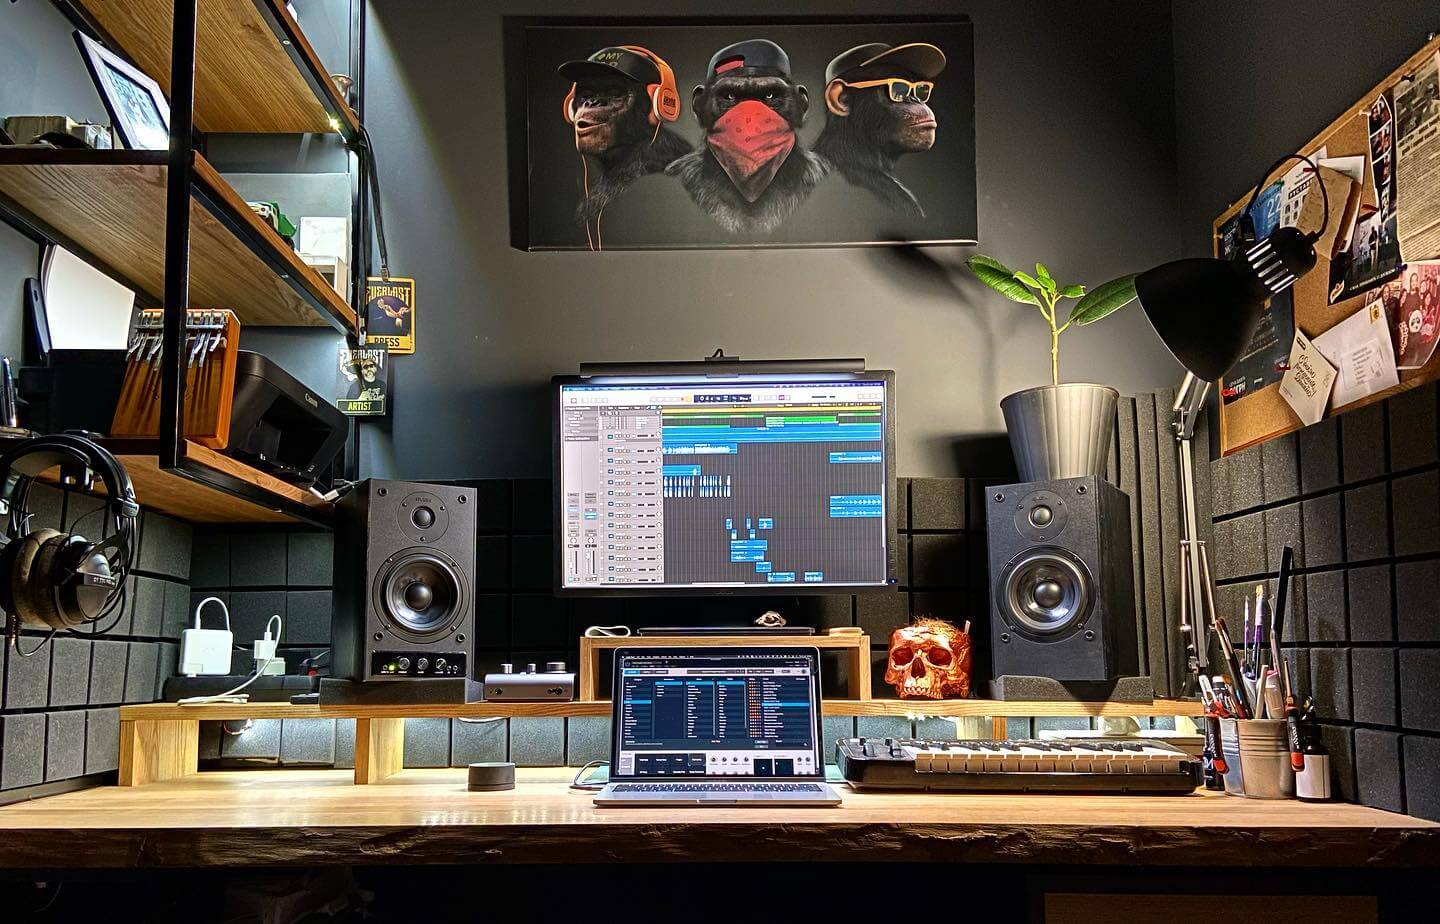
Investing in quality equipment is crucial if you want your home studio to sound professional. High-quality microphones, headphones, and speakers can make a world of difference in the final output of your recordings.
Investing in quality equipment is a crucial step towards setting up a home studio that sounds professional. With the right gear and tools, you can achieve a sound that rivals that of a professional recording studio. In this article, we will explore the essential types of equipment that you should invest in to make your home studio sound professional.
Microphones
Microphones are an essential piece of equipment in any recording studio. They are responsible for capturing and transmitting the voice or instrument’s sound to the recording device. Investing in quality microphones will ensure that you achieve a professional sound in your recordings. There are several types of microphones to choose from, including dynamic, condenser, and ribbon microphones. Dynamic microphones are the most common type used in home studios due to their affordability and versatility. On the other hand, condenser microphones are ideal for recording vocals as they are sensitive and capture a wide frequency range. Ribbon microphones are excellent for recording instruments such as drums and guitar amps. Whatever type of microphone you choose, ensure that it is of high quality and matches your recording needs.
Mixing Console
A mixing console is a device that is used to combine and adjust the level, timbre, and dynamics of audio signals. It plays a crucial role in shaping the sound of your recordings. Investing in a quality mixing console will provide you with better control over your recordings and an overall better sound. There are several types of mixing consoles, including analog and digital mixers. Analog mixers offer a warm and natural sound, while digital mixers provide more processing power, automation, and flexibility. Whichever type of mixer you choose, ensure that it has enough channels to accommodate your recording needs and offers good sound quality.
Monitor Speakers
Monitor speakers are designed for accurate and transparent sound reproduction. They allow you to hear your recordings accurately and make critical decisions when mixing and mastering. Investing in quality monitor speakers will ensure that your recordings and mixes sound great, even on other playback systems. There are several types of monitor speakers, including near-field and far-field monitors. Near-field monitors are designed to be used in small rooms, while far-field monitors are suitable for larger rooms. Ensure that your monitor speakers offer good sound quality, accurate frequency response, and enough power to fill your recording space. In conclusion, investing in quality equipment is essential to achieve a professional sound in your home studio. Microphones, mixing consoles, and monitor speakers are some of the essential pieces of equipment that you should consider investing in to make your recordings sound professional. By choosing the right gear and tools, you can set up a home studio that sounds just as good as a professional recording studio.
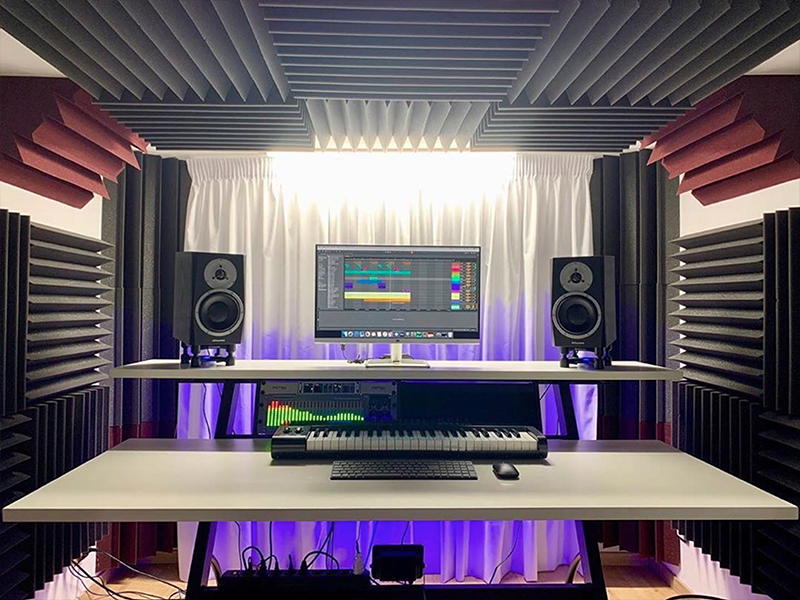
Take Care Of Acoustics
One of the most crucial elements of creating professional-sounding audio in your home studio is paying attention to acoustics. This means optimizing your recording space to achieve the best possible sound quality. Here are some effective ways to take care of acoustics in your home studio:
Reduce Echoes
One way to improve the acoustics of your home studio is to reduce echoes. Echoes occur when sound waves bounce off hard surfaces, such as walls, ceiling, and floors, causing a distorted and uneven sound. To reduce echoes, you can use sound-absorbing materials such as acoustic foam, carpets, or curtains. Acoustic foam panels are a popular choice since they are affordable, easy to install, and highly effective in absorbing sound waves.
Add Soundproofing
To prevent outside noise from entering your home studio and disrupting your recordings, you may want to consider adding soundproofing to your walls and doors. Soundproofing materials, such as mass-loaded vinyl, are effective in blocking unwanted noise and can be easily installed. By adding soundproofing to your home studio, you can ensure that your recordings have minimal background noise and are of the highest quality.
Assess Room Modes
Room modes are standing waves that occur in enclosed spaces, such as home studios, and can cause resonances, amplifying certain frequencies while minimizing others. Assessing your room modes can help you determine which areas in your studio need to be optimized to achieve better sound quality. You can use various apps and software programs to help you with this process, or you can seek advice from an acoustics professional.
By taking care of acoustics in your home studio through reducing echoes, adding soundproofing, and assessing room modes, you can create a professional and high-quality recording space. With the right equipment and techniques, you can capture excellent sound recordings that are perfect for your needs.
Proper Microphone Placement
One of the most important factors in making your home studio sound professional is proper microphone placement. This involves selecting the best microphone for your needs, positioning it at the right distance and angle, and avoiding plosives. By following these tips, you can ensure that your recordings sound clear and professional, whether you’re recording vocals, instruments, or any other type of audio.
Select The Best Microphone
The first step to proper microphone placement is selecting the best microphone for your needs. There are many different types of microphones available, including condenser microphones, dynamic microphones, and ribbon microphones, each with their own unique characteristics and applications. To ensure optimal sound quality, choose a microphone that is best suited for the sound source you will be recording.
Distance And Angle
Once you have selected the best microphone, it’s important to position it at the right distance and angle. The distance between the microphone and the sound source will determine the level of direct and indirect sound that is picked up, and the angle at which the microphone is pointed will affect the frequency response and off-axis rejection. As a general rule, position the microphone about 6-12 inches away from the sound source and point it directly at the source for the best sound quality.
Avoid Plosives
Plosives are the explosive sounds made when pronouncing certain letters, such as “p” and “b,” that can cause a popping sound in the microphone. To avoid plosives, use a pop filter or windscreen to prevent the blasts of air from hitting the microphone directly. You can also instruct the singer or speaker to move slightly to the side of the microphone when pronouncing these letters.
By carefully selecting the right microphone, positioning it at the correct distance and angle, and avoiding plosives, you can make your home studio recordings sound professional and polished. With these tips, you’ll be well on your way to creating great-sounding audio in no time!

Credit: m.youtube.com
Learn To Mix And Master
If you’re looking to produce quality music from your home studio, then learning to mix and master is a crucial skill to have. Mixing and mastering are the final stages of music production, where you balance, equalize, and compress your tracks to make them sound crisp and professional. In this article, we’ll discuss some tips and tricks to help you improve your mixes and take them to the next level.
Balance The Mix
The first step in achieving a professional sound is to balance your mix. This means ensuring that each element in your track sits well with the others and can be heard clearly. This can be achieved by adjusting the volume levels of each element and panning them from left to right to create a sense of space. Remember, the goal is to achieve a cohesive sound where all the instruments, vocals, and effects work together to create a harmonious mix.
Equalization
Equalization, or EQ, is the process of adjusting the frequency levels of your tracks to eliminate frequency clashes and unwanted sounds. It involves boosting or cutting specific frequency ranges to achieve a more balanced sound. For instance, you can use EQ to boost the high frequencies of a vocal track to make it sound more crisp and clear. Alternatively, you can use EQ to cut the low-end frequencies of a bass track to make room for the kick drums. EQ can significantly impact the overall quality of your mix, so it’s essential to use it correctly.
Compression
Compression is the process of reducing the dynamic range of your tracks, ensuring that the loudest parts don’t overpower the quieter ones. It involves using a compressor, which automatically adjusts the volume levels of your tracks based on specific settings. Compression can be used to add punch to your drums, smooth out vocal tracks, and give your mix an overall polished sound. However, it’s important not to overdo it as too much compression can lead to a loss of dynamics in your tracks.
In conclusion, learning to mix and master is a key skill for anyone looking to produce music from their home studio. Balancing the mix, equalization, and compression are essential processes that can help take your tracks to the next level. Experiment with these tips and tricks and listen to the difference they can make in your mixes.
Control The Environment
Making your home studio sound professional is crucial if you want to achieve the best quality recording. One of the most important factors to consider when setting up a studio is controlling the environment in which you will be recording. This will ensure that there are no unwanted sounds that may affect the recordings. Here are some tips on how to control the environment in your home studio:
Minimize External Noise
Noise can be a real issue when recording in a home studio as it can be difficult to completely eliminate external sounds. However, there are some things you can do to minimize them:
- Install soundproofing materials like acoustic foam panels, bass traps, and diffusion panels on the walls and ceilings to absorb sound waves and reduce echoes.
- Double-glaze your windows or use noise-reducing curtains to keep external noise out.
- Record at times when noise levels are lower, such as early in the morning or late at night.
Maintain Stable Temperature
Temperature fluctuations can affect the quality of sound in your studio. Here are some ways to maintain a stable temperature:
- Use air conditioning or heating systems to regulate the temperature.
- Make sure the room is insulated to keep the temperature stable.
- Keep the studio room door closed to maintain a consistent temperature.
Regulate Humidity
Humidity can also affect the quality of sound and the equipment in your studio. Follow these tips to regulate humidity:
- Use a dehumidifier to prevent excess moisture from building up in the room.
- Use a humidifier to keep the air in the room from becoming too dry.
- Avoid drinking, smoking, or bringing plants into the studio room as they can all add moisture to the air.
Credit: auralex.com
Choose The Right Software
If you’re new to home recording, one of the most daunting tasks can be figuring out how to get your studio to sound professional. One of the most important decisions you’ll make is choosing the right software. Your choice of digital audio workstation (DAW) will have a significant impact on the quality of your recordings.
Digital Audio Workstation
A DAW is the backbone of your home studio. It’s the software you’ll use to record, process, and mix your music. Some popular options include Logic Pro X, Pro Tools, Ableton Live, and FL Studio. Each DAW has its own strengths and weaknesses, so it’s essential to select one that best suits your needs.
Plugins And Virtual Instruments
Plugins and virtual instruments are software programs that add additional functionality to your DAW. There are thousands of plugins available to choose from, ranging from guitar amp simulators to EQs and compressors. Virtual instruments are software versions of real instruments and can be used to create high-quality, realistic recordings without the need for expensive hardware.
Automation
Automation is the process of programming your DAW to make changes to a track automatically. This can help save time and ensure that your mix sounds cohesive. For example, you could program your DAW to increase the volume of a guitar solo during its climax automatically.
Summary
In conclusion, selecting the right software is the first step towards creating professional-sounding recordings in your home studio. With the right DAW, plugins, and automation techniques, you can achieve high-quality, polished results without the need for pricey equipment.
Record In High Resolution
Recording music at home is convenient and cost-effective, but it can be challenging to achieve professional-quality sound. One simple way to improve the quality of your recordings is to record in high resolution. High-resolution audio captures more detail and nuance than lower-quality formats, resulting in more detailed and accurate recordings.
Choosing The Sample Rate
When recording in high resolution, you need to choose the right sample rate. Sample rate refers to the number of times per second a recording device captures audio data. The standard sample rate for CDs is 44.1 kHz, but for high-resolution recordings, sample rates of 88.2 kHz, 96 kHz, and even 192 kHz are common. The higher the sample rate, the more detailed and accurate the recording will be.
Choosing The Bit Depth
In addition to sample rate, you also need to choose the right bit depth. Bit depth refers to the number of bits used to describe each audio sample. The standard bit depth for CDs is 16 bits, but for high-resolution recordings, bit depths of 24 bits are common. The higher the bit depth, the more dynamic range and detail your recordings will have.
Avoid Clipping
When recording in high resolution, it’s important to avoid clipping. Clipping occurs when the audio signal exceeds the maximum level that can be recorded. This can result in distortion and a loss of detail in the recording. To avoid clipping, make sure to set your input levels correctly and monitor the levels throughout the recording process. It’s better to record at a lower level and boost the volume in post-production than to risk clipping during the initial recording.
By following these simple tips, you can make your home studio sound more professional and achieve high-quality recordings that will impress your listeners.
Get Professional Feedback
When it comes to creating a professional-sounding recording in your home studio, it can be challenging to know where to begin. One of the best ways to improve the sound quality of your recordings is to get feedback from professionals in the audio production industry. Here are some strategies that you can use to obtain feedback to help make your studio recordings sound more polished.
Use A Reference Track
One way to get professional feedback is to use a reference track. A reference track is a song that you admire and can act as a comparative tool for your work. Listening to a reference track while you mix your recording can help you to identify areas that need improvement. It can assist you in determining what adjustments you need to make to your production to make it sound more professional.
Find Online Communities
Another approach that you can take is to get feedback from online communities. There are many online communities for musicians and audio production professionals that you can join. These communities are a fantastic way to interact with and learn from other people in the industry. You can post your home recordings on these websites and receive feedback and recommendations. Make sure that you take the critique in a positive manner and learn from it.
Take Audio Production Courses
Lastly, taking an audio production course can be immensely helpful in obtaining professional feedback on your recording. The curriculum is structured to teach you the ins and outs of audio production, mastering, and mixing. You will have the opportunity to submit your recordings to your instructor, who will provide you with comprehensive feedback on how to enhance them to sound professional.
Professional feedback is vital if you are looking to make your home studio sound professional. The strategies mentioned above can assist you in obtaining feedback from professionals in the audio production industry, so you can enhance your recording skills and create studio-quality tracks from the comfort of your home.
Frequently Asked Questions On Ways To Make Your Home Studio Sound Professional
How Do I Get Professional Sound In My Home Studio?
To get professional sound in your home studio, follow these steps: 1. Invest in quality equipment like microphones, audio interfaces and monitors. 2. Set up your studio in an acoustically treated room. 3. Properly position your equipment and use equalization techniques.
4. Create a good mix by balancing volume levels and adjusting levels of tracks. 5. Master your final track to ensure it sounds polished.
How Can I Improve The Sound In My Home Studio?
To improve the sound in your home studio, use acoustic treatment in your room, invest in quality studio monitors, use headphones for critical listening, position your speakers and monitoring position properly, and consider using a subwoofer to balance low frequencies.
How Do I Make A Professional Home Studio?
To make a professional home studio, follow these guidelines: 1. Choose a room with good acoustics, size, and accessibility. 2. Invest in high-quality audio equipment like microphones, headphones, and speakers. 3. Soundproof your room with acoustic panels, curtains or foam.
4. Add a desk, an ergonomic chair, and proper lighting. 5. Use software like GarageBand or Audacity for recording, editing, and mixing your tracks.
How Do I Make My Audio Recording Sound Professional?
To make your audio recording sound professional, use a good quality microphone and record in a quiet environment. Use post-production tools like EQ and compression to improve sound quality. Edit out any mistakes or unwanted noise. And finally, adjust the volume levels to ensure consistent sound throughout the recording.
Conclusion
Finally, achieving a professional sound in your home studio also requires constant practice and experimentation with equipment and techniques. Keep in mind that every room and setting has its unique acoustic characteristics that can affect your recordings. Therefore, always listen carefully to your recordings and make the necessary adjustments.
By following the tips outlined and combining them with your creativity, you can achieve a professional sound in your home studio.