A tried and tested Daw workflow for mixing sessions involves organizing tracks, setting levels and dynamics, EQing instruments, adding effects, and mastering the final mix. This process ensures a professional and polished sound for any audio project.
A successful mixing session requires a clear understanding of the tools and techniques available within your chosen digital audio workstation (DAW) as well as a good ear for music. We’ll explore the step-by-step process for mixing a session, providing helpful tips and techniques along the way to create a high-quality mix.
Whether you’re a seasoned engineer or just starting out, this guide will help you achieve a more impactful and balanced sound in your mixing sessions.
Setting Up Your Daw
For a tried and tested DAW workflow for mixing sessions, it’s important to set up your workspace correctly. Start by organizing tracks, setting up buses for parallel processing, and routing your audio to the correct outputs. Utilize templates and save your work regularly to streamline the mixing process.
Setting up your Daw is crucial for achieving a seamless mixing session. This process includes selecting compatibility settings and optimizing your computer for mixing to ensure you have a smooth workflow. Here, we’ll take a closer look at these two important steps to help you achieve optimal results for your mixing sessions.
Selecting Compatibility Settings
Before you start mixing your audio, it is essential to ensure that your Daw is compatible with all the plugins and software you need to use. To select compatibility settings, you need to check the specifications of the software and plugins and match them with the specifications of your Daw. Sometimes, compatibility issues between your Daw and a plugin may result in malfunction or even crash during mixing sessions. It is best to perform a thorough check and ensure that all software and plugins are fully functional and compatible with your Daw.
Optimizing Your Computer For Mixing
Optimizing your computer for mixing is the second crucial step in setting up your Daw. This step involves ensuring that your computer system meets the hardware and software requirements for audio mixing. Here are a few things you can do to optimize your computer:
- Close applications and programs that are running in the background to free up system resources.
- Disable antivirus programs to avoid interference with your Daw, but remember to enable them after mixing sessions.
- Use an external hard drive to save your audio files, so as not to overload your computer’s memory.
- Use a buffer size that is appropriate for your project and system. A smaller buffer size can result in lower latency, but can also increase the load on your processor.
By adhering to these two important steps, you can ensure optimal performance, avoid compatibility issues, and experience a smooth mixing session. Keeping these steps in mind, you’ll be well on your way to manually optimizing your Daw and achieving high-quality mixes.
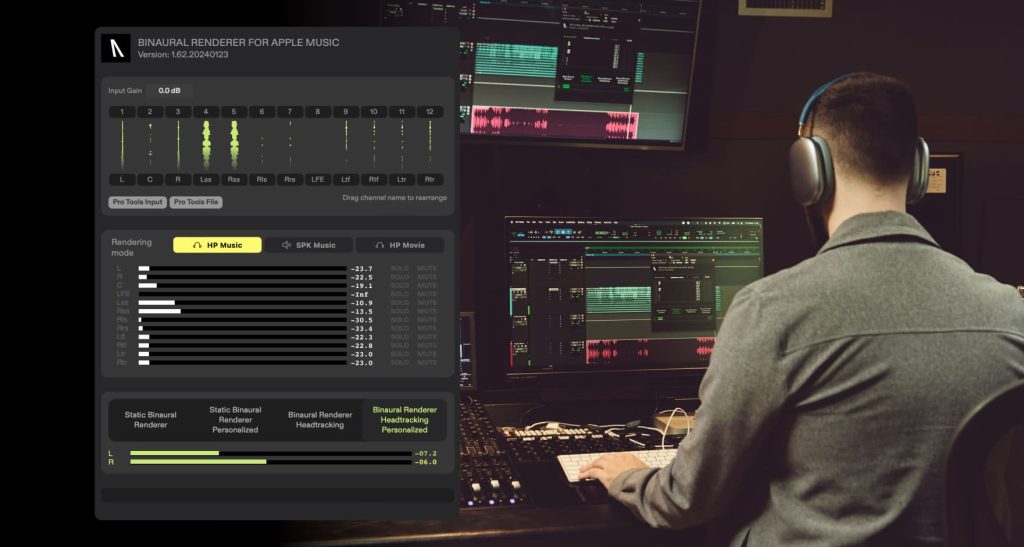
Credit: audiomovers.com
Organizing Media Files
Organizing your media files is a crucial part of any mixing session. Without proper organization, it can be challenging to find and access the files you need, resulting in wasted time and frustration. Below are some tips on how to organize your files to ensure a smooth workflow.
Control File Organization
Control files are the foundation of any mixing session, and it is essential to keep them organized. One of the best ways to do this is to create a folder for each session. Within each session folder, create subfolders for audio, video, and session data. When saving your files, always save them into their appropriate folder to ensure all the vital files are kept in order. Label each folder and file with a clear and relevant name so you can quickly locate them when needed.
Optimizing Media Files For Mixing
Before you begin mixing, it is essential to ensure that all your media files are optimized. One way to do this is to ensure that all audio files are in the same format, sample rate, and bit depth. This will help avoid any potential sampling issues and ensure that your mix sounds its best. Another way to optimize your media files is to eliminate any unnecessary files and data, such as unused clips or tracks. This will not only help keep your files organized, but it can also reduce your file size and improve your overall system performance.
Tips For Organizing Your Media Files
- Create a standard naming convention for all your files and stick to it.
- Label your files with clear and concise names and avoid using special characters or symbols.
- Back up your files regularly to protect them from data loss.
- Consider using a file management tool to help you stay organized and increase your workflow efficiency.
- Establish a workflow routine and stick to it to ensure that all files are saved in their appropriate folder.
By organizing your media files and following the tips above, you can ensure a smooth workflow and reduce the time and frustration associated with finding the right files. Take the time to organize your files at the beginning of each session, and you will reap the rewards of a streamlined and efficient mixing process.
Track Layout
When it comes to mixing sessions, it’s essential to have a reliable workflow that ensures efficient and effective track management. One of the critical components of any mixing workflow is the track layout, which involves establishing track naming conventions, setting up aux tracks, managing sends and returns, and more. In this post, we’ll explore a tried and tested daw workflow for mixing sessions, focusing on the crucial subheading- track layout.
Track Naming Conventions
Setting consistent track naming conventions is an essential element of any mixing workflow. It makes it easier to locate specific tracks, especially when you’re working with large sessions. Moreover, it helps keep the session organized and promotes faster decisions during mixing. When creating track names, it’s essential to use a format that makes sense for the particular project and that the naming convention is followed consistently throughout the session.
Setting Up Aux Tracks
Auxiliary tracks, commonly referred to as aux tracks or busses, can be used to group or submix specific tracks. This process is especially common when working with drums, vocals, guitars, and other instruments. Creating aux tracks and routing tracks to them helps with organization and gives more control over the mix. Moreover, using auxiliary tracks can save CPU processing power, which is particularly useful when working with multiple plugins and effects.
Managing Sends And Returns
The sends and returns feature is a common method of routing signal flow within a mixing session. It allows the signal from one track to be sent to another track, which that signal can then be processed with effects or plugins. When applying this technique, it’s essential to ensure that the sends and returns are properly set up on each track. Doing so ensures that the levels and panning are consistent, and that no unwanted delays or frequencies are added to the mix.
In conclusion, a reliable workflow for arranging and managing tracks is critical for successful mixing sessions. Whether you’re setting convenient naming conventions, setting up aux tracks, or managing sends and returns, following a well-established workflow can enhance your chances of delivering a superior mix.
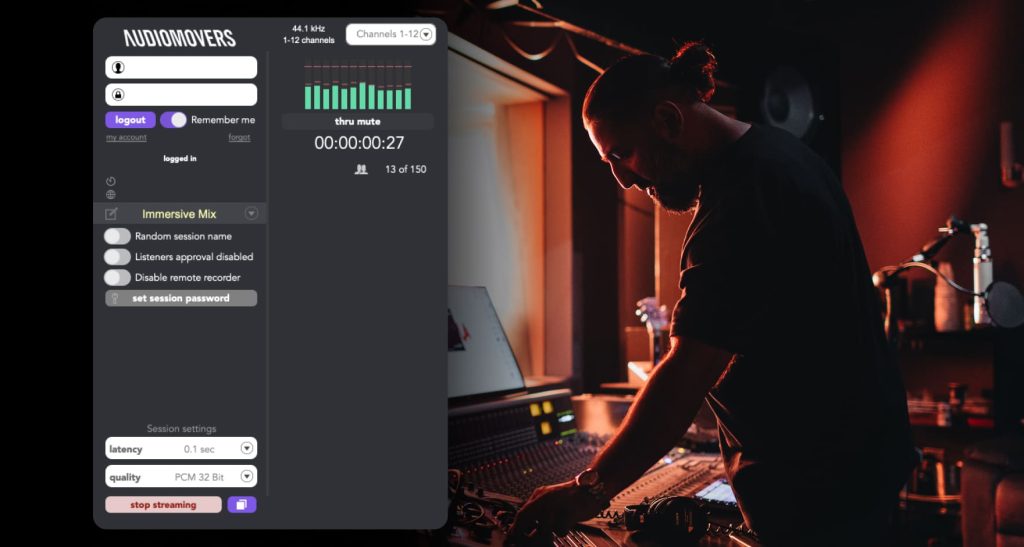
Credit: audiomovers.com
Eq And Compression
EQ and compression are essential tools for any mixing session. A tried and tested DAW workflow involves using EQ to adjust the frequencies of each instrument and compression to balance the levels and dynamics. This helps to create a cohesive and polished mix that sounds great across multiple playback systems.
Equalization Techniques
Optimizing equalization will give you more control in handling individual tracks that need alterations in the frequency spectrum. A few techniques to do this include:
- Low Cut/High Pass Filter – This removes all low-frequency sounds that might mess up the mix
- High Cut/Low Pass Filter – This removes all high-frequency sounds that might mess up the mix
- Notch Filter – This will aid in reducing unwanted frequency without hindering the track sound
- Shelf EQ – This affects all frequencies from the chosen frequency point upwards or downwards.
- Parametric EQ – This performs corrections in the audio frequency per band, covering the frequency’s center, bandwidth, or Q value.
Compression Techniques
It would help if you optimized your compression, paired with equalization, throughout your mixing session for a better mix. Here are a few techniques to consider:
- Threshold – This regulates the audio level that starts compression
- Ratio – This regulates the amount of gain reduction once the compressor is activated
- Attack – This establishes the time before compression gets started
- Release – This establishes the duration of time to return to non-compression status
- Knee – This adjusts how the compressor diffuses out of the threshold zone.
- Makeup Gain – This increases the audio level during compression to compensate for the gain reduction.
Parallel Processing
Parallel processing is integrating a non-compressed and compressed version of the exact track. This technique allows transparency within the track with little loss of the original sound. To take advantage of this technique, try the following:
- Blend in the compressed track bit by bit to the original track.
- Set the gain reduction on the compressed channel.
- Blend in the compressed track with more intensity until the sonic interaction begins to give body to the sound.
- Apply the equalizer on the un-compressed and compressed parts and blend them together to enhance the impact further.
Using the above techniques will help you master equalization, compression, and parallel processing for better mix results.
Adding Effects
For an effective and efficient mixing session, a tried and tested DAW workflow for adding effects is highly recommended. This involves careful selection and placement of effects such as EQ, compression, and reverb to achieve the desired sound. The workflow should be personalized to suit individual preferences and styles.
Once you have your basic mix sounding good, it’s time to add some effects. Effects can really enhance a mix and make it sound much more interesting and polished. But, it’s important to select the right effects and use them in the right way. In this section, we’ll cover some important tips and techniques to help you add effects to your mix like a pro.
Selecting The Right Effects
Before you start adding effects, it’s important to choose the right ones for your mix. Effects can range from subtle to extreme, so it’s important to choose the ones that complement your mix. For example, if you’re working on a ballad, a long, lush reverb might work well. However, if you’re working on a fast-paced dance track, a short, gated reverb might be more appropriate. Whenever possible, try to choose effects that blend seamlessly with the rest of the mix and enhance the song instead of distracting from it.
Reverb And Delay Techniques
Reverb and delay are two of the most commonly used effects in mixing. Reverb is used to create a sense of space, while delay can be used to create a sense of depth and movement. When using reverb, it’s important to choose the right type for the job. Different types of reverb (e.g. plate, hall, room) can create different atmospheres and moods. When using delay, try experimenting with different delay times and feedback settings to create interesting rhythmic patterns.
Chorus And Flange Techniques
Chorus and flange are two effects that can add movement and interest to a mix. Chorus can be used to create a wider, more lush sound, while flange can be used to create a swirly, psychedelic effect. When using chorus, try experimenting with the depth and rate settings to find the right balance for the sound you’re going for. When using flange, try experimenting with the feedback and depth settings to create a unique, swirling effect. Overall, adding effects can take your mix to the next level. Just remember to choose the right effects for the job and use them in a way that enhances the song without distracting from it.
Automation
Streamline your mixing sessions with automation. Implementing a tried and tested Daw workflow ensures consistent and efficient results, allowing you more time to focus on creativity.
Automation can be a game-changer when it comes to mixing sessions. It allows you to make precise adjustments to specific parts of the mix, saving time and improving efficiency. In this section, we’ll walk you through our tried and tested Daw workflow for automation, focusing on preparing for automation, setting up automation tracks, and creating automation events to ensure your mix is optimized to perfection. ### Preparing for Automation Before you can start automating your mix, there are a few things you need to do to prepare. First, make sure all of your tracks are properly labeled for easy identification. You should also clean up your project by deleting any unused or unnecessary tracks, plugins, or effects. This will reduce clutter and make it easier to focus on the important elements of your mix. Next, decide which parameters you want to automate. This could include volume, panning, EQ, or any other effect you want to tweak throughout your mix. Once you have identified these parameters, it’s time to set up your automation tracks. ### Setting up Automation Tracks Automation tracks are used to record the changes you make to a parameter over time. To set up an automation track, simply right-click on the track you want to automate and select “Add Automation.” This will create a new track specifically for recording automation events. Once you have created your automation tracks, you can start recording automation events. These events will determine when and how the parameter changes throughout the mix. ### Creating Automation Events To create automation events, simply click on the parameter you want to automate and then choose the automation mode. This could include “Touch,” “Latch,” or “Write.” Each mode has its own unique benefits and drawbacks, so it’s important to experiment to find the best fit for your needs. When you are ready to record an automation event, simply press the record button and make the necessary changes to the parameter. These changes will be recorded in real-time, allowing you to make precise adjustments to the mix. In conclusion, automation is an essential tool for any mixing engineer. By following this tried and tested Daw workflow for automation, you can optimize your mix to ensure it sounds its best. Remember to prepare your tracks, set up automation tracks, and create automation events to get the most out of this powerful tool.
Mix-bus Processing
Mix-Bus Processing is an important aspect when it comes to mixing sessions. It involves combining all the individual tracks into a single stereo track, which helps in the creation of a cohesive and well-balanced sound. A mix bus can be seen as the final stage of mixing that involves applying processing to the stereo bus.
Mix Bus Compression
Mix bus compression is when you apply compression to the mix bus. This helps to glue all the individual tracks together, making them sound like they are part of one cohesive unit. It is recommended that you use a gentle setting when it comes to mix bus compression and avoid over-compressing, which can result in a pumping or breathing effect.
Equalization On The Mix Bus
Equalization on the mix bus refers to the adjustment of the overall frequency balance of the mix. It can be used to enhance or reduce specific frequency ranges of the entire mix. It is important to ensure that you apply equalization after compression, as this will help to control any harsh frequencies that may result from the compression process.
Submixing Techniques
Submixing techniques involve grouping tracks together into submixes. This helps to maintain control over specific elements of the mix. For example, all the drums could be grouped into a submix, allowing for easier processing and control of the drum sound. Similarly, all the vocals could be grouped and processed together to achieve a cohesive sound.
Submixing can also be used for parallel processing, where a copy of the submix is made and processed differently to create a specific effect. This can be used to achieve a more impactful sound of certain elements of the mix.
Overall, mix-bus processing is an essential aspect of mixing sessions. Applying mix-bus compression, equalization on the mix bus, and submixing techniques are tried-and-tested ways to achieve a cohesive and well-balanced sound. By following these tips, you can create an impactful mix for your music projects.

Credit: www.mixinglessons.com
Frequently Asked Questions Of A Tried And Tested Daw Workflow For Mixing Sessions
What Is A Daw Workflow?
A DAW (Digital Audio Workstation) workflow refers to the process of recording, editing, mixing, and producing music or sound using specialized software. This workflow involves importing audio files, arranging them into tracks, applying effects and automation, and exporting the final project.
A DAW makes it easy to create professional-sounding music by simplifying the production process.
Which Daw Has The Easiest Workflow?
FL Studio is the DAW with the easiest workflow. Its interface is user-friendly, its virtual instruments are easy to use, and its step sequencer allows easy creation of beats. Its drag-and-drop features and channel rack makes it a top choice for beginners and professionals alike.
What Daw Is Best For Mixing?
Different Digital Audio Workstations (DAWs) are best for mixing depending on the user’s preferences. Some of the well-known DAWs used for mixing are Avid Pro Tools, Ableton Live, Logic Pro X, and Steinberg Cubase. These DAWs offer a wide range of mixing tools and features that can help users achieve the desired mix.
Ultimately, the best DAW for mixing is one that fits the user’s workflow and needs.
What Is A Daw In Mixing?
A Digital Audio Workstation (DAW) is a software program used in mixing and editing audio recordings. It allows the user to record and manipulate audio tracks, add digital effects, and mix multiple tracks together. It is an essential tool for music producers, sound engineers, and musicians in professional audio production.
Conclusion
To sum up, using a daw workflow for mixing sessions is an excellent way to streamline your production process and ensure that everything sounds amazing. By following the tips outlined above, you’ll be well on your way to creating incredible mixes that sound polished and professional.
Remember to experiment with different techniques and workflows until you find the one that works best for you and your music. With persistence and practice, you’ll be able to create tracks that stand out from the crowd and earn the respect and admiration of your listeners.