Drum bus compression is the process of applying dynamic range compression to a group of drum tracks. It enhances punch and cohesion in the drum mix.
Utilizing drum bus compression effectively can make a significant difference in the impact and quality of a drum mix within a song. It’s a vital technique for producers and engineers aiming to achieve a polished and professional sound. This process can glue the drum elements together, ensuring they sit well within the full mix and don’t overpower other instruments.
Drum bus compression also helps in controlling the overall dynamic range of the drums, making each hit more consistent in volume. With varying compression settings, one can either subtly tame the dynamics or create a dramatic effect to suit different musical styles. Proper use of this tool is key in modern music production, providing clarity and balance to the rhythm section.
The Beat Begins: What Is Drum Bus Compression?
Drum bus compression is a powerful tool in music production. It glues together the sound of the entire drum kit, enhancing punch and consistency. Imagine all your drums playing nicely with one another, and that’s what drum bus compression does. It’s like a tight hug for your drum sounds!
The Role Of Compression In Music Production
Compression shapes dynamics in music. It manages loud and soft sounds, ensuring a balanced mix. Without compression, music might sound uneven or jarring. Think of it as a way to iron out the spikes in volume.
- Control Peaks: Limits the loudest parts and maintains audio quality.
- Add Punch: Gives impact to kicks and snares, making them stand out.
- Enhance Clarity: Helps each drum hit to be heard clearly.
Bus Compression Vs. Individual Drum Compression
Bus compression and individual drum compression are two different beasts. One treats the drum kit as a whole; the other, each drum separately. Understanding their differences is key to a solid mix.
| Bus Compression | Individual Drum Compression |
|---|---|
| Applied to the combined output of all drums | Applied to single drum tracks like kick or snare |
| Creates a cohesive sound for the drum kit | Addresses specific sonic issues on a single drum |
| Maintains overall dynamic balance | Tweaks the sound of individual drums |
Why Your Drums Need Compression
Picture your drum tracks as a wild stallion. Compression is the trainer that helps them fit into your mix with control and power. Without it, drums might sound weak or disappear among guitars and vocals. This section dives into why compression is key to making your drum tracks stand out.
Enhancing Punch And Presence
Compression ramps up the impact of each drum hit. When drums pack a punch, they hold their own in a full mix. This leads to a more lively and energetic sound. Let’s break down the specifics:
- Increases Attack: By adjusting the attack time, the initial hit of the drum becomes more pronounced.
- Reduces Dynamic Range: Evening out the volume of your drums ensures consistent presence.
- Boosts Sustain: This lets the body of the drum sound linger, adding fullness.
Glueing The Kit Together
Think of your drum kit as a team. Each part needs to work in harmony. Compression acts as the glue that combines the individual drum sounds into a cohesive unit. Here’s how it helps:
- Unified Sound: By compressing the drum bus, you blend the kit elements, so they sound united.
- Consistent Levels: It maintains a steady level across the kit, preventing any element from overpowering others.
- Controlled Transients: Compression tames sharp transients that can cause an uneven sound.
Choosing The Right Compressor For Your Drum Bus
Choosing the Right Compressor for Your Drum Bus can elevate your music production to the next level. Drums are the backbone of most songs, providing energy and rhythm. When the drum tracks merge flawlessly, they bring power and cohesion to your mix. Compression is a pivotal tool in achieving this sonic unity. But, with various compressor types and plugins available, selecting the ideal one for your drum bus is critical.
Characteristics Of Different Compressor Types
Selecting a compressor begins with understanding the different types available:
- VCA (Voltage Controlled Amplifier) – Known for precision, ideal for a punchy feel.
- Opto (Optical) – Smooth and musical, great for a more natural sound.
- FET (Field Effect Transistor) – Aggressive and colorful, suits energetic genres.
- Variable-Mu – Warm and subtle, perfect for glueing your drums together.
Different genres and mixing styles may require specific compressor characteristics. Understand the sound you’re aiming for before making a choice.
Top Compressor Plugins For Drums
Here’s a rundown of some of the best compressor plugins that can enhance your drum bus:
| Plugin Name | Type | Best For |
|---|---|---|
| API 2500 | VCA | Punch and Presence |
| LA-2A | Opto | Smooth Dynamics |
| 1176 | FET | Fast Attack and Release |
| Manley Variable Mu | Variable-Mu | Overall Warmth |
Test these compressors to see which one gels with your drum sound the most. Trust your ears and let the drums speak for themselves!

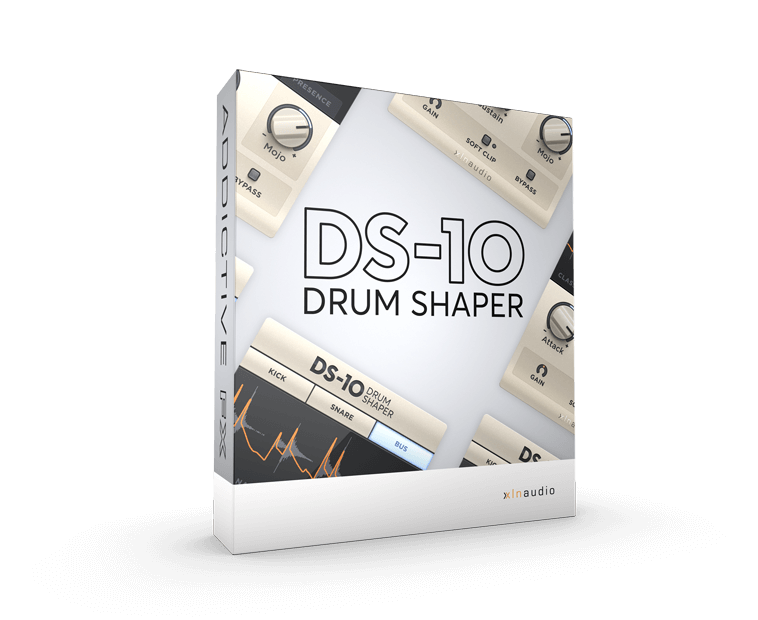
Credit: www.xlnaudio.com
Dialing In The Perfect Settings
Perfecting drum bus compression adds punch and clarity to your mix. It’s like fitting the pieces of a puzzle together. Just right, and the picture is clear. Follow these tips for dialing in your drum bus compression settings to elevate your music production.
Understanding Attack And Release Times
Let’s explore how attack and release shape your drum sound. Attack times decide how quickly compression starts after a drum hit. Short attack times tame loud hits and create a more uniform sound. Longer attack times let the initial punch through for more dynamic grooves.
Release times determine how soon compression stops. Short release times bring energy and tightness. Use longer release times for a more natural fade. Experience helps to find the sweet spot for your drums.
- Fast Attack: 1-5 ms for controlling transients
- Medium Attack: 10-30 ms to retain punchiness
- Fast Release: 20-100 ms for crispness
- Medium Release: 100-400 ms for a natural feel
The Importance Of Ratio And Threshold
Ratios measure how much compression applies to your signal. Choosing the right ratio can make or break your drum sound.
| Ratio | Effect |
|---|---|
| 2:1 | Light compression for subtle control |
| 4:1 | Moderate compression for balance |
| 8:1 or higher | Heavy compression for aggressive sound |
The threshold sets the volume level where compression starts. Set it too low, and you’ll squash all dynamics. Set it too high, and you might not compress enough. Here’s a quick guide:
- Lower thresholds: More compression for a denser sound.
- Higher thresholds: Lighter compression for dynamic playing.
Remember, there’s no one-size-fits-all setting. Trust your ears and start with these guidelines to find your unique drum bus compression settings.
Advanced Compression Techniques
Drum bus compression is essential for punchy, balanced beats. Precise techniques take your drum mix to the next level. Learn to master your rhythm section with advanced compression. Let’s dive into detailed methods that help your drums stand out.
Parallel Compression For Drums
Parallel compression works wonders for drums. It blends processed and unprocessed signals. This results in dynamic, powerful drums. Follow these steps to implement parallel compression effectively:
- Set Up a Send: Route your drums to an auxiliary track.
- Compress Aggressively: On the aux track, apply a high compression ratio.
- Blend to Taste: Mix the compressed signal with the dry drums.
This technique maintains drum dynamics while adding punch. You get the best of both worlds!
Sidechain Compression For Groove Enhancement
For groove, sidechain compression is key. It creates a rhythmic pulse. Use these tips to enhance your groove:
- Choose Your Source: Decide which track triggers the compression.
- Adjust the Threshold: Tune the threshold for desired intensity.
- Set Release Time: Time the release to the tempo of your track.
| Element | Setting |
|---|---|
| Threshold | Set to engage with trigger |
| Ratio | Typically moderate |
| Attack | Fast to catch the pulse |
| Release | Match to song tempo |
Sidechain creates a rhythmic bump, letting the kick stand out. It adds life to your percussion section.
Common Compression Mistakes To Avoid
Knowing how to use compression in your drum bus is key for a tight mix. Yet, it’s easy to fall into traps. Let’s dive into some common mistakes and how to avoid them to ensure punchy, clear drums.
Overcompression And Its Pitfalls
Too much compression can suck the life out of your drums. Remember, subtlety is power when it comes to gluing your drum mix together. Here’s what you should watch out for:
- Loss of Dynamics: Drums need to breathe to maintain their energy.
- Pumping Effects: Unnatural volume swells can distract listeners from the rhythm.
- Reduced Impact: Overcompressed drums can sound flat and lack punch.
Avoid squashing your drums by using moderate compression settings.
Avoiding Phase Issues And Frequency Smearing
Compression can introduce unexpected phase shifts and frequency smearing. Here’s what to keep in mind:
- Check Your Attack and Release Times: Set them to complement the drum’s natural timing.
- Mind Your Filters: High-pass and low-pass filters can help minimize phase issues.
- Avoid Over-EQing: Too much EQ before compression can lead to smearing.
Ensure clear, defined drums by carefully setting your compressor to avoid phase problems.
Mixing In Context: Drum Bus Compression In The Mix
Imagine you have a puzzle. Every piece must fit to see the whole picture. In a song, that picture is your final mix. Compression is a key piece, especially for drums. Let’s see how drum bus compression works in the mix context.
Balancing Drums With Other Instruments
Drum bus compression is not just about making drums punchy. It’s about balance. You want drums that stick out but also blend well with everything else.
- Set the threshold so the compressor reacts to your drums properly.
- Adjust the attack and release to let the drum’s natural character shine.
- Make sure the bass and other rhythm elements complement the drums.
When To Apply Bus Compression During The Mixing Process
Timing is everything. Apply compression after basic levels and pan adjustments. It molds the drum group before adding it to the full mix. A good rule is:
- Start with individual drum levels and EQ settings.
- Move to the drum bus for overall compression.
- Finally, bring in the rest of the instruments around that cohesive drum sound.
This order helps to maintain dynamic control and enhances cohesion. It ensures that the drums don’t overpower or get lost as more elements join the mix.
Case Studies And Examples
Welcome to our deep dive into the world of Drum Bus Compression. Here, we unearth the secrets behind the rhythmic punch and groove that have powered countless hits. Through case studies and examples, you’ll see how the pros use compression to bring their drums to life. Let’s explore these sonic landscapes together!
Breaking Down Famous Drum Bus Compression Settings
Famous tracks owe much to drum bus compression. Let’s break down some notable settings:
| Song | Compressor Type | Ratio | Attack | Release | Makeup Gain |
|---|---|---|---|---|---|
| When the Levee Breaks – Led Zeppelin | Teletronix LA-2A | 4:1 | Slow | Auto | 3dB |
| Billie Jean – Michael Jackson | SSL G-Series | 2:1 | Medium | Fast | 2dB |
Each setting contributed to a unique sound. These settings provided the punch and clarity each track needed. Remember, replicating them may not give the same results due to different mixing contexts.
Experimentation And Finding Your Signature Sound
Discovering your unique drum compression sound involves trial and error. Here’s how you can start experimenting:
- Choose different compressors to hear how they color your sound.
- Play with attack and release times to find the groove that fits your music.
- Adjust the threshold and ratio to control the dynamics.
- Use makeup gain to bring back any lost volume.
Switching up elements will lead to distinctive beats. Finding that perfect balance can make your tracks stand out. A personal drum bus compression setting can become a part of your sonic trademark.
Drum Compression: Beyond The Basics
Getting the most from your drum tracks isn’t just about slapping on some compression and calling it a day. To truly elevate your drum sound, a deeper dive into the second layer of processing is key. Understanding advanced compression techniques opens up a new realm of sonic control. Far beyond the usual threshold and ratio tweaks, it’s about shaping your drums to fit seamlessly into any mix. Let’s embark on a journey through some sophisticated approaches.
Advanced Eq Techniques After Compression
Once your compressor has done its job of taming dynamics, it’s time for EQ to fine-tune your drums. This isn’t about drastic cuts or boosts. It’s about subtlety and finesse. Post-compression EQ shapes the tone without affecting the compressor’s response. Here’s how you can achieve sonic polish:
- Scult the Body: Hone in on the fundamental frequencies of your drums. Create presence without overwhelming the mix.
- Control the High-End: Smooth out any harshness brought out by compression. Retain clarity while softening the edges.
- Add Warmth: Inject richness into the lower frequencies. Ensure it’s a subtle warmth, not a muddy blanket.
Using Transient Shapers In Conjunction With Compression
Transient shapers are the secret weapon for impactful drums. They define the initial strike of each drum hit. Combined with compression, they offer unmatched control over attack and release characteristics. Achieve perfect punchiness or a smooth sustain. It’s all about balance:
- Set the transient shaper before your compressor.
- Adjust the attack to emphasize impact.
- Modify the sustain to fit your track’s groove.
Pair these tools like a pro. Make your drums both feel right and sound right in the context of your song. Your listeners will thank you for it.

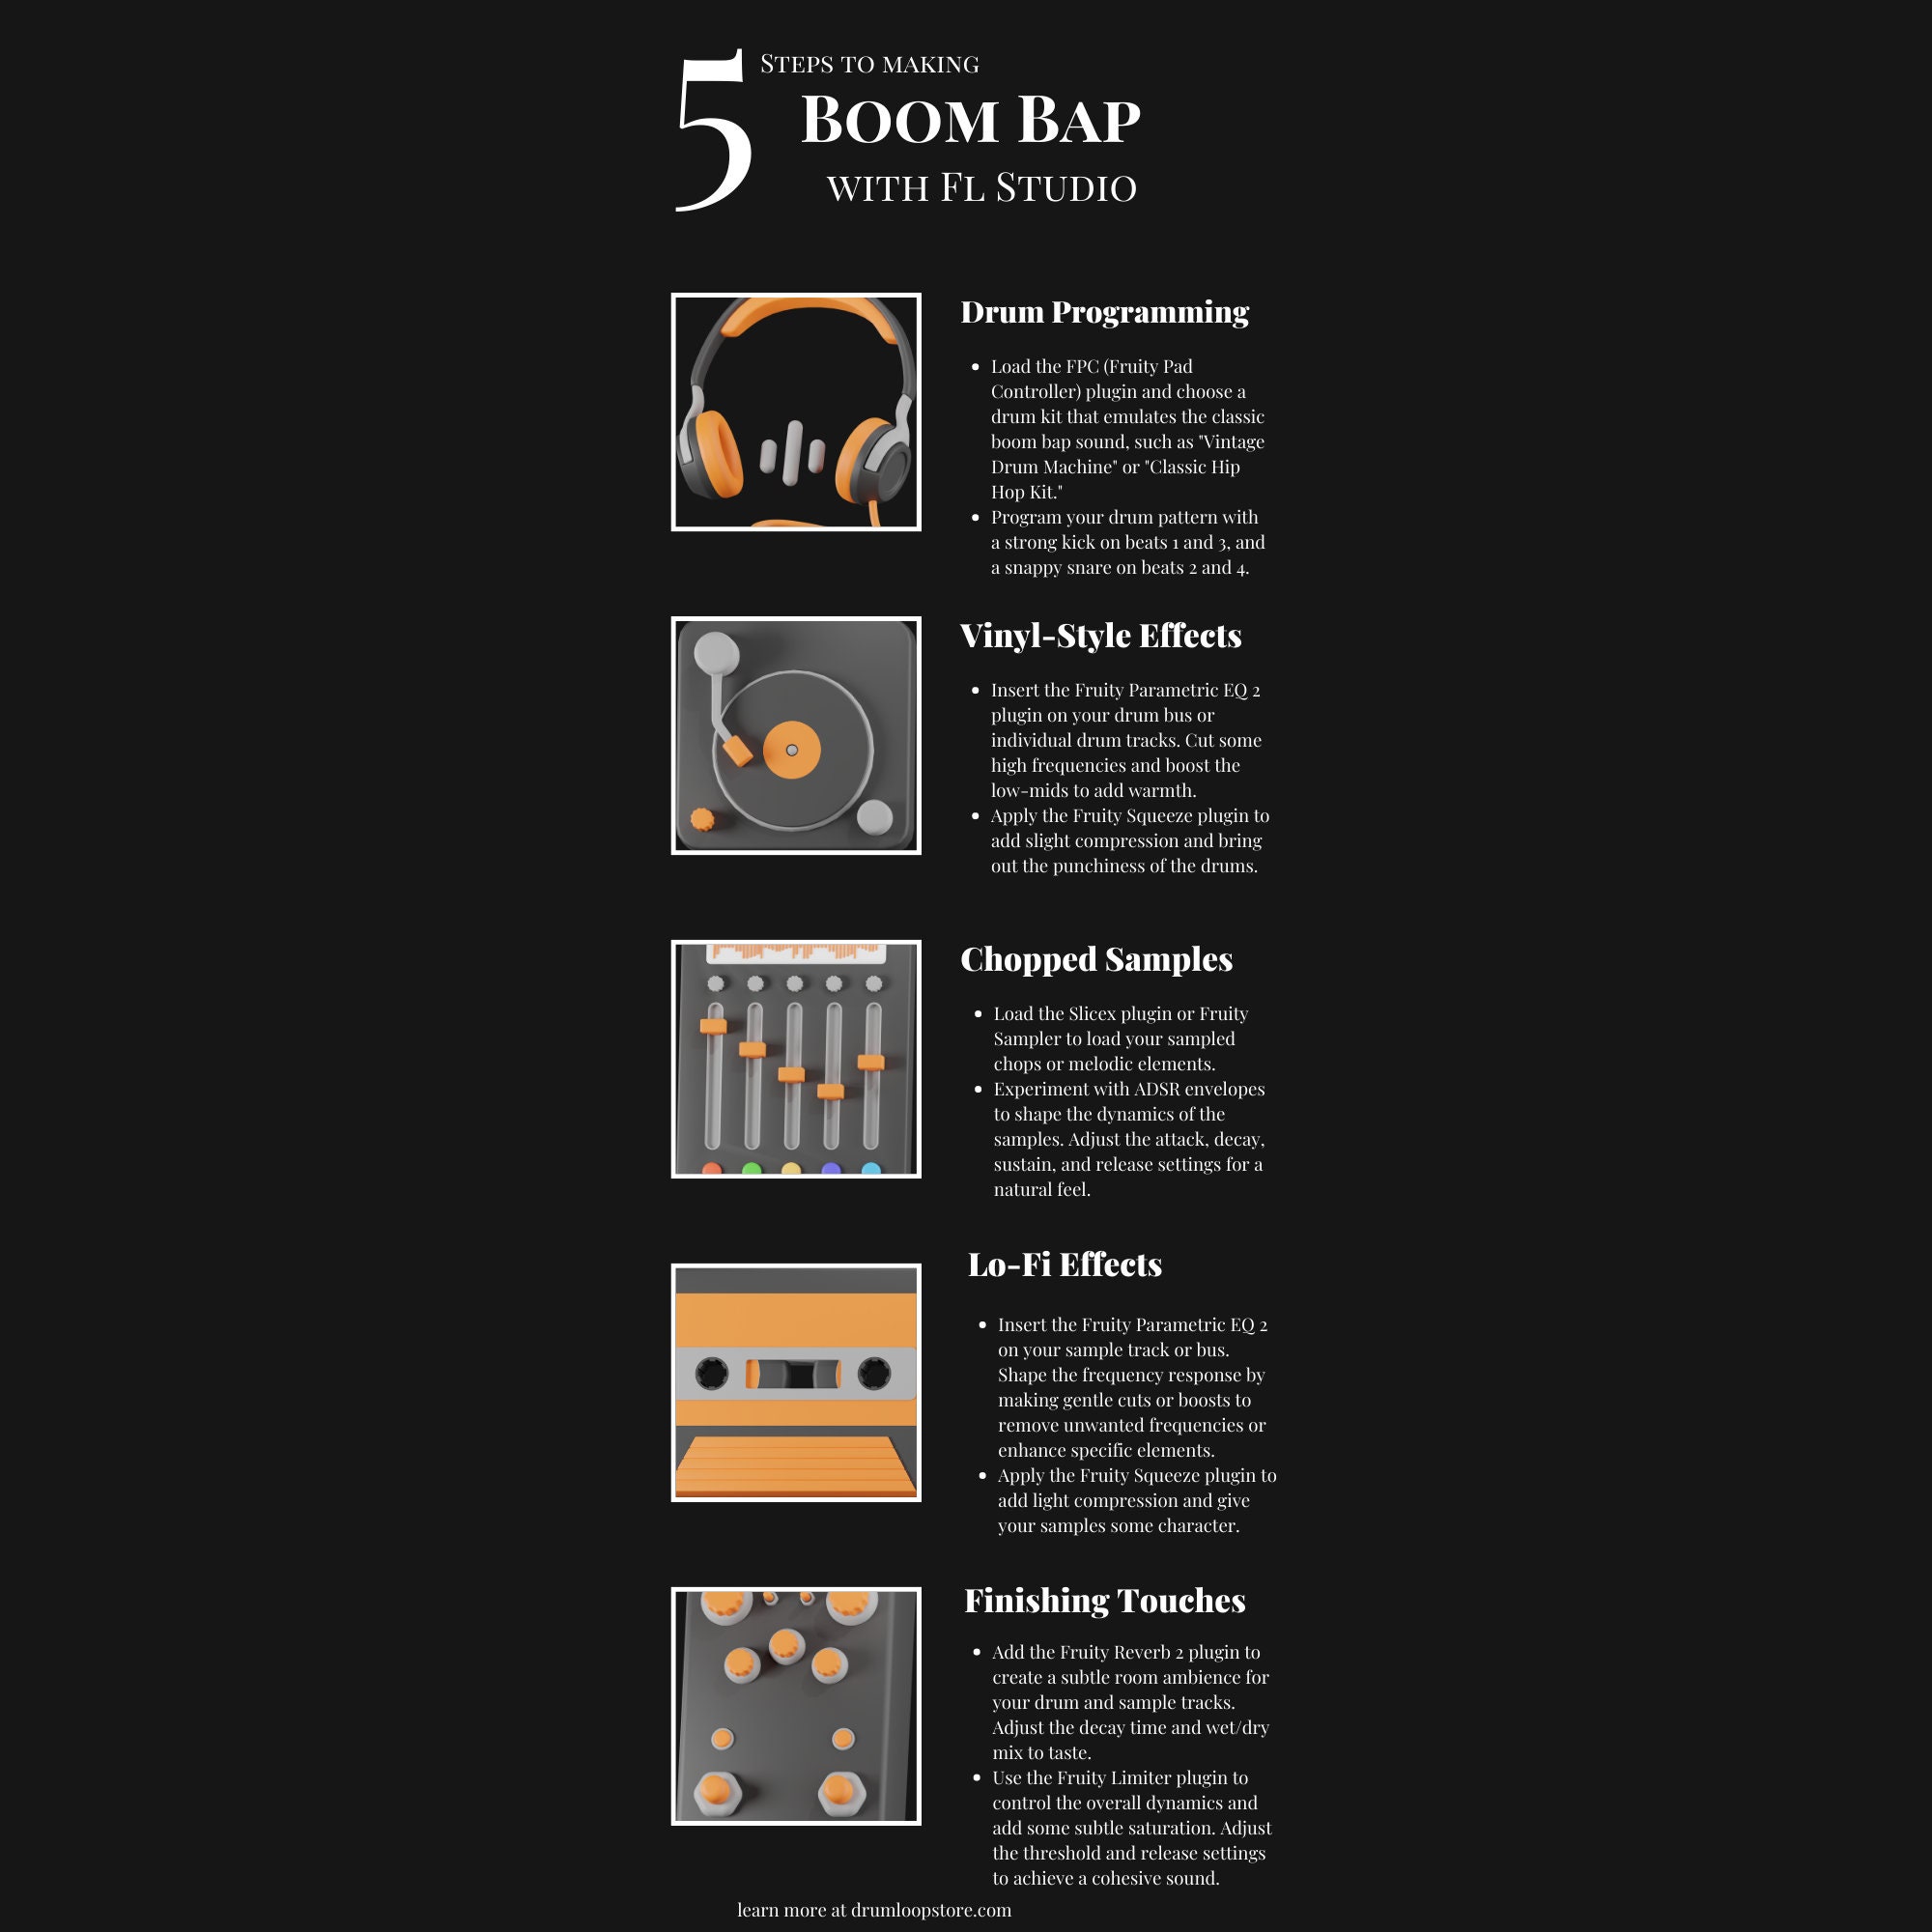
Credit: www.etsy.com

Credit: audiosorcerer.com
Frequently Asked Questions On Drum Bus Compression
What Is Drum Bus Compression?
Drum bus compression refers to applying a compressor to the combined drum tracks. This technique helps glue the drum sounds together, ensuring a cohesive and punchy mix. Bus compression can also control dynamic range for a more consistent drum sound across a song.
How Do You Set Up Drum Bus Compression?
To set up drum bus compression, route your individual drum tracks to a single bus. Insert a compressor into this bus channel. Adjust the threshold, ratio, attack, and release settings to taste, ensuring the compressor works with the drum dynamics effectively.
Why Use Compression On A Drum Bus?
Using compression on a drum bus helps to balance the dynamic range of the drums. It can add punch, power, and cohesion, making the drums sound fuller and more impactful in the music mix. This technique also helps drums to cut through in a busy mix.
What Compression Ratio Is Best For Drums?
A compression ratio between 4:1 and 8:1 is generally a good starting point for drums, providing a balance of control and natural sound. The best ratio depends on the music genre and desired drum sound. Trial and adjustment are key to finding the perfect setting.
Conclusion
Drum bus compression is a game-changer for mix engineers. It injects life into your rhythm section and tightens your overall sound. As you experiment with different compressor settings, remember the goal: punch and cohesion. Dive in, test settings, and let your drums command attention.
Your mixes will thank you.