If you are a music producer or a beatmaker using FL Studio, then the Slicex sampler is a powerful tool that can greatly enhance your workflow and creativity. Slicex is a beat slicing and resequencing sampler that allows you to chop up and rearrange audio samples with ease. In this article, we will explore the features and functionality of Slicex and provide you with some tips and tricks to get the most out of this versatile tool.
Getting Started
Before we dive into the details, let’s first talk about how to access Slicex in FL Studio. To open Slicex, simply navigate to the Channel Rack and select an empty slot. Then, click on the “+” icon and choose Slicex from the list of available plugins. Once Slicex is added, you can start using its various features to manipulate your samples.
Chopping and Slicing
The main function of Slicex is to chop and slice audio samples, allowing you to extract specific sections or individual sounds. To do this, simply load an audio file into Slicex by clicking on the sample slot and selecting your desired file. Once loaded, Slicex will automatically detect the transients in your sample and create slices accordingly. You can adjust the sensitivity of the transient detection using the Sensitivity knob.
Once your sample is sliced, you can start rearranging the slices and creating new patterns. Slicex provides a visual representation of the slices in the waveform display, making it easy to identify and rearrange specific sections. You can move slices around by clicking and dragging them, or you can use the built-in step sequencer to create complex rhythmic patterns.
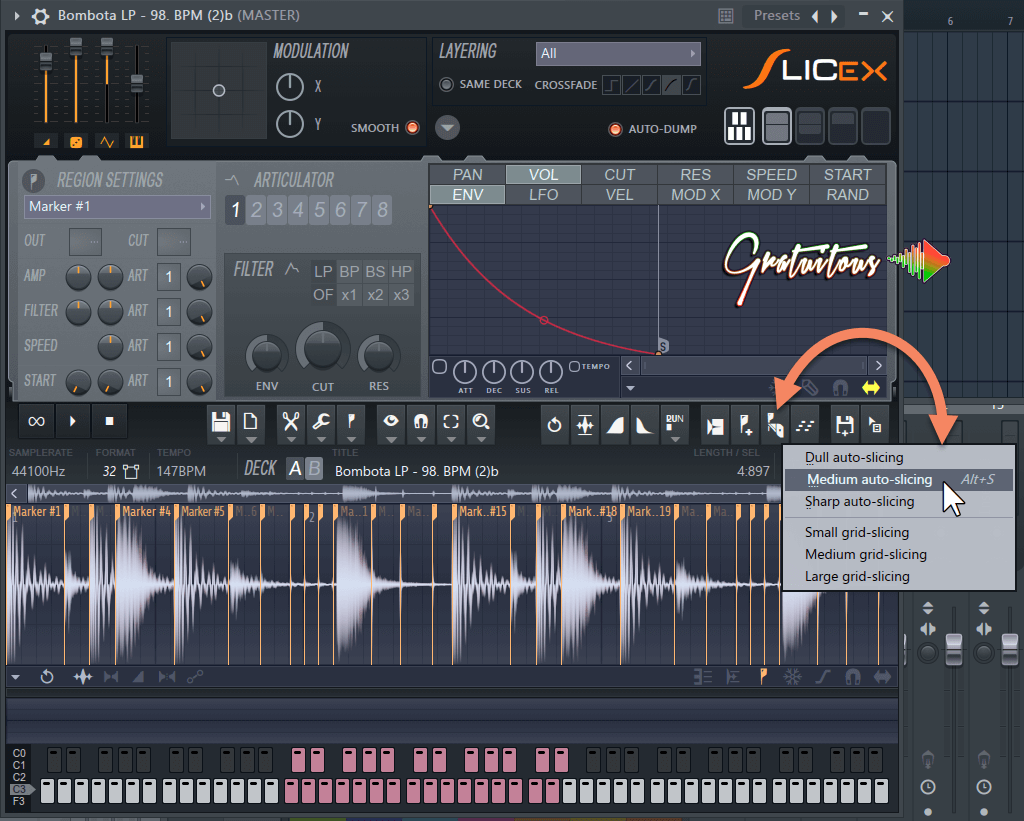
Credit: itsgratuitous.com
Time Stretching and Pitch-shifting
In addition to slicing, Slicex also offers powerful time stretching and pitch-shifting capabilities. With the Time tab, you can adjust the length of your slices without affecting their pitch. This is great for creating interesting variations and tempo changes in your beats. The Pitch tab, on the other hand, allows you to transpose your slices to different notes, giving you endless possibilities for melody and harmony.
Effects and Automation
One of the advantages of using Slicex is the ability to apply effects and automation to individual slices. By right-clicking on a slice, you can access a range of processing options such as filter, EQ, distortion, and more. This allows you to add unique textures and dynamics to specific elements of your sample. You can also automate the parameters of these effects to create evolving and dynamic sounds.
Exporting and Integration
Once you have created your sliced and manipulated sample, you can export it as a new audio file to use in your projects. Simply click on the Export button in the top right corner of the Slicex interface and choose your desired settings. You can export individual slices or the entire sample as a single file. Alternatively, you can drag and drop the slices directly into the Playlist or arrange them in the Channel Rack for further experimentation.
Tips and Tricks
Here are some additional tips and tricks to help you master the Slicex sampler:
- Experiment with different slicing methods to find the best results for your samples.
- Use the Crossfade feature to smooth out transitions between slices and minimize artifacts.
- Try reversing slices or adding effects to create unique and unexpected variations.
- Use the Slice Marker tab to manually adjust and fine-tune the position of individual slices.
- Explore the Slicex library for ready-to-use sample packs and presets.
- Combine Slicex with other FL Studio plugins and effects to unleash your creativity.
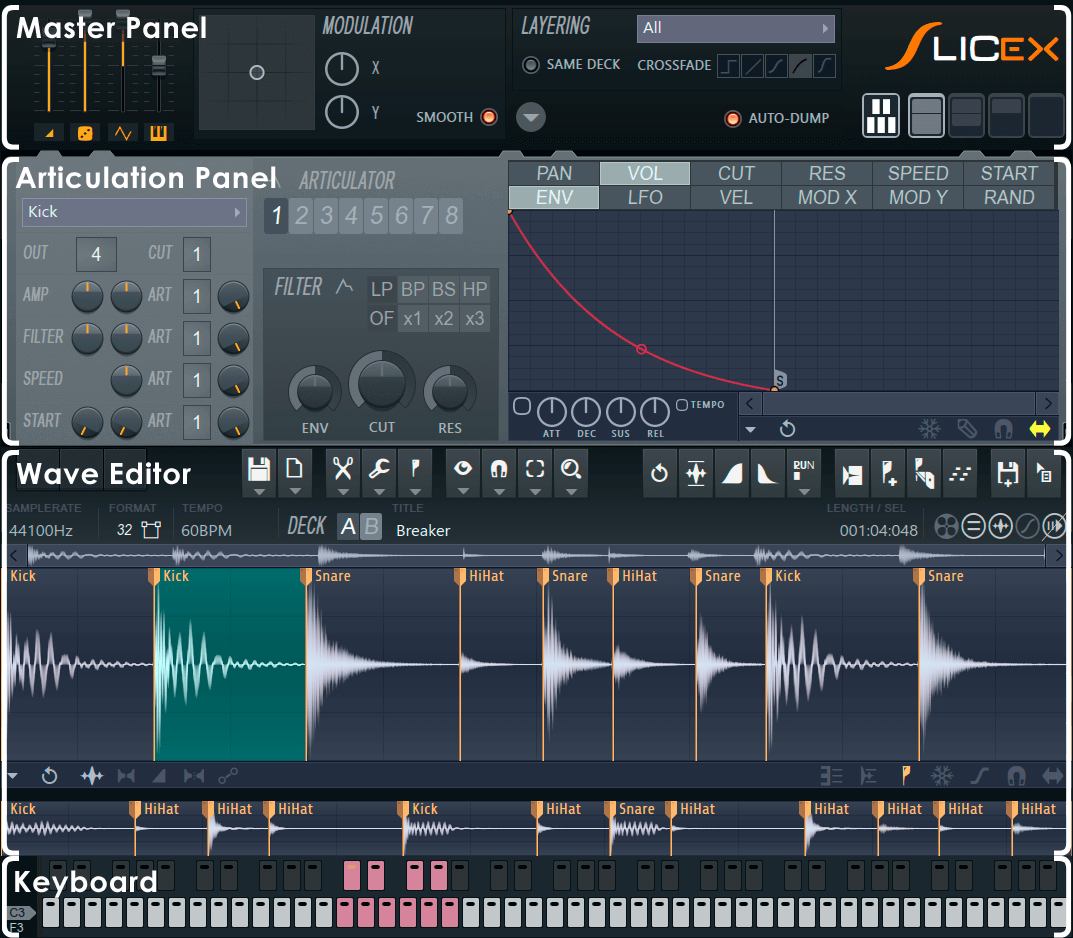
Credit: www.image-line.com
Frequently Asked Questions For Using The Slicex Sampler In Fl Studio: Master Sampling Techniques
What Is The Slicex Sampler Used For?
The Slicex Sampler in Fl Studio is used for slicing and rearranging audio samples for music production.
How To Import Audio Samples Into Slicex?
To import audio samples into Slicex, simply drag and drop the audio file onto the Slicex interface.
Can Slicex Be Used For Time-stretching Audio?
Yes, Slicex can be used to time-stretch audio samples without affecting the pitch, providing flexibility in music production.
What Are The Primary Features Of Slicex?
The primary features of Slicex include automatic slicing, loop points, cue points, and the ability to export sliced audio to piano rolls.
Conclusion
The Slicex sampler is a powerful tool that can revolutionize your beatmaking process. Its intuitive interface, advanced slicing capabilities, and flexible manipulation options make it a must-have for any FL Studio user. Whether you’re a beginner or an experienced producer, mastering Slicex will open up a world of possibilities for creating unique and professional-sounding beats. So, go ahead and start exploring the endless possibilities of the Slicex sampler in FL Studio!