In order to achieve high-quality audio recordings in Ableton Live, it is crucial to properly set up your audio interface. An audio interface serves as the bridge between your computer and external audio sources, such as microphones and instruments. In this article, we will guide you through the steps of setting up your audio interface in Ableton Live, ensuring optimal recording and playback results.
Step 1: Connect Your Audio Interface
Firstly, connect your audio interface to your computer using an appropriate cable. Most audio interfaces use USB, Thunderbolt, or FireWire connections. Make sure to consult the manual of your specific audio interface for the correct cable and connection.
Step 2: Install the Software Driver
Next, you need to install the software driver for your audio interface. The software driver allows your computer to recognize and communicate with the audio interface effectively. Visit the manufacturer’s website and download the latest driver for your particular operating system.
Credit: rolandcorp.com.au
Step 3: Configure Audio Settings in Ableton Live
Launch Ableton Live and navigate to the Preferences menu by clicking on “Options” and selecting “Preferences.” In the Preferences window, select the “Audio” tab.
Under the “Audio Device” dropdown menu, choose your audio interface from the available options. If your interface supports it, select the highest available sample rate for optimal audio quality. Common sample rates include 44.1 kHz and 48 kHz.
Next, select the desired buffer size. Smaller buffer sizes provide lower latency but may require more CPU power. Larger buffer sizes offer higher latency but provide more stable performance. Experiment with different buffer sizes to find the best balance for your specific setup.
Step 4: Set Up Input and Output Routing
In the Audio Preferences window, click on the “Input Config” tab. Here, you’ll be able to specify which inputs of your audio interface you want Ableton Live to recognize. Enable the inputs you wish to use for recording by clicking on the respective checkboxes.
Similarly, click on the “Output Config” tab to configure your desired output routing. This setting determines where Ableton Live will send the audio for playback. Enable the outputs that correspond to your speakers or headphones.
Step 5: Test and Adjust Levels
Once you have set up your inputs and outputs, it’s important to test and adjust the audio levels in Ableton Live. Create a new audio track by clicking on the “+” icon in the track view. Ensure that the audio track is armed for recording by clicking on the small red “Arm” button.
Speak or play your instrument into the microphone or audio source connected to your audio interface. Observe the signal level meters on the audio track. Make sure the input signal is neither too quiet nor clipping (indicating it’s too loud). Adjust the input gain on your audio interface accordingly until you achieve a balanced signal.
Step 6: Apply Monitoring and Recording Settings
To monitor your audio inputs while recording, click on the small headphone icon located on the audio track. This enables the “Input Monitoring” feature, allowing you to hear the input signal in real-time. Adjust the monitoring level to a comfortable level.
Configure the recording settings in Ableton Live by choosing the desired audio format and bit depth. In most cases, 24-bit is recommended as it offers a wider dynamic range and higher audio quality compared to 16-bit. Select either mono or stereo recording mode based on your requirements.
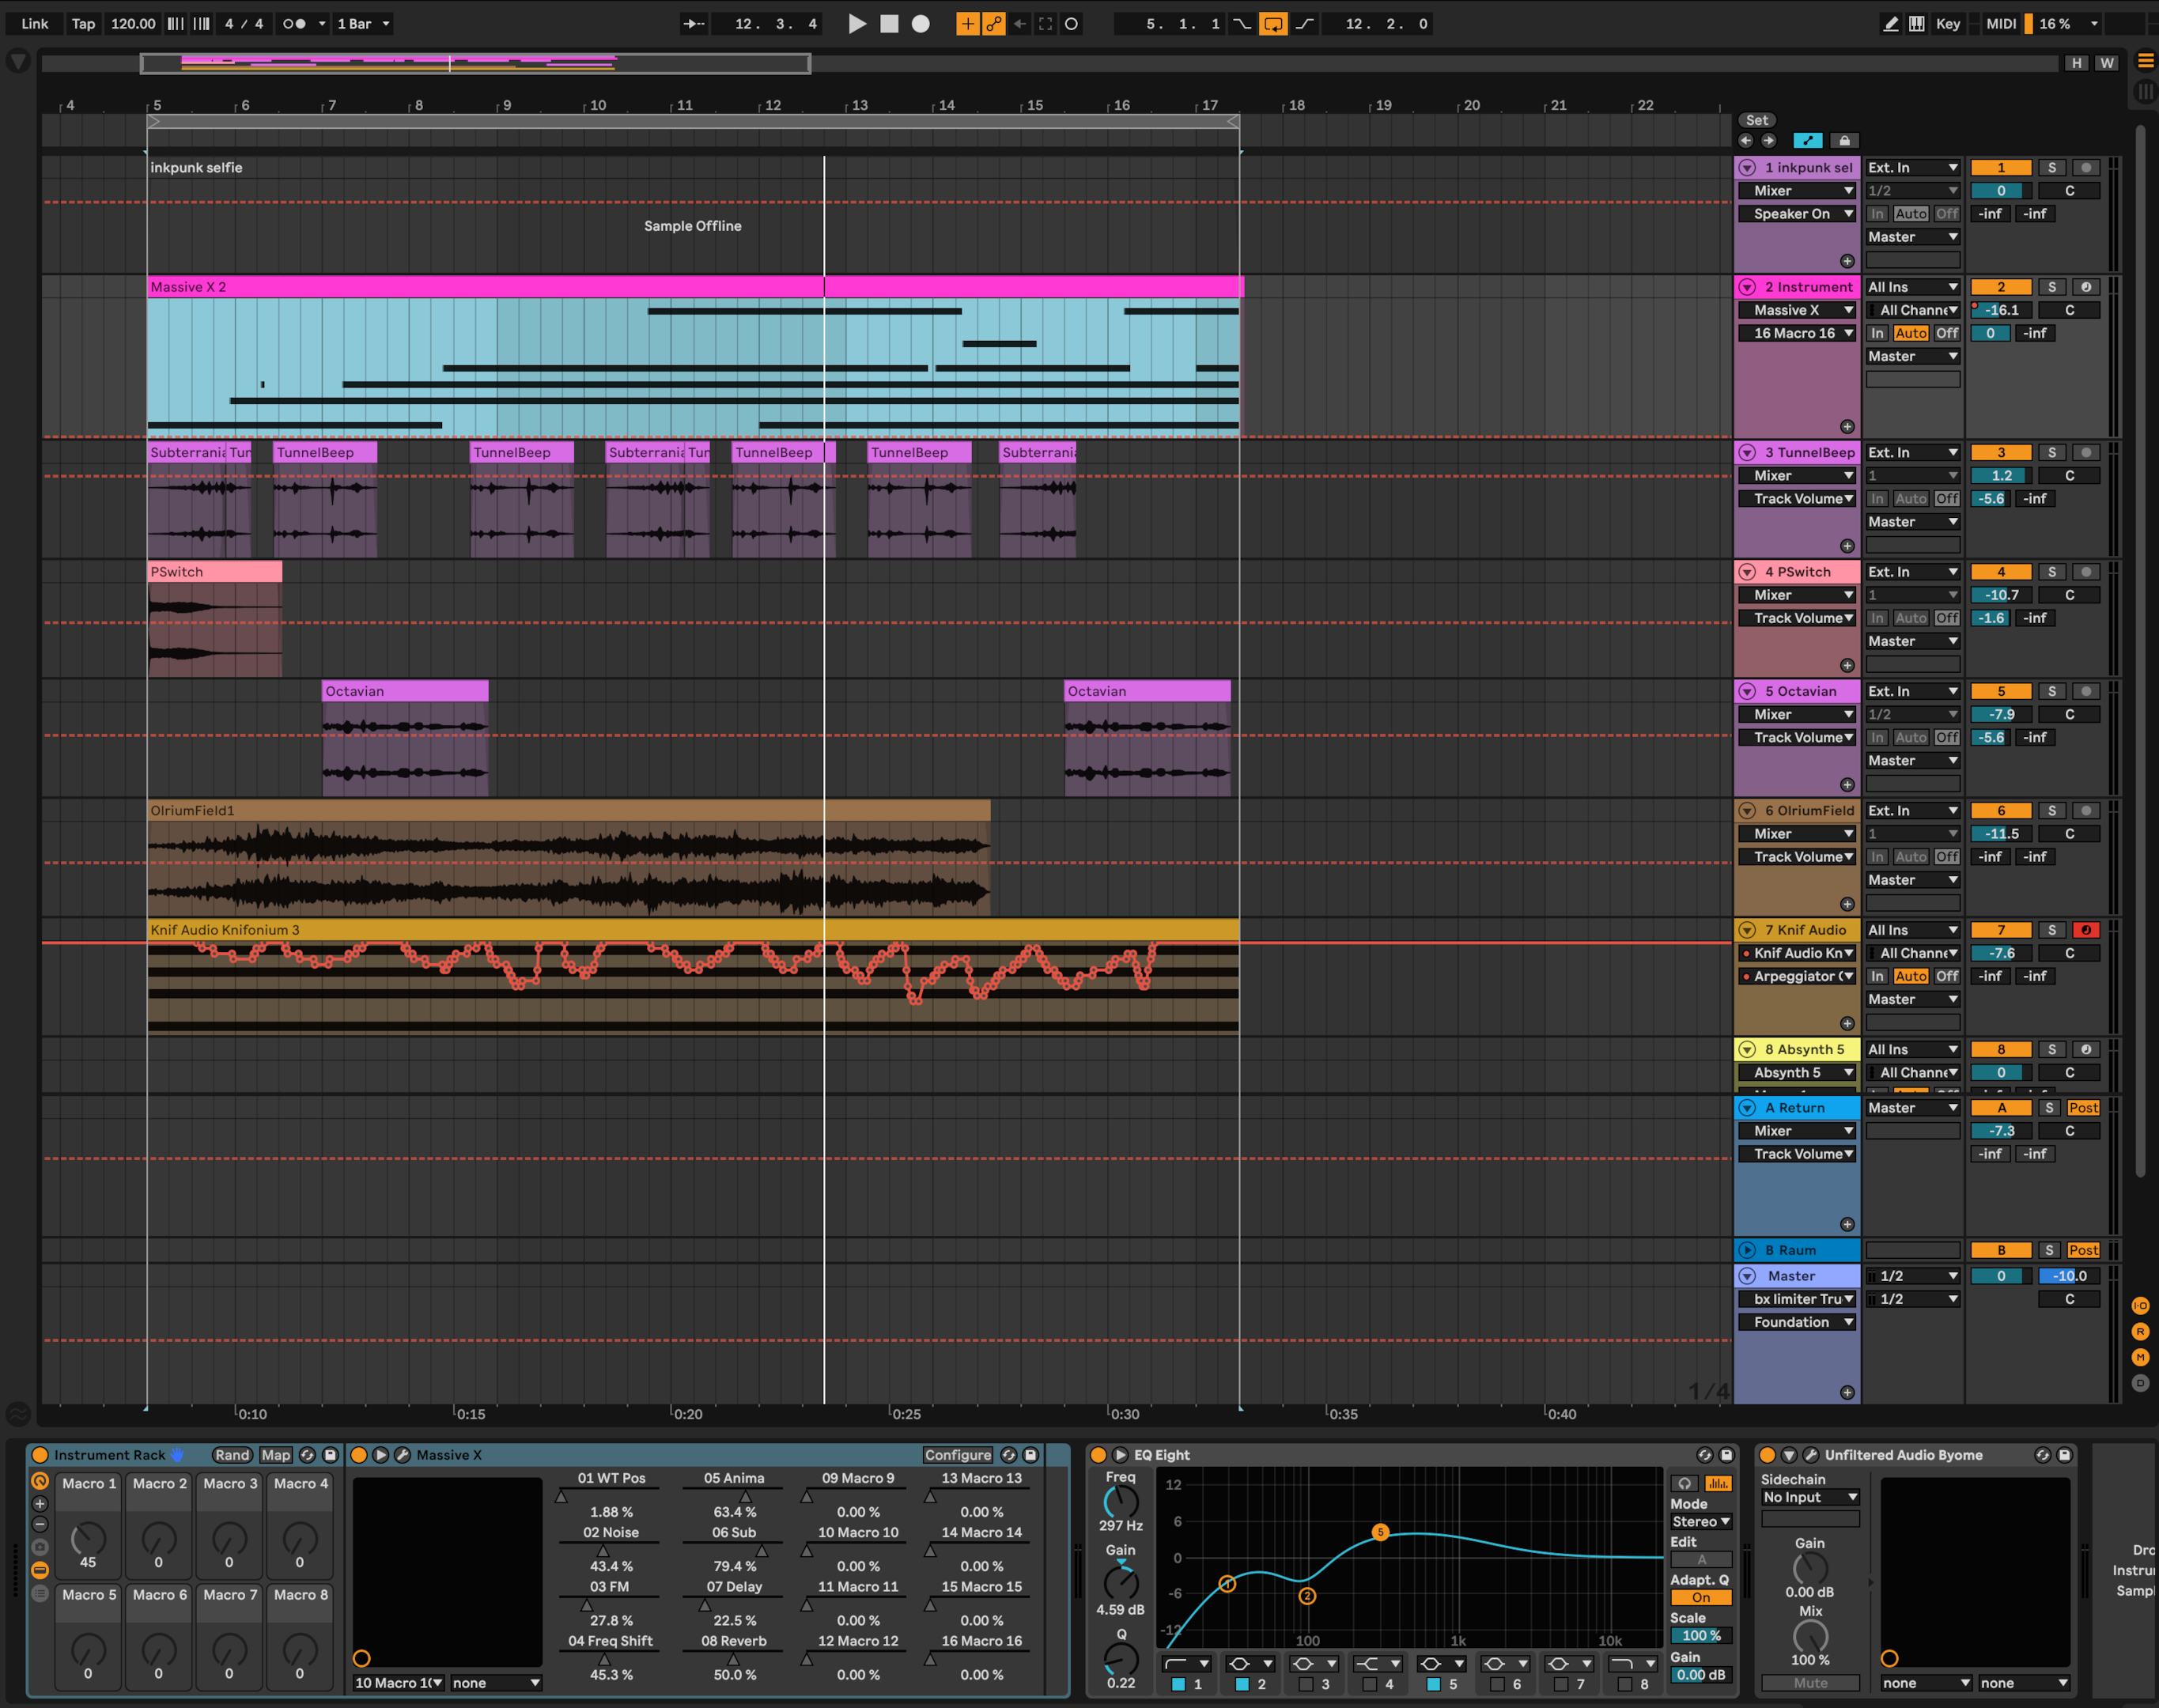
Credit: glitchmagic.com
Step 7: Ready to Record and Produce
With your audio interface properly set up in Ableton Live, you are ready to record and produce music with confidence. Ensure that you save your preferences in Ableton Live for future sessions.
Remember to refer back to the manual of your audio interface for additional guidance and troubleshooting specific to your model. Take your time to explore the features and capabilities of your audio interface in conjunction with Ableton Live, and enjoy the enhanced audio recording and production experience.
Frequently Asked Questions For Setting Up Your Audio Interface In Ableton Live : Ultimate Guide For Beginners
What Is An Audio Interface?
An audio interface is a hardware device that allows you to connect microphones, instruments, and other audio gear to your computer for recording and playback.
Why Do I Need An Audio Interface For Ableton Live?
An audio interface is essential for achieving high-quality sound input and output, reducing latency, and connecting professional studio gear to your Ableton Live setup.
How Do I Connect My Audio Interface To Ableton Live?
Connect your audio interface to your computer using a USB or Thunderbolt cable, and then select it as your input and output device in Ableton Live’s preferences.
Can I Use Multiple Audio Interfaces With Ableton Live?
Yes, you can use multiple audio interfaces with Ableton Live by setting up an aggregate device on your computer to combine the inputs and outputs of the individual interfaces.