You can easily make DIY bass traps using wood frames and acoustic foam to improve sound quality. Crafting your bass traps allows customization to suit your needs precisely.
Bass traps are essential for controlling low-frequency sound waves and reducing room resonance, making them a valuable addition to any soundproofing setup. When designing bass traps, consider factors like room size, ceiling height, and the types of instruments used to ensure optimal performance.
By following simple DIY instructions, you can create cost-effective bass traps that enhance the acoustics of your space without breaking the bank. With a bit of creativity and effort, DIY bass traps can elevate your sound experience and provide a professional touch to your home studio or listening room.
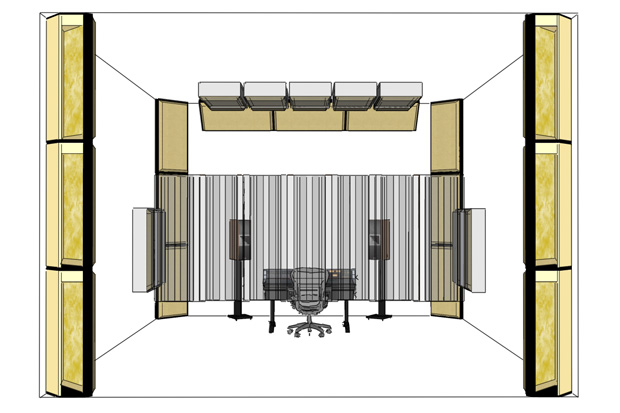
Credit: arqen.com
Choosing The Right Materials
Choosing the Right Materials for DIY Bass Traps
Selecting The Right Acoustic Panels
Absorption quality is essential for effective bass traps.
- Choose dense acoustic panels to absorb low-frequency sound waves.
- Opt for panels with NRC ratings above 0.7 for better performance.
Finding Inexpensive Insulation Materials
Cost-effective options can still offer great sound absorption.
- Consider using mineral wool or fiberglass insulation for bass traps.
- Shop for surplus or discounted insulation materials to save money.
Building The Bass Trap Frame
Measuring And Cutting The Frame Pieces
Bass traps are essential for improving sound quality in your DIY studio. Proper measurement of the frame pieces ensures a snug fit.
Assembling The Frame
Assemble the frame by joining the pieces together securely. Follow these steps:
- Measure the length and width of the frame pieces accurately.
- Use a saw to cut the pieces according to the measurements taken.
- Double-check the dimensions to avoid any discrepancies.
After cutting the pieces, align and connect them using screws or wood glue for a sturdy frame.
Installing The Absorption Material
When it comes to installing the absorption material for your DIY bass traps, precision and proper technique are essential. Follow these steps to ensure that you properly cut, place, and secure the absorption material for effective sound control in your space.
Cutting And Placing The Insulation
1. Select the right insulation: Choose a dense and effective acoustic material such as rock wool or fiberglass. Measure the dimensions needed for your bass traps and use a sharp knife or insulation cutter for precise cuts.
2. Wear protective gear: Before cutting the insulation, wear gloves, a dust mask, and eye protection to safeguard yourself from any potential irritation or health hazards.
3. Cut with care: Use a straight edge to guide your cuts and ensure that the insulation fits snugly into the bass trap frames without any gaps or uneven edges.
Securing The Acoustic Panels
1. Determine the placement: Decide where the acoustic panels will be positioned for optimal sound absorption. Corners and primary reflection points are ideal locations.
2. Fixing the panels: Attach the panels securely using appropriate hardware such as screws, brackets, or adhesive. Make sure the panels are flush against the walls or corners to prevent any sound leakage.
3. Test for stability: Gently tap on the panels to ensure they are firmly in place without any wobbling or movement.

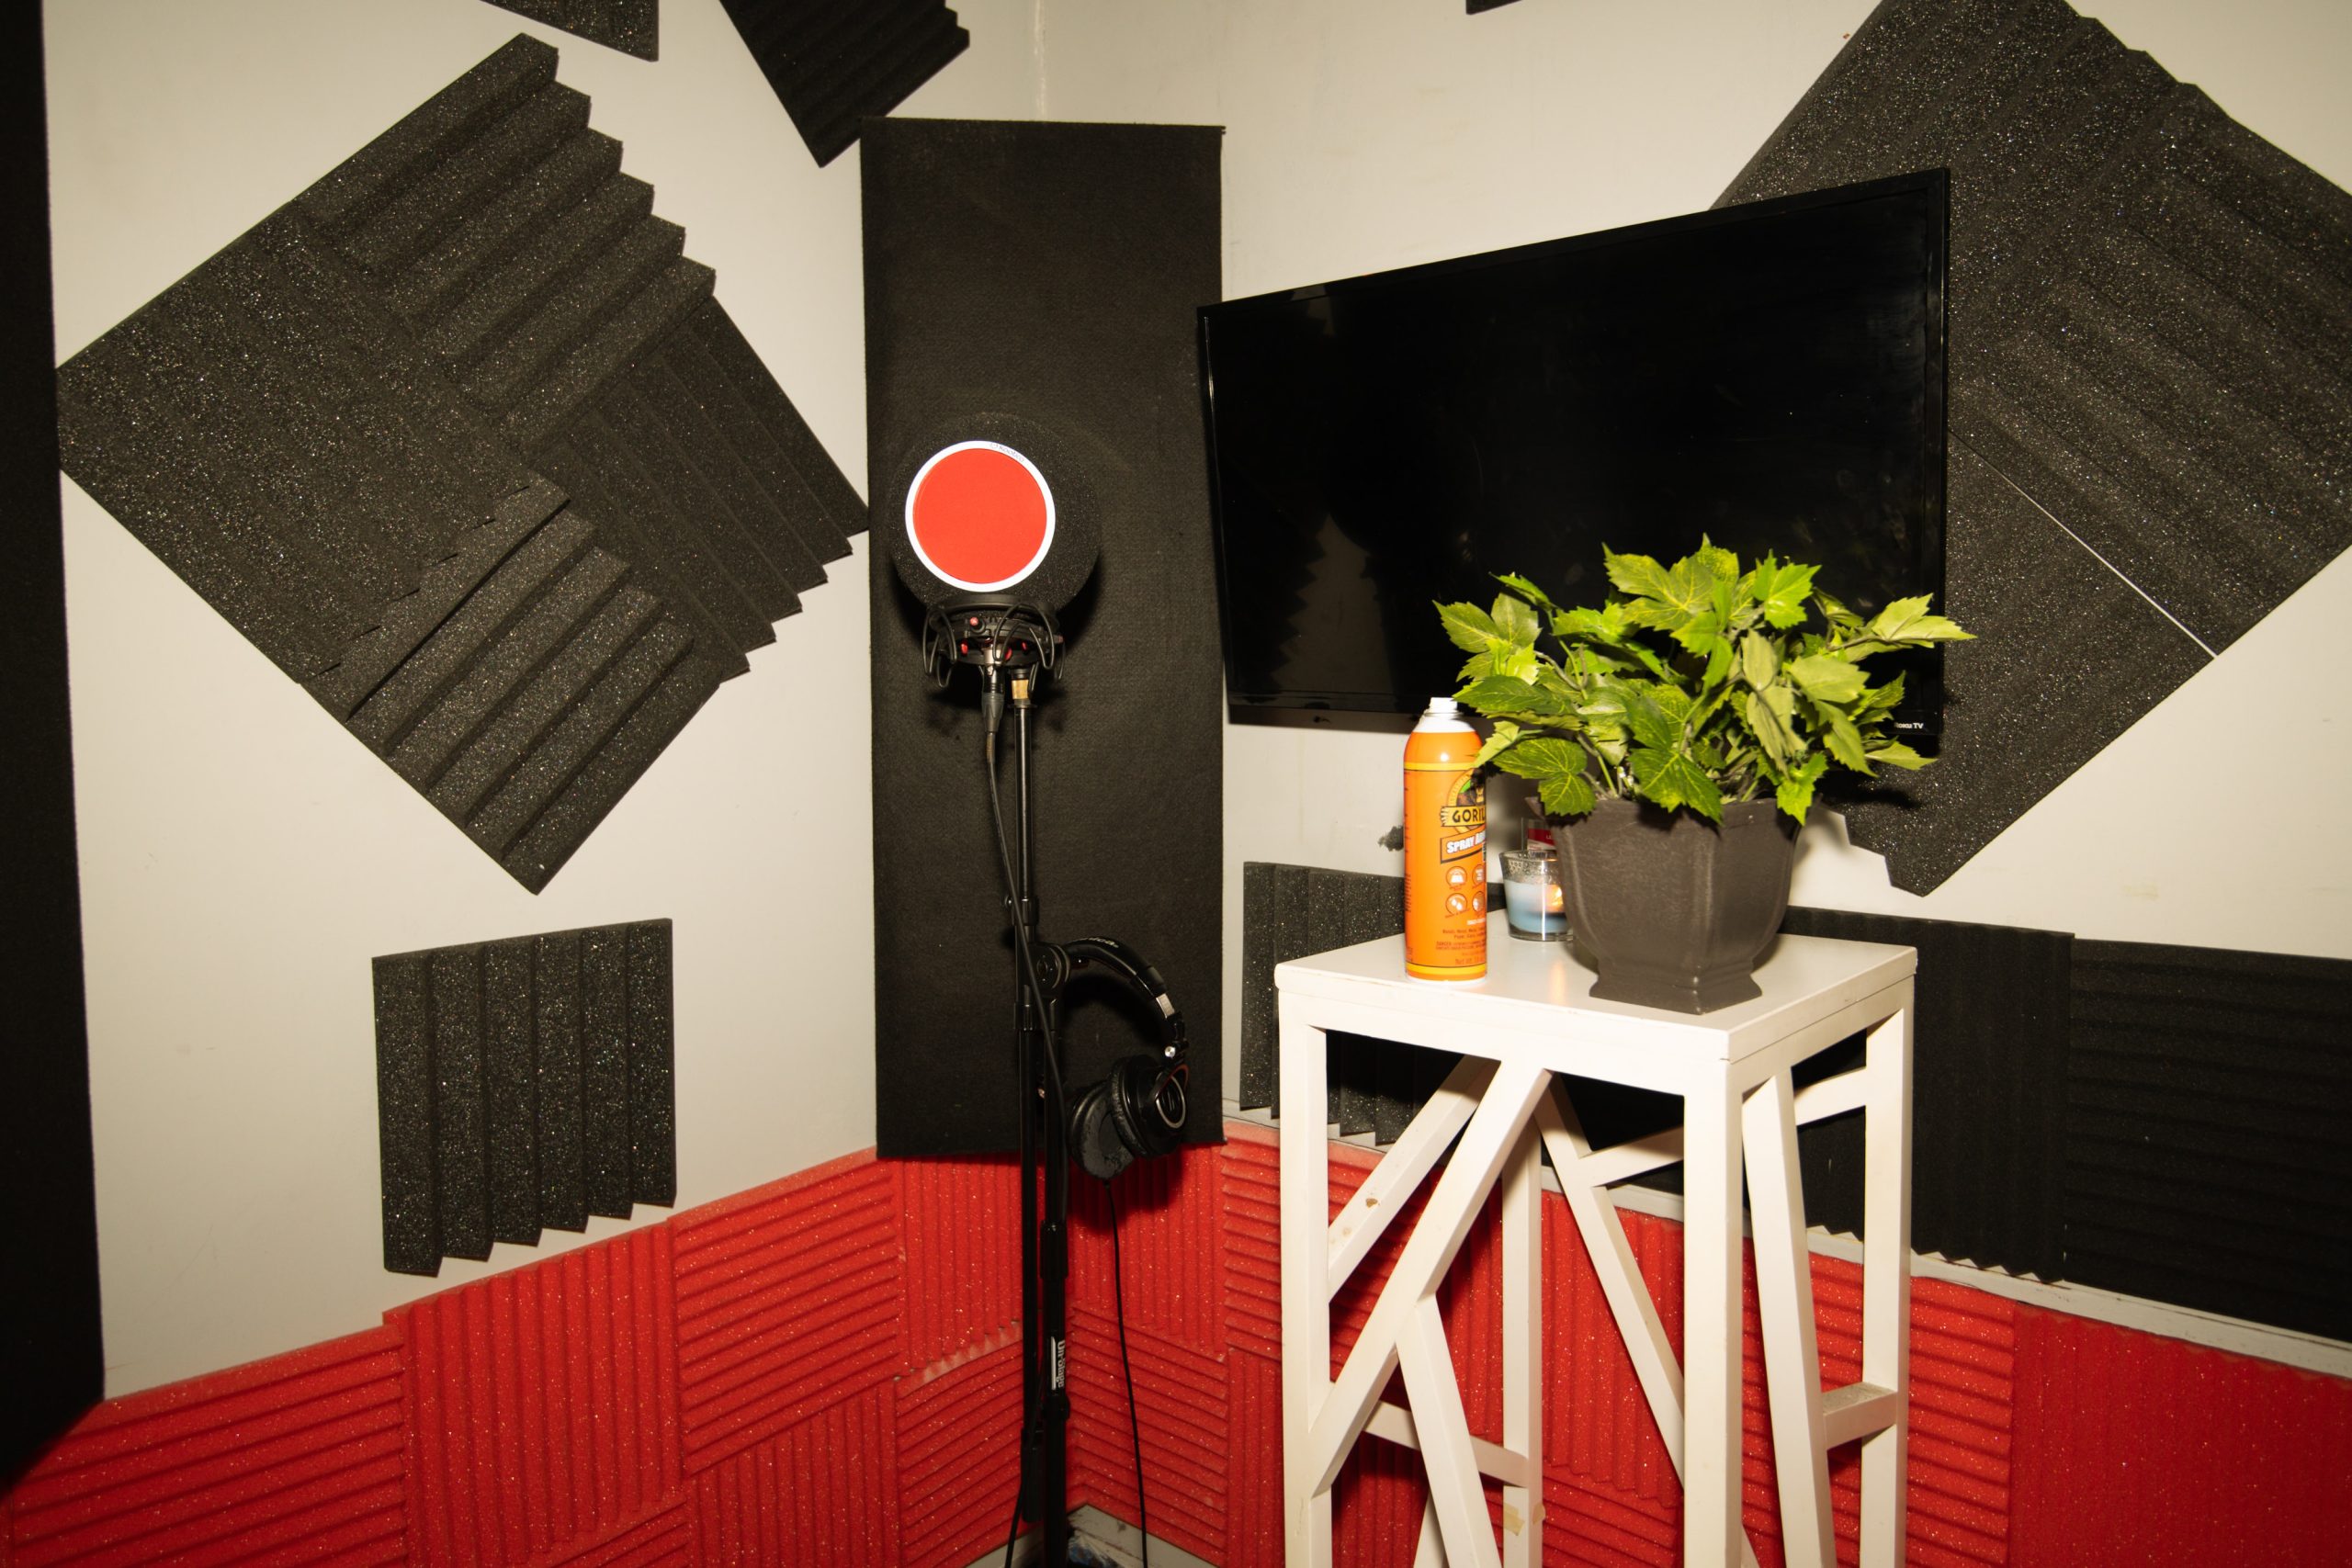
Credit: www.youtube.com
Customizing The Bass Traps
Create unique DIY bass traps by customizing the design to fit your space and improve sound quality. Enhance sound absorption and reduce bass resonance with personalized bass traps for a more professional home studio or entertainment room ambiance.
When it comes to creating the perfect acoustic environment in your home studio or listening room, bass traps are an essential element. These simple yet effective devices help to tame low-frequency sound waves, ensuring a balanced and accurate listening experience. While pre-made bass traps are widely available, customizing them allows you to tailor their appearance and functionality to suit your specific needs. In this article, we will explore two ways to customize your bass traps: by adding a decorative fabric covering and by incorporating corner mounting brackets.
Decorative Fabric Covering
Adding a decorative fabric covering to your bass traps not only enhances their appearance but also allows you to match them to your room’s color scheme and aesthetic. Here are a few simple steps to guide you:
- Measure the width and height of your bass traps.
- Select a fabric that is both acoustically transparent and visually appealing.
- Cut the fabric to the required dimensions, leaving a few inches of excess on each side.
- Starting from one edge, fold the excess fabric over the bass trap and staple it in place.
- Continue folding and stapling the fabric along each side, ensuring a tight and smooth finish.
By following these steps, you can easily transform your plain bass traps into attractive and personalized acoustic decorations that blend seamlessly with your room’s design.
Adding Corner Mounting Brackets
To maximize the effectiveness of your bass traps, it is essential to position them correctly in your room. Adding corner mounting brackets is a practical solution that allows you to securely attach the traps to the corners of your space. Here’s how to proceed:
- Determine the optimal location for your bass traps in the corners of your room.
- Measure the distance from the ceiling to the floor in each corner.
- Purchase corner mounting brackets that are suitable for your bass trap size and weight.
- Attach the brackets to the walls using screws and anchors.
- Slide the bass traps into the brackets and adjust them to the desired height.
By adding these corner mounting brackets, you ensure that your bass traps stay securely in place, effectively absorbing low-frequency sound waves and improving the overall acoustics of your space.
Optimizing Placement And Usage
When it comes to enhancing your listening space, strategic placement and proper usage of DIY bass traps play a crucial role. By optimizing their placement and usage, you can significantly improve the acoustics of your room and achieve a well-balanced sound experience.
Strategic Placement In Listening Space
Placing your DIY bass traps strategically within your listening space is essential. By understanding the characteristics of low-frequency sound waves, you can effectively identify the ideal locations for placement.
Consider the following placements for your bass traps:
- Room corners: The corners of your room are hotspots for low-frequency buildup. Installing bass traps in these areas helps in reducing excessive bass resonance.
- Wall reflections: Mounting bass traps on the walls opposite your speakers can help eliminate unwanted reflections and echoes, resulting in clearer and more defined sound.
- Behind listening position: Placing bass traps behind your listening position helps control bass energy and prevents excessive low-frequency reverberation.
Monitoring And Adjusting For Best Results
To achieve optimal results, it’s important to monitor and adjust the placement of your DIY bass traps as needed. Regularly assessing the sound quality in your listening space allows you to make necessary adjustments for the best acoustic performance.
Here are a few tips for monitoring and adjusting your bass traps:
- Perform listening tests: Regularly listening to familiar music or audio tracks helps you identify any noticeable improvements or areas that may require further adjustment.
- Record measurements: Use measurement tools such as a sound level meter or room analyzer to record measurements before and after making adjustments. This helps you objectively evaluate the impact of your changes.
- Tweak placement: If you notice areas of improvement or certain frequencies still dominating, experiment with repositioning your bass traps slightly to target those specific problem areas.
- Consider room size and layout: The size and layout of your room can influence the effectiveness of bass traps. Experiment with different placements based on your room’s characteristics to achieve the best results.
Remember, optimizing the placement and usage of your DIY bass traps is a continuous process. By observing and adjusting as necessary, you can create an acoustically balanced listening environment that enhances your audio experience.
Credit: acousticgeometry.com
Frequently Asked Questions For Diy Bass Traps
How Do You Make Homemade Bass Traps?
To make homemade bass traps, use rigid fiberglass or rockwool insulation, fabric, and a wooden frame. Cut insulation to size, wrap in fabric, and assemble in corners or walls for sound absorption.
What Makes A Good Bass Trap?
A good bass trap effectively absorbs low-frequency sound waves, reducing room resonance and improving acoustic clarity. Quality materials and strategic placement are key factors for optimal performance.
Should Bass Traps Be Floor Or Ceiling?
Bass traps can be placed on the floor or ceiling to effectively absorb low-frequency sound waves. Consider the room’s acoustics to determine the best placement for optimal sound treatment.
What Is The Best Material To Absorb Bass?
The best material to absorb bass is acoustic foam.
Conclusion
To sum up, DIY bass traps offer an effective and cost-efficient solution for improving the acoustics of your recording space. By following the steps detailed in this guide, you can create custom bass traps that fit your specific requirements. With better sound control, you can elevate your music production or listening experience.