To balance your mix, adjust each track’s volume and EQ levels to ensure they complement each other in the final mix. Achieving a balanced mix is crucial for a professional-sounding recording.
For any music producer, mastering the art of mixing is a must. A good mix is essential to make your music sound polished and commercial. It’s the final step before getting your music ready for distribution. Balancing your mix is an integral part of the process that ensures that each element of the track is blended together harmoniously.
It can be a challenging task, but it’s worth the time and effort. We will show you some useful techniques you can use to balance your mix like a pro. We’ll discuss the importance of leveling and EQing your tracks, which is the key to ensuring your music is well balanced. So, let’s dive in!
Understanding Eq
Balancing a mix requires understanding EQ, or equalization. By manipulating the different frequency ranges in each track, you can create a harmonious blend of all the sounds in your mix. With practice and attention to detail, you can master the art of EQ and create a professional-sounding mix.
Understanding EQ – The Key To Balancing Your Mix Balancing your mix can be a daunting task, especially if you’re just starting in the music industry. However, with the right knowledge and understanding of EQ (Equalization), you can easily create a balanced mix. Frequency Spectrum The first step in understanding EQ is to familiarize yourself with the frequency spectrum. The frequency spectrum refers to the range of frequencies that can be heard by humans. In music production, the frequency spectrum is divided into different bands, each with its own unique range of frequencies. Types of EQ There are different types of EQ that you can use to balance your mix. The most common types of EQ include: 1. Parametric EQ – This type of EQ allows you to adjust the frequency, bandwidth, and gain of a specific frequency range. 2. Graphic EQ – A graphic EQ is composed of different frequency bands that can be adjusted independently. 3. Shelving EQ – This type of EQ adjusts all frequencies above or below a specific frequency. 4. High-pass and low-pass filter – These filters allow you to cut out unwanted frequencies by boosting or reducing certain frequencies in the mix. Ensuring each H3 heading adheres to HTML syntax, here is an example of the headings in HTML format:
Frequency Spectrum
Types Of Eq
In conclusion, understanding EQ is essential in balancing your mix. By familiarizing yourself with the frequency spectrum and different types of EQ, you can easily create a balanced mix that sounds great.

Credit: www.audiomixingmastering.com
Setting Levels
Balancing a mix is crucial to ensuring all elements are heard equally. One way to achieve this is by setting levels, which involves adjusting individual track volumes to achieve a cohesive sound. It’s important to use your ears and trust your instincts when making these adjustments.
Setting Levels: Using Peak Meters
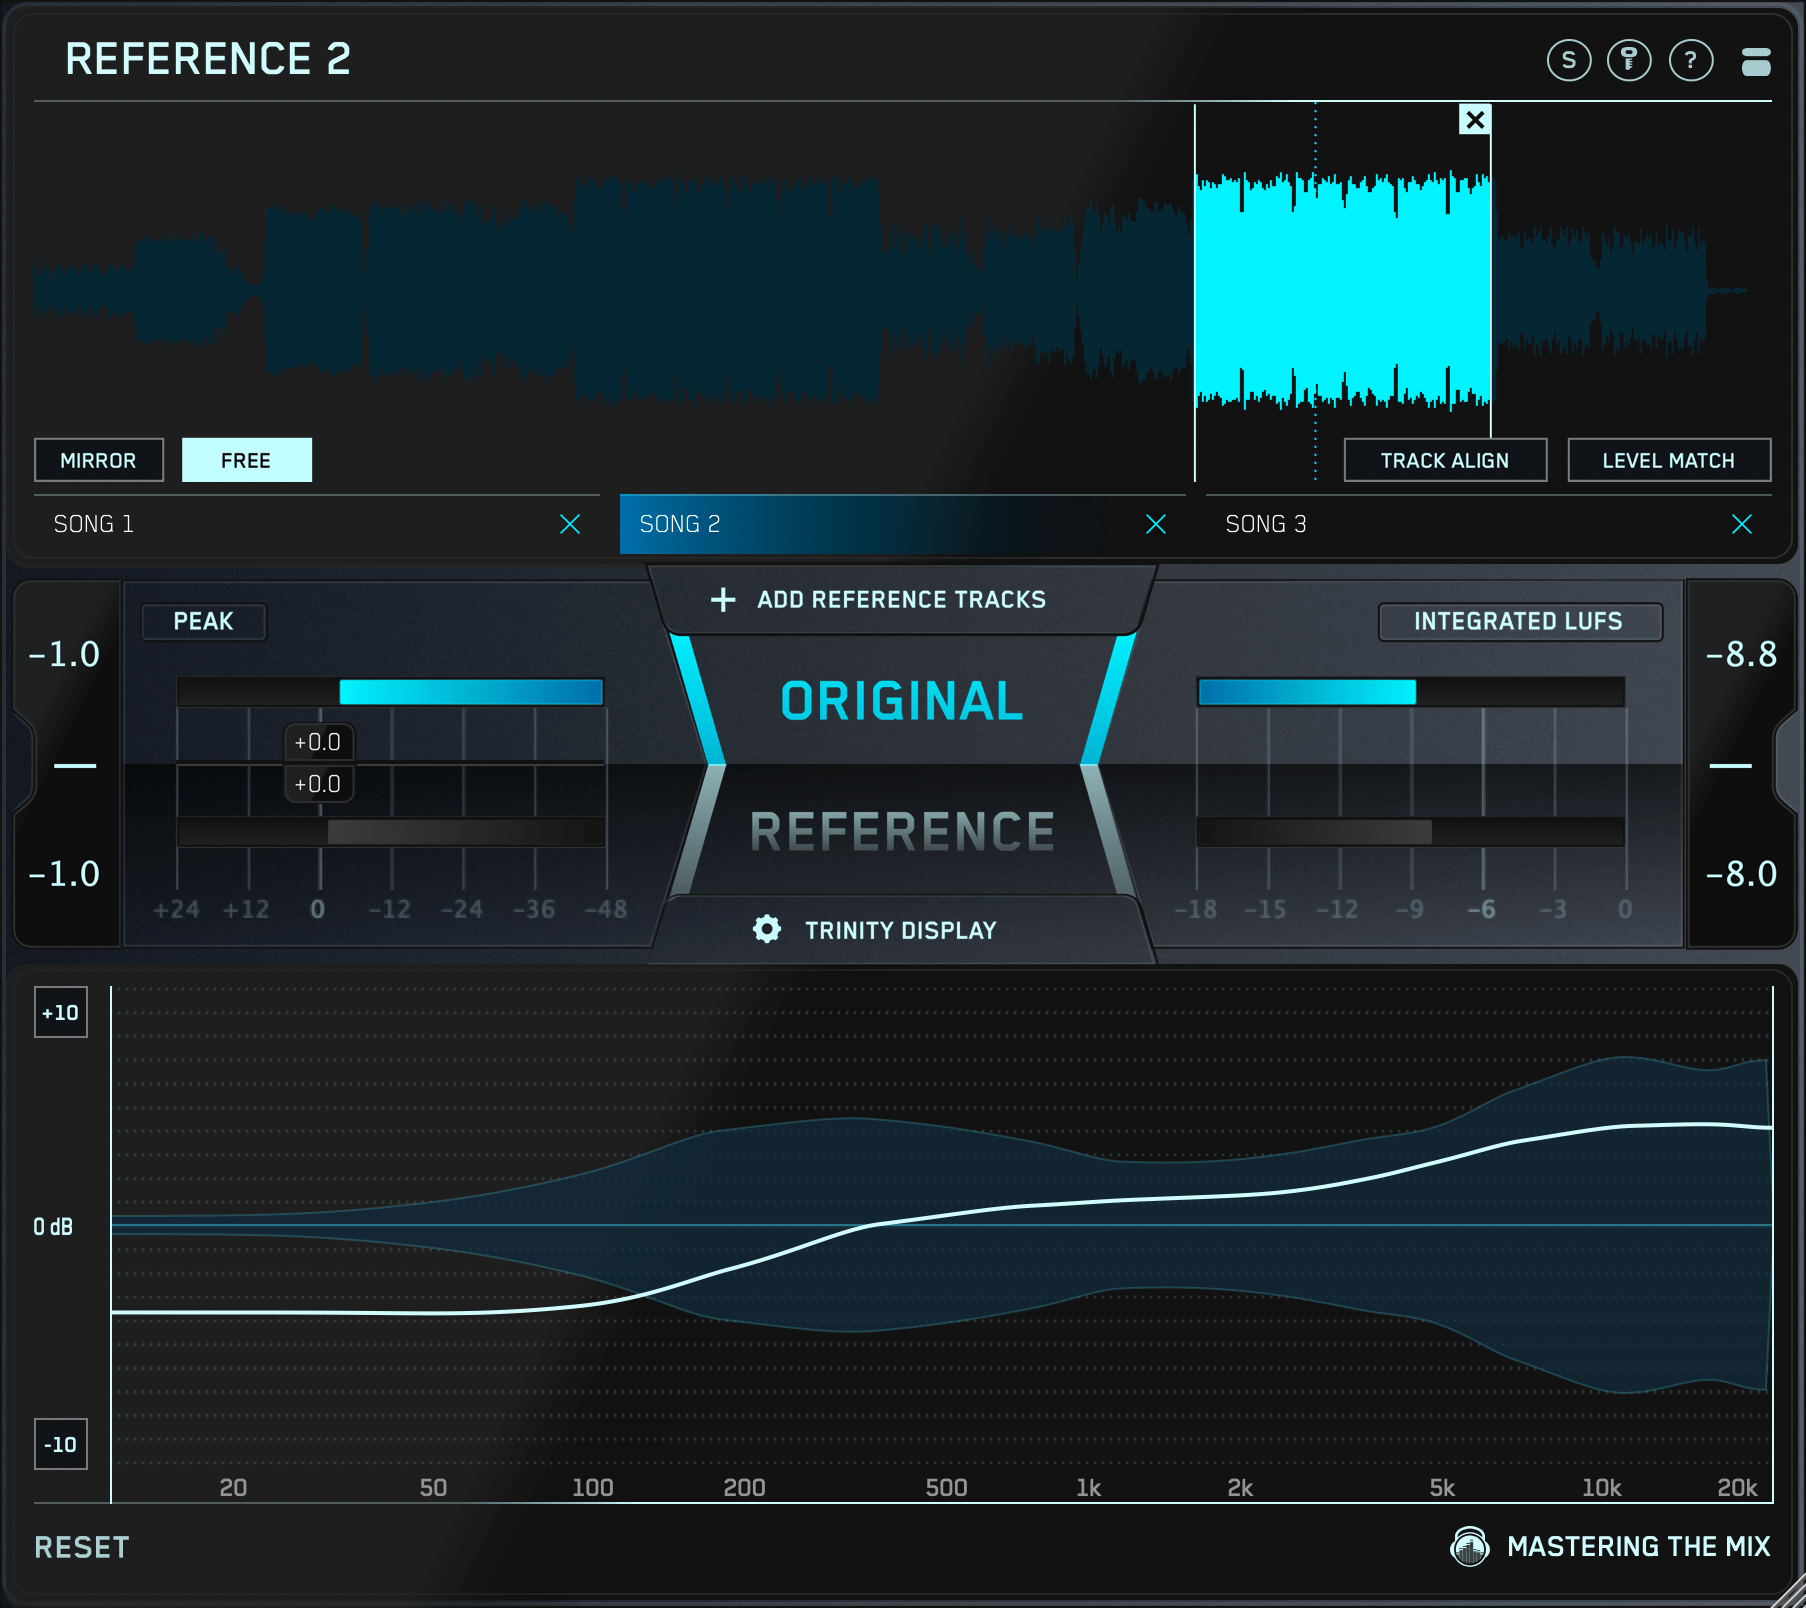
When it comes to setting levels in your mix, it’s essential to make use of your peak meters. Peak meters show you the highest point of any given signal and provide valuable information about the volume of your tracks. To use peak meters, make sure to set them to display the appropriate level for your project. For example, if you’re working on a project that will be distributed on a streaming platform, you should set your peak meter to -1dB. This level is the maximum allowed peak level for most streaming services, and exceeding it could result in distorted audio.
Setting Levels: Using Lufs Meters
In addition to peak meters, it’s important to use LUFS meters when setting levels in your mix. LUFS meters measure the perceived loudness of your tracks and are essential for ensuring that your mix is consistent and well-balanced. When using LUFS meters, be sure to set them to the appropriate level for your project. For example, if you’re working on a TV show or movie, you might want to aim for a level of -24LUFS. On the other hand, if you’re working on a music project, you might want to aim for a level of -14LUFS. Ultimately, the goal is to maintain a consistent level throughout your mix, so make sure to keep an eye on your LUFS meter as you work. Using both peak meters and LUFS meters together will give you a complete picture of the volume and loudness of your tracks. By paying close attention to these meters, you can ensure that your mix is well-balanced and ready for distribution.
Creating Space With Reverb
Creating space in your mix can be achieved by using reverb effectively. By balancing the amount of reverb on each instrument and vocal track, you can create a sense of depth and space without making your mix sound muddy or washed out.
This can help each element stand out and give your mix a professional-sounding polish.
Dry Vs Wet Mix
To create a well-balanced mix, sound engineers use a combination of dry and wet signals. The dry signal is the original sound without added effects. On the other hand, the wet signal is the original sound with the added reverb. Balancing both signals is essential in creating a cohesive mix. One approach to balancing the dry and wet mix is by adjusting the levels of both signals. You can reduce the dry signal to make room for the wet signal or vice versa. Finding the right balance can give listeners the best listening experience.
Different Types Of Reverb
Reverb is not a one-size-fits-all effect. There are different types of reverb, and each serves a particular purpose. Understanding the different types of reverb can help you choose the right type of effect for your mix. Plate reverb is ideal for vocals and drums, while hall reverb is suitable for orchestral pieces. Chamber reverb is perfect for giving your mix a warm sound, while room reverb can make your mix feel bigger. Reverb is crucial in creating space in your mix. It can help in separating your instruments, creating depth, and adding an illusion of space. One way to use reverb effectively is by applying different levels of reverb to different instruments in your mix. For instance, you can add more reverb to the vocals to push them forward in the mix. Another technique is using the pre-delay function, which determines the delay between the dry signal and the onset of the wet signal. Adjusting the pre-delay time can create a sense of space. A longer pre-delay time can make the sound appear further away. In conclusion, balancing the mix using different types of reverb can create a listening experience that is both engaging and immersive. It is essential to experiment with different settings and techniques to find the right balance that works for your mix.
Credit: www.kvraudio.com
Panning Sounds For Width
To balance your mix, try using panning sounds for width. By strategically placing different elements of the mix in either the left or right stereo field, you can create a sense of space and clarity in your production. This can add a professional touch to your music and help make it stand out amongst the crowd.
Panning sounds is a classic technique used by audio engineers to create a sense of space in a mix. It involves moving sounds from the center of the stereo field to the left or right speaker. By adjusting the panning of different tracks, you can create a mix that sounds wider and more expansive.
Mono Vs Stereo Sounds
Before we look at panning techniques, it’s important to understand the difference between mono and stereo sounds. Mono tracks play the same audio signal out of both speakers, while stereo tracks have different signals for the left and right speakers. Stereo tracks are the ones you’ll use when panning sounds. You can also use stereo wideners to create a wider stereo image from mono tracks.
Panning Techniques
There are a few different panning techniques you can use to create width in a mix. Here are a few examples:
- Hard panning: This involves panning a sound all the way to the left or right speaker. It can be effective for creating separation between elements in a mix.
- Mild panning: This involves panning a sound slightly off-center, towards the left or right. It creates a more natural stereo image and can help fill out the mix.
- Ping-pong panning: This is a common technique used with stereo delay effects, where the delayed signal is panned back and forth between the left and right channels.
It’s worth noting that not every element in a mix needs to be panned – sometimes sounds work best when they’re centered. Use your ears to decide what works best for each track.
In Conclusion
Mastering the art of panning sounds for width can take some practice, but it’s a valuable technique to have in your audio engineering toolbox. Experiment with different panning techniques and use your ears to decide what sounds best. By creating a wide, spacious mix, you can bring your music to life and make it sound bigger than ever.
Using Compression
To balance your mix, using compression is an essential tool. By controlling the dynamics of individual tracks and glueing them together, you can achieve a cohesive sound with greater clarity and consistency. Use compression sparingly and with intention to avoid over-processing and losing the natural feel of the music.
Mixing music is an art that requires a balance of all elements to produce a harmonious and polished final product. Sometimes, when mixing, certain components of the mix may overpower others, resulting in an uneven-sounding track. Compression is a tool used in the mixing process to control the level of dynamic range in audio. It helps to balance the mix by reducing the dynamic range and bringing out the subtle nuances of the composition. In this article, we’re going to explore different types of compressors and compressor settings.
Types Of Compressors
There are several types of compressors that can be used in mixing. Here are three common types:
| Type of Compressor | Description |
|---|---|
| VCA Compressor | This type of compressor uses a Voltage-Controlled Amplifier to control the dynamic range of the audio signal. It’s known for its transparency and fast attack time. |
| Optical Compressor | This type of compressor uses a light source and a photoresistor to compress the dynamic range. It’s known for its smooth and warm sound. |
| FET Compressor | This type of compressor uses a Field-Effect Transistor to control the dynamic range. It’s known for its aggressive sound and fast attack time. |
Compressor Settings
Once you’ve selected the type of compressor that fits your needs, you’ll need to adjust the settings to achieve the desired effect. Here are a few common compressor settings to consider:
- Threshold: This sets the level at which the compressor starts to work. If the audio signal exceeds the threshold, the compressor will kick in and reduce the level accordingly.
- Ratio: This setting determines how much the compressor reduces the dynamic range. For example, a ratio of 2:1 means that for every 2dB the signal goes over the threshold, the compressor will reduce the level by 1dB.
- Attack and Release: The attack and release settings determine how quickly the compressor will start to work and how fast it will return to normal. A fast attack time can help to tame transients, while a slow release time can help to maintain the natural decay of the audio signal.
- Makeup Gain: Since compressors reduce the dynamic range, you’ll need to compensate for the loss in level with makeup gain.
Using compression is an effective way to balance out the mix and achieve a professional sound. By understanding the different types of compressors and their settings, you can take your mixes to the next level.
Removing Unwanted Sounds
To balance your mix, consider removing unwanted sounds that clash with the track’s overall sound. Identify these sounds with careful listening and use tools like EQ and filters to eliminate them. This will help your mix sound more cohesive and professional.
As a music producer or sound engineer, achieving a balanced mix is essential for creating great audio. One crucial aspect of balancing your mix is removing unwanted sounds and ensuring that each element of your mix is heard clearly. In this section, we will discuss how to identify issues with your mix and eliminate problem areas to achieve a professional-sounding final mix.
Identifying Issues
Before you can remove unwanted sounds from your mix, you must first identify any problem areas. Some common issues to look out for include:
- Clashing frequencies between instruments
- Noisy recordings or background sound
- Inconsistent volume levels
- Muddy or dull sounding elements
- Unpleasant resonances or sharp transients
To identify these issues, it’s important to listen carefully to each element of your mix. Use your ears and audio tools like EQ and compression to pinpoint any problem areas. Once identified, you can move on to eliminating them.
Eliminating Problem Areas
Eliminating unwanted sounds from your mix requires a combination of technical skill and creative decision making. There are several techniques you can use to address different types of issues:
| Type of Issue | Technique |
|---|---|
| Clashing Frequencies | Use EQ to carve out space for each instrument and pan them accordingly |
| Noisy Recordings | Use noise reduction tools and envelope editing to remove unwanted sound |
| Inconsistent Volume Levels | Use compression and automation to level out volume discrepancies |
| Muddy or Dull Elements | Use EQ and/or saturation to bring out desired frequencies |
| Unpleasant Resonances or Sharp Transients | Use EQ to notch out problematic frequencies or transient shapers to soften sharp transients |
By using these techniques, you can eliminate problem areas from your mix and create a sonically pleasing final product. Remember that these techniques should serve as a starting point, and every mix is different. Don’t be afraid to experiment and make creative choices to achieve the desired sound. In conclusion, removing unwanted sounds is crucial for achieving a balanced and professional-sounding mix. By identifying issues and using a variety of techniques to address them, you can create a mix that highlights each element of your production.

Credit: m.youtube.com
Frequently Asked Questions For How To Balance My Mix
How Do You Balance Elements In A Mix?
To balance elements in a mix, you can use a variety of techniques such as adjusting levels, panning, EQ, compression, and reverb. The key is to make sure that each element has its own space in the mix and is not overpowering or competing with other elements.
Experiment with different techniques to find the right balance for your mix.
What Does A Balanced Mix Look Like?
A balanced mix typically includes a variety of different types of content such as text, images, videos and links. The content should be relevant to the topic and offer value to the reader. Additionally, the mix should be well-organized, easy to navigate and optimized for search engines.
How Do I Level My Mix?
To level your mix, start by adjusting individual track levels. Ensure each instrument is well-balanced in relation to the others. Next, use panning and stereo imaging to separate tracks and create space. Finally, apply compression and EQ to each track to ensure consistency and clarity.
Test your mix on different audio systems to fine-tune levels.
How Do I Master My Mix?
Mastering your mix requires adherence to these 5 guidelines: 1. Properly balance your audio levels and frequencies. 2. Use equalization, compression, and other tools to adjust your tracks. 3. Make sure your mix translates well on multiple playback devices. 4. Listen to your mix critically and make adjustments as needed.
5. Consider hiring professional mastering services for the best results.
Conclusion
Achieving a balanced mix can be challenging, especially when dealing with multiple tracks, frequencies, and effects. However, by following the above tips, you can streamline your process and produce a well-mixed track that sounds great on any device. Remember to experiment with different techniques and workflows until you find what works best for your specific projects.
With practice and dedication, you can become a master at balancing your mixes and take your music to the next level.