To reset Cubase, go to the Cubase preferences folder and remove the folder called “Cubase XX_XX.” Cubase is a popular digital audio workstation used by music producers and audio engineers to create and edit music.
However, from time to time, users can run into issues like crashes, freeze-ups, or other problems. In such cases, resetting Cubase can be a possible solution. Resetting Cubase will restore the software to its default settings and resolves the issues that can’t be fixed by simply restarting the computer or refreshing the software.
We’ll show you how to reset Cubase quickly and easily by following a few simple steps.
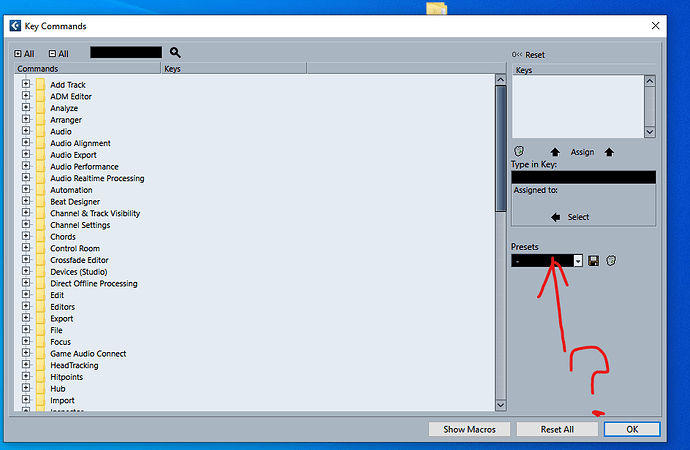
Credit: forums.steinberg.net
Backup Your Cubase Settings
To reset Cubase settings, it’s crucial to backup your current settings. This will ensure you don’t lose any important data and can easily restore your settings. Follow these steps to backup and reset your Cubase settings.
Create A Backup Of Your Cubase Settings
Creating a backup of your Cubase settings is a crucial step before resetting the software. It ensures that you do not lose any important data, settings, or preferences that you have made in Cubase. The process of creating a backup is simple and straightforward. To create a backup of your Cubase settings, follow these steps:
- Launch Cubase and navigate to the “File” menu
- Select “Preferences” and then “General”
- Click on the “Save As” button and save the file with a recognizable name, such as “Cubase Settings Backup”
With these steps, you will have successfully created a backup of your Cubase settings file.
Save The Backup In A Safe Place
Now that you have created a backup, it is important to save it in a safe place. A safe place could be an external hard drive, cloud storage, or a USB drive. We recommend saving your backup in multiple locations to ensure that you can retrieve your files in case of a data loss. It’s important to note that you can also use this backup to restore settings that you deemed ideal a long time ago, even if the settings have been overwritten over time. Additionally, if you’re using Cubase at a professional level, we recommend that you create backups periodically, to ensure no data is lost in the event of an accident. That’s all there is to creating a backup of your Cubase settings. With a backup safely in hand, you can now proceed with resetting Cubase without the fear of losing any important data or settings.

Credit: m.youtube.com
Resetting Cubase To Its Default Settings
To reset Cubase to its default settings, you need to first close the program and navigate to the Cubase preferences folder. Once there, rename the preferences folder and restart Cubase. The program will then create a new default preferences folder.
Cubase is one of the most popular digital audio workstations (DAWs) primarily used for music production and audio editing. However, it can become sluggish over time or prone to errors, which can make it frustrating to use. Thankfully, there’s a straightforward solution – resetting Cubase to its default settings. This will wipe all your custom settings and preferences, but it should restore Cubase to its default, optimal performance. Here’s how to do it:
Close Cubase Application
Before resetting Cubase to its default settings, close the Cubase application. This will ensure that Cubase isn’t running in the background while you’re making changes to its preferences. To do this, simply go to the “File” menu and click on “Exit.”
Find The Cubase Preference Folder
The next step is to locate the folder where Cubase stores its preferences. This folder is usually located in the following directory: ~/Library/Preferences/Cubase X/ Note: Replace “X” with the version of Cubase you’re using. You can also access the folder by opening Finder, holding down the “Option” key, clicking on the “Go” menu, and selecting “Library.” Then navigate to “Preferences” and find the Cubase folder.
Rename The Cubase Preference Folder
Once you’ve located the Cubase preference folder, it’s time to rename it. This will generate a new preference folder with Cubase’s default settings. To do this, right-click on the Cubase preference folder and select “Rename,” or click on the folder once and press the “Enter” key. Rename the folder to something like “Cubase Preferences Backup.”
Restart Cubase Application
Finally, restart the Cubase application. When you open Cubase, it will generate a new preference folder with default settings. You’ll need to reconfigure your settings, but Cubase will be restored to its optimal performance. In conclusion, resetting Cubase to its default settings is a simple solution to improve its performance. Follow these easy steps, and you’ll be up and running in no time.
Reconfiguring Cubase Settings
If you are facing problems with your Cubase software or just notice a decrease in performance of your system, resetting Cubase to its default settings is an excellent idea. One of the benefits of resetting Cubase is reconfiguring the settings, which can help to optimize the performance of the software. In this blog post, we will guide you through how to reset Cubase and reconfigure its settings.
Setting Up Audio Interface
If you plan to use an audio interface with Cubase, it is important to set it up correctly. Cubase allows you to use any audio interface that uses ASIO drivers to connect with your computer. To set up your audio interface, follow these simple steps:
- Open Cubase and go to ‘Devices > Device Setup.’
- Select your audio interface from the list on the left-hand side of the screen.
- Click on the ‘Control Panel’ button and configure your audio interface settings.
- Once you have finished configuring your audio interface, click ‘OK’ and exit the Device Setup window.
Preferences Settings Configuration
If you want to reset your preferences settings in Cubase, follow these simple steps:
- Open Cubase and go to ‘Preferences.’
- Click on the ‘Reset Preferences’ button to reset the software to its default settings.
- Once you have finished, exit the Preferences window.
Midi Device Setup Configuration
To configure your MIDI device setup settings, follow these simple steps:
- Open Cubase and go to ‘Devices > MIDI Device Manager.’
- Select your device from the list on the left-hand side of the screen.
- Configure your MIDI device settings by clicking on the ‘Device Setup’ button.
- Once you have finished configuring your MIDI device, click ‘OK’ and exit the MIDI Device Manager window.
Vst Plug-ins Installation
If you want to install VST plug-ins in Cubase, follow these simple steps:
- Download your preferred VST plug-in to your computer.
- Open Cubase and go to ‘Devices > Plug-in Manager.’
- Click on the ‘VST Plug-ins’ tab and then click on the ‘Add’ button.
- Select the folder where you saved the downloaded VST plug-in and click ‘OK.’
- Once the VST plug-in has been added, you can use it in Cubase.
Follow these steps to configure and optimize your Cubase settings for high performance and stability. Reconfiguring your settings can help to improve the software’s performance, and it is always a good idea to reset Cubase to its default settings once in a while to ensure that everything is working correctly.
Credit: steinberg.help
Frequently Asked Questions Of How To Reset Cubase
How Do I Reset My Cubase To Default?
To reset Cubase to default, go to File > Preferences > General and click “Reset” next to “Reset Program Preferences to Factory Defaults. ” This will reset all settings to their default values, including key commands, preferences, and user interface settings.
How Do You Reset The Workspace In Cubase?
To reset the workspace in Cubase, go to the “Edit” menu, click on “Preferences”, select “General” and click on “Reset Layout”. Alternatively, you can use the keyboard shortcut “Alt + Shift + Right Click” and select “Workspace > Reset Default Workspace”.
How Do You Reset On Stop In Cubase?
To reset the playback cursor to the start position in Cubase, simply press the Stop button or use the keyboard shortcut “0” on the numeric keypad.
How Do I Clean Up Cubase 10?
To clean up Cubase 10, you can uninstall unused programs, delete unnecessary files and folders, and clear the cache. Make sure to use a reliable antivirus to scan for any corrupt files. Additionally, regularly updating your computer’s operating system and Cubase version can also improve its performance.
Conclusion
To conclude, resetting Cubase is a straightforward task that can help troubleshoot any lingering issues with the software. With the step by step instructions provided in this post, users can feel confident in their ability to reset their Cubase program and get back to making music.
Remember to always backup your work before resetting, and don’t hesitate to seek professional help if necessary. With these tips in mind, happy producing!