To rename your audio channels, simply right-click on the channel and select “Rename.” Renaming your audio channels can make your audio editing process more organized and efficient.
Giving descriptive names to your channels can also help you quickly identify specific tracks during editing. Audio editing can be a complex process, especially when dealing with multiple channels. Renaming your channels to reflect their content can help you easily recognize individual tracks within the mix.
This can save you time and frustration and make the editing process more enjoyable. Additionally, if you work with a team of audio editors, descriptive channel names can help everyone stay on the same page and ensure their edits mesh seamlessly with yours. We’ll explore some best practices for renaming your audio channels and discuss the benefits of this simple yet effective technique.
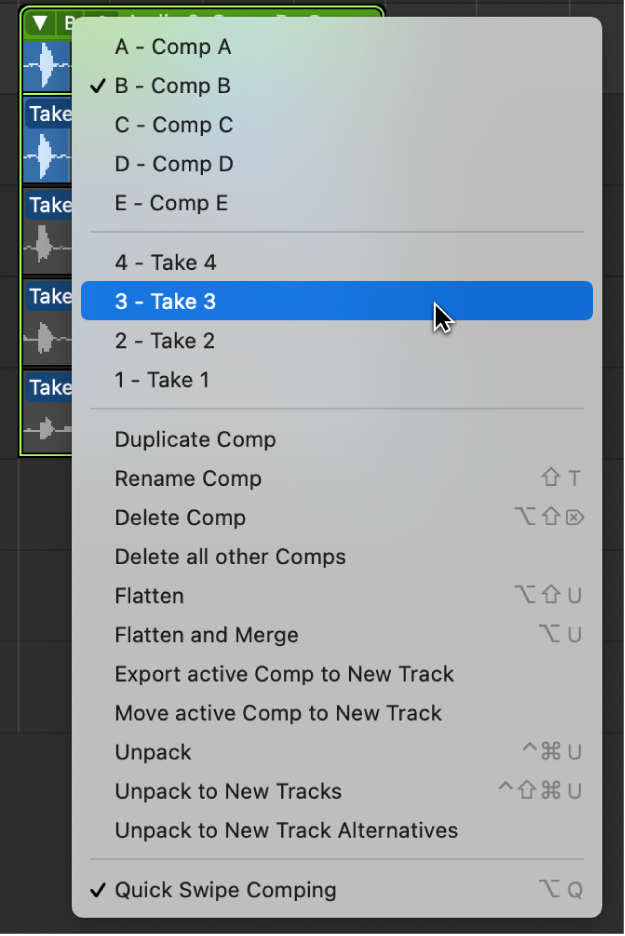
Credit: support.apple.com
Why Rename Your Audio Channels
Renaming your audio channels can greatly improve your workflow and productivity while reducing confusion. By assigning clear and descriptive names to your channels, you can easily identify and manipulate specific parts of your audio mix, making the editing process much more efficient.
Renaming audio channels may seem like a small task, but this simple action can make a big difference in your audio workflow. By renaming your audio channels, you can streamline your workflow, make it easier to identify each channel, and avoid miscommunication and errors. In this post, we will focus on these three reasons in detail and explore how renaming your audio channels can help you achieve these benefits.
Organize And Streamline Audio Workflow
Organizing your audio channels can be very helpful for your audio workflow. Instead of having generic labels like “Channel 1” or “Channel 2,” renaming your channels with specific labels can help you easily navigate through your mix and quickly find the channels you need. Having a well-organized audio workflow can save you time, help avoid confusion, and make your work more efficient.
Make It Easy To Identify Channels
Renaming your audio channels with specific labels can also make it easier to identify each channel. For instance, naming the channels based on the instruments or sounds they represent can provide a clear understanding of what sounds are heard through the channel. This way, you don’t have to keep guessing which channel has what sound. Renaming your audio channels will be very helpful when you need to make quick changes, and you don’t have to waste time guessing or testing.
Avoid Miscommunication And Errors
Miscommunication can occur when the audio channel label does not properly describe what is on the channel. Using generic labels, such as “Channel 1,” can lead to miscommunication among team members, causing errors in the final product. Incorrect labeling can lead to delays in the production process. Renaming your audio channels allows everyone involved in the production to quickly and easily identify the audio channels without confusion. In conclusion, renaming your audio channels is a small task that can have a big impact on your audio workflow. It can help streamline your workflow, make identifying channels easier, and prevent miscommunication and potential errors. So, take the time to rename your audio channels, and see the difference it can make in your audio production.
Steps To Rename Audio Channels
Learn how to rename your audio channels with these simple steps. You can easily customize the name of each channel for easier identification and organization. Follow the step-by-step guide to rename your audio channels for a more efficient production process.
Steps to Rename Audio Channels When working with audio files, it’s essential to have properly labeled audio channels to avoid confusion and ensure accurate editing and mixing. Renaming audio channels is a task that should be done carefully and clearly to avoid any complications down the line. In this article, we’ll discuss the steps you can follow to rename your audio channels in your audio software, along with updating your project documentation. Identify the Audio Channels to Rename The first step in renaming your audio channels is to identify the channels that need to be renamed. You may have multiple channels in your file, and it can be easy to lose track of which channels are which if they are not labeled clearly. Take some time to listen to each channel and determine which ones need to be renamed. Choose New Names for the Channels Once you’ve identified the channels to rename, the next step is to choose new names for them. It’s essential to choose names that clearly represent the channel’s content, making it easy to understand at a glance. A good practice is to use a naming convention that includes a prefix followed by a descriptive name. For example, “VO” followed by the speaker’s name for voiceover channels. Rename the Channels in Your Audio Software Now that you have chosen new names for your audio channels, it’s time to rename them in your audio software. The process may vary based on your software; however, most software will have a feature to rename channels. Use the new names you have chosen and ensure that you are renaming the correct channels. Updating Your Project Documentation Lastly, it’s essential to update your project documentation to reflect the name changes made to your audio channels. This step ensures that all team members are aware of the changes and can avoid confusion. Updating your project documentation should include updating the file name and description to reflect the new channel names. In conclusion, renaming your audio channels is an essential step in ensuring a well-organized audio project. Follow the steps discussed above to rename your audio channels carefully, ensuring accuracy and clarity.
Best Practices For Renaming Audio Channels
Renaming your audio channels is essential for better organization. To follow best practices, keep channel names concise and descriptive, use consistent naming conventions, and avoid special characters or symbols.
Renaming audio channels might seem like an easy task, but it requires attention to detail and should be done with care. Properly renaming your audio channels can help improve your workflow and organization. Here are some best practices to keep in mind when renaming your audio channels:
Be Consistent In Naming Conventions
To avoid confusion, it’s essential to be consistent when naming your audio channels. Choose a naming convention and stick to it across all channels. For instance, if you’re using numbers to name your channels, ensure that they are numbered sequentially from left to right. This consistency helps your team to understand the system in place and use it correctly.
Use Short But Descriptive Names
Use short names that still convey the information you need to sort and organize your audio files effectively. Long names will only take up space and might even be harder to read and remember. Always choose a name that is relevant and descriptive enough to convey the required information quickly.
Avoid Using Special Characters Or Spaces
When renaming your audio channels, avoid using any special characters or spaces. These characters can cause issues when uploading and downloading files. It’s best to stick to alphanumeric characters and dash (-) or underscore (_) to separate words accurately.
Make Sure Your Team Is Informed Of The Changes
Once you’ve renamed your audio channels, be sure to inform your team members about the changes you’ve made. This step ensures that everyone is aware of what each channel stands for, which helps in organizing audio files and streamlining workflow. In conclusion, proper renaming of your audio channels is essential in organizing your audio files and improving workflow. By adhering to the best practices mentioned above, you can ensure that your channel names are consistent, descriptive, and easy to navigate. With these practices in place, your audio channel organization and workflow will undoubtedly become a smooth process.
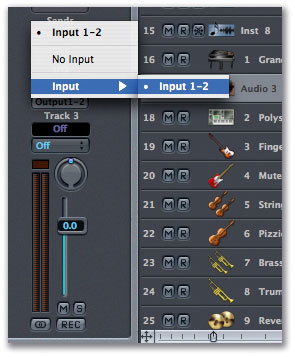
Credit: www.soundonsound.com
Tools For Renaming Audio Channels
As an audio professional, you understand the importance of organizing your channels for better workflow and higher efficiency. Renaming your audio channels is an essential aspect of organizing digital audio workstations (DAWs) and mixing consoles. In this blog post, let’s take a look at some of the tools available to help you rename audio channels and maintain a professional workflow.
Daw Software
Most digital audio workstations provide native capabilities to rename channels. This feature is usually accessed by right-clicking on the channel and selecting the option to rename it. DAWs also offer customizable keyboard shortcuts to make the process even more efficient. Ensure that you get familiar with your software’s capabilities before looking at plugins or automated solutions.
Audio Channel Renaming Plugins
If you require additional features beyond what your DAW provides, consider using audio channel renaming plugins. While several plugins are available, many come with a price. The Rename-It plugin is an excellent option with a free version that offers much functionality. The plugin allows you to create templates for naming your channel strips and tracks automatically. You can also rename multiple channels simultaneously, saving time and effort.
Batch Renaming Tools
Batch renaming tools are excellent solutions for renaming audio channels in batches. These tools save you a considerable amount of time and energy by allowing you to rename multiple channels at once. Programs such as NameChanger (MacOS) and Bulk Rename Utility (Windows) are free and straightforward to use. Batch renaming tools use various parameters such as predefined names, text replacement, counters, and more to rename channels.
Automated Project Documentation Tools
Effective project documentation is critical to audio engineers and producers. Automating the documentation process can save time and minimize errors. Automated documentation tools come in handy, especially when multi-track recording is involved. Programs such as Sononymous Audio Renamer automate the documentation process by generating a detailed list of channel names. The tool reads and extracts metadata, providing comprehensive documentation for the project.
Common Mistakes To Avoid When Renaming Audio Channels
When renaming your audio channels, it’s important to avoid common mistakes. These can include using confusing or irrelevant names, not properly labeling channels, and failing to be consistent in your naming conventions. By following best practices, you can ensure that your audio channels are organized and easy to navigate.
Are you tired of working with messy or confusing audio channel names? Renaming audio channels can streamline your workflow and help you stay organized. However, renaming audio channels can also be a tedious process that requires attention to detail. In this guide, we’ll discuss some common mistakes to avoid when renaming audio channels to help make the renaming process smoother.
Not Updating Project Documentation
One of the most common mistakes people make when renaming audio channels is forgetting to update their project documentation. If you’re working on a team or need to transfer your project to another person, it’s important to keep your documentation up-to-date. Neglecting to update documentation can cause confusion and slow down the workflow. Make it a habit to update your project documentation whenever you rename an audio channel.
Forgetting To Update Audio Plugin Configurations
Another mistake people make when renaming audio channels is forgetting to update their audio plugin configurations. Audio plugins can save unique settings for each channel, which can become problematic if you don’t update them after renaming a channel. Make sure to update the audio plugin configurations for the renamed channels to ensure that everything continues to work smoothly.
Using Confusing Or Ambiguous Names
When renaming audio channels, it’s essential to choose names that are clear and descriptive. If you use ambiguous or confusing names, it can slow down your workflow and cause confusion for others on your team. Be sure to use names that accurately describe the audio channel and its contents. If you’re unsure what to name a channel, take a moment to brainstorm and choose a name that is specific and easy to understand.
Not Testing The Renamed Channels In Your Audio Workflow
Finally, a mistake people make when renaming audio channels is not testing the renamed channels in their audio workflow. After you rename a channel, be sure to test it, making sure that everything works correctly. Renamed audio channels can cause unexpected problems, so it’s important to test them in your audio workflow thoroughly. Take the time to test your renamed channels and fix any issues that arise. In conclusion, renaming audio channels can be a tedious but necessary process. By avoiding the common mistakes outlined in this guide, you can save time and keep your workflow organized. Remember to update your project documentation, audio plugin configurations, choose clear and descriptive names, and test your renamed channels thoroughly.
Frequently Asked Questions On Renaming Your Audio Channels
Where Can You Rename An Audio Track?
You can rename an audio track using various media players or editing software. Right-click on the audio file and select “Rename” or go to the “Properties” menu to change the name. Alternatively, use editing software to rename the audio track before exporting or saving it.
How Do You Change The Name Of An Audio File?
To change the name of an audio file, you can right-click on the file and select “Rename. ” Type in the new name and press Enter. Alternatively, you can select the file, press F2, type in the new name, and press Enter.
Why Can’t I Rename Audio Tracks In Premiere Pro?
In Premiere Pro, audio tracks cannot be renamed directly because they are closely linked to project files. However, you can create a custom Label Color for each track to help identify them easily. To rename an audio track, you need to rename the source file within the Project panel.
Can I Name Tracks In Premiere Pro?
Yes, you can name tracks in Premiere Pro. It’s easy to do; just right-click on the track header and select “Rename. ” Then, type in the new name and hit “Enter” on your keyboard. This will help you keep better track of your timeline as you work on your project.
Conclusion
Overall, renaming your audio channels is a simple yet effective way to improve the organization and user experience of your audio content. By following the tips outlined in this post, you can ensure that your audio channel names are concise, descriptive, and easy to understand.
Remember to consider your audience and the platform on which your content will be hosted when choosing your channel names. With these best practices in mind, you can optimize your audio content for discoverability and engagement.