To make a beat with Ableton, open the software and create a new MIDI track. Then, select a drum rack and begin programming your beat using the onscreen drum pads.
From there, you can add additional sounds and effects to enhance your beat. Ableton is a powerful software tool for producing and composing electronic music. Whether you’re a seasoned producer or just starting out, creating a beat in Ableton can be a fun and rewarding experience.
To get started, open the software and create a new MIDI track. Then, select a drum rack and begin programming your beat using the onscreen drum pads. You can adjust the pitch and velocity of each sound to create a unique beat that fits your style. From there, you can add additional sounds and effects to enhance your beat and bring it to life. With a little practice and experimentation, you’ll be well on your way to making great beats with Ableton.

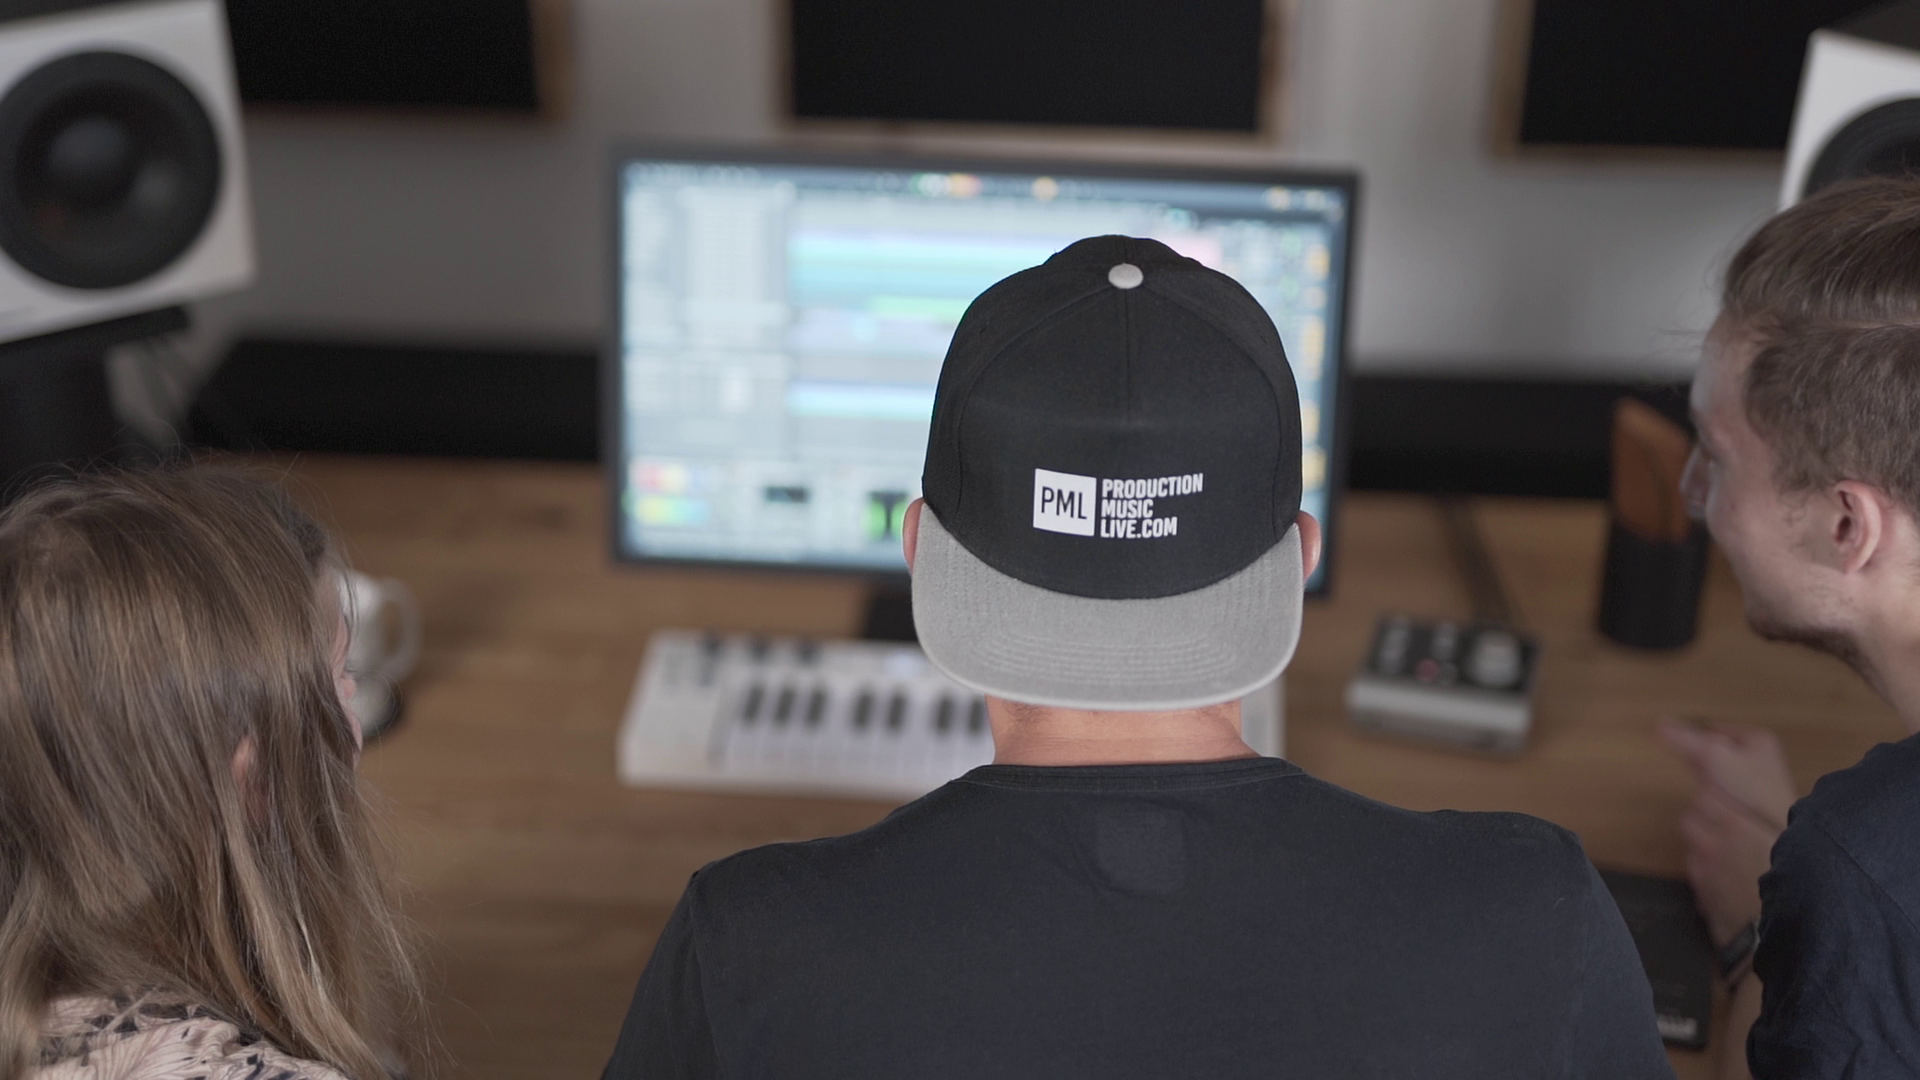
Credit: www.productionmusiclive.com
Choosing Your Instruments
When it comes to making a beat with Ableton, choosing the right instruments is crucial. You want to create a unique sound that captures your style, and the best way to do that is by selecting the right drums and synth sounds. Let’s explore these two options a bit more:
Picking Drum Samples
The first step in making a beat with Ableton is selecting the right drum samples. This can be overwhelming, with so many options available, ranging from acoustic kits to electronic beats. It’s essential to decide which drum sounds will work best with your beat. Here are some tips on how to choose:
- Consider the genre you’re working in – if you’re making a hip-hop beat, you’ll want to use heavier drum samples.
- Think about the tempo – for a slower beat, you might want to choose a softer drum sample.
- Experiment – don’t be afraid to mix and match different drum sounds until you find the combination that works best for you.
Selecting Synth Sounds
Once you’ve picked your drum samples, it’s time to select your synth sounds. Synths are powerful tools that help you create a distinctive sound. Here are some things to keep in mind as you choose:
- Again, think about genre – the right synth sound can make or break a beat. If you’re working on a techno beat, choose a synth sound that complements your baseline.
- Experiment with different sounds – Ableton has a massive library of synths, so make sure you explore all the options until you find what works best for your beat.
- Consider layering – layering different synth sounds can take your beat to another level. Start with two or three layers and see how it goes.
By following these tips, you’ll be able to choose the right drums and synth sounds for your beat in Ableton. Remember, don’t be afraid to experiment, and take your time in making your beat sound unique.
Credit: www.productionmusiclive.com
Creating Your Drumbeat
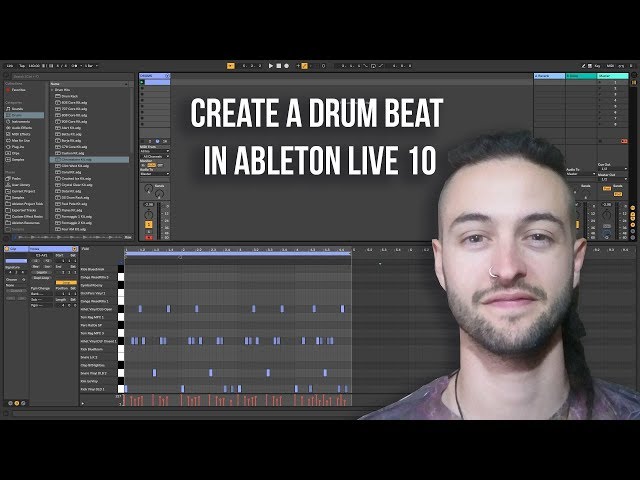
Learn how to create a drum beat using Ableton software. With the right tools and techniques, you can take your music production to the next level. Follow our step-by-step guide and start making beats today.
Creating Your Drumbeat is an important aspect of producing music with Ableton. Without a strong drum beat, your music may lack the energy and rhythm needed to captivate listeners. In this section, we will guide you through the process of laying down the kick and snare, adding hi-hats and percussion, as well as adding fills and transitions. Laying Down the Kick and Snare The kick and snare are the backbone of most beats and are essential for creating a solid foundation for your track. To lay down the kick and snare, you can use the drum rack instrument in Ableton. Simply click on the “Drums” category, choose the drum rack instrument, and drag it onto a MIDI track. Once you’ve got your instrument loaded, you can start programming your kick and snare pattern. The kick usually falls on the first and third beat of the measure, while the snare falls on the second and fourth. You can experiment with different kick and snare patterns to find the right vibe for your track. Adding Hi-Hats and Percussion Adding hi-hats and percussion can add depth and complexity to your drum beat. Hi-hats are typically used to create a steady rhythm and can be played throughout the track. Percussion, on the other hand, can be used to create accents and add flavor to your drum beat. To add hi-hats and percussion, you can use the same drum rack instrument in Ableton. Simply select the hi-hat or percussion sound you want to use and start programming your pattern. You can add hi-hats on every beat or every other beat, depending on the vibe you’re going for. Percussion can be used sparingly or throughout the track to create interest and texture. Adding Fills and Transitions Fills and transitions are used to create excitement and movement in your drum beat. Fills are typically used at the end of a section, while transitions are used to move from one section of the track to another. To add fills and transitions, you can use drum fills or transitions samples, or create your own using the drum rack instrument in Ableton. Simply program the fill or transition at the desired point in your track. You can use a different fill or transition for each section to keep your track interesting and dynamic. In conclusion, creating a drum beat with Ableton is a creative and fun process. By following these steps, you can create a solid foundation for your track, add depth and complexity with hi-hats and percussion, and create excitement with fills and transitions. Experiment with different sounds and patterns to find the right vibe for your track. Happy beat making!
Building Your Bassline
Learn how to create a solid bassline for your beat using Ableton. Start by selecting the right instrument and experimenting with patterns before adding variation to keep it interesting.
When it comes to making a beat, establishing a solid bassline is crucial. The bass provides the foundation and groove for the entire track. With Ableton, there are several ways to create a bassline that stands out and complements the rest of your production. In this section, we’ll cover picking the right bass sound, creating a simple bassline, and enhancing your bassline with effects.
Picking The Right Bass Sound
To start building your bassline, the first step is selecting the right bass sound. Consider the style and genre of your track, and choose a sound that fits the mood and tone. Ableton Live has a wide range of built-in sounds and plugins to choose from, including analog synths, samples, and virtual instruments. Some popular options include the Ableton Operator and Analog synthesizers, which are known for their flexibility and versatility. Alternatively, you can incorporate sampled sounds or use a bass guitar plugin to create a more organic feel. Experiment with different sounds until you find one that works for your track.
Creating A Simple Bassline
Once you have your sound, it’s time to create a simple bassline. Start by focusing on the root note of the chords in your track, and build from there. A simple bassline can be just two or three notes, repeated in a rhythmic pattern. Use your MIDI controller or keyboard to play around with different note combinations. Try to keep the bassline in sync with the tempo of your track and maintain a consistent rhythm. You can also add variations to the pattern, such as jumping up an octave or adding a slide or glide effect.
Enhancing Your Bassline With Effects
To take your bassline to the next level, add some effects to enhance the sound. Ableton Live has a variety of built-in effects that you can use, such as EQ, compression, and distortion. Each effect can alter the tone and character of your bassline, so experiment with different settings to find what works best for your track. For example, you can use EQ to boost the low end frequencies, adding more punch to the bassline. Or, you can use compression to tighten up the sound and add sustain. Distortion can be used to add grit and dirt to the bassline, creating a more aggressive tone. In conclusion, building a solid bassline is essential for creating a great beat in Ableton Live. Ensure you pick the right bass sound, create a simple bassline focusing on the root notes, and enhance your bassline with the appropriate effects. Happy beat-making!
Credit: m.youtube.com
Adding Melodic Elements
After setting up a solid drum beat and a bassline, it’s time to explore the melodic elements of your track. Here are some tips on how to create engaging melodies using Ableton:
Writing Chord Progressions
Writing chord progressions is an important step when adding melodic elements to your track. With Ableton, you can use the built-in MIDI effects to help you create chord progressions. Start by selecting the chord MIDI effect and setting the scale. From there, you can use the chords to create a progression that fits the mood of your track.
Example Chord Progression:
| Chord | Root Note | Timing |
|---|---|---|
| D minor | D | 1 bar |
| C major | C | 1 bar |
| B flat major | Bb | 1 bar |
| A minor | A | 1 bar |
Creating Melodic Hooks
Creating a melodic hook can be challenging, but it’s crucial in making your track memorable. One way to create a hook is to use Ableton’s MIDI effects like the arpeggiator, chord trigger, and scale MIDI effect. By layering these effects, you can create a unique and memorable melody for your track.
Example Melodic Hook:
Using an arpeggiator effect set to sync with the track’s tempo, you can create a melodic hook like this:
- Set the arpeggiator to the “Up” mode
- Choose a scale that fits the mood of your track (in this example, we use the C minor pentatonic scale)
- Play a chord progression using the scale
- Enable the arpeggiator and adjust the rate until you find a rhythm that’s catchy and fits your track
Using Arpeggiators And Other Tools
Besides the arpeggiator, Ableton provides several other MIDI effects that can help you to create unique melodic elements for your track. For example, the ‘Random’ MIDI effect can add variations to your melody, while the ‘Velocity’ MIDI effect can help to create dynamic expression in your melody. Play around with different MIDI effects and see what works best for your track.
Example Melodic Element with MIDI Effects:
To create a unique and evolving melody, you can combine the arpeggiator, random, and velocity MIDI effects:
- Start with a simple chord progression using the C major scale
- Apply the arpeggiator set to sync with the track’s tempo
- Apply the random MIDI effect to create variations in the melody
- Apply the velocity MIDI effect to add dynamic expression to the melody
With these tips and tools in Ableton, you can efficiently create engaging melodies and hooks for your track. Remember to experiment, be creative, and have fun with the process.
Arranging Your Beat
Learn how to arrange your beat with Ableton by creating different sections and arranging them into a cohesive and dynamic track. Utilize Ableton’s session view, automation, and effects to enhance your beat and create a unique sound.
Once you have created the basic beat, it is time to move on to arranging your beat. This process involves deciding on the structure of your song, creating changes and builds, and adding variation and interest.
Structuring Your Song
When structuring your song, keep in mind the typical song structure: intro, verse, chorus, bridge, and outro. However, don’t be afraid to experiment with different structures – the key is to keep things interesting and engaging for the listener. To begin, start with the basic beat and decide which section will serve as the intro. From there, decide on the length of the verse and chorus sections. A common structure is to have two verses, two choruses, and a bridge. Don’t forget to add in breaks between sections to help create separation and tension between different parts of the song.
Creating Changes And Builds
Creating changes and builds is an essential part of arranging your beat. This process helps to keep the listener engaged and interested in the song. One way to create changes is by adding or removing elements from the beat. For example, you could strip the beat down to just the kick and snare during the verse and add in other elements during the chorus to create a fuller sound. Builds are sections of the song where the tension increases, usually leading up to the chorus or a drop. An easy way to create builds is by gradually adding more elements to the beat, such as adding a hi-hat or cymbal over a few bars.
Adding Variation And Interest
Adding variation and interest to your beat is another crucial aspect of arranging your song. This process helps to keep the listener engaged and prevents the song from becoming repetitive. One way to add variation is by introducing a different melody or chord progression during the chorus or the bridge. You could also change the rhythm or tempo of the beat, or add in new sound effects or samples. When adding variation, be mindful not to overdo it. Too many changes can be overwhelming for the listener, so it’s essential to strike the right balance between variation and continuity. In conclusion, arranging your beat is a crucial step in making a great song. By structuring your song, creating changes and builds, and adding variation and interest, you can elevate your beat and create a dynamic, engaging song that will keep listeners coming back for more.
Mixing Your Beat
Learn how to produce high-quality beats with Ableton, a digital audio workstation known for its versatility and powerful features. From selecting the right sounds to creating your own loops, this guide will help you achieve the perfect blend for your music production needs.
Making a beat with Ableton is a fun and creative process. In the previous sections, we covered how to create and arrange sounds using Ableton’s built-in features. Now it’s time to give your beat a final touch by mixing it. Mixing is the process of balancing, equalizing and adding effects to your sounds to create a finished product that sounds great on any device. In this section, we’ll go over the essential steps to mix your beat like a pro.
Balancing Your Levels
Mixing your beat starts with balancing the levels of all the sounds in your project. The goal is to ensure that no sound is too loud or too soft, and they all blend seamlessly. To balance your levels, follow these steps:
| Step | Action |
|---|---|
| 1 | Start with all your tracks at the same volume |
| 2 | Listen to your beat as a whole, and identify any sounds that stand out too much |
| 3 | Lower the volume of the sounds that stand out or increase the volume of the ones that are too soft |
| 4 | Keep adjusting the volume of each sound until everything blends seamlessly |
Eqing Your Sounds
Equalizing (EQing) is the process of altering the frequency content of your sounds to make them fit better together. EQing allows you to remove unwanted frequencies and enhance desired ones. Here are the steps to EQ your sounds:
- Open the EQ plugin on each track
- Identify the frequency range where each sound is prominent
- Reduce or boost the frequencies of each sound that conflict or complement each other
- Make sure that the sounds complement each other without creating a muddy or harsh sound
Adding Effects And Processing
After balancing and EQing your sounds, you can add effects and processing to enhance their quality and uniqueness. Effects can be reverb, delay, distortion, or any other plugins that can shape your sounds. Here are steps to follow when adding effects and processing:
- Apply reverb, delay, and other effects to give your sounds a unique touch
- Use panning to create space and movement in your beat
- Compression can help glue your sounds together and create a more consistent volume level
- Don’t go overboard with effects as it can ruin the balance and clarity of your beat
With these essential steps, you can now mix your beat like a pro and create a finished product that sounds great on any device. Remember to experiment and have fun with Ableton’s versatile features.
Mastering Your Track
Mastering is the final step in the beat-making process. It involves enhancing the sound quality of your track to make it sound professional and ready for distribution. In this section, we will discuss how to prepare your track for mastering, using compression and limiting, and adding the final touches.
Preparing Your Track For Mastering
Before you start mastering your track, you need to make sure that it is properly mixed. This means that every instrument and sound should be balanced in volume and frequency. Here are a few tips on preparing your track for mastering:
- Make sure that all your tracks are properly leveled and panned.
- Remove any unnecessary frequencies using EQ.
- Ensure your track has headroom (at least -6dB) to avoid clipping during mastering.
- Export your track in a lossless format like WAV and at a sample rate of 44.1kHz or higher.
Using Compression And Limiting
Compression and limiting are essential tools in the mastering process. Compression is used to reduce the dynamic range of a track, while limiting is used to prevent clipping and ensure the track stays within a certain loudness range. Here’s how to use compression and limiting:
- Add a compressor to your master track.
- Set the threshold so that it reduces the dynamic range but doesn’t sound too squashed.
- Add a limiter after the compressor to prevent clipping and boost the overall volume.
- Set the ceiling on the limiter to ensure that the track stays within a certain loudness range.
Adding The Final Touches
The final touches of mastering involve adding subtle enhancements to your track that make it sound fuller and more polished. Here are a few techniques:
- Add some stereo width using a stereo widener plugin.
- Add some reverb or delay to create a sense of space.
- Add some harmonic excitement using a harmonic enhancer plugin.
- Use a spectrum analyzer to ensure that your track is properly balanced in terms of frequency.
Exporting Your Beat
Learn how to export your beat created with Ableton to share with others. With this guide, you can easily save your work in different audio file formats, adjust quality settings, and add metadata for better optimization.
Once you’ve produced an amazing beat in Ableton, you’ll want to share it with the world. But before you do that, there are a few crucial steps you need to take to ensure the track is ready for export. This guide will take you through the process of exporting your beat, step by step.
Choosing The Right File Format
Choosing the right file format is crucial when exporting your beat, as it will determine the quality of the final product. Ableton allows you to export your tracks in a variety of formats, including WAV, MP3, and AIFF. WAV files are the highest quality, but they also take up a lot of space. MP3 files are compressed and take up less space, but their quality isn’t as high as WAV files. AIFF files are similar to WAV files and offer high quality, but they’re only compatible with Apple devices. When choosing a file format, consider the purpose of your track. If it’s for personal use, a smaller file size like MP3 might be more convenient. But if you plan on using the track for professional purposes, stick with high-quality formats like WAV or AIFF.
Preparing Your Track For Export
Before exporting your track, you need to ensure it’s prepared for the final product. Here are the steps you need to take:
- Consolidate your track: This means making sure all of your audio files are in one place.
- Clean up your track: Make sure there are no unwanted sounds or glitches.
- Organize your track: Rename and organize your tracks and samples in a logical way.
- Set your levels: Make sure your levels are balanced and not clipping.
Once you’ve completed these steps, you’re ready to export your track.
Sharing Your Beat With The World
After exporting your beat, the final step is to share it with the world. Here are a few ways you can do that:
- Upload it to SoundCloud: SoundCloud is a popular platform for sharing and discovering music.
- Share it on social media: Twitter, Instagram, and Facebook are all great platforms for sharing your music.
- Submit it to music blogs: Music blogs are always looking for new content to feature.
- Submit it to music libraries: If you’re looking to license your music, submitting it to music libraries is a great option.
Now that you know how to export your beat, you’re ready to share your music with the world. Remember to take your time and ensure your track is of high quality before exporting it.
Frequently Asked Questions On How To Make A Beat With Ableton
How Do You Make Beats For Beginners?
To make beats for beginners, you should start with a basic drum pattern and add melodies and chords on top of it. Use a Digital Audio Workstation (DAW) software like FL Studio or Ableton Live to create your beats. You can also watch YouTube tutorials, practice regularly, and experiment with different sounds and effects to develop your skills.
Can You Use Ableton To Make Music?
Yes, Ableton is a popular music production software used by many musicians and producers around the world to create and produce music. It offers a wide range of tools and features, including virtual instruments, effects, and audio processing capabilities.
Where Can I Get Sound To Make Beats?
You can get sound to make beats from various sources, including online sample libraries, software synthesizers, hardware synthesizers, and recording your own sounds. There are numerous websites and online stores where you can purchase or download free samples, loops, and sound effects that can be used for beat production.
How Do I Turn Audio Into Sample In Ableton?
To turn audio into a sample in Ableton, simply drag and drop the audio file into a new sample track. Then, you can adjust the start and end points of the sample and trim down the length as needed. You can also apply effects and processing to the sample to further manipulate the sound.
Conclusion
Mastering the art of making a beat with Ableton requires patience, practice, and creativity. With the tips and tricks outlined you can create unique beats that reflect your personal style. Remember to experiment with different sounds, samples, and effects, and don’t be afraid to step outside of your comfort zone.
With dedication and hard work, you can become a skilled beatmaker capable of creating music that resonates with your audience. So go ahead and start making those beats, and don’t forget to have fun in the process!