Pro Tools First Volume Automation can be achieved using the volume line tool or by drawing volume breakpoints, allowing you to adjust the volume levels of individual tracks. Pro Tools First is a free version of the professional audio editing software Pro Tools, offering users limited features.
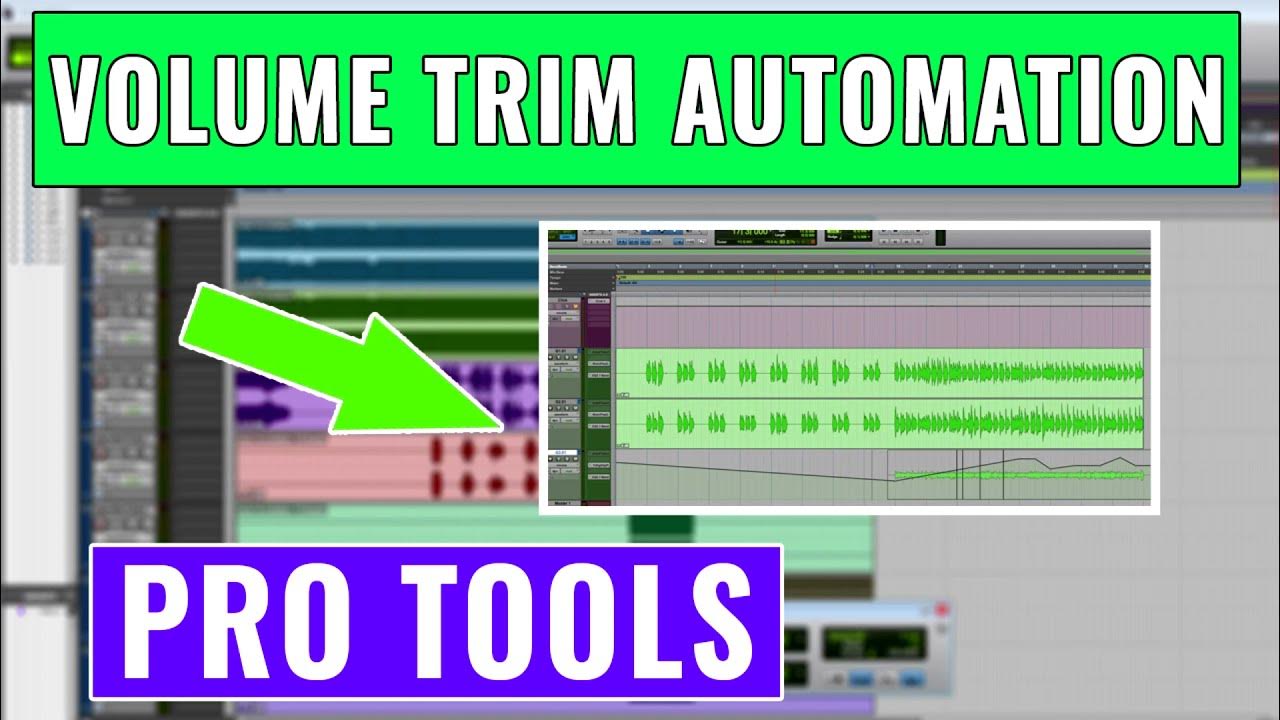
One of the essential functions in audio mixing and editing is volume automation. Volume automation allows you to control the volume levels of individual tracks, creating dynamic changes throughout a song or project. In Pro Tools First, volume automation can be achieved using the volume line tool or by drawing volume breakpoints.
The volume line tool allows you to draw a smooth curve to adjust the volume levels over time, while the volume breakpoints enable you to specify precise volume levels at specific points in the track. By using these volume automation techniques, you can create a more immersive and polished audio project with Pro Tools First.
Understanding Volume Automation
Volume automation is an essential tool in Pro Tools First. It allows you to adjust the volume levels of different parts of your track to enhance your overall sound. With this feature, you can create a more dynamic and polished track.
Understanding Volume Automation When it comes to mixing and producing music, Pro Tools First is a powerful tool to have in your arsenal. One of the most essential features of Pro Tools First is volume automation. In this section, we’ll delve into what volume automation is and why it’s important in music production. H3: What is Volume Automation? Volume automation is the process of adjusting the sound levels of various tracks to create a balanced mix. With volume automation, you can adjust the volume of each track at different parts of the song to bring out the best possible sound. This helps the listener perceive the music as a cohesive whole and helps ensure that no one track is overpowering the others. H3: Why is Volume Automation important? Volume automation is important because it helps create a professional-sounding mix. If you’re new to music production, you might be tempted to set the volume levels of your tracks once and leave them as they are throughout the song. However, this can result in a mix that’s unbalanced or even unlistenable. With volume automation, you can create a mix that sounds good from start to finish. It is one of the most basic yet effective techniques for creating a professional-sounding mix. In conclusion, volume automation is a fundamental part of music production that can make a significant difference to the quality of a mix. By utilizing this feature in Pro Tools First, you can create a balanced and professional-sounding mix that your audience will love.
Credit: m.youtube.com
Using The Volume Automation Feature In Pro Tools First
Learn to manipulate volume levels in Pro Tools First with the Volume Automation feature. With this tool, you can bring tracks to life by changing volume levels over time, adding drama and dimension to your recordings.
Using the Volume Automation Feature in Pro Tools First Accessing the Volume Automation feature: To use the Volume Automation feature in Pro Tools First, you need to open your session and select the track you want to work on. Then, locate the automation button on the top of your screen. Click on it and select “Volume” from the available options. This will enable the Volume Automation feature. You can also use the “A” shortcut key on your keyboard to access the automation feature quickly. Creating Volume Automation: Once you have accessed the Volume Automation feature, creating automation is very simple. You can create Volume Automation for an entire track or a section of it. To create automation, click on the “Line” button located on the left-hand side of the Volume Automation graph. Then, click on any point of the graph to create a node. By dragging the node, you can adjust the volume level according to your preferences. Editing Volume Automation: Editing Volume Automation is just as easy as creating it. To edit Volume Automation, select the “Grabber” tool from the toolbar and click on the node that you want to edit. Then, drag and drop it to the new position to create a new volume level. You can also adjust the volume level of Volume Automation by dragging the Line of the graph. Deleting Volume Automation: To delete Volume Automation, you need to select the automation line you wish to delete and press the delete button on your keyboard. If you want to delete an individual node instead, simply click on the node you wish to remove and press the delete button. You can use this feature to remove unwanted Volume Automation from your track. In conclusion, the Volume Automation feature in Pro Tools First is a powerful tool that allows you to create, edit and delete Volume Automation to suit your preferences. By using the automation features, you can make your tracks sound professional and polished.
Tips For Using Volume Automation In Pro Tools First
Learn how to enhance your Pro Tools First mixes with volume automation. From creating smooth fade-ins and fade-outs to adjusting levels for specific sections, these tips will help you take your music production to the next level.
Volume automation is a powerful tool in Pro Tools First that can significantly enhance your mixes. This comprehensive guide will provide actionable tips and tricks for effectively using volume automation in Pro Tools First. Here are three tips to get you started:
Start With Small Adjustments
When starting with volume automation, it’s essential to begin with small adjustments. A slight boost or reduction in volume can make a huge difference in the mix. It’s also important to listen to the mix while making adjustments. This allows you to determine how the automation affects the mix. To manually set the volume, select the volume tool, press and drag on the volume line.
Use Multiple Automation Techniques
Pro Tools First has several automation techniques that you can use to enhance your mixes. You can use clip-based automation to apply volume changes specifically to a clip. You can also use track-based automation to make adjustments to a specific track. Additionally, you can use group-based automation to make adjustments to multiple tracks at the same time. It is important to understand which techniques to use for which task. A combination of these techniques will enhance the precision of your volume automation.
Experiment With Different Shapes And Curves
One of the most significant advantages of volume automation in Pro Tools First is you can adjust the shape and curve of the volume changes. Experiment with different curves such as linear, S-curve, and logarithmic, depending on your needs. A linear curve, for example, creates a consistent increase or decrease in volume, while an S-curve creates a more gradual level shift. Different shapes and curves allow for greater control, shapeliness and precision in your automation.
Conclusion
By using these tips, you’ll be able to effectively use volume automation in Pro Tools First. Start with small adjustments, use multiple automation techniques, and experiment with different shapes and curves for precision control over your mix. These techniques will ultimately lead to a more professional-sounding mix that fits perfectly with the tone of your project.

Credit: www.mixinglessons.com
Common Volume Automation Mistakes To Avoid
Avoid falling into common volume automation mistakes in Pro Tools First by keeping in mind the importance of accuracy, consistency, and creativity. Make sure to clearly identify your automation points and utilize a variety of techniques to add depth and dynamics to your mix.
Pro Tools First Volume Automation is one of the most essential tools in music production, but it is also one that can easily be misused. When not used correctly, volume automation can ruin a mix and cause more harm than good. In this section, we will discuss some common volume automation mistakes to avoid when using Pro Tools First.
Overusing Volume Automation
When it comes to volume automation, less is often more. Overusing volume automation can lead to a mix that sounds choppy and unnatural. It’s important to ask yourself if volume automation is really necessary for a particular track or section of a mix. If a track sounds fine without automation, then don’t feel compelled to use it. It’s better to use volume automation sparingly and only when it adds value to the mix.
Ignoring The Rest Of The Mix
Another common mistake is ignoring the rest of the mix when applying volume automation. It’s easy to get lost in automating a particular track and forget about how it fits into the overall mix. Make sure to listen to the entire mix and keep the big picture in mind. You don’t want to have a track that is too loud or too quiet in comparison to the rest of the mix.
Single-point Volume Changes
Another common mistake is making single-point volume changes. While these changes can be effective at times, they can also make a track sound artificial and unmusical. It’s better to make gradual volume changes that mimic the natural ebb and flow of music.
Using Volume Automation To Fix Problems
Volume automation should be used to enhance a mix, not fix problems. If a track is too loud or too quiet, adjusting the volume fader is often a better solution than volume automation. Automation should be used to add depth and dimension to a mix, not to fix issues that could be solved in other ways.
Conclusion
By avoiding these common volume automation mistakes, you can create a mix that sounds natural and dynamic. Remember to use volume automation sparingly, keep the big picture in mind, and make gradual volume changes that enhance the overall musicality of your mix.
Credit: soundflow.org
Frequently Asked Questions On Pro Tools First Volume Automation
How Do I Automate Volume In Pro Tools?
To automate volume in Pro Tools, you can use the volume automation feature. First, click on the track you want to automate, then select “Volume” from the automation drop-down menu. Draw in the volume changes where you want them using the automation pencil tool.
You can also adjust the volume using the fader in the mix window.
Why Is Pro Tools First Discontinued?
Avid discontinued Pro Tools First to streamline their product offerings and to focus on providing a better experience for their paying customers. Additionally, they wanted to provide a more modern audio interface. Existing users can continue to use the software, but it will no longer be available for download.
What Is The Shortcut For Volume Automation In Pro Tools?
To automate volume in Pro Tools, press “A” to activate the volume automation tool, then click and drag on the volume line in the track. You can adjust the shape and level of the automation using the various tools and settings.
What Is The Difference Between Clip Gain And Volume Automation?
Clip gain adjusts the level of audio clips before they enter the mix, and volume automation changes the volume of individual audio clips or tracks during the mix. Clip gain is static, whereas volume automation can be dynamic and adjusted over time.
Conclusion
To sum up, Pro Tools First Volume Automation is an important feature for any audio engineer or hobbyist. It allows for precise control over the levels of individual tracks in a mix, giving your music a more professional sound. By automating volume changes, you can create dynamic and engaging mixes that keep your listeners engaged from start to finish.
Whether you are producing music for fun or professionally, mastering volume automation is a crucial skill to have in your toolkit. So, start practicing today and take your mixes to the next level!