Ableton provides a variety of audio effects for music production. Here are some tips to enhance your Ableton productions.
Ableton is a popular digital audio workstation used for music production and live performance. With its powerful features and array of audio effects, it can be overwhelming for new users. However, with the right tips and techniques, you can take your productions to the next level.
We’ll explore some audio effect tips that will help you create dynamic and unique sounds. From EQ and compression to delay and reverb, we’ll cover essential techniques to enhance your Ableton productions. By the end of this article, you’ll have a solid understanding of how to use Ableton’s audio effects to create professional-level productions.
Credit: indietips.com
Creating Unique Sounds With Audio Effects
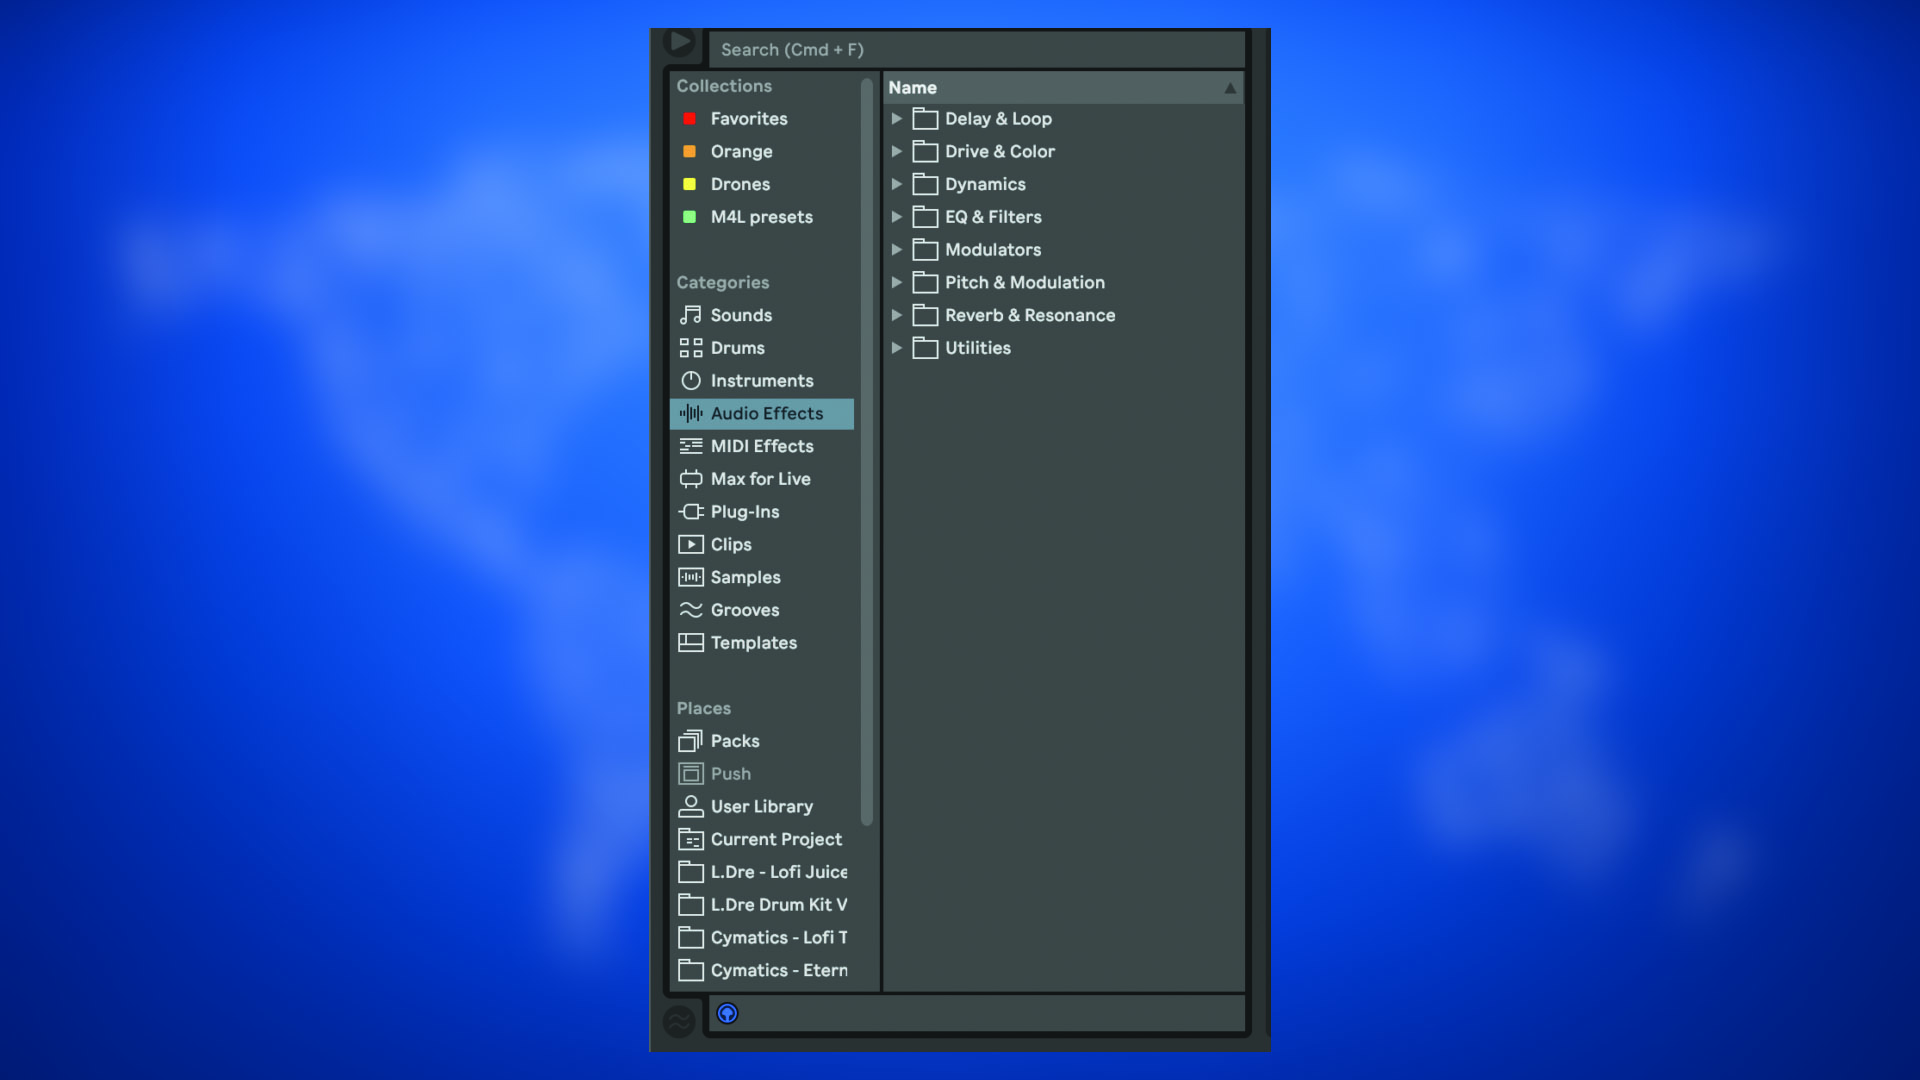
Ableton Live is one of the most popular Digital Audio Workstations (DAW) used by today’s producers, DJs, and musicians. One of the many things that make Ableton Live unique is its audio effect rack, which offers users a wide range of creative possibilities to experiment with and make their music sound distinct.
Filtering With Autofilter
Autofilter is a powerful audio effect tool that makes it possible to shape your sound through filtering. With this tool, you can create a filter sweep effect, change the tone of your sound, and even automate the filter parameters for a unique and dynamic audio experience.
- Use the low pass filter to remove high frequency sounds and give your track a warm and mellow feeling.
- Use the high pass filter to remove low-end frequencies and create a sharp and edgy sound.
- Add some resonance to your filter to give your sound a more prominent and distinctive character.
Modulating Effects With Lfo
LFO stands for Low-Frequency Oscillation, and it’s another exciting audio effect feature in Ableton Live. LFO helps you to create modulated sounds, which gives you more control over your sound effects.
- Use LFO to modulate the filter cutoff and create a pulsing effect that adds rhythm to your track.
- Modulate the volume of a track to create a sidechain effect that makes your track seem like it’s “pumping.”
- Use LFO to modulate the reverb time and create a more spacious and atmospheric sound.
Spectral Processing With Eq8
EQ8 is a powerful and versatile audio effect tool that allows you to equalize your track’s frequencies for a cleaner and more balanced sound. With this tool, you can also achieve spectral processing, which enhances the harmonic content of your sound.
| Frequency Range | Perception | EQ Action |
|---|---|---|
| 20Hz – 60Hz | Sub-Bass | Boost or cut low-frequency ranges, depending on your track’s requirements. |
| 60Hz – 250Hz | Bass | Enhance the bass frequencies by using EQ to boost or cut specific areas depending on the desired effect. |
| 250Hz – 4kHz | Mids | Use EQ to shape the midrange frequencies for a clearer and more distinct sound. |
| 4kHz – 20kHz | Highs | Boost or cut high frequencies depending on your mixing needs. |
By manipulating the above frequency ranges, you can hone your track’s tonal qualities and accentuate unique sound features to craft a distinctive sound.

Credit: www.productionmusiclive.com
Maximizing Reverb And Delay
Maximizing reverb and delay can take your Ableton audio effects to the next level. Experiment with different settings and use automation to create dynamic and unique soundscapes. Keep in mind that less can sometimes be more, so use these effects strategically to enhance your production.
Creating A Spacious Mix With Reverb
Looking for a way to make your tracks sound bigger and airier? Reverb can help with that. But, how do we use reverb effectively to create a spacious and natural-sounding mix? A good starting point is to consider the size of the space you want to simulate and the amount of diffusion or “smoothing” of the sound required. Longer decay times will increase the sense of space, while shorter decay times will retain more clarity and definition. You can also use different types of reverb to create different spaces and add depth. For example, a plate reverb can give a bright, metallic shimmer, while a spring reverb can create a vintage sound.
Using Reverb And Delay In Creative Ways
Reverb and delay are incredibly versatile effects and can be used in a variety of creative ways to enhance your music. For example, try using a reverse reverb on a snare drum hit for a unique sound. Alternatively, try adding a ping-pong delay to a synth lead to create a bouncing effect that moves from left to right. Another technique is to use reverb and delay to create a sense of movement and space. By placing a delay or reverb on a sound and then automating the parameters, you can create the impression of the sound moving around the listener.
Sculpting Sounds With Convolution Reverb
Convolution reverb is a powerful tool that allows you to create realistic natural spaces. It works by capturing the sonic profile of a physical space, which can then be applied to any sound you like. One creative use of convolution reverb is to sculpt the sound of a track. By loading a sound into the convolution reverb and then applying EQ to the reverb, you can shape the tone of the sound in interesting ways. For example, adding a high-pass filter to the reverb can create a sense of distance, while adding a low-pass filter can create a muffled or distant sound. In conclusion, reverb and delay are incredibly powerful tools that can be used in a variety of creative ways. From creating a spacious mix to sculpting individual sounds, the possibilities are endless. By experimenting with different types of reverb and delay, and exploring creative techniques like convolution reverb, you can take your music to the next level.
Manipulating Audio With Granular Synthesis
Discover new Pro Ableton Audio Effect Tips with granular synthesis, the innovative technique of manipulating audio by breaking it down into tiny grains. Explore endless creative possibilities with this powerful tool.
Understanding Granular Synthesis
Granular synthesis is a technique used to manipulate audio by breaking it down into tiny grains and then reassembling them. This process enables users to create entirely new sounds by changing the pitch, timing, and other parameters of the individual grains. The result is a unique texture that can be used to add depth and complexity to a track.
Creating Unique Textures With Granulator Ii
Granulator II is an audio effect plug-in that allows users to apply granular synthesis to a sound source. By adjusting the settings, users can create a wide range of textures that are suitable for a variety of genres. The plug-in allows users to control the grain size, pitch shift, and other parameters to create textures that are completely unique.
Experimenting With Pitch And Time
One of the most exciting aspects of using granular synthesis is the ability to experiment with pitch and time. By adjusting the pitch shift parameter, users can change the pitch of individual grains, creating a range of effects from subtle harmonies to extreme dissonance. Similarly, by manipulating time parameters, users can elongate or shorten the duration of grains to create new and exciting rhythms.
In Summary
Manipulating audio with granular synthesis can be a powerful tool for sound designers and producers alike. By using tools like Granulator II and experimenting with pitch and time parameters, users can create entirely new textures that are truly unique. Whether you’re looking to add depth to a track or create entirely new sounds altogether, granular synthesis is a technique worth exploring.

Credit: www.reddit.com
Creative Distortion Techniques
HTML Response:
Distortion is an essential element in music production. It adds grit, intensity, and character to sounds. Ableton audio effects have a wealth of creative distortion techniques that can take your music production game to the next level. Here are some of the must-know Ableton audio effect tips for creative distortion techniques.
Using Saturator To Add Harmonics
Saturator is one of the most versatile distortion plugins in Ableton. Besides traditional distortion, it can add harmonics to sounds and vocals. It works by simulating saturation in analog gear, which creates a warm analog sound. You can use Saturator to add subtle harmonics to your sounds or go all-out to create distorted, gritty sounds.
Here’s how to use Saturator for harmonic distortion:
- Open the Saturator plugin in the audio effects chain.
- Set the Drive knob to a level that suits your sound.
- Activate the Softclip option if it’s not already enabled.
- Adjust the Base and Frequency knobs to add or reduce harmonics.
Adding Warmth To Sounds With Vinyl Distortion
If you’re a fan of vinyl sound, Ableton’s Vinyl Distortion effect is your best bet. It emulates the warm, crackly vinyl sounds that we all love. You can use the Vinyl Distortion effect to add warmth to your sounds and make them sound more organic. Vinyl Distortion adds a pleasant hum to your sounds, simulating the warmth and noise of vinyl records.
Here’s how to use Vinyl Distortion:
- Open the Vinyl Distortion plugin in the audio effects chain.
- Adjust the Spin and Warp knobs to control the vinyl sound’s intensity and pitch.
- Use the Drive and Output knobs to set the volume and level of the effect.
- Experiment with different settings to find the right sound for your mix.
Using Overdrive For Crunchy Tones
If you want to add biting, crunchy distortion to your sounds, you can’t go wrong with Overdrive. It simulates the sound of classic guitar amplifiers and can produce a wide variety of crunchy tones. You can use Overdrive on basslines, drum loops, and vocals to add grit and intensity.
Here’s how to use Overdrive:
- Open the Overdrive plugin in the audio effects chain.
- Adjust the Drive knob to set the level of distortion
- Tweak the Tone and Color knobs to add character to your sound.
- Use the Dry/Wet knob to adjust the intensity of the effect.
With these Ableton audio effect tips, you can create distortion that will add character, warmth, and power to your sounds.
Automation And Effect Chains
Learn how to streamline your Ableton audio effects workflow by exploring the power of automation and effect chains. With careful implementation, you can boost your productivity as well as the quality of your mixes.
Automating Effects For Dynamic Changes
Automation is a powerful tool that can take any audio production to the next level. By automating effects, you can create dynamic changes and make your music more interesting. For instance, you can automate the volume, panning, or any other parameter of a plugin during a track to create a sense of movement and excitement. This can be achieved easily by using Ableton’s automation feature, which allows you to edit and refine your automations until you get the desired result.
Creating Complex Effect Chains
Effect chains are an essential part of creating a unique and professional sound. With Ableton’s impressive range of audio plugins, you can craft complex effect chains and apply them to your tracks. By adding effects such as reverb, delay, and EQ in series, you can transform the sound of your tracks. However, it’s important to remember that less is sometimes more. Don’t be afraid to experiment with different effects and see what works best for your tracks.
Adding Movement With Racks And Macros
Ableton Live’s Rack and Macro features allow you to add movement and variation to your tracks. By assigning knobs to different parameters of plugins, you can create intricate and evolving effects. For instance, you can assign a macro knob to change multiple parameters at once, such as a filter and reverb, to produce a sweeping effect that gives the impression of space. Additionally, you can create racks of plugins and effects to apply to different parts of your tracks, allowing you to create variation and interest in your arrangements. In conclusion, automation and effect chains are powerful tools for enhancing your audio productions. By incorporating these tips into your workflow, you can add movement, variation, and a professional sound to your music. Remember to experiment with different effects and techniques until you find the perfect combination for your tracks.
Frequently Asked Questions For Pro Ableton Audio Effect Tips
How Do I Make My Voice Sound Better In Ableton?
To make your voice sound better in Ableton, you can use EQ to boost certain frequencies, compress the vocals to even out the levels, add reverb or delay for depth, and use automation to create movement and interest. Experiment with different plugins and effects to find the best sound for your voice.
How Do I Use Sound Effects In Ableton?
To use sound effects in Ableton, first, import the audio files into the session. Then, drag and drop them onto a track. Adjust the clip settings to apply effects, automation and modulation. Finally, use the audio effects plugins to manipulate the sound.
Does Ableton Have Voice Effects?
Yes, Ableton has voice effects. Ableton Live provides various voice effects such as Echo, Reverb, Chorus, Flanger, and Vocal Morphing. These effects can be used in real-time, making them perfect for live performances and studio productions alike.
What Is Redux In Ableton?
Redux in Ableton is a real-time effect plugin that is used to add character and warmth to digital audio. It works by emulating analog gear and by adding subtle distortion, noise and saturation to the signal. Redux is ideal for adding grit to drums and bass sounds in electronic music.
Conclusion
To sum it up, these Ableton Audio Effect Tips can take your sound production to the next level. Play around with the different effects and find the ones that work best for your specific tune. Remember to always save your sessions frequently, and keep your plugins organized for easy access.
With some practice and experimentation, you can produce professional quality tracks with Ableton Audio Effects.