To use a synthesizer in FL Studio, open a software synthesizer and create a MIDI track in FL Studio. Adjust the settings and parameters to create the desired sound.
Music production is a complex process that requires various tools, techniques, and skills. One essential tool in music production is a synthesizer – an electronic musical instrument that generates audio signals via sound synthesis. FL Studio is a popular digital audio workstation used for music production and provides users with a range of synthesizers to create unique sounds for their productions.
Learning how to use a synthesizer in FL Studio is essential for any music producer looking to create professional-sounding tracks. We will provide step-by-step instructions on how to use a synthesizer in FL Studio, including opening a software synthesizer, creating a MIDI track, and adjusting the settings and parameters to create the desired sound.
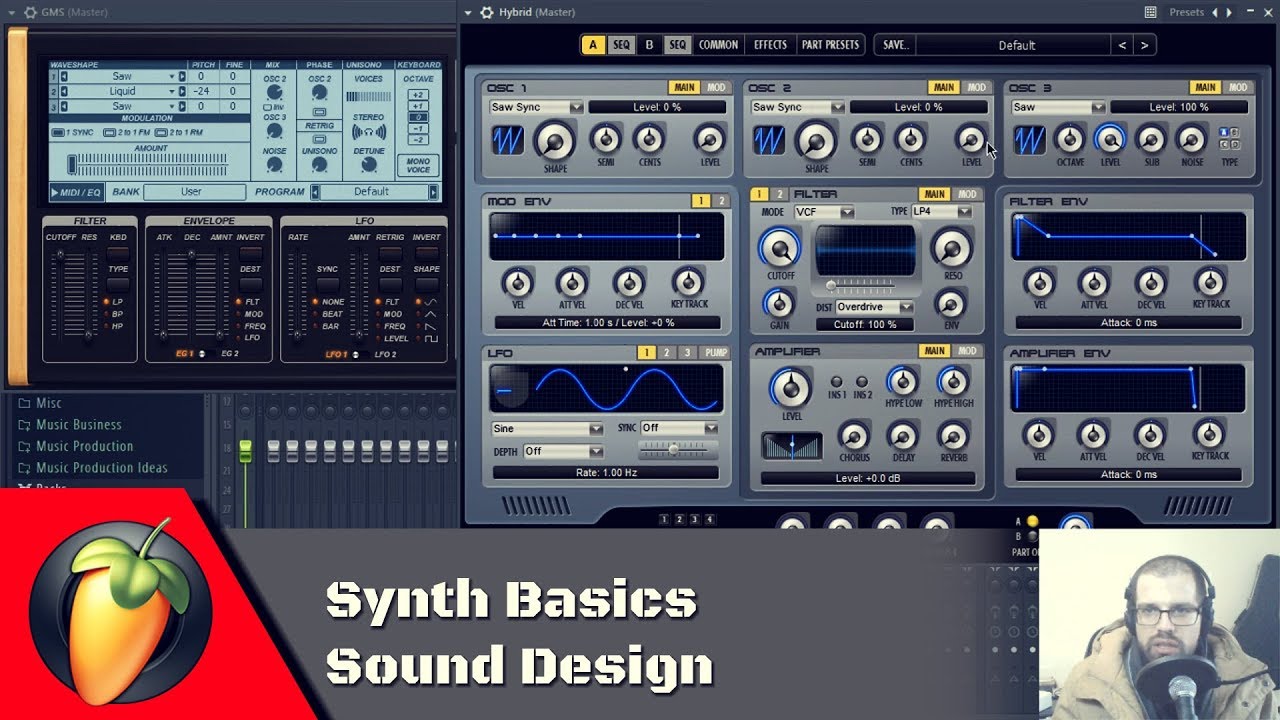
Credit: www.youtube.com
Setting Up Your Synthesizer
Learn the basics of setting up your synthesizer in FL Studio to create unique and customized soundscapes for your music production. With the right connections and configurations, you can easily use your synthesizer to create the perfect melody for your next hit track.
Choosing A Synthesizer Plugin
Choosing the right synthesizer plugin can be challenging, but it is crucial to the success of your music production. FL Studio offers a variety of synthesizer plugins like Sytrus, Harmless, and Harmor. Each plugin has its unique features, so it’s essential to research and find the one that aligns with your production goals.
Importing Your Synthesizer Into Fl Studio
Once you’ve chosen your synthesizer plugin, it’s time to import it into FL Studio. To do this, go to your plugin directory and copy the plugin file of your chosen synthesizer. Next, navigate to the FL Studio plugin directory and paste the plugin file in. Afterward, open FL Studio and go to the ‘channels’ section and select ‘add one.’ Your imported synthesizer plugin will appear in the list, and you can select it.
Configuring Audio And Midi Settings
Now that your synthesizer is imported into FL Studio, you need to configure your audio and MIDI settings. Go to the ‘options’ menu, then ‘audio settings.’ Here, you can choose your input and output devices, as well as configure other audio settings. Next, go to the ‘MIDI settings’ and select your input and output devices. If you plan on using an external MIDI device, make sure it is properly connected to your system.
Summary Table
| Steps | Actions |
|---|---|
| Choosing a Synthesizer Plugin | Research and select the best synthesizer plugin for your production goals. |
| Importing Your Synthesizer Into FL Studio | Copy plugin file, paste it into FL Studio’s plugin directory, add it to channels section. |
| Configuring Audio and MIDI Settings | Select input and output devices, configure audio settings and MIDI settings. |
Setting up your synthesizer is a crucial step in music production. By choosing the right synthesizer plugin, importing it into FL Studio, and configuring your audio and MIDI settings, you’ll be well on your way to creating your masterpiece.
Understanding Synthesizer Basics
Synthesizers have been long used in the music industry, and with the introduction of software like FL Studio, these powerful tools are now more accessible and easier to use than ever before. Whether you are new to music production or have been doing it for years, understanding the basics of a synthesizer is key to unlocking its potential.
Oscillators
Oscillators are the sound generators of a synthesizer. They produce the raw waveforms that are then shaped to create sounds. The most common waveforms are sine, triangle, square, and sawtooth. By combining different waveforms, you can create unique sounds.
Filters
Filters are used to shape the sound generated by oscillators. They can remove or emphasize certain frequencies. Low-pass filters allow low frequencies to pass through and cut off the high frequencies. High-pass filters do the opposite. Band-pass filters pass only a specific range of frequencies, and band-reject filters cut out a specific range. Experimenting with filters can significantly change the sound of your synth.
Envelopes
Envelopes control the changes in sound over time. They have four stages – Attack, Decay, Sustain, and Release (ADSR). The Attack determines how quickly the sound reaches its maximum volume, Decay controls how quickly it drops off after the Attack, Sustain holds the sound at a set level, and Release determines how long it takes to fade out once you release the key.
Lfos
Low-Frequency Oscillators (LFOs) provide cyclic modulation of a sound. They can be used to create vibrato, tremolo, or more complex effects. By syncing the LFO to the tempo of your track, you can create rhythmic sound textures.
By understanding the basics of oscillators, filters, envelopes, and LFOs, you can start creating unique and exciting sounds in FL Studio. With practice and experimentation, you can develop your signature sound that sets you apart from other producers.
Creating Sounds With Your Synthesizer
Learn how to create unique and fascinating sounds using synthesizers in FL Studio. By exploring different parameters and settings, you can unleash your creativity and produce a wide range of sounds perfect for your musical compositions.
Creating Sounds with Your Synthesizer Fl Studio is a popular software that effectively simulates real-life synthesizer hardware and allows for easy sound creation and manipulation. However, before we start creating our sounds, we need to know about the essential components of a synthesizer. These include oscillators, filters, envelopes, and LFOs. In this blog, we will cover how to use these components and apply them to create unique sounds that fit your music style. Selecting a Sound Type In Fl Studio, you can start creating sound by selecting the sound type that you wish to craft. These could be leads, pads, bass, or any other sound that you want to produce. Once you’ve selected a sound type, you can start adjusting your oscillator parameters. Adjusting Your Oscillators The oscillator is the essential component of a synthesizer that generates sound. In Fl Studio, you can adjust the oscillator’s waveform, frequency, and pitch to create different sounds. To adjust your oscillator, select the oscillator section and start changing its waveform, pitch, and frequency. Filtering Your Sound Once you’ve created the base sound with your oscillator, you can further refine it by filtering it. Fl Studio allows you to filter your sound using a variety of filter types like low pass, high pass, bandpass, and notch filter. By using these filters, you can give your sound a unique character that matches your music style. Applying Envelope and LFO Modulation The envelope and LFO modulation are essential components that give your sound its shape and movement. With Fl Studio, you can adjust your envelope and LFO parameters to create an evolving sound that changes over time. This will give your sound its distinct character that stands out in your music. Adding Effects Fl Studio provides a suite of effects that can be applied to a sound to create different textures. Some of these effects include reverb, delay, chorus, phaser, and more. These effects can be applied to your sound to give it an added dimension and make it sound unique. Using Automation Automation is a powerful tool in Fl Studio that allows you to control different parameters over time. With automation, you can create a variety of sounds that evolve and change over time. You can automate parameters such as filter cutoff, oscillation frequency, and more, to create a more dramatic and compelling sound. In conclusion, creating sounds with your synthesizer is a crucial part of music production. Fl Studio provides a range of tools that allow you to craft unique sounds that suit your music style. By selecting your sound type, adjusting your oscillator, filtering your sound, applying envelope and LFO modulation, adding effects, and using automation, you’ll be able to create a vast range of sounds that fit your music style.
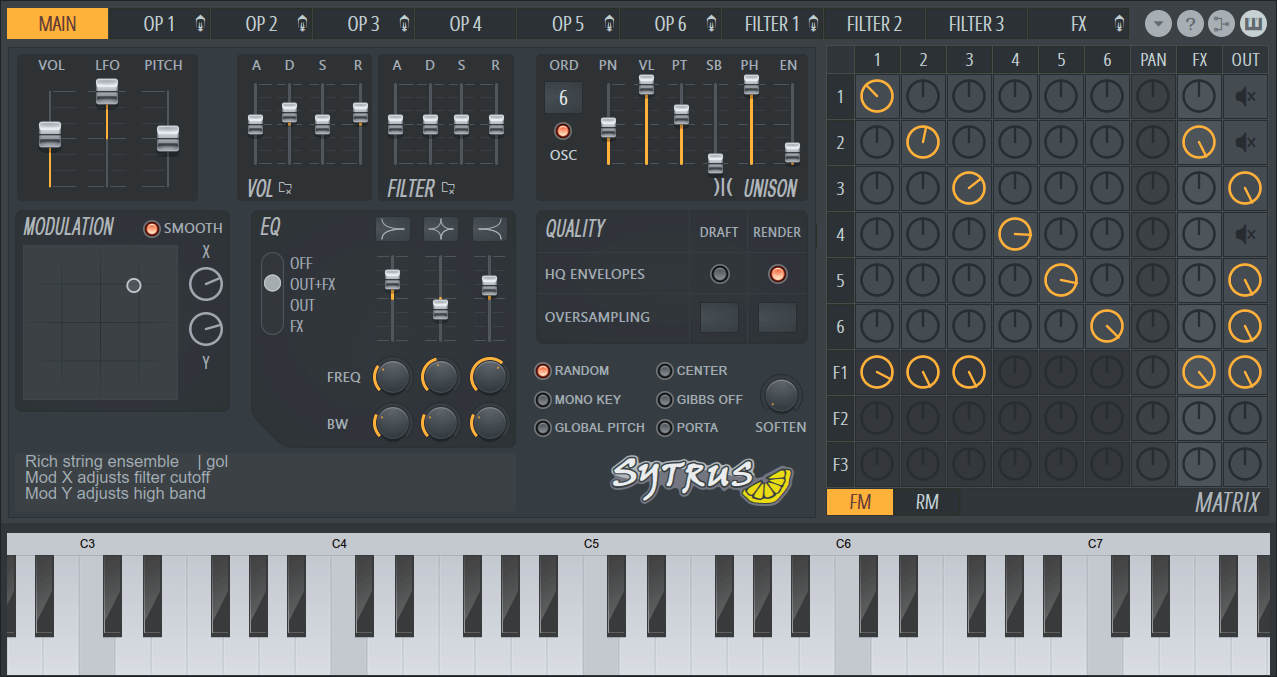
Credit: www.image-line.com
Using Synthesizers In Your Music Production
Synthesizers offer a wide array of possibilities for creating unique sounds in FL Studio. By utilizing the various oscillators, filters, and modulation options, you can transform your musical productions with ease. Experimentation is key to discovering new and innovative sounds to enhance your tracks.
Synthesizers have become an essential tool for music production in today’s era. From creating unique lead melodies to designing powerful basslines, synthesizers can help you add depth and dimension to your music.
Layering Synthesizers
Layering synthesizers is an effective technique used by many music producers to create a complex and rich sound. To do this, select two or more synthesizers and adjust the different sound parameters such as filters, envelopes, and oscillators. Layering synthesizers can help you create a fuller sound, add warmth to your music, and give it a unique character.
Creating Rhythmic Patterns
Synthesizers can be used to create interesting rhythmic patterns and loops in your music. By using gated patterns and sequencers, you can adjust the speed, rhythm, and tempo of your music. To create a rhythmic pattern, experiment with different synths and tweak the settings to create the desired effect.
Designing Basslines
A powerful bassline is key to creating an impactful track. Synthesizers can help you design basslines that are tailored to your needs. Adjust the sound parameters such as the filter, envelope, and modulation to get the desired effect. You can also layer multiple synths to create a unique and complex bassline that stands out.
Creating Lead Melodies
Synthesizers offer endless possibilities when it comes to creating lead melodies. Experiment with different types of synths to find the right sound and adjust the settings to create a unique melody. You can also use effects such as delay and reverb to add depth to your melody. In conclusion, synthesizers are a great tool for music production. By layering synths, creating rhythmic patterns, designing basslines, and creating lead melodies, you can add depth and dimension to your music. Experiment with different synths and settings to find the sound that best fits your music.
Advanced Synthesizer Techniques
Discover advanced synthesizer techniques and learn how to use synthesizer in Fl Studio like a pro. This powerful tool is perfect for creating unique sounds and textures, and with the right skills, you can take your music to the next level.
Advanced Synthesizer Techniques can elevate your music production skills to a new level. With the help of Fl Studio’s synthesizer features, you can create complex sounds and melodies. In this section, we’ll cover some advanced synthesizer techniques that you can use to create unique and captivating sounds for your music. ### Creating Pads and Atmospheres Pads and atmospheres are often used in electronic music to create a sense of space and depth. You can create these sounds by combining multiple voices in your synthesizer. Here’s how you can create pads and atmospheres: 1. Start by selecting a waveform for your synthesizer. 2. Add a low-pass filter to your sound, which will cut off the high frequencies. 3. Apply a reverb effect to your sound, which will create a sense of space. 4. Layer different voices, each with their own unique settings, to create complex sounds. ### Sound Design with FM Synthesis FM synthesis is a powerful synthesis technique that can be used to create a variety of sounds. You can use FM synthesis to create bell-like sounds, bass, and even percussive effects. Here’s how you can use FM synthesis in Fl Studio: 1. Choose an operator or carrier waveform and a modulator waveform. 2. Adjust the modulator frequency to add complexity to your sound. 3. Adjust the envelope of your sound to create a sharp attack and sustain. 4. Experiment with different operator and modulator waveforms to create unique sounds. ### Creating Chord Progressions Chord progressions can add depth and complexity to your music. With Fl Studio, you can easily create chord progressions using the Piano Roll feature. Here’s how you can create chord progressions: 1. Open the Piano Roll and select the notes you want to include in your chord. 2. Choose a chord preset from the chord selector. 3. Drag the chord progression onto your timeline to create a chord progression. ### Advanced Automation Techniques Automation can be used to create dynamic and complex sounds in your music. In Fl Studio, you can automate a variety of settings, including volume, filter settings, and effects. Here’s how you can use automation to create complex sounds: 1. Choose a parameter you want to automate. 2. Open the automation clip for that parameter. 3. Add nodes to the automation clip to create a smooth transition between settings. 4. Experiment with different automation settings to create complex sounds. By using these advanced synthesizer techniques in Fl Studio, you can create unique and captivating sounds for your music. Whether you’re creating pads and atmospheres, using FM synthesis, creating chord progressions, or experimenting with automation, these techniques will help take your music production skills to the next level.
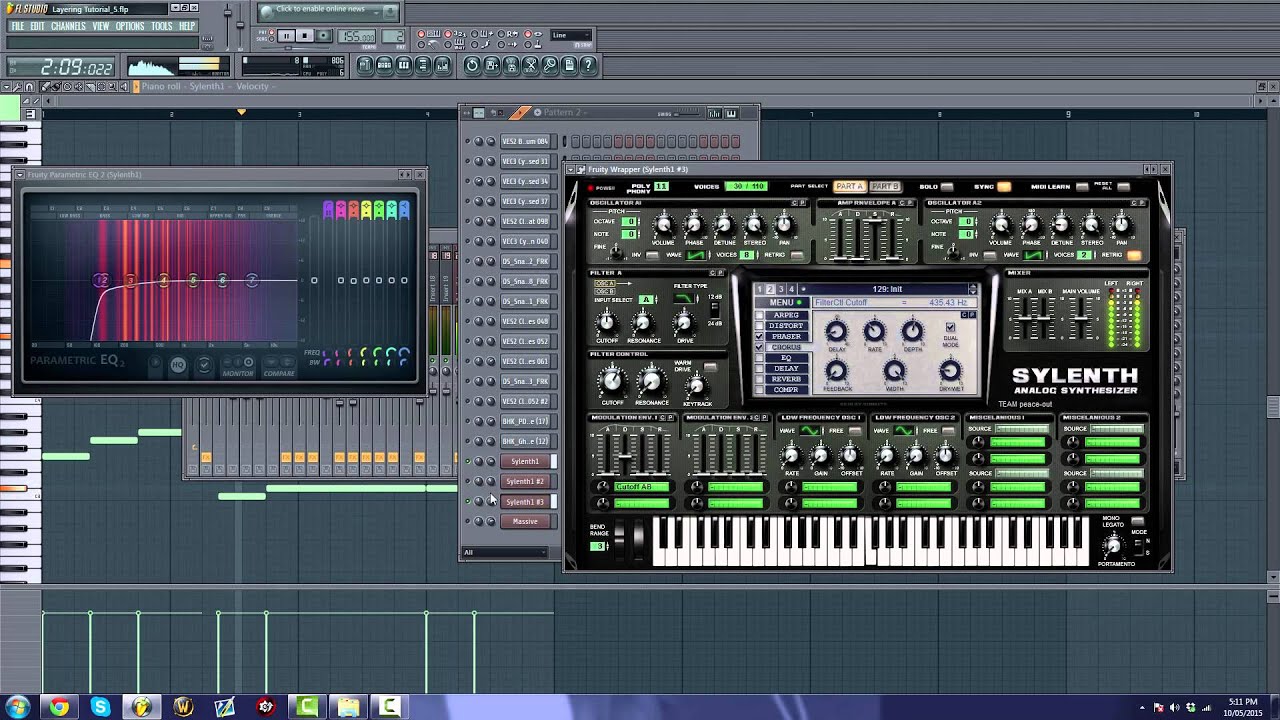
Credit: www.youtube.com
Tips And Tricks For Using Synthesizers In Fl Studio
Discover the best tips and tricks to enhance your FL Studio experience with synthesizers. Learn how to use synthesizers effectively to create amazing sounds and melodies in your music productions. Unlock the full potential of FL Studio and create music that stands out from the crowd.
If you’re new to using synthesizers in FL Studio, it can be overwhelming to know where to start. However, with a few tips and tricks, you can make the most out of your synth and create amazing tracks. In this post, we’ll take a look at some of the best tips and tricks for using synthesizers in FL Studio.
Utilizing Presets
One of the easiest ways to get started with using synthesizers in FL Studio is to utilize presets. Presets are pre-made settings that come with your synth. They are designed to help you get started with the basics of making a sound. You can use presets as a starting point for your synth sound to create more complex sounds. To access presets in FL Studio, simply open your synth and browse through the preset library. Many synths have a wide variety of presets available, covering different genres and styles.
Making Your Synths Sound Bigger
If you want to make your synth sound bigger and more powerful, there are a few techniques you can use. One of the best ways to achieve this is by adding layers to your sound. Layering involves using multiple instances of your synth to create a more complex and full sound. You can also use effects such as reverb and delay to add depth to your sound. Another technique is to use modulation, such as LFOs, to add movement to your sound.
Working With Midi Controllers
MIDI controllers can be incredibly helpful when working with synthesizers in FL Studio. They allow you to control various parameters of your synth in real-time, giving you a more tactile experience. Many MIDI controllers come with pre-mapped controls for popular synths, making it easy to get started. However, you can also manually map controls to your MIDI controller for more control over your sound.
Creating Custom Synthesizer Templates
Creating custom synthesizer templates can save you time and streamline your workflow. Templates can be created with your commonly used settings, including effects and modulation. This way, you can quickly and easily get started with creating your sound without having to set everything up from scratch. To create a custom synthesizer template, simply set your synth to the desired settings and save it as a template. In conclusion, these tips and tricks are a great starting point for using synthesizers in FL Studio. By utilizing presets, making your synths sound bigger, working with MIDI controllers, and creating custom synthesizer templates, you can unleash your creativity and create amazing tracks.
Frequently Asked Questions Of How To Use Synthesizer In Fl Studio
How Do You Make A Synth Sound On Fl Studio?
Making a synth sound on FL Studio is simple. Begin by opening the synth plugin from the channel rack, choose a preset or create a new sound by adjusting the parameters. Use the piano roll or MIDI controller to play the notes and adjust the sound to your liking.
Finally, record or export the sound.
Does Fl Studio Have A Synthesizer?
Yes, FL Studio has several synthesizers including Sytrus, Harmless, Harmor, and 3xOsc. These synthesizers allow users to create and manipulate sounds for use in their music productions.
How Do I Control Synths With Midi In Fl Studio?
To control synths with MIDI in FL Studio, connect your MIDI device and open the MIDI settings. Assign channels to your synth and ensure the correct MIDI ports are selected. Use the piano roll or step sequencer to create MIDI notes and send them to the synth to trigger sound.
How Do I Use The Keyboard In Fl Studio?
Using the keyboard in FL Studio is easy. Simply open a new project, choose a plugin, select a channel, and start playing. Use the QWERTY layout or MIDI controller to trigger notes. Adjust velocity, pitch, and other parameters to customize your sound.
That’s it!
Conclusion
Using a synthesizer in FL Studio might seem intimidating at first, but with these tips and tricks, you can easily enhance your music production skills. Whether you’re a beginner or an experienced producer, incorporating a synthesizer can take your music to the next level.
Remember to experiment with various sounds, play around with the controls, and above all, have fun while creating something unique. Your music is a reflection of your individuality, and using a synthesizer is one way to showcase it. So, give it a try and see where your creativity takes you!