To record electric guitar with a condenser mic, position the mic close to the amp’s speaker and adjust the distance and angle to achieve the desired sound. Achieving the right sound is crucial in recording electric guitar with a condenser mic.
By positioning the mic close enough to the amp’s speaker, the mic can capture a more focused sound. However, this can also result in unwanted feedback and distortion. This can be mitigated by adjusting the distance and angle of the mic until an optimal sound is achieved.
Once positioned, make sure to test the sound and make any necessary adjustments before recording. With the right setup, a condenser mic can effectively capture the clear and vibrant sound of an electric guitar.

Credit: www.mixinglessons.com
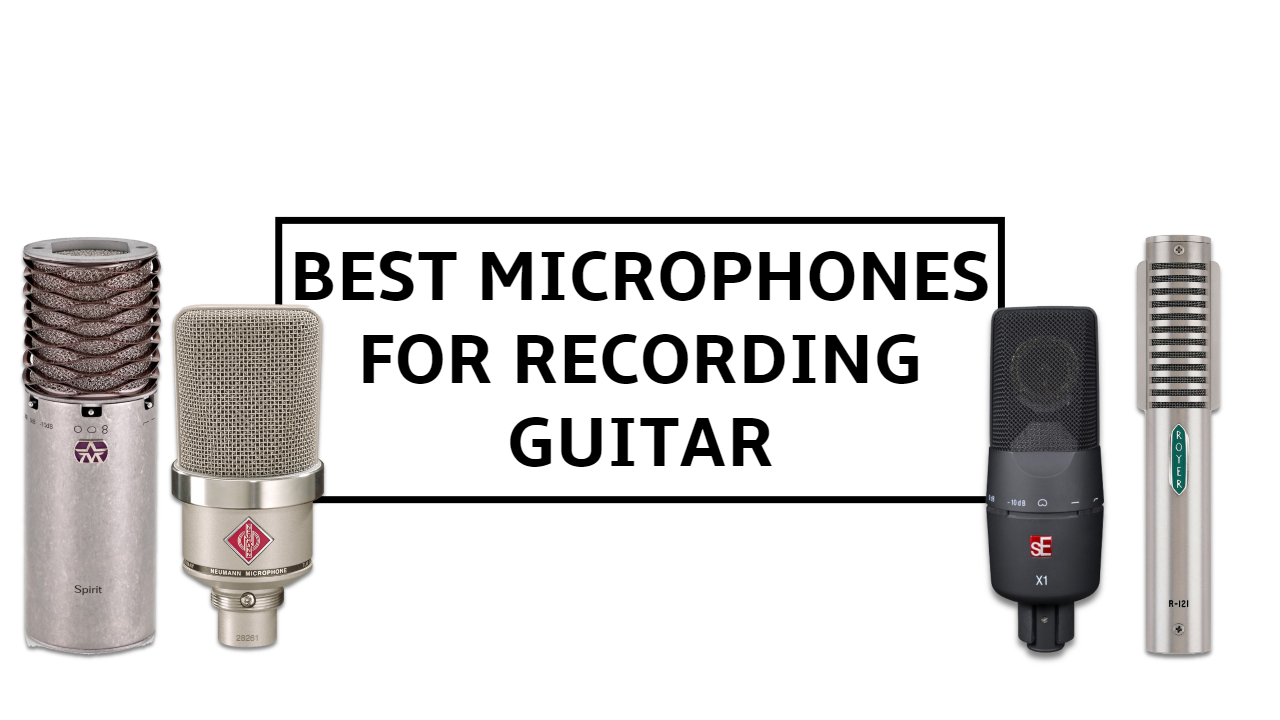
Choosing The Right Condenser Mic
To record electric guitar with a condenser mic, it is important to choose the right one. Look for a mic with a good frequency response and sensitivity to capture the nuances of the instrument. Also, consider the polar pattern and noise floor to ensure the cleanest recording possible.
As a guitar player, recording your music can be an exciting and creative process. The right microphone is essential for capturing the true sound and quality of your electric guitar. A condenser microphone is a popular choice for recording electric guitars because it can pick up the sound with great clarity and detail. In this article, we’ll discuss the considerations for electric guitar recording and the types of condenser mics you can choose from.
Considerations For Electric Guitar Recording
Before you start recording, you need to consider some factors that could affect the sound quality of your guitar. Here are some questions to ask yourself:
- What type of music do you play?
- What is your playing style?
- What sound are you trying to achieve?
- What type of amplifier and effects pedals are you using?
Your answers to these questions will help you choose the right condenser mic that can complement your playing style and achieve the sound you want.
Types Of Condenser Mics
There are several types of condenser mics you can choose for recording electric guitars. Here are some of them:
| Type | Pros | Cons |
|---|---|---|
| Large-Diaphragm Condenser Mic | Great for capturing a warm and rich sound | Sensitive to noise and room acoustics |
| Small-Diaphragm Condenser Mic | Good for capturing high-frequency details and fast attack | Less warmth and body compared to large-diaphragm mics |
| Ribbon Mic | Smooth and warm sound with natural roll-off | Fragile and sensitive to damage from high sound pressure levels |
Each type of condenser mic has its own advantages and disadvantages, so it’s important to choose the one that suits your needs and preferences. You could also consider using a combination of mics to capture different aspects of your guitar’s sound. In conclusion, choosing the right condenser mic for recording electric guitars is crucial for achieving the best sound quality. By considering your playing style, music genre, and specific sound preferences, you can choose the right type of condenser mic that suits your needs.
Preparing For The Recording Session
To record electric guitar with condenser mic, start by selecting the right microphone and positioning it correctly. Test the equipment for any issues and ensure you have enough space and a quiet recording environment. Experiment with different amp settings and adjust until you find the perfect tone.
Preparing for the Recording Session: Record electric guitar with condenser mic can be both fun and nerve-wracking. It is essential to channel that nervous energy into preparing for the recording session. Here’s how you can ensure that the recording session goes smoothly: ### Setting Up Your Equipment: Setting up the equipment correctly is critical for the best recording output. Here are the crucial steps for setting up your equipment: 1. Connect the Condenser Mic: Connect the condenser mic to the audio interface and ensure that a phantom power supply is available. 2. Positioning of the Mic: Mount the condenser mic around the area of your guitar amp that sounds best. Experimenting with different positions can help you find the ideal spot for recording. 3. Connect the headphones: Plug your headphones in the audio interface to get the sound feed while you’re playing. 4. Check the levels: Adjust the input levels until you are getting an ideal tone. ### Optimizing Your Recording Space: Optimizing your space can help eliminate background noise and ensure that the recording reflects the best of your talent. Below are strategies to optimize your recording space: 1. Padding the Room: Hanging blankets or curtains on the walls can reduce reflection issues and keep the sound confined in a small area. 2. Soundproofing: You can arrange for soundproofing foam panels to minimize echoes and unwanted sound. 3. Eliminating External Noise: Avoid recording near areas with heavy traffic or neighbors with noisy appliances. Taking the time to prepare for recording sessions can produce great results. By following these steps, your recording session will be productive and successful, and you’ll be rewarded with a high-quality recording output.
Mic Placement Techniques
Positioning the condenser microphone in front of the guitar amp speaker is crucial for capturing the right tone and sound. Placing the mic at a 45-degree angle from the speaker cone and at a distance of 4-12 inches can help achieve the desired recording.
Experiment with the placement to find what works best for you.
Mic Placement Techniques One of the essential aspects of recording electric guitars is getting the microphone placement right. The proper placement of the microphone contributes significantly to the guitar’s tone and overall sound quality. As a content writer expert on the topic, I have gathered some mic placement techniques to help you record your electric guitar with a condenser microphone successfully. H3: X-Y Stereo Pairing The X-Y stereo pairing technique is a popular method of mic placement used to capture the acoustic sound of an electric guitar. The technique involves using two microphones placed next to each other and angled at 90 degrees. The two microphones should be in a shock mount to avoid any vibrations and phase issues. This technique produces a stereo image that sounds open and natural, making the listener feel like they are sitting in front of the guitar. H3: Close Mic Technique The close mic technique involves placing the microphone as close to the electric guitar’s speaker as possible. This technique is suitable for achieving a punchy and focused sound of the guitar. The microphone should be placed at a 45-degree angle pointing towards the speaker cone’s center for better sound clarity. A pop shield should be used to avoid plosives and downward mic placement to prevent any sound leakage. This technique works best when you need to emphasize the guitar sound in the track. H3: Spaced Pairing Technique The spaced pairing technique involves using two microphones to capture the sound of your electric guitar’s amp. The microphones are placed at a distance of approximately six inches from the speaker cone and angled towards the outside of the speaker. The microphones’ spacing should be equal to the distance between the speaker and each mic, creating a perfect triangle. This technique enhances the natural tone of the guitar and adds a sense of depth and space to the overall sound. In conclusion, mic placement techniques are essential to achieve the desired sound when recording an electric guitar with a condenser microphone. The X-Y stereo pairing technique, the close mic technique, and the spaced pairing technique are the most common methods used to capture the guitar’s acoustic sound. Experimenting with various placements and microphone positions can help you find your unique guitar sound in your recordings.

Credit: upayasound.com
Eq And Compression Tips
Capture the perfect electric guitar sound with a condenser microphone by utilizing EQ and compression techniques. By reducing unwanted frequencies and enhancing the guitar’s natural tone, you can achieve a professional-level recording.
Using Eq To Enhance Your Tone
When recording electric guitar with a condenser mic, EQ helps you achieve a more natural and balanced sound. By adjusting the frequency of each tone, you can enhance your guitar’s sound and make it stand out. Here are some EQ tips to follow:
- Start by cutting the low-end frequencies to avoid muddiness.
- Boost the mid-range frequencies to increase the guitar’s presence.
- Adjust the high-end frequencies to add brightness to the sound.
Adding Compression For Warmth And Sustain
Compression is an essential tool in the recording process, especially when it comes to electric guitar. It evens out the levels of the guitar playing and helps in achieving a consistent sound. Here are some compression tips to follow:
- Set the attack low to preserve the initial transients
- Set the release high to encourage the guitar’s natural decay.
- Add a bit of makeup gain to bring the compressed guitar sound back up to its original level.
Remember that the EQ and compression settings will vary depending on the type of guitar you are using and your personal preference. Experiment and find what works best for your sound.
Effects And Post-processing
To achieve a professional electric guitar sound when recording, using a condenser microphone is optimal. Post-processing effects such as compression and EQ can also be used to enhance the sound and tailor it to the mix.
After recording your electric guitar with a condenser mic, you can elevate the sound quality by adding effects and post-processing techniques. This enhances the tone of your guitar and can make it sound fuller, richer and more professional. In this section, we’ll explore some of the popular effects and post-processing techniques that will help you take your recording to the next level.
Experimenting With Reverb And Delay
Reverb and delay are two of the most commonly used effects when it comes to recording electric guitar. Reverb adds a sense of space to the recording and creates a natural ambience while delay adds depth to the sound. Experimenting with these effects can help you achieve the desired level of spaciousness and depth.
- Start with a small amount of reverb and gradually increase until you find the sweet spot – too much reverb can make the guitar sound muddy.
- Delay can be used to create a variety of effects, such as slapback or echo. Start with a short delay time and gradually increase until you find the effect that suits your music.
Layering Multiple Tracks For Depth And Texture
Layering multiple guitar tracks can add depth and texture to your sound. This technique is particularly useful for solos or lead guitar parts. By layering two or more guitar tracks, you can create a fuller sound with more depth and tonal variation.
- Record two or more guitar tracks with slightly different settings, such as pickup selection or tone settings.
- Double-track the guitar parts by panning them slightly to the left and right channels to create a sense of width in the stereo field.
In conclusion, adding effects and post-processing techniques can significantly improve the sound quality of your electric guitar recordings. By experimenting with reverb, delay and layering multiple tracks, you can achieve a richer and more professional sound.
Troubleshooting Common Issues
To record electric guitar with a condenser mic, ensure the mic is placed around 3 inches away from the guitar’s speaker cone to capture the sound properly. Troubleshoot common issues that may arise such as background noise, distortion or a lack of clarity by adjusting mic placement or checking cable connections.
Recording electric guitar with a condenser mic is a popular method among musicians. However, it is not without its challenges. Noise, hum, and phase issues can all stand in the way of achieving great guitar tones. Here are some tips and techniques for troubleshooting these common problems.
Dealing With Noise And Hum
Noise and hum are unwelcome byproducts that can arise when recording electric guitar with a condenser mic. Here are some ways to deal with them:
- Try different microphone positions to find the one that captures the best signal-to-noise ratio
- Beware of magnetic fields from electronics and lighting, which can add unwanted hum
- Use a noise gate, which can reduce hum and noise during quiet passages
Avoiding Phase Issues
Phase issues can make an otherwise great guitar tone sound thin or off-balance. Here are some tips for avoiding phase problems:
- Use a single microphone whenever possible, as phase problems can arise when using multiple mics
- Try different mic positions to find the one that produces the most balanced sound
- Experiment with different polar patterns on the condenser mic to see which one sounds best
In conclusion, with just a few simple techniques, troubleshooting common issues when recording electric guitar with a condenser mic can be a breeze. Use these tips to ensure that your guitar tone shines through in your recordings.
Credit: www.guitarworld.com
Frequently Asked Questions For Record Electric Guitar With Condenser Mic
Can You Record Electric Guitar With A Condenser Mic?
Yes, you can record electric guitar with a condenser mic. Condenser mics are good at picking up detailed sounds, but you might need to experiment to find the best mic placement. You may also need a preamp or audio interface to connect the mic to your recording equipment.
Should I Use Condenser Or Dynamic Mic For Electric Guitar?
For electric guitar, it is recommended to use a dynamic microphone. Dynamic mics can handle loud sounds and have a warm tone, which is ideal for guitar amps. Conversely, condenser mics are more sensitive and may pick up unwanted noise.
Use a dynamic mic for optimal guitar sound quality.
What Mic Is Best For Recording Electric Guitar?
The best mic for recording electric guitar is a dynamic mic. The Shure SM57 and Sennheiser e609 are popular choices. Place the mic close to the speaker, off-center, slightly angled. Adjust distance and angle to find the right tone. Experiment with mic placement and the amp’s EQ.
Is A Condenser Mic Good For Recording?
Yes, a condenser mic is good for recording as it captures sound with high accuracy, sensitivity, and clarity. It is suitable for recording vocals, acoustic instruments, and capturing room ambience. Moreover, condenser mics are the preferred choice for professional studios because of their low noise and excellent sound quality.
Conclusion
To sum it up, recording an electric guitar with a condenser mic is a great way to capture the true essence of the instrument. By choosing the right mic and positioning it correctly, you can achieve an authentic and high-quality sound.
Remember to experiment with different techniques and setups to find what works best for you and your music. Keep these tips in mind and you’ll be on your way to recording a killer guitar track.